
Welcome to the Jungle: A Kids’ Bedroom Transformation
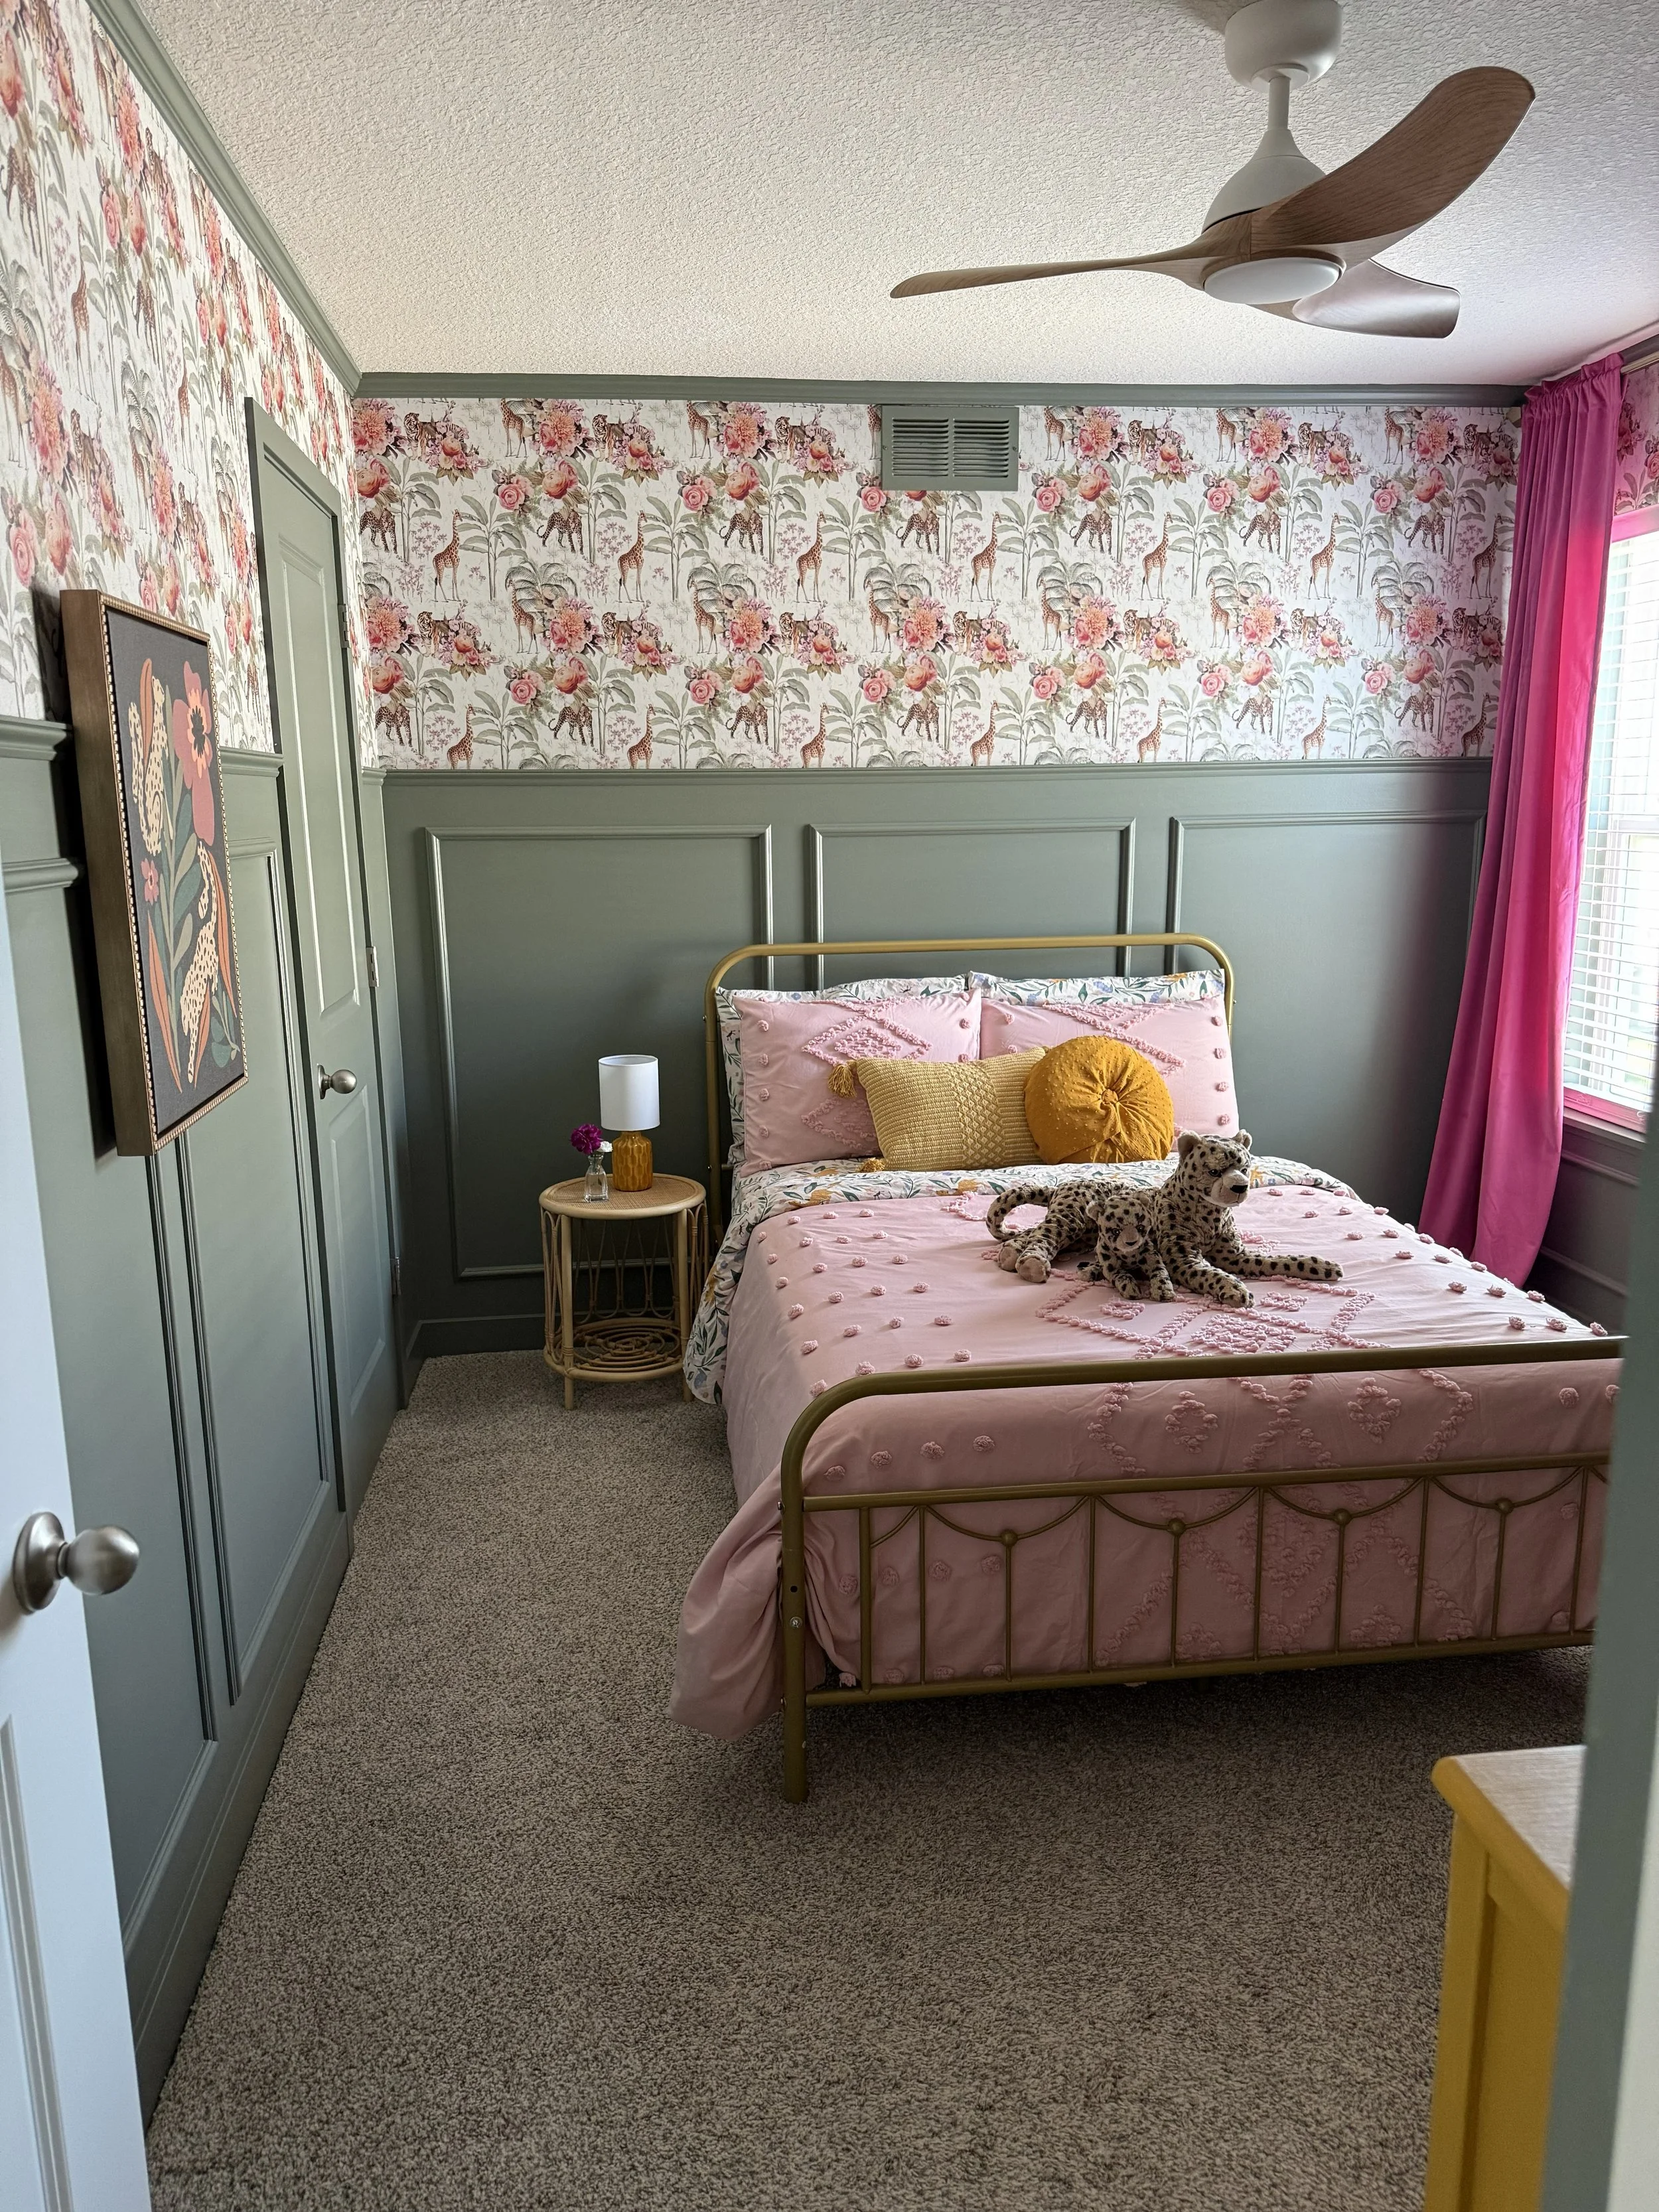
One of our favorite summer projects? Transforming our builder-gray nursery into a jungle-themed big girl room! Read on for the behind-the-scene details and beautiful finished space!
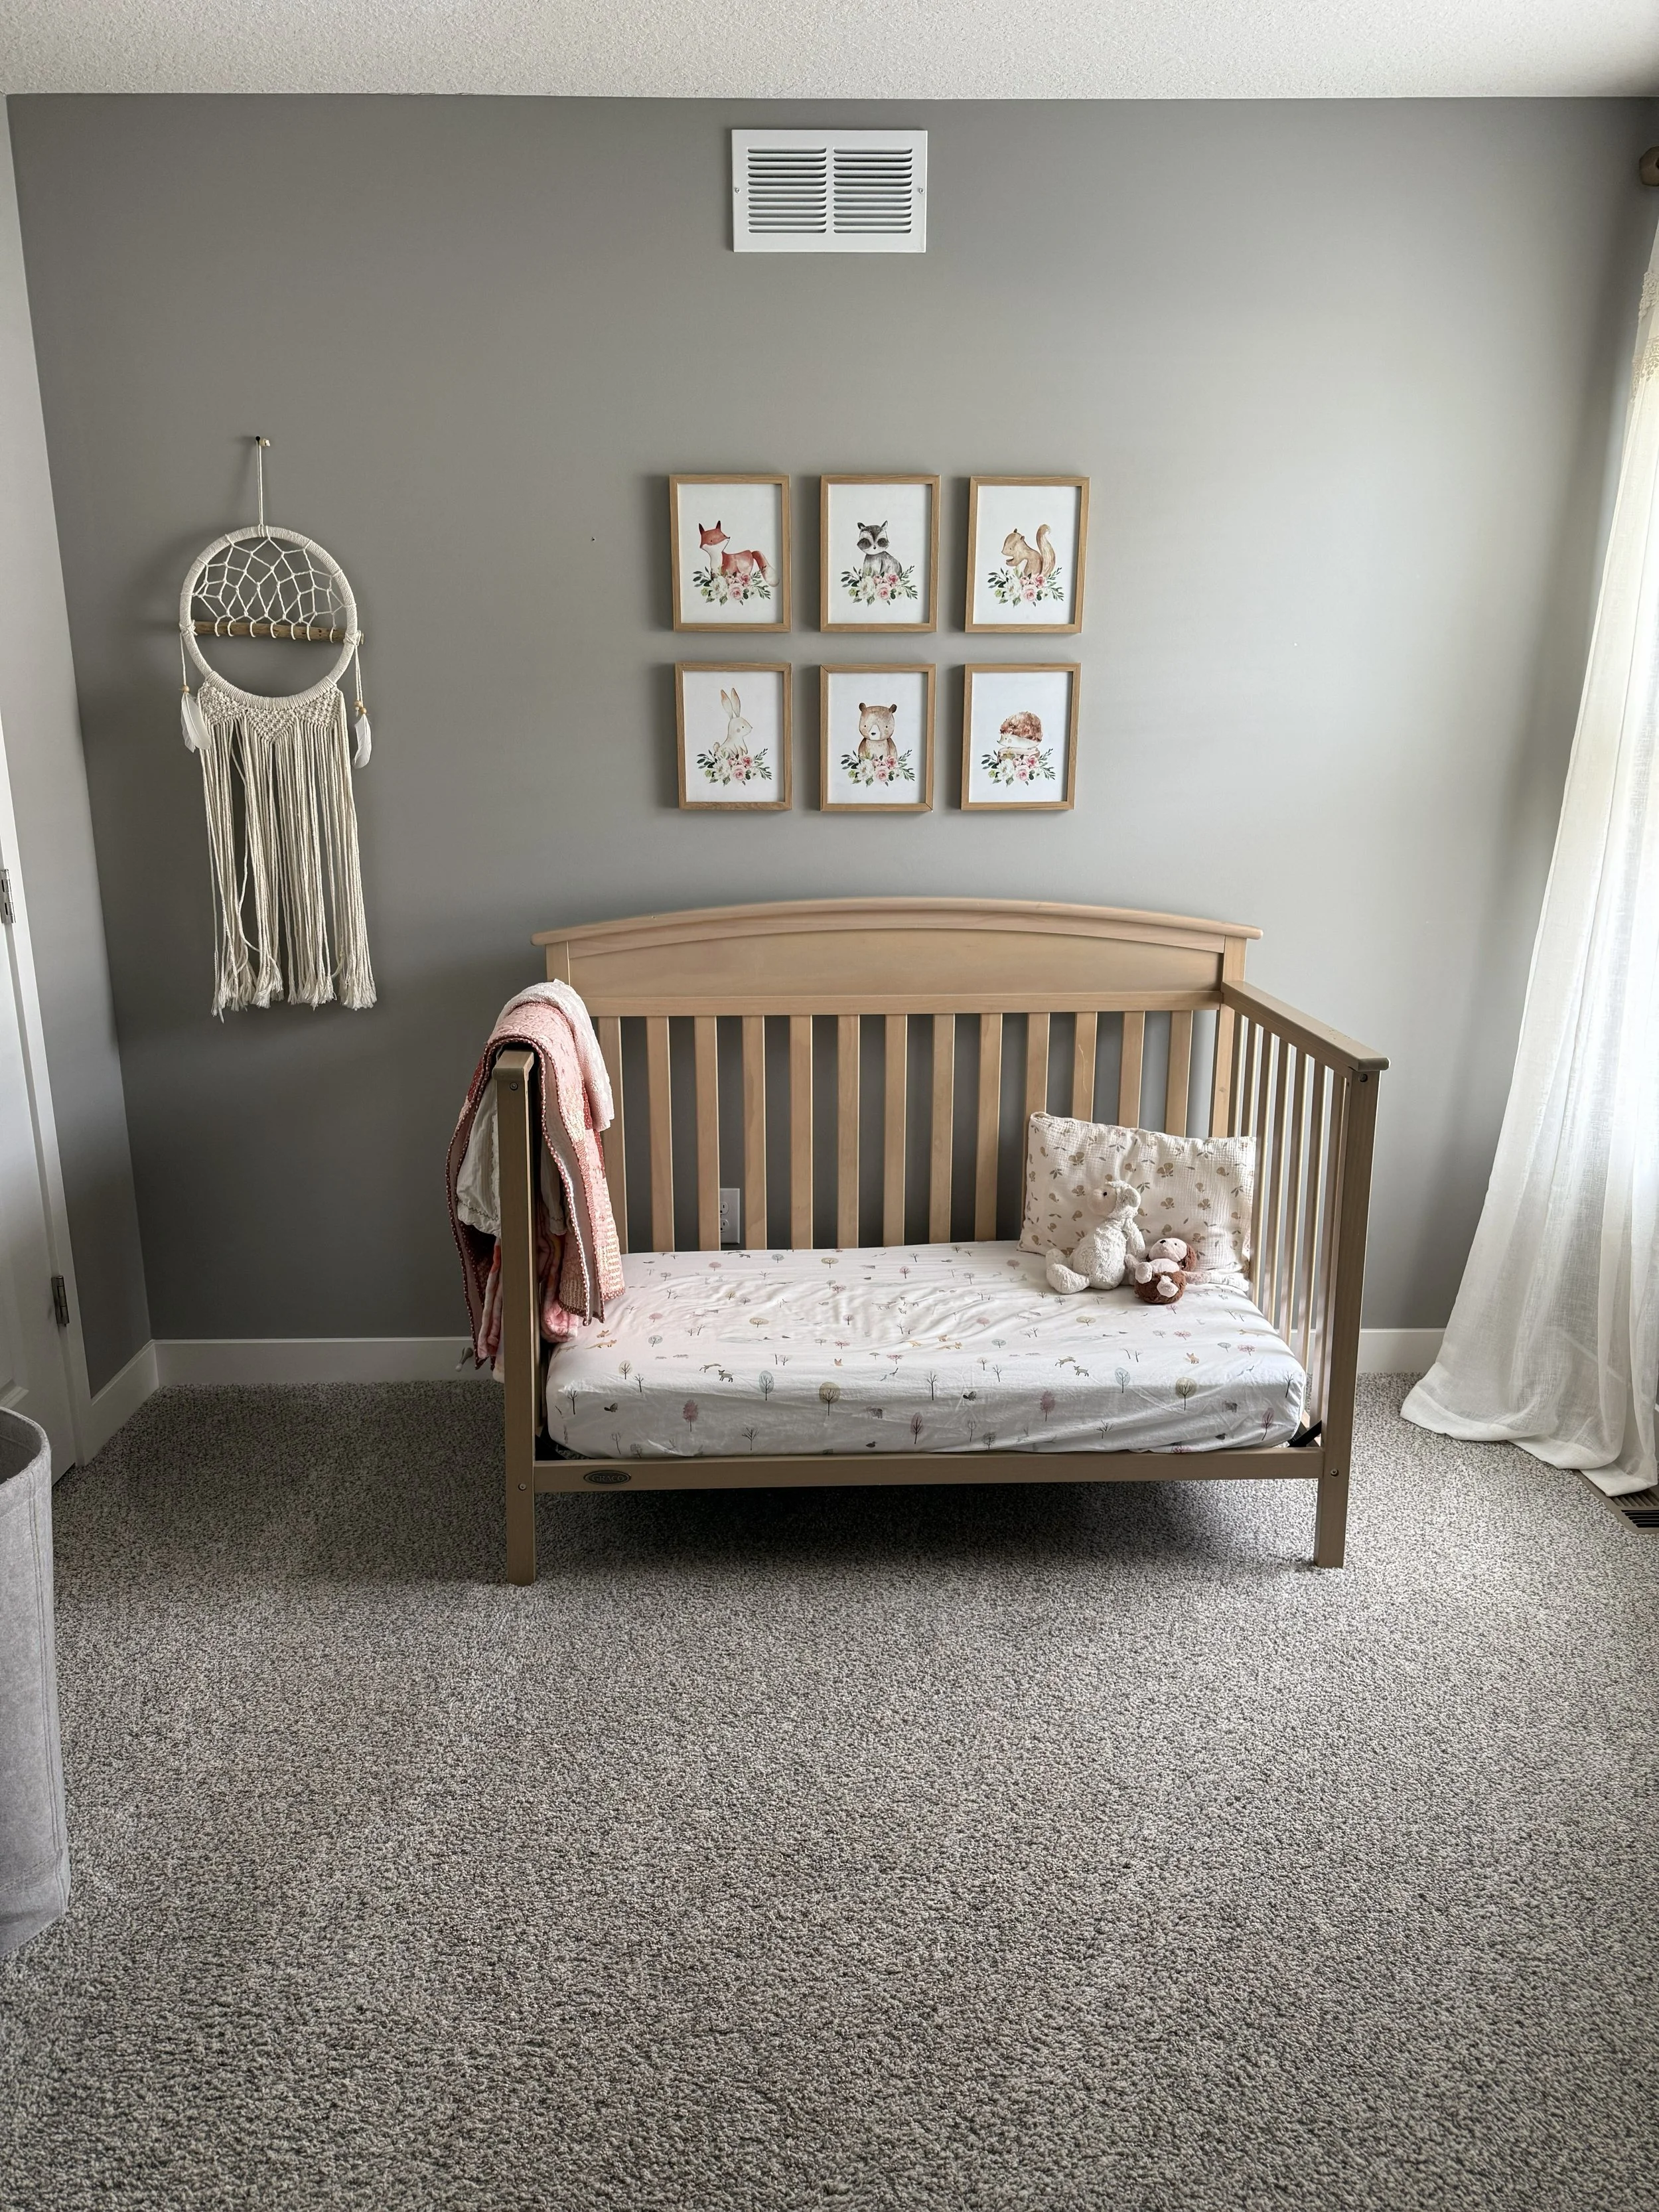
When our first daughter was born, we had SO much fun designing and pulling together her tiny nursery in our starter home. With sweet baskets and stuffies from Pottery Barn and a fresh coat of paint in Benjamin Moore’s Cloud White we leaned in hard to the boho woodland theme. It was my favorite room in our first home.
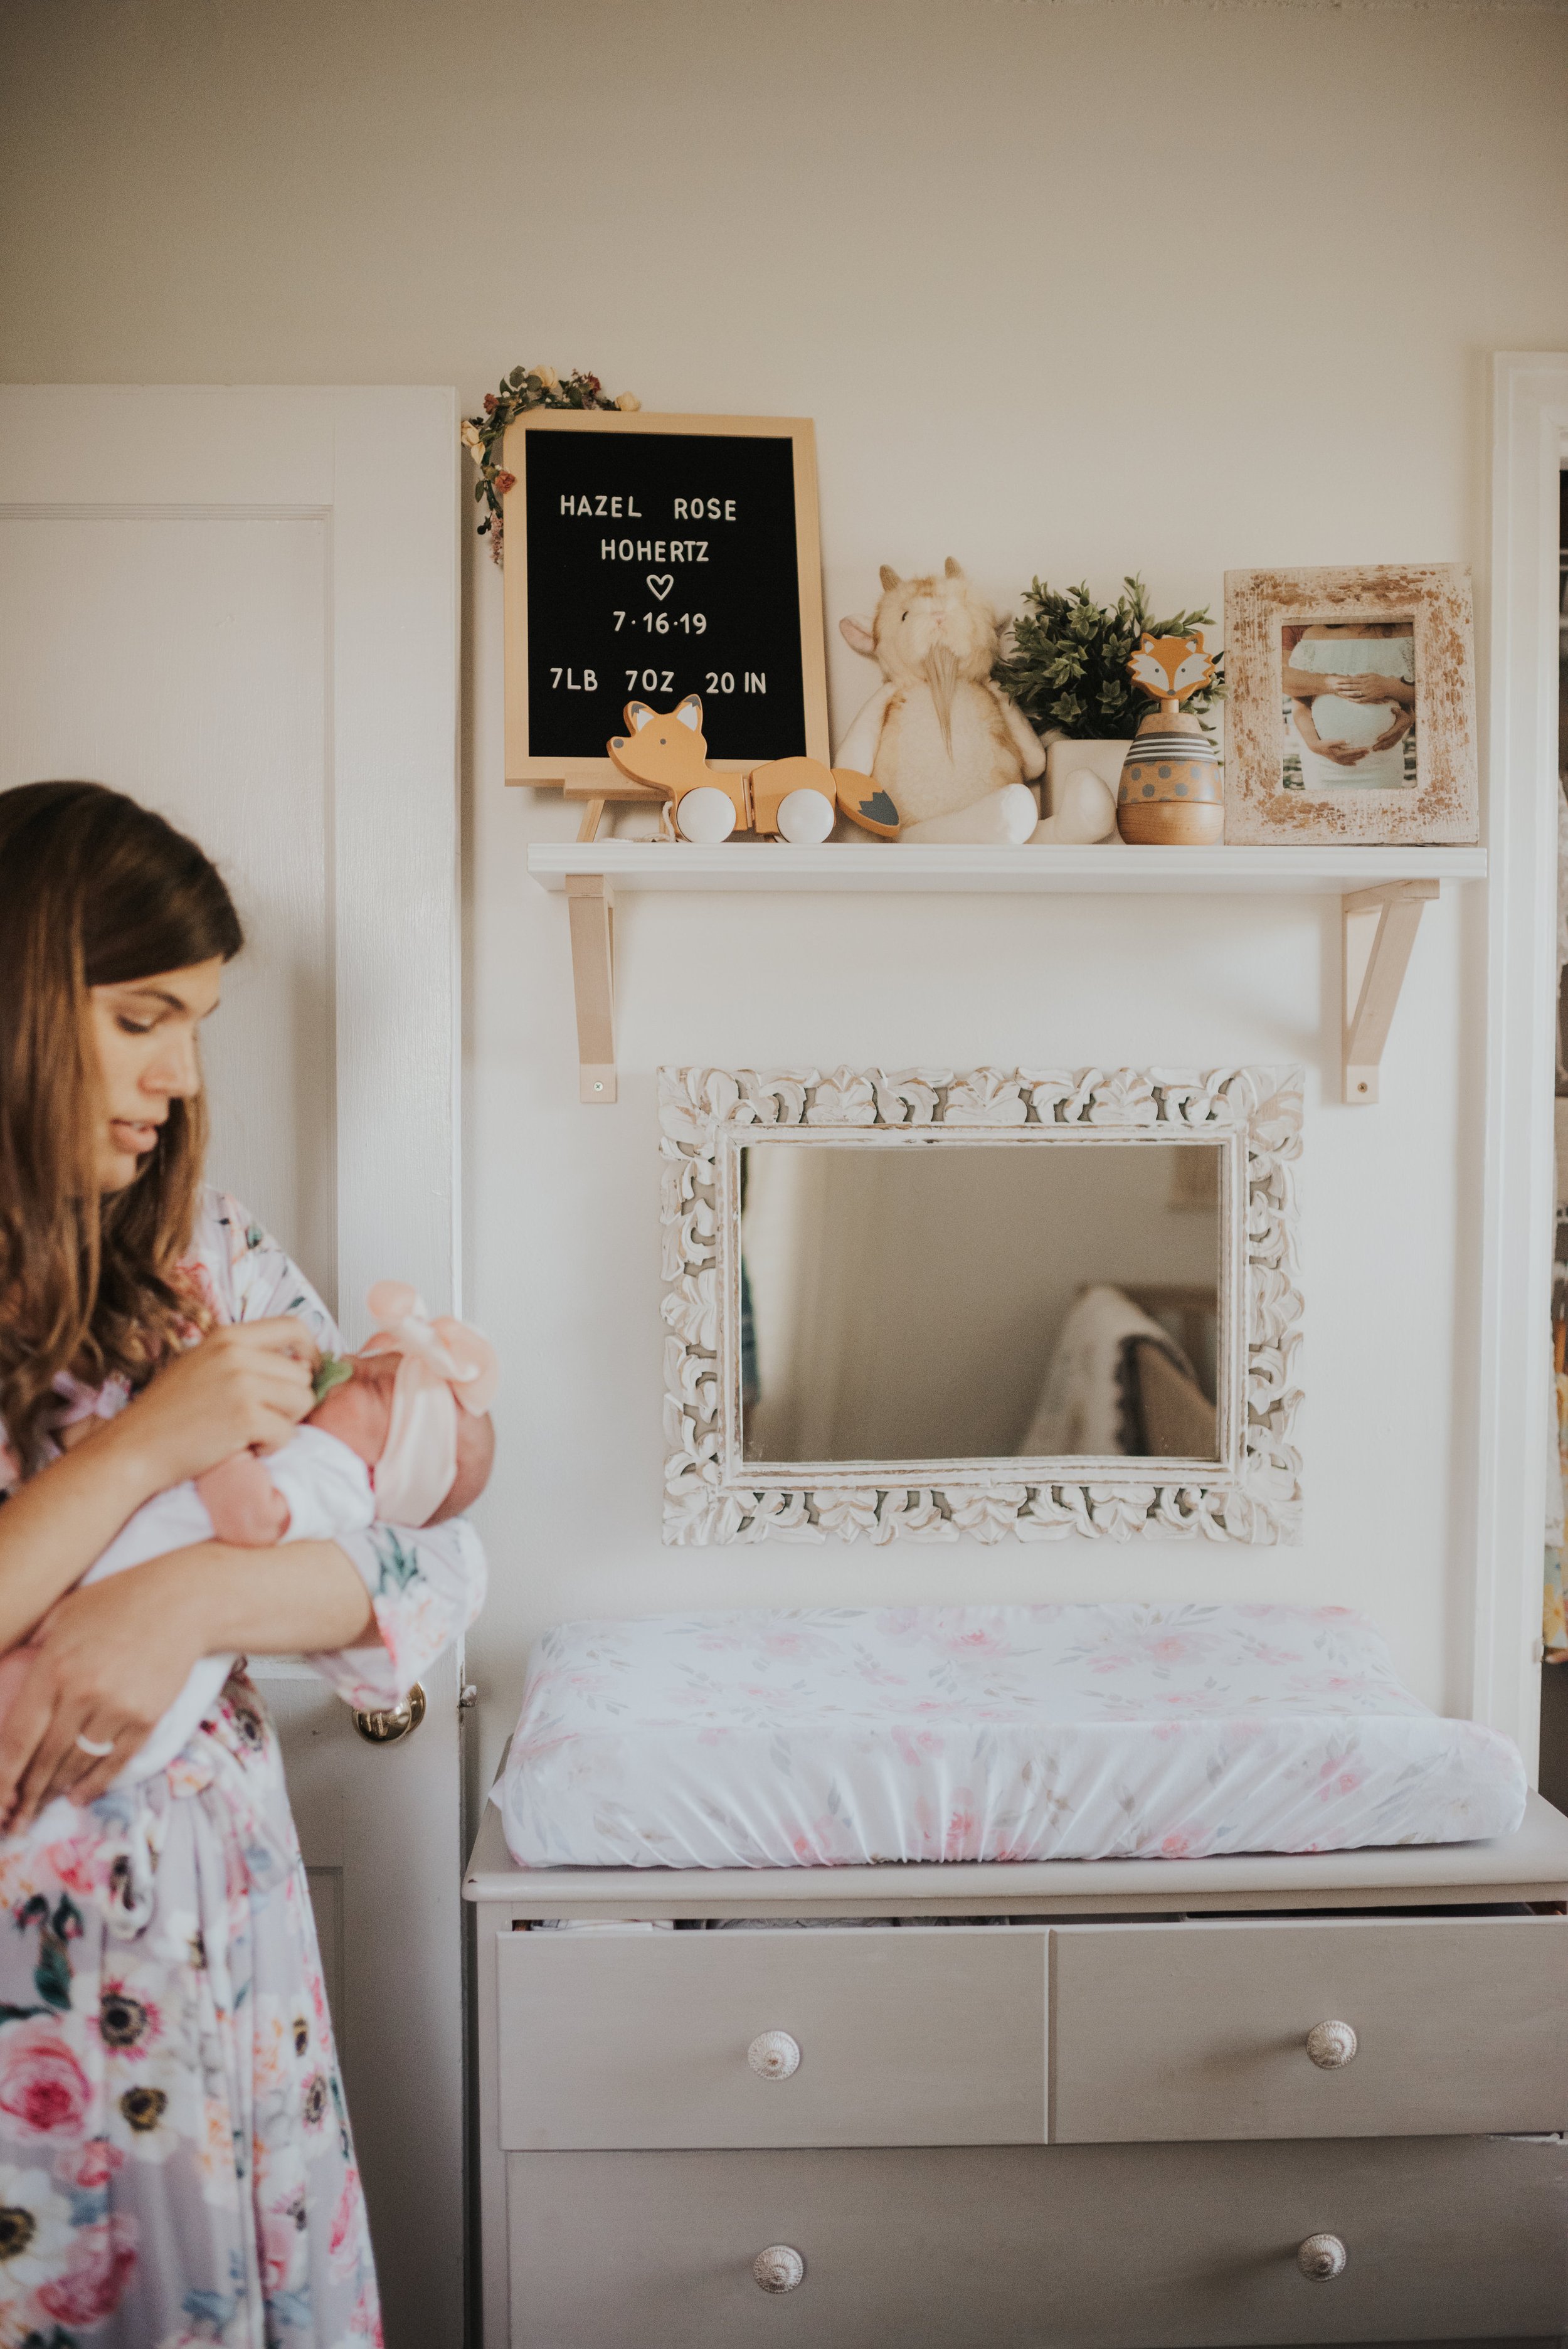
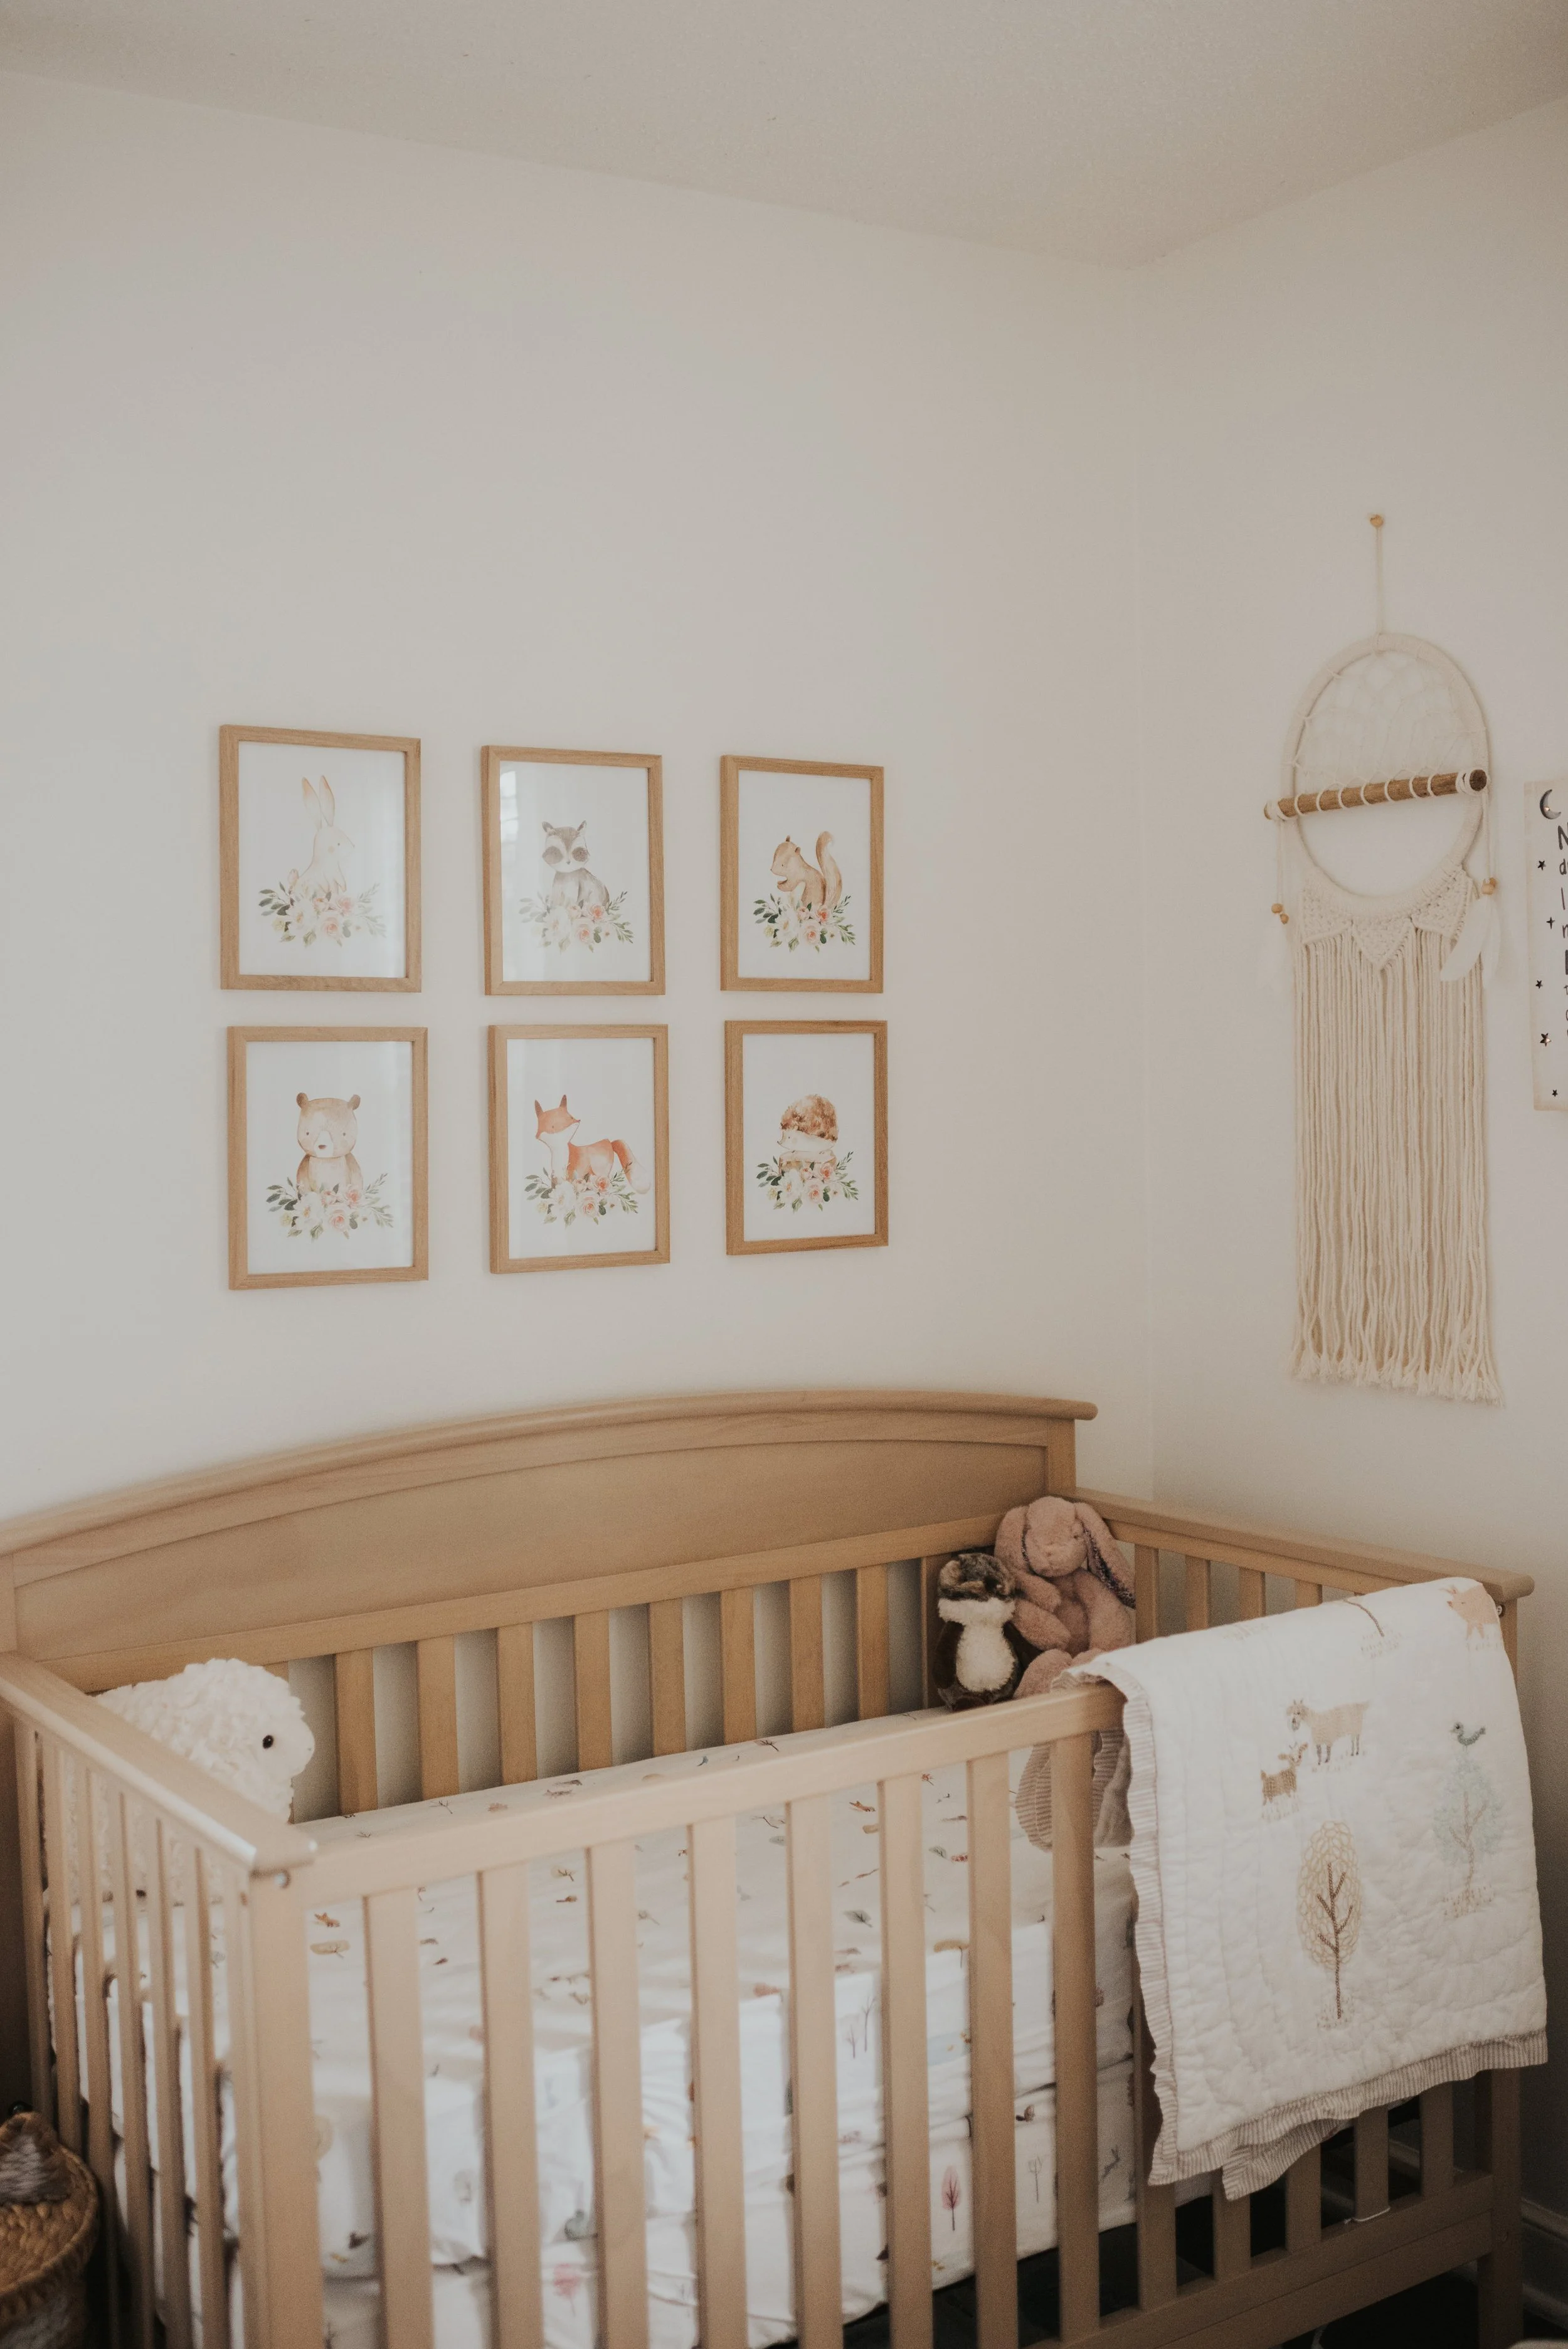
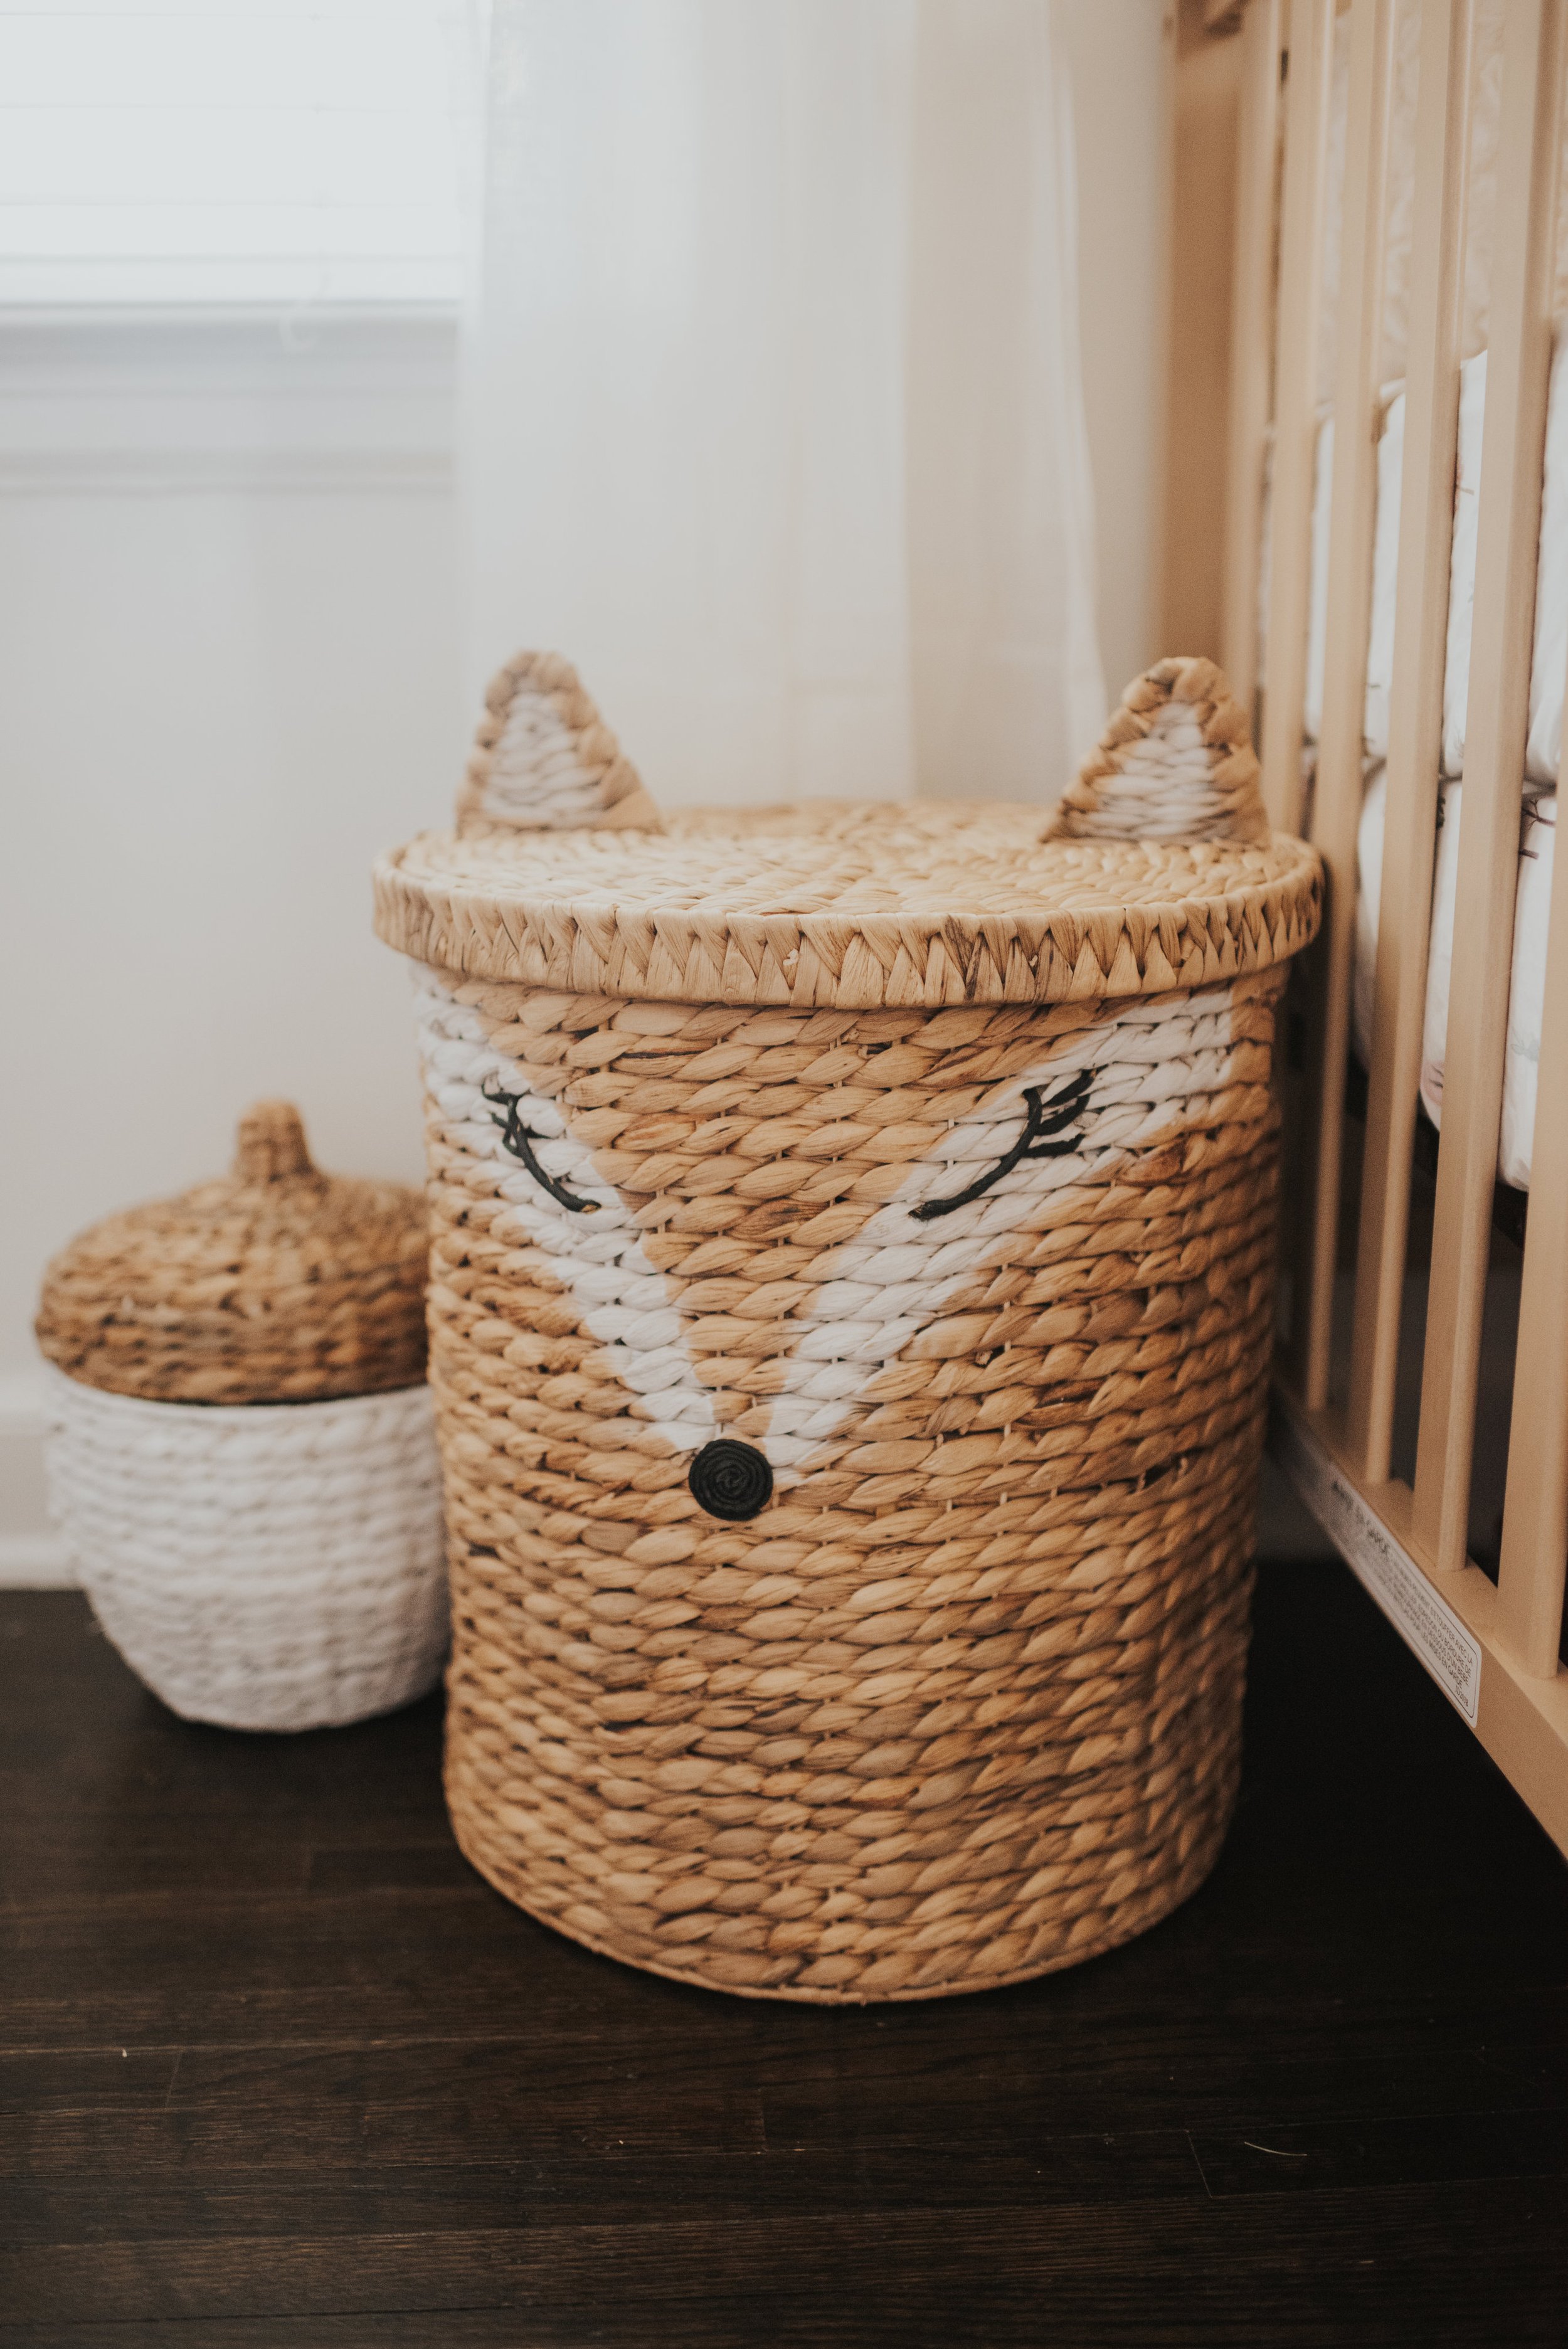
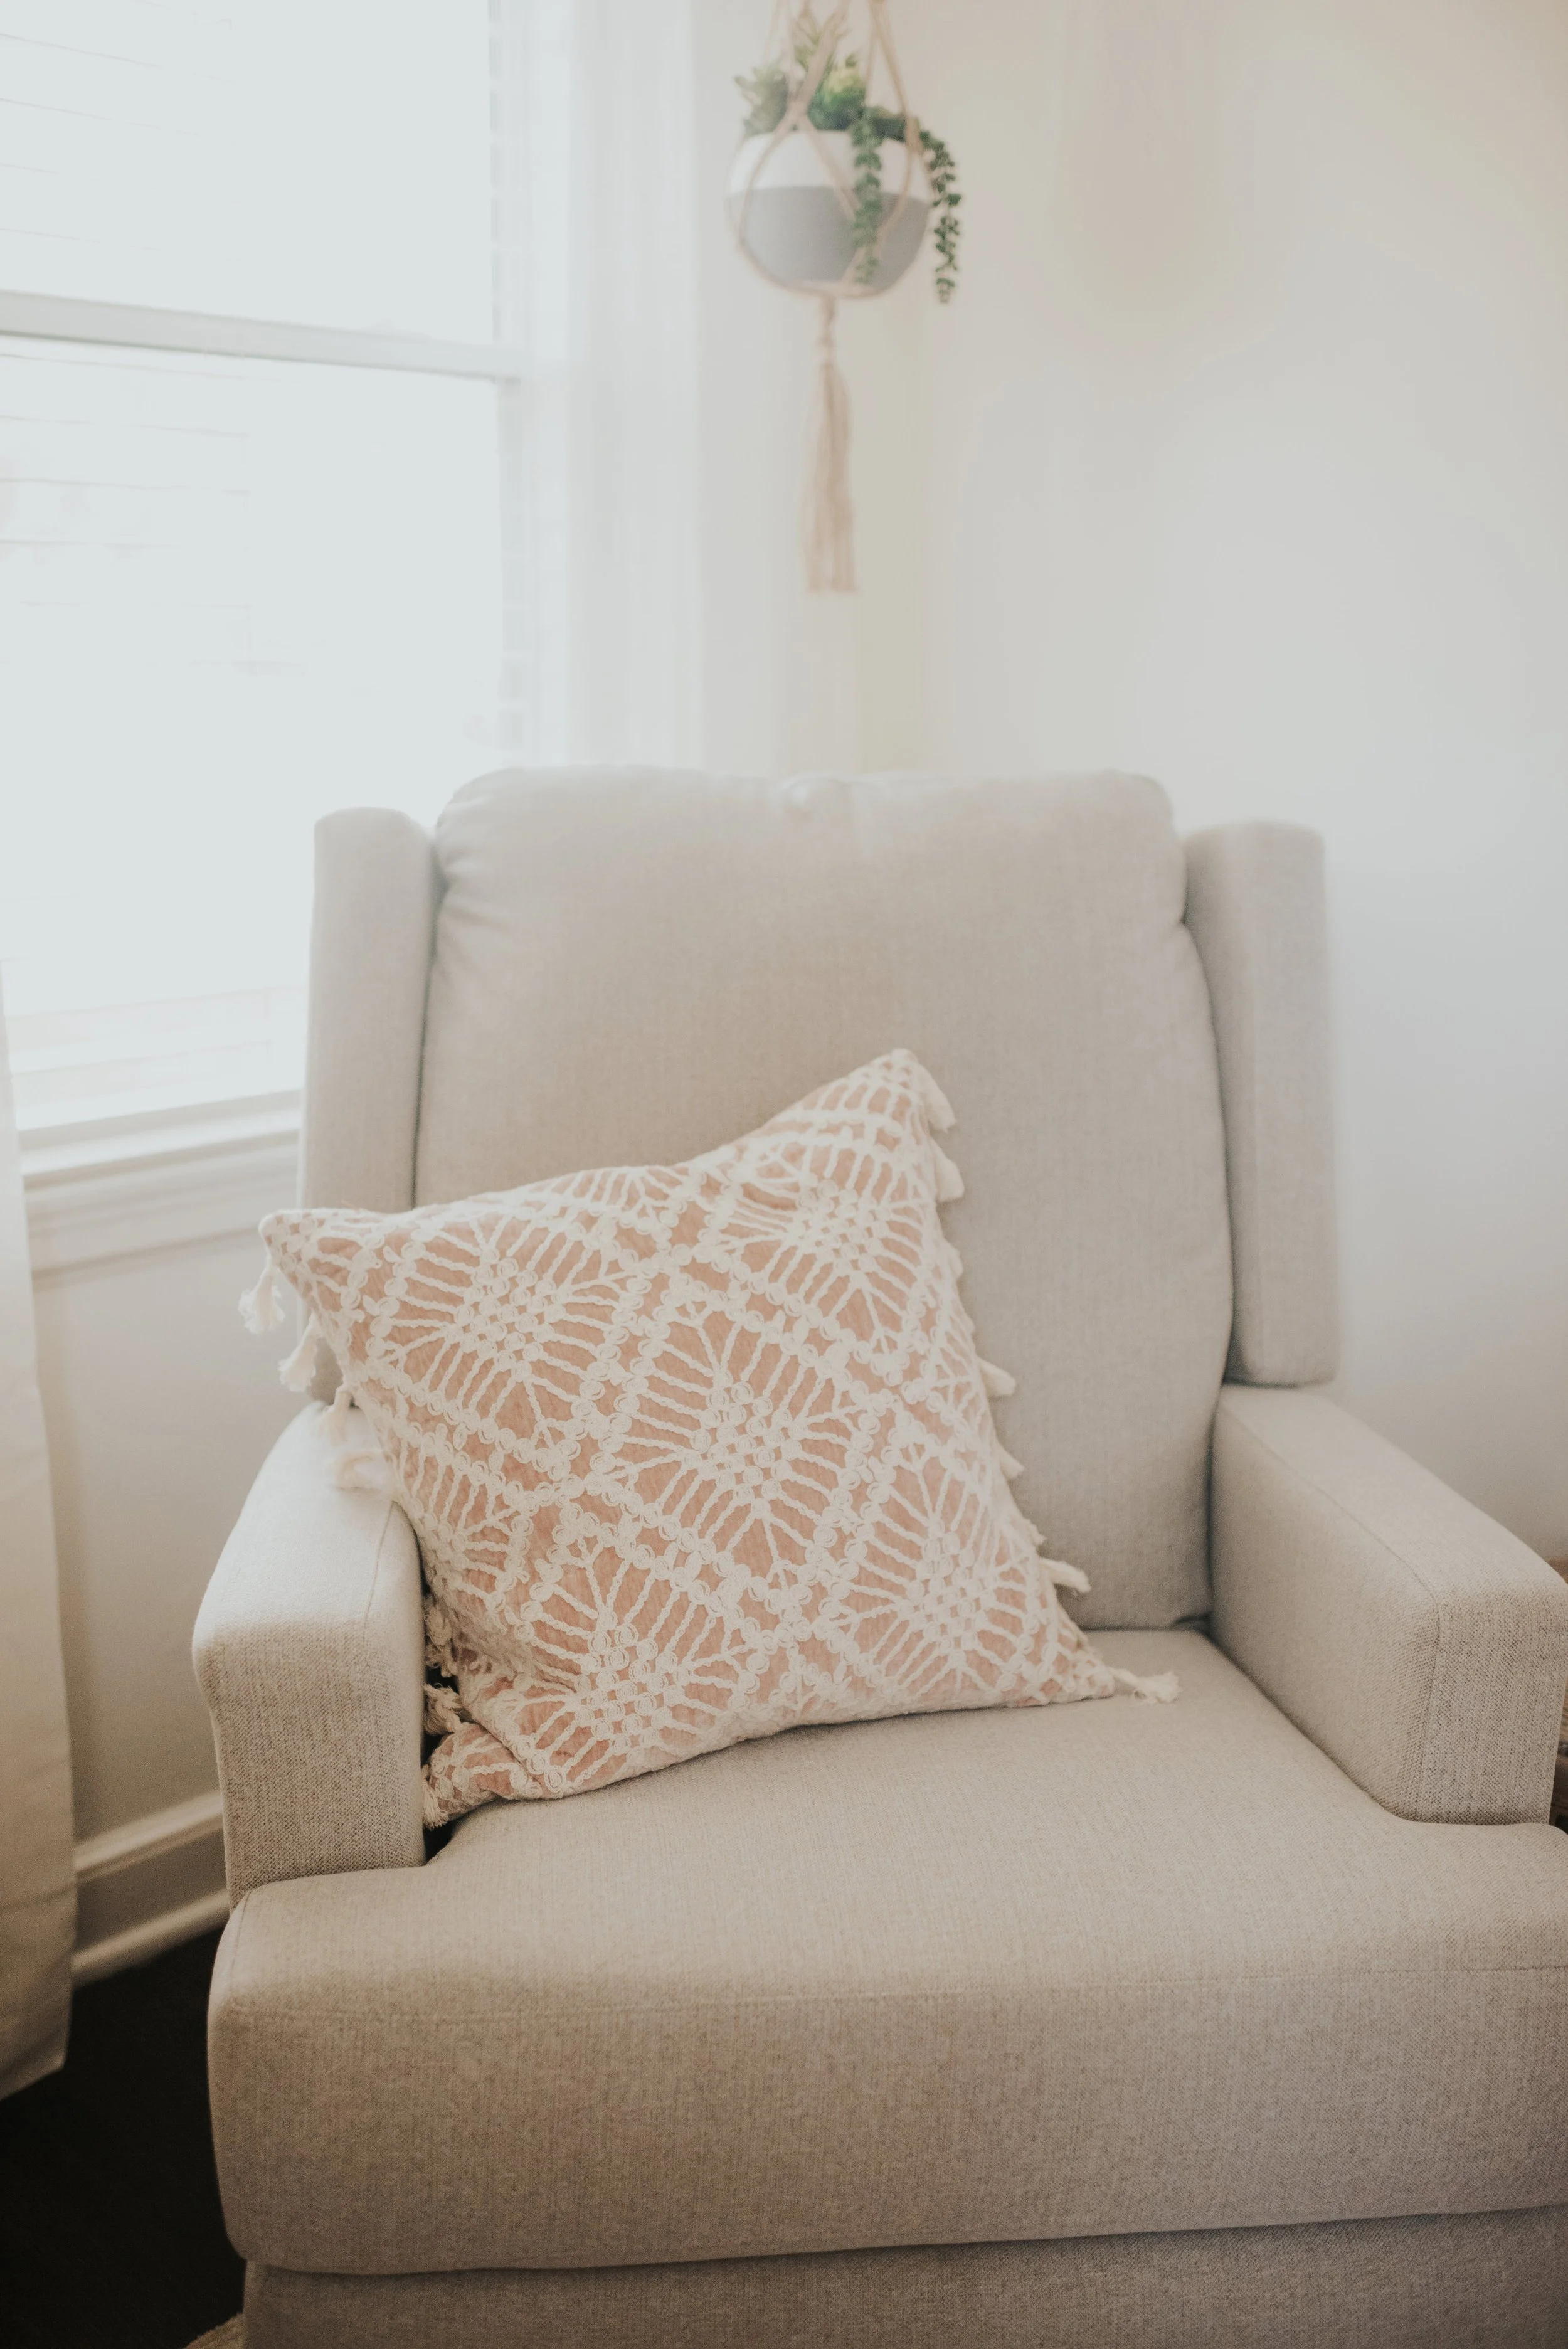
Our second daughter inherited this beautiful nursery, and when we moved to Farmington the nursery found itself in a new, builder grade gray space and eventually, a new inhabitant with the birth of our third baby girl! The boho woodland nursery truly lived a happy and full life. But every good thing must come to end! Babies grow and trends and tastes change. So this summer, it was time to transform our nursery room into a big girl room for our biggest, now 7 year old daughter!
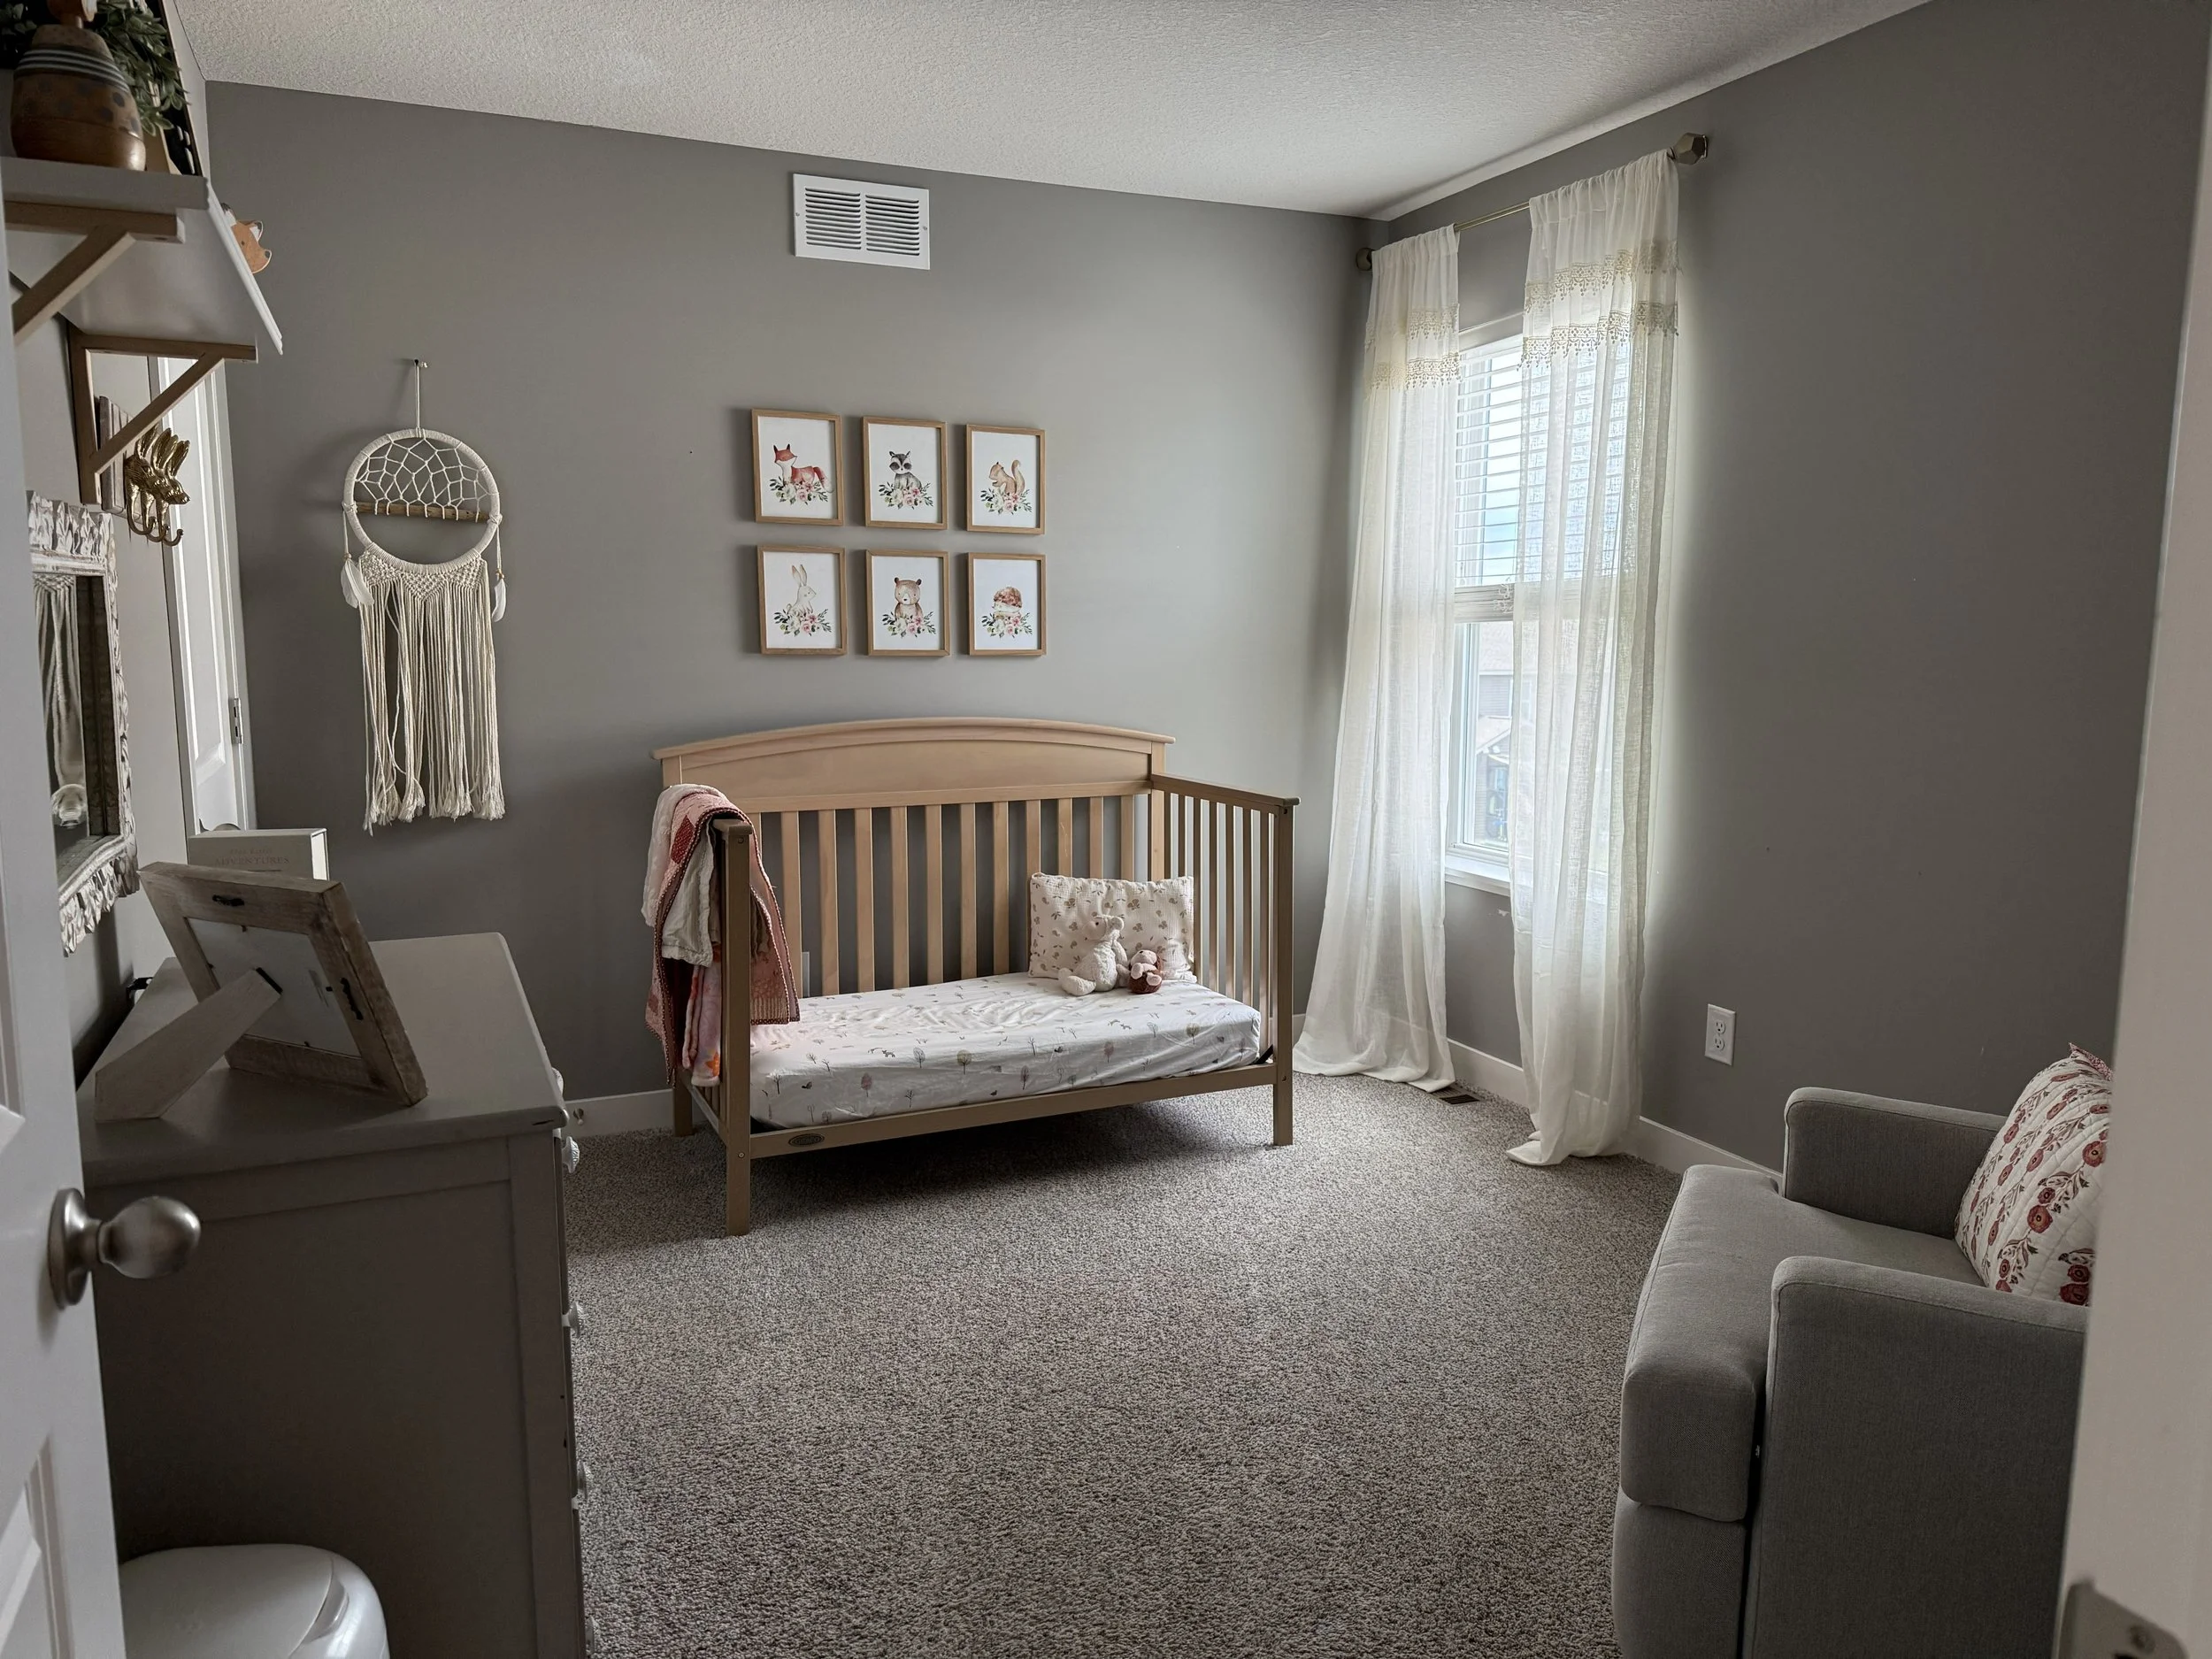
The boho nursery transplanted into our new build home!
We have a family full of creative doers, and that includes our daughters, so of course I wanted to let our oldest in on the design process! We went on a field trip to Hobby Lobby where she got to point out décor pieces that she was inspired by. And what do you know, she pointed out cheetah after cheetah! Jungle theme it was, and imagine my surprise (and delight) when she told me she wanted her walls to be painted green! Next, I got to mood boarding!
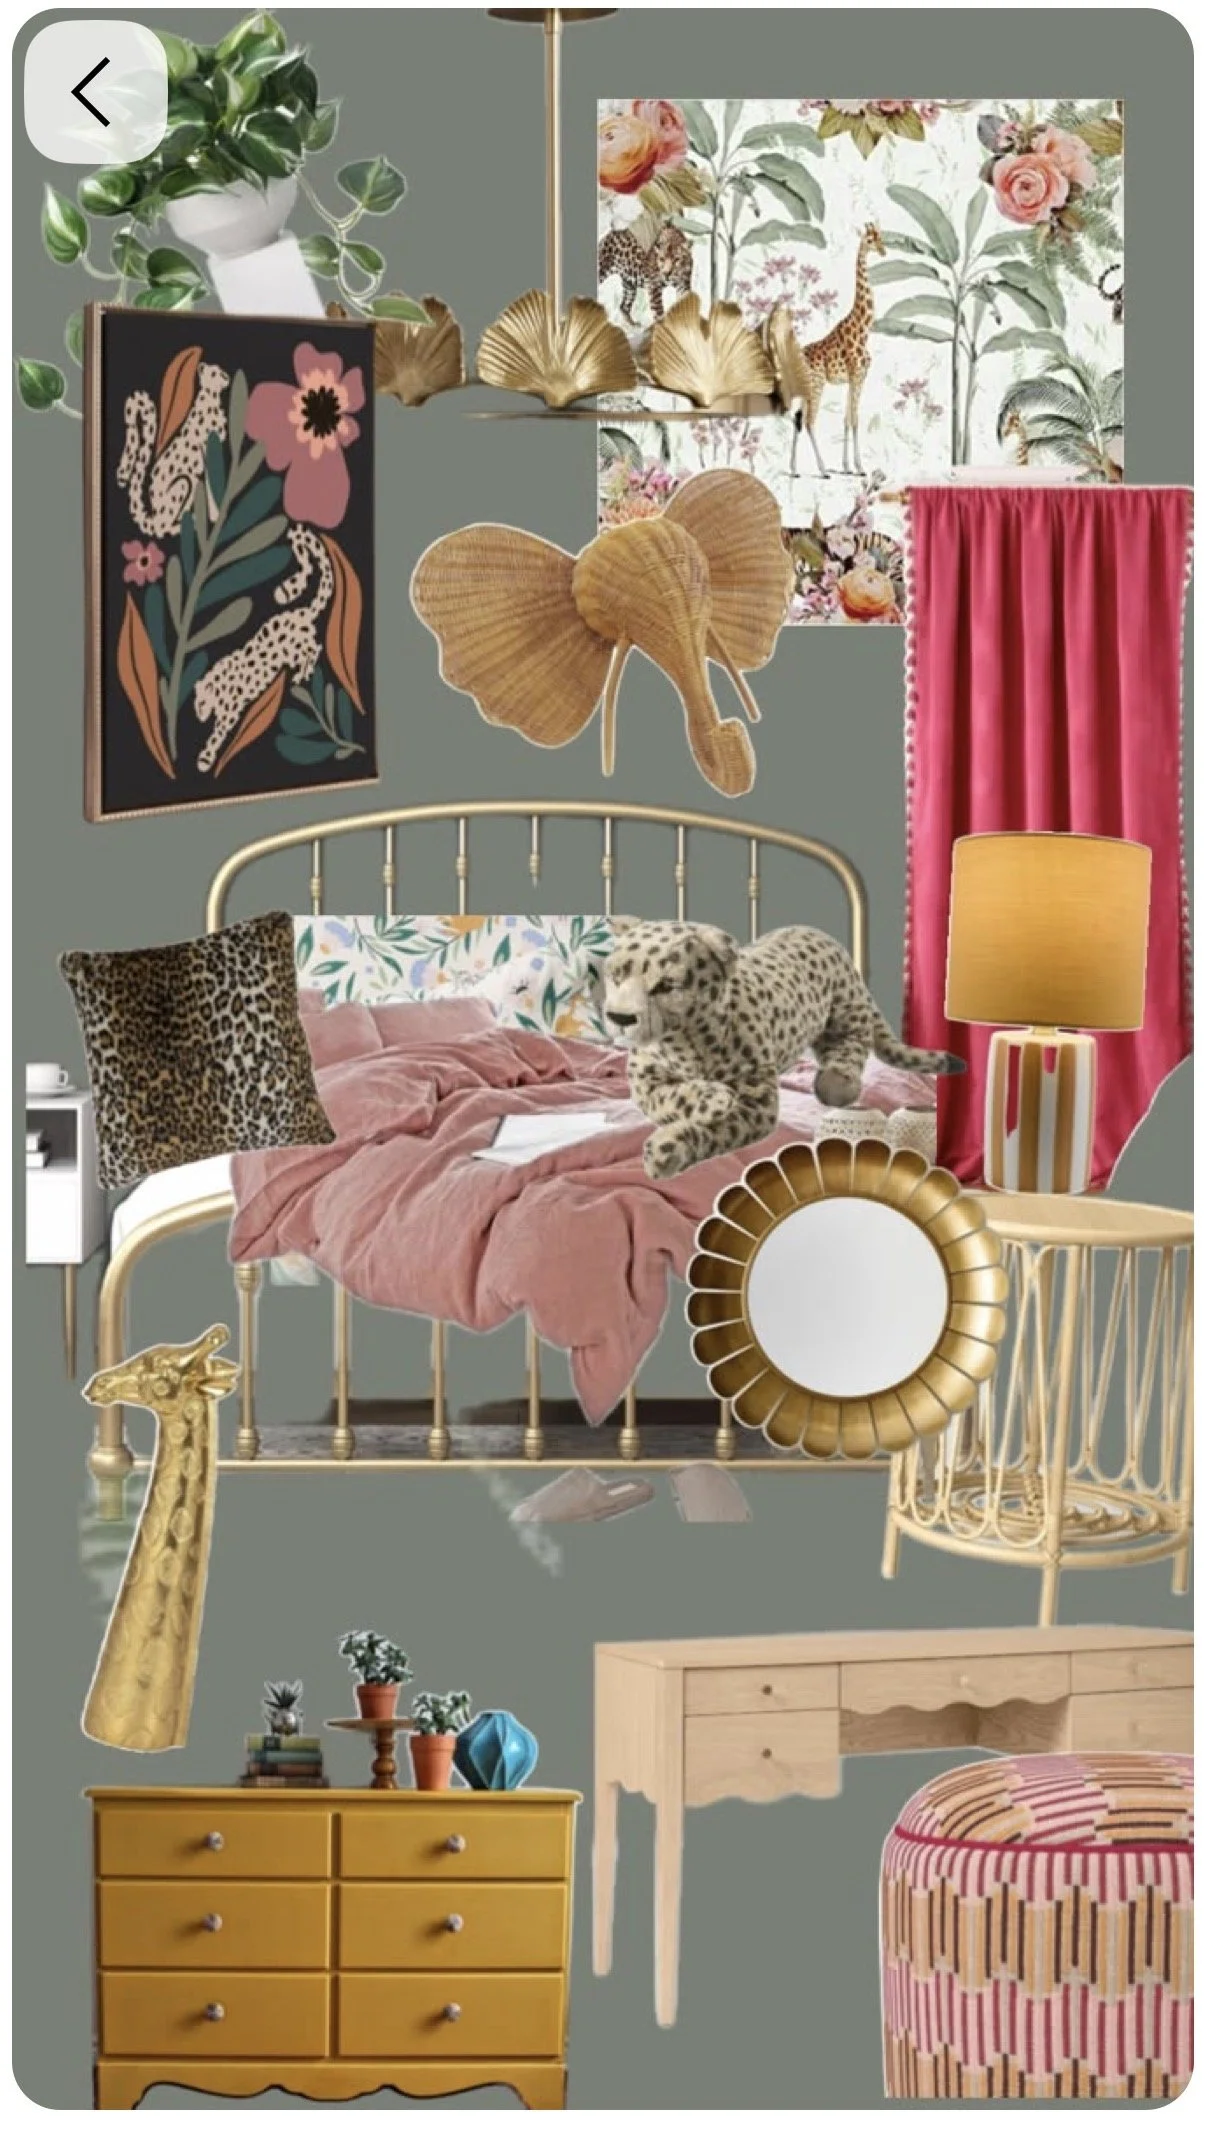
Read on to see how each detail and design choice came together to give this builder-grade gray room life, color, texture and just a splash of whimsy!
Molding & Wainscoting
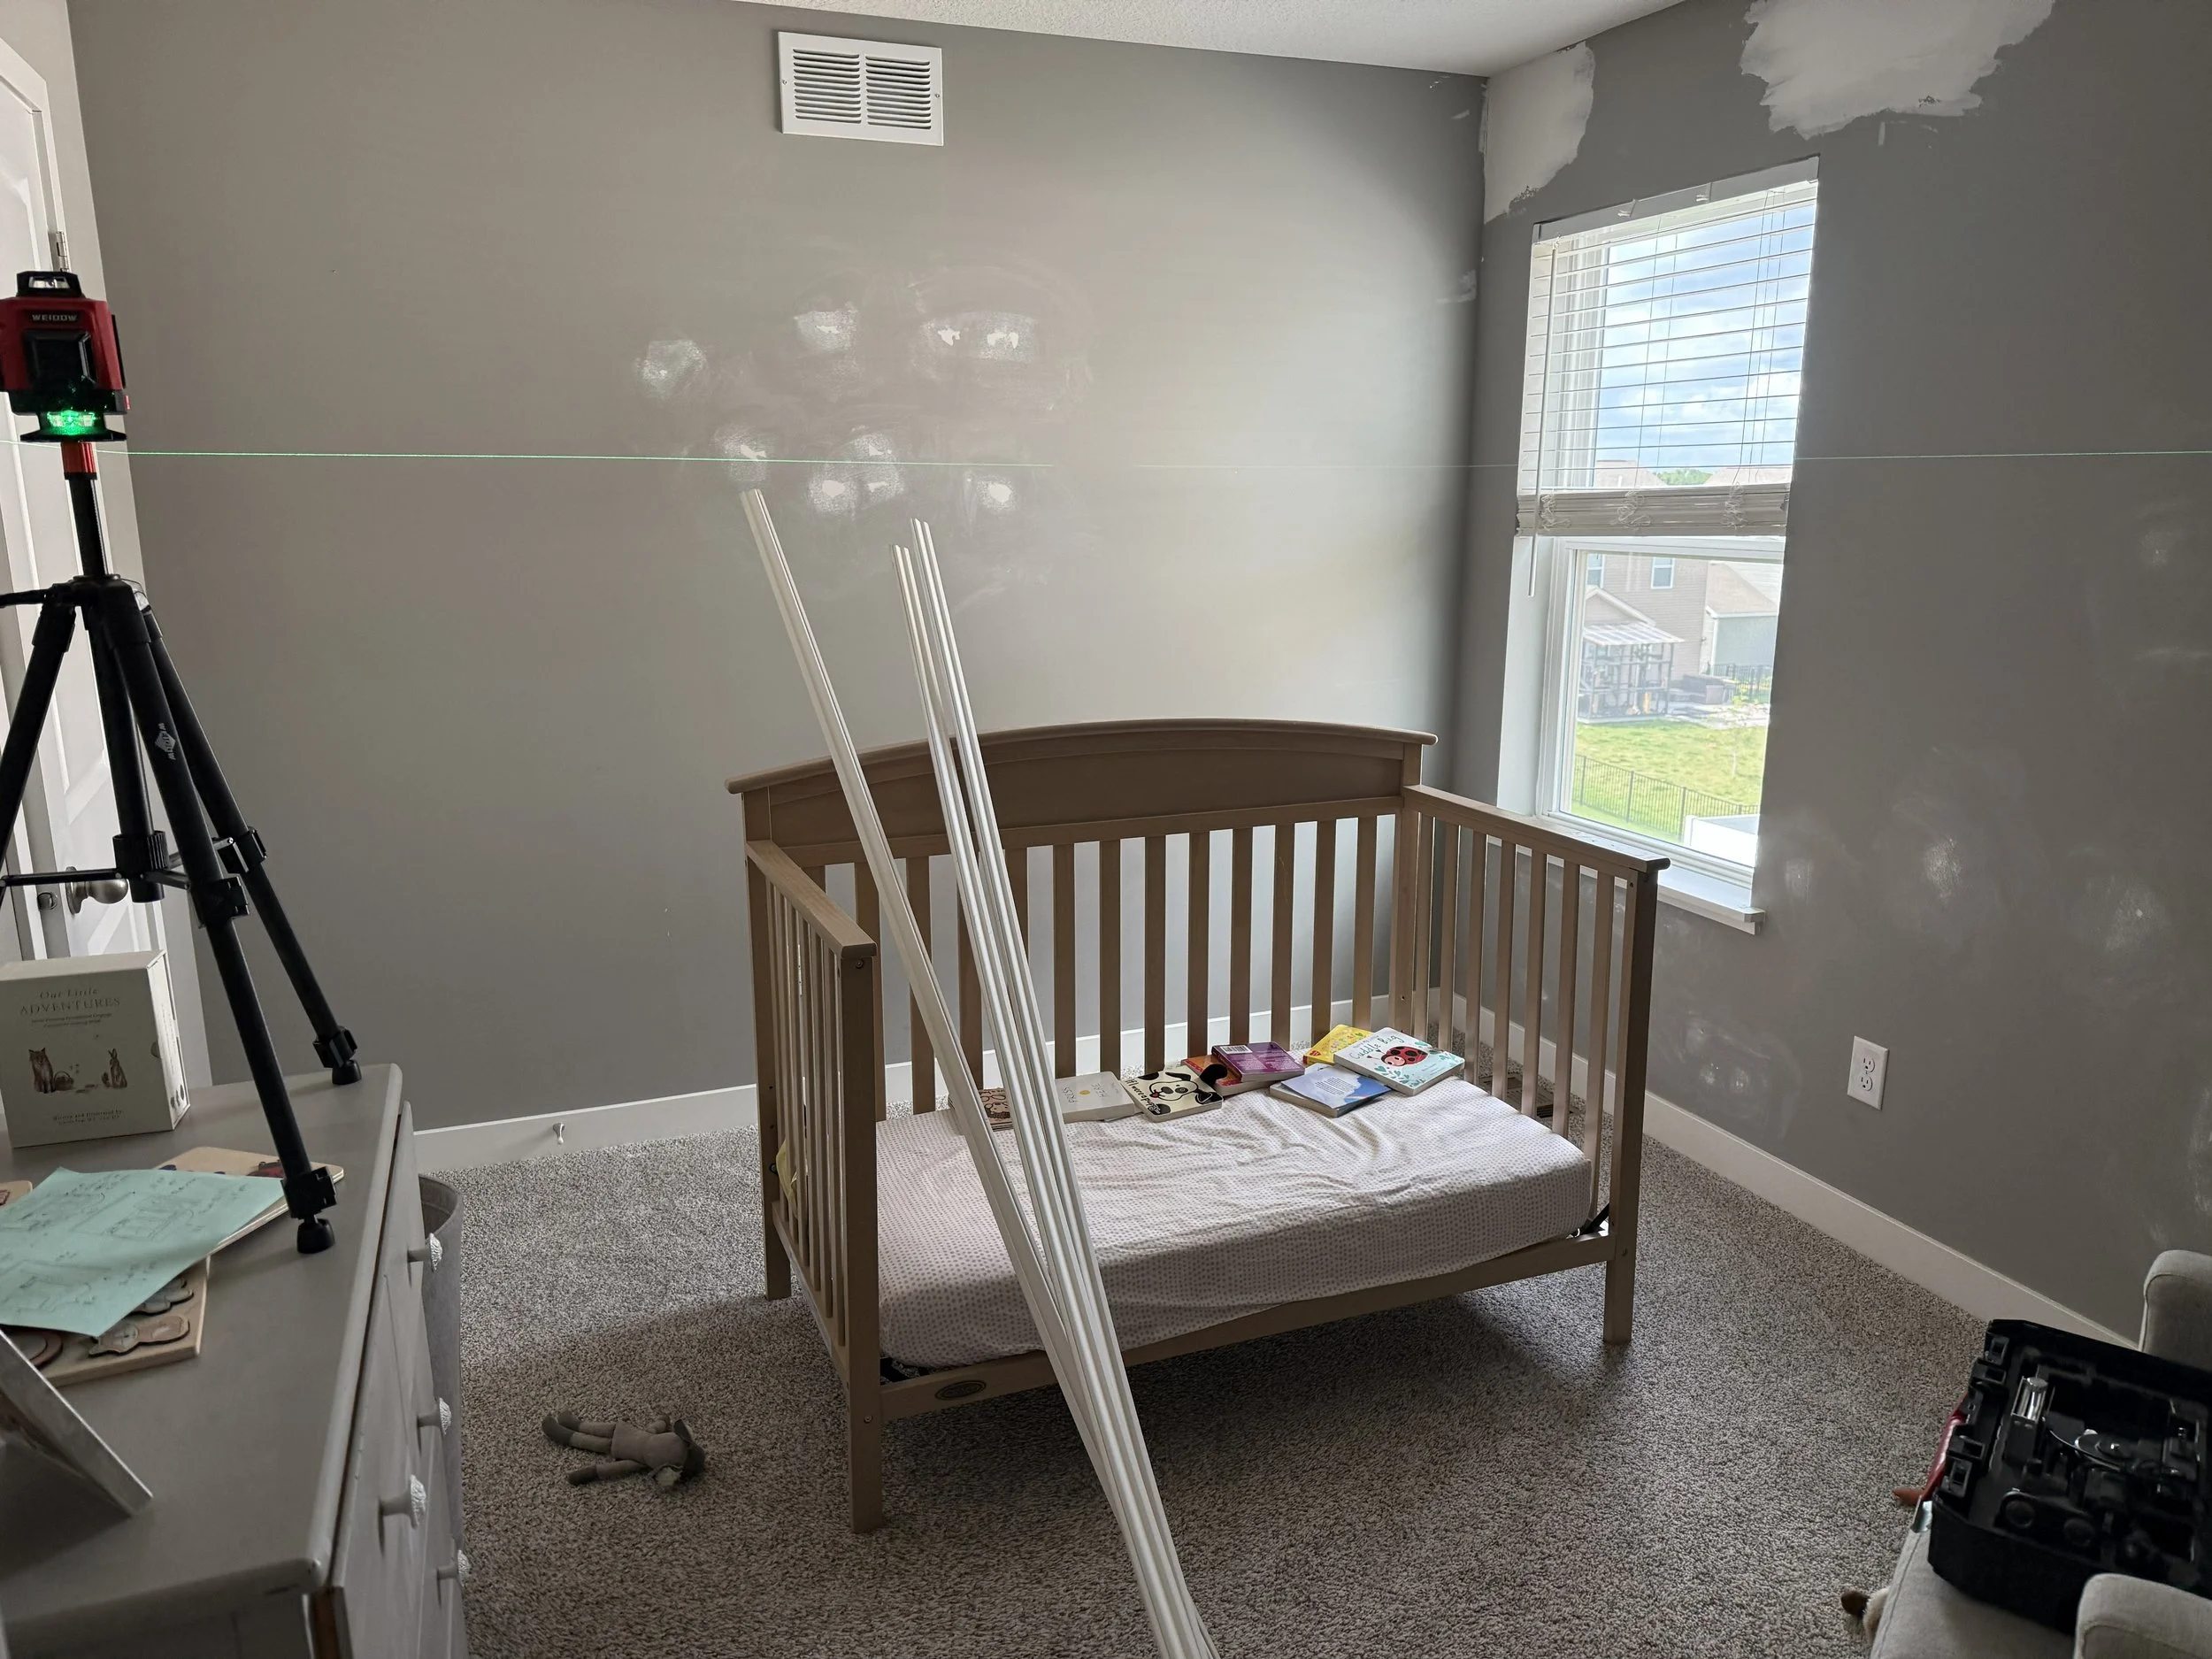
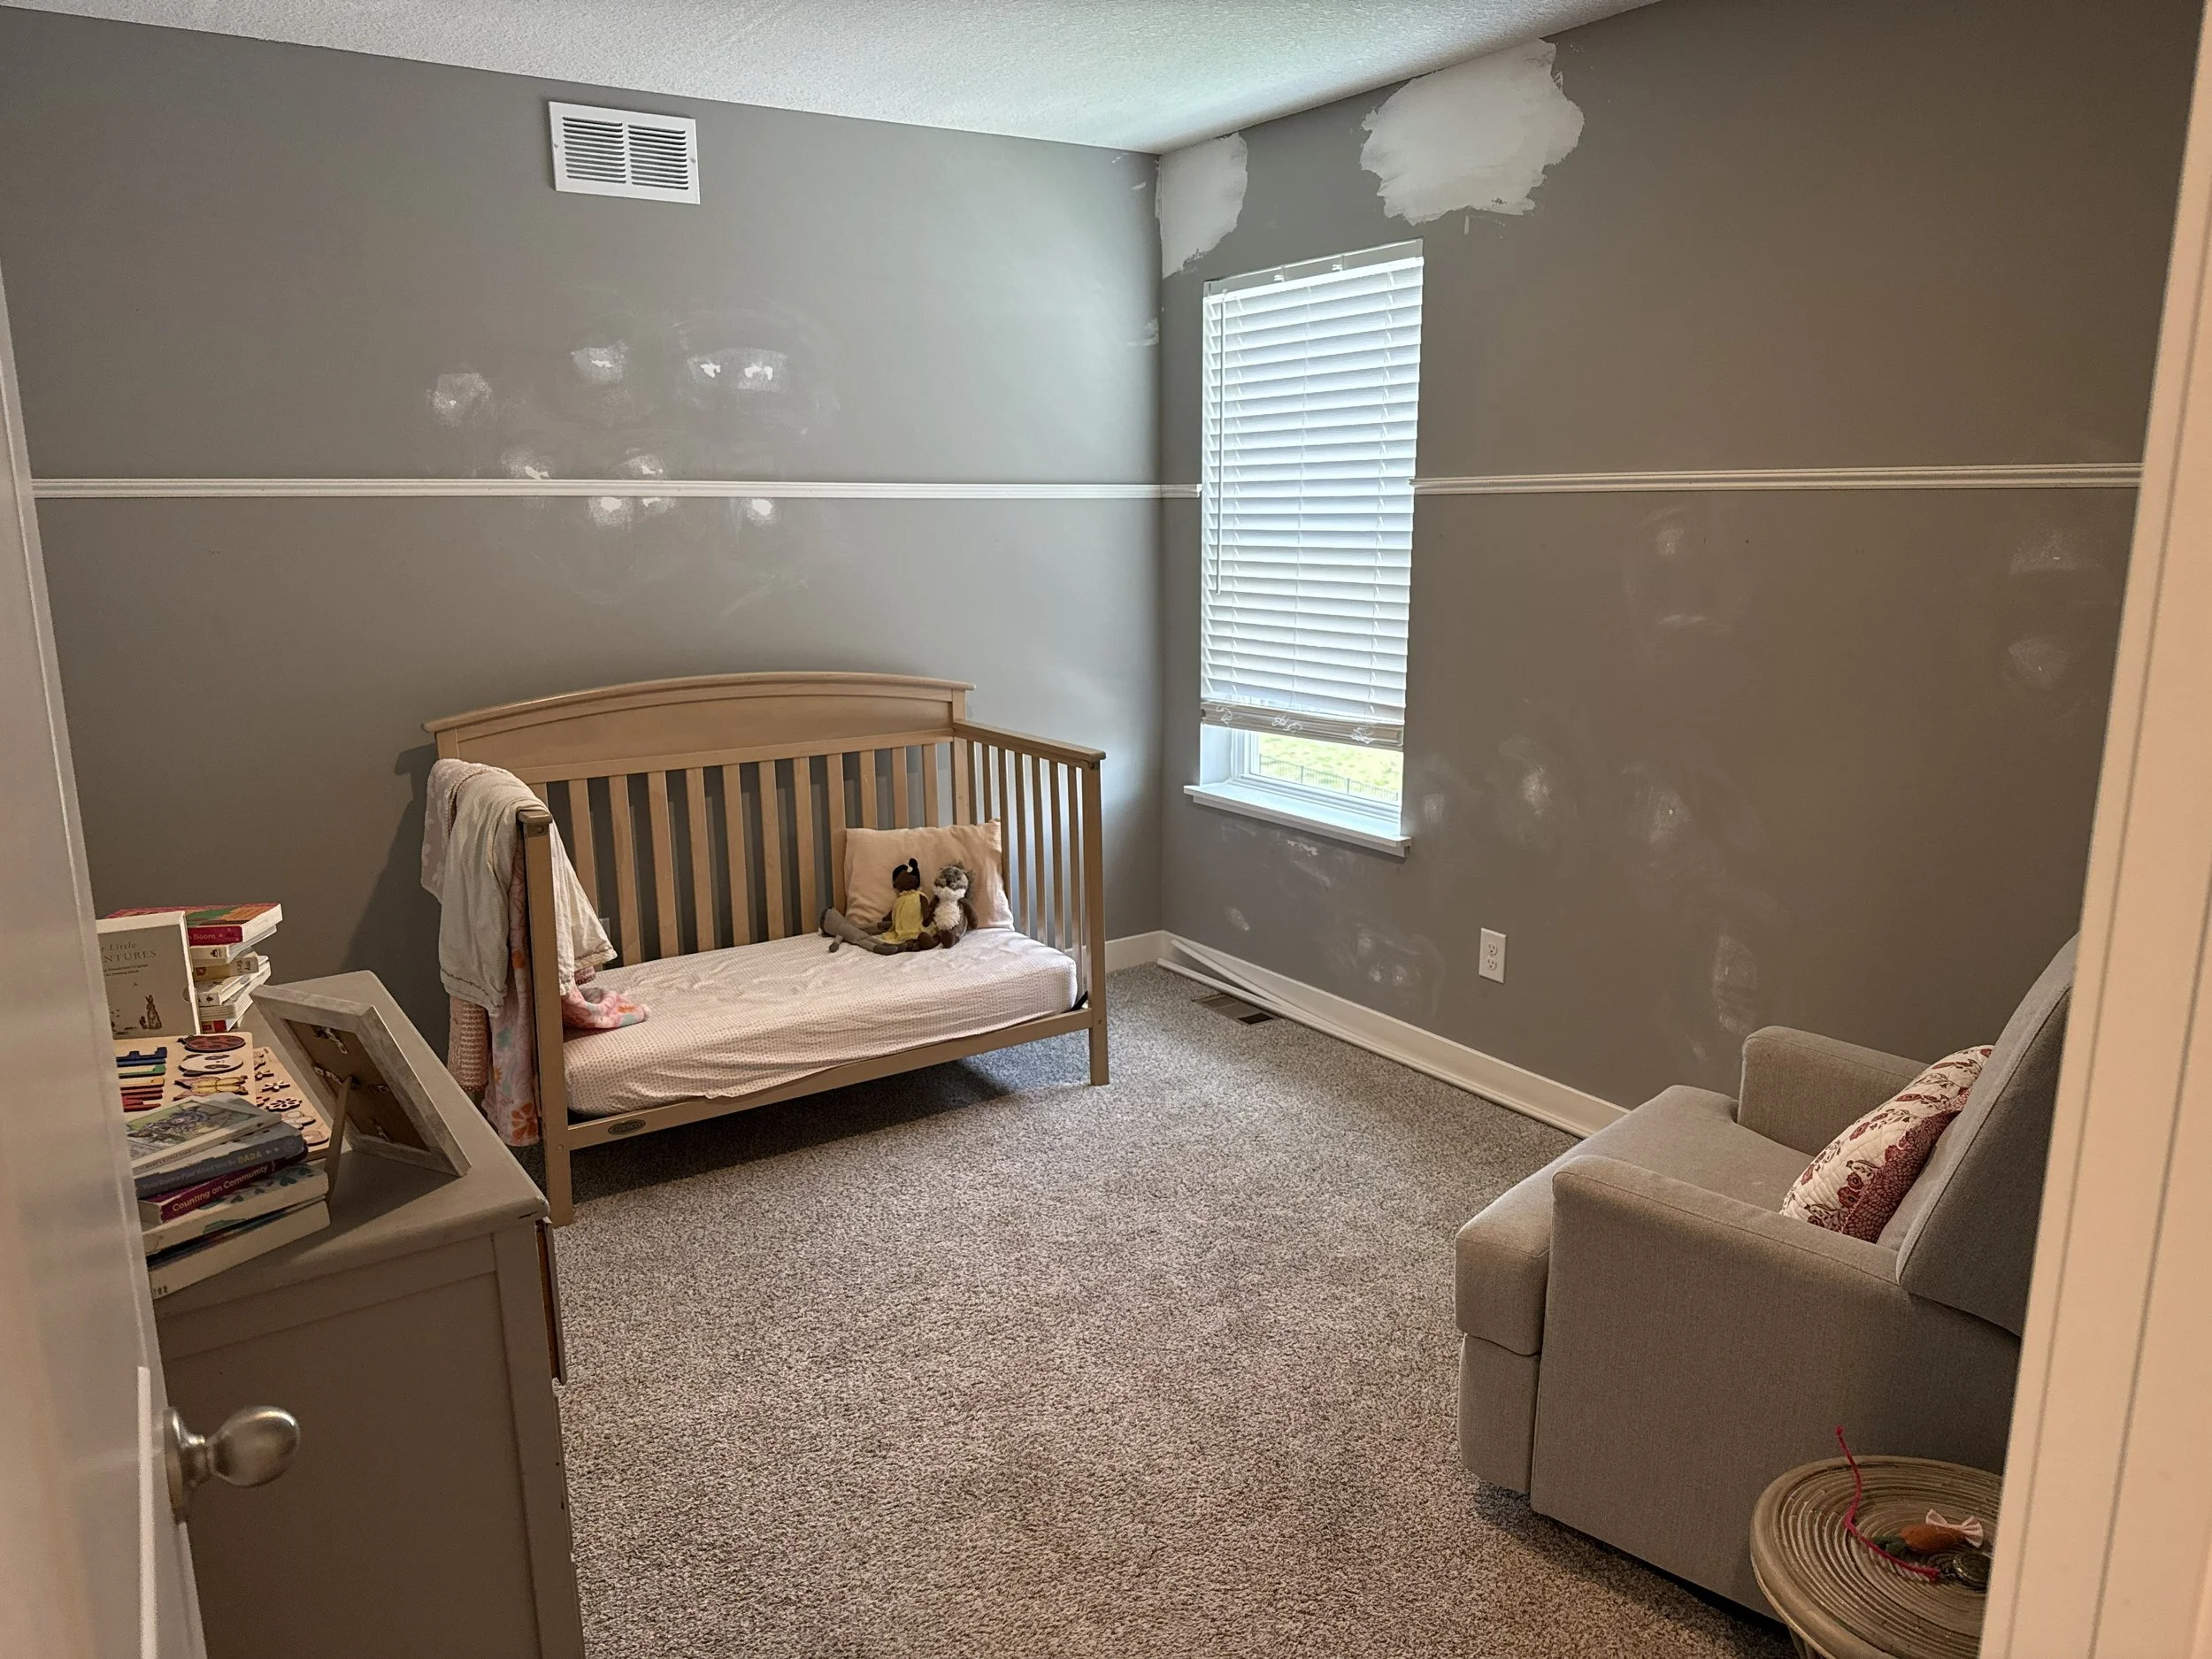
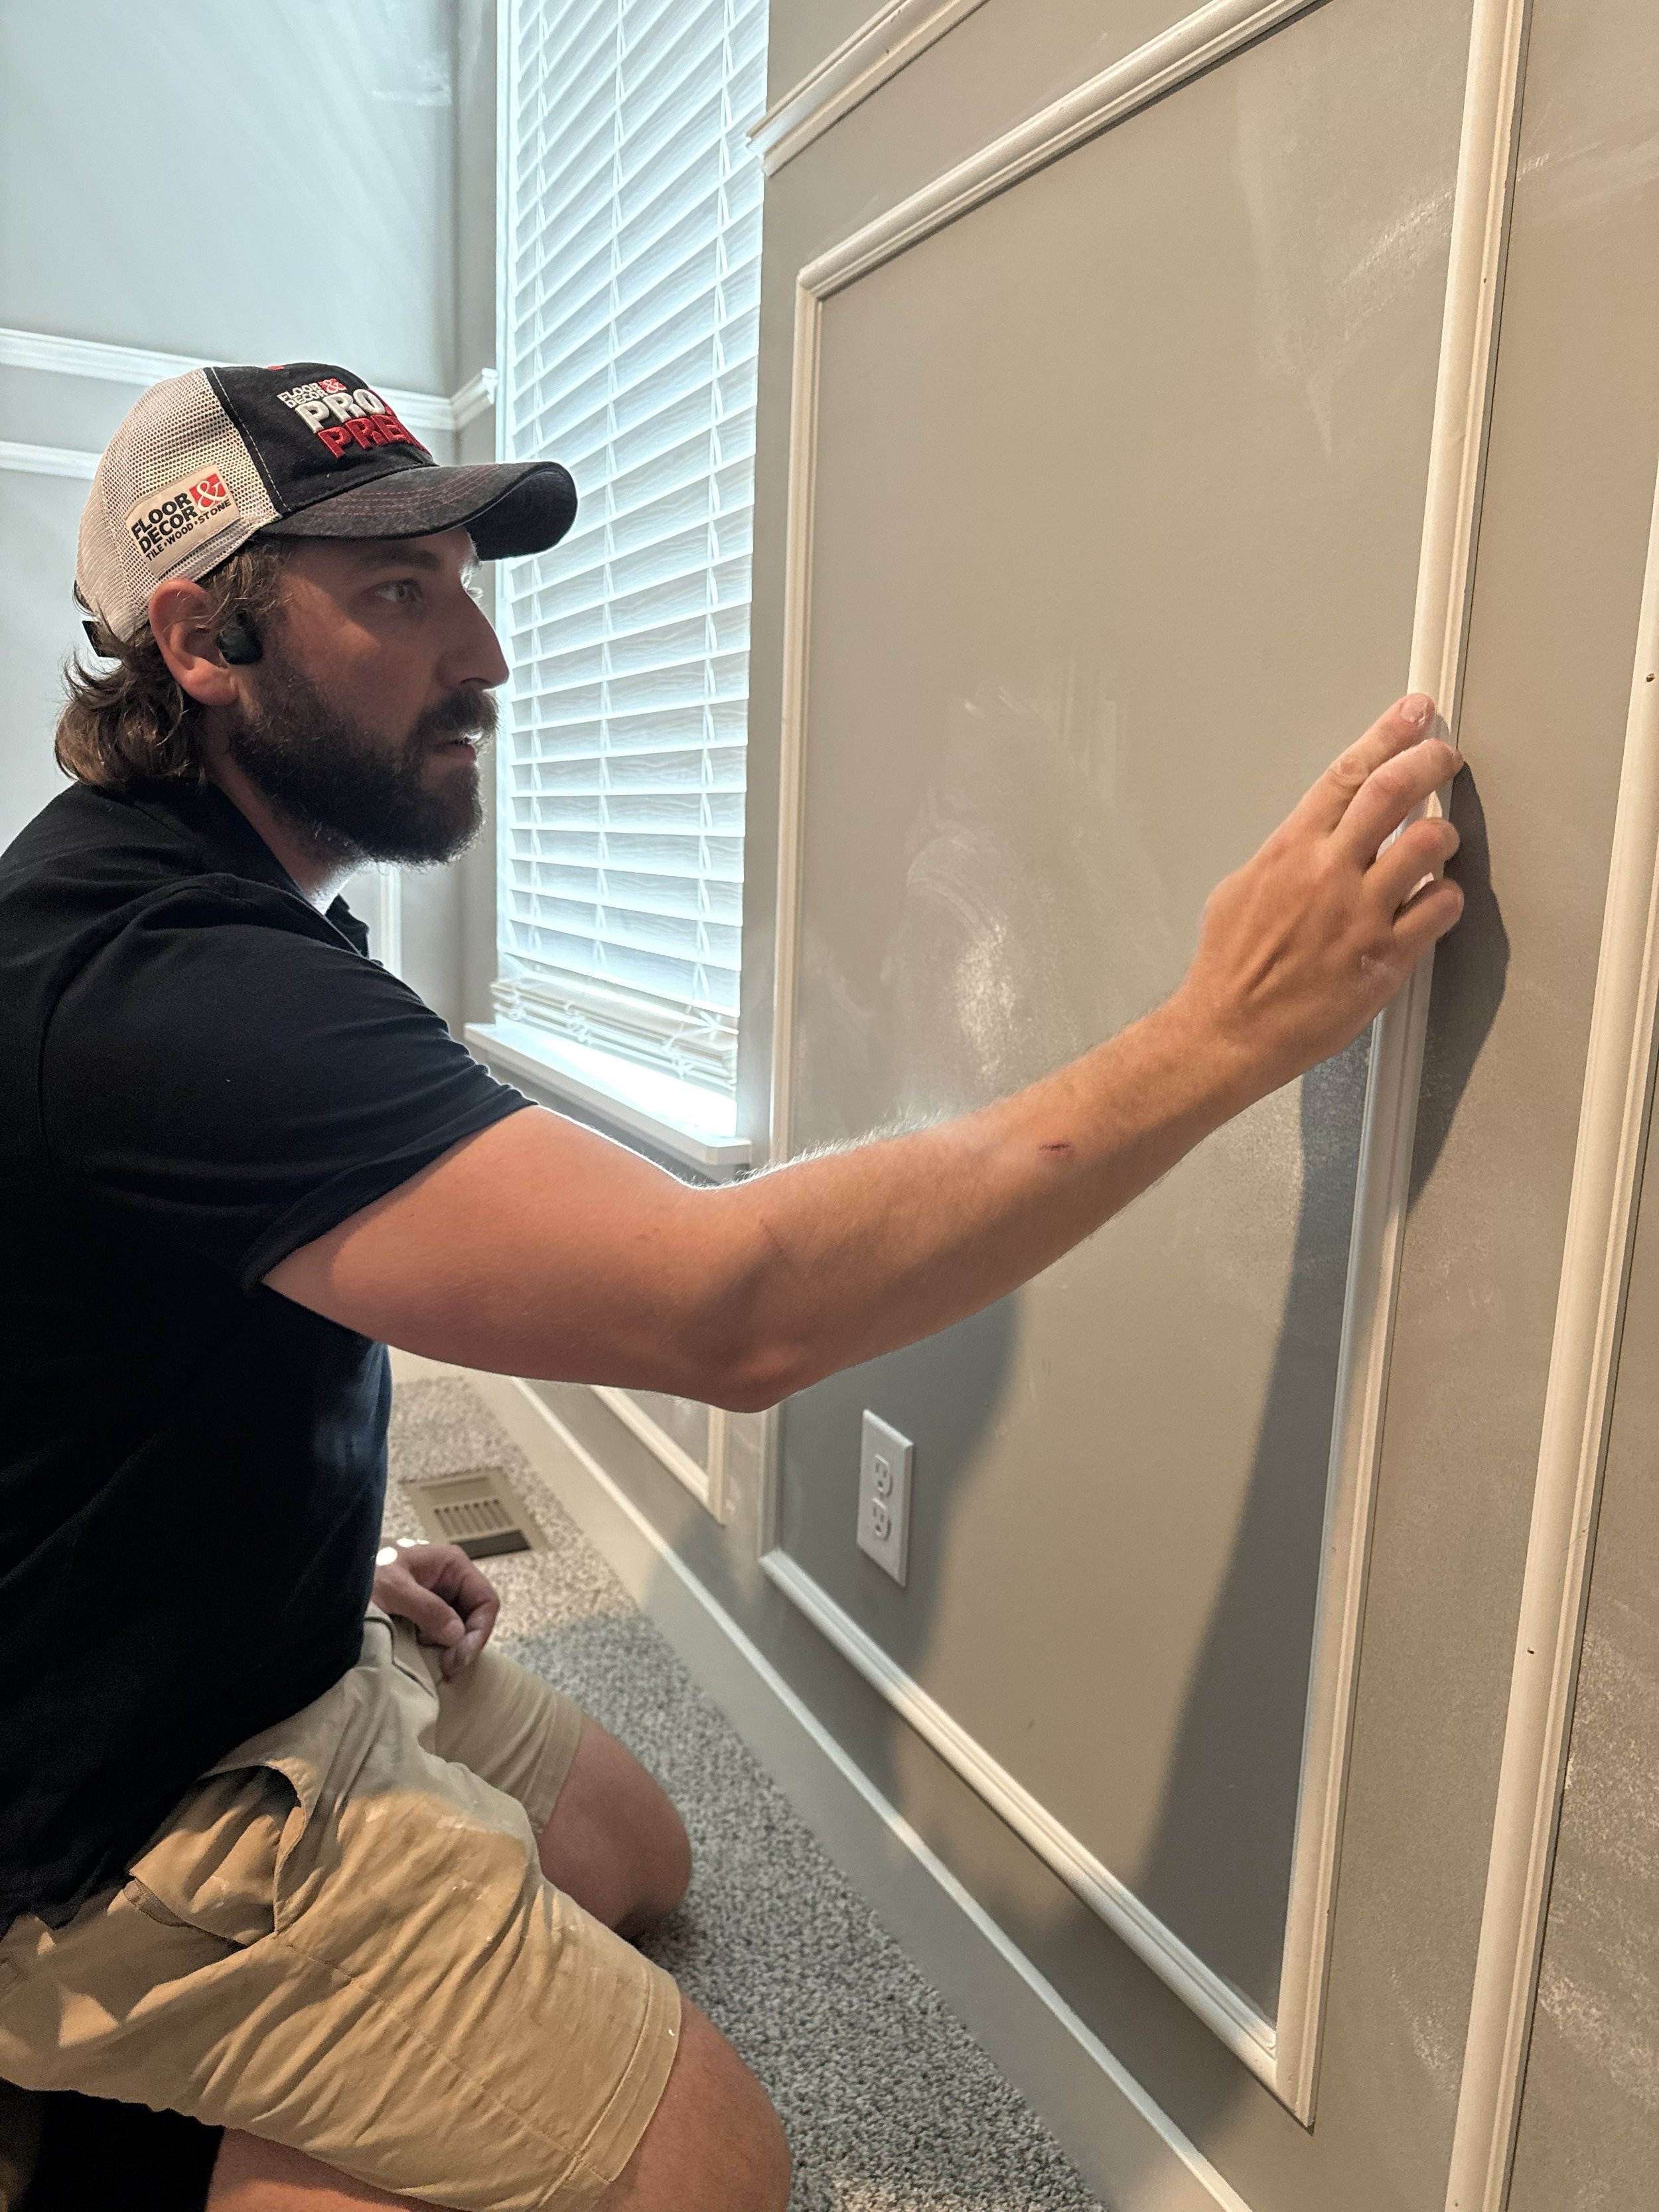
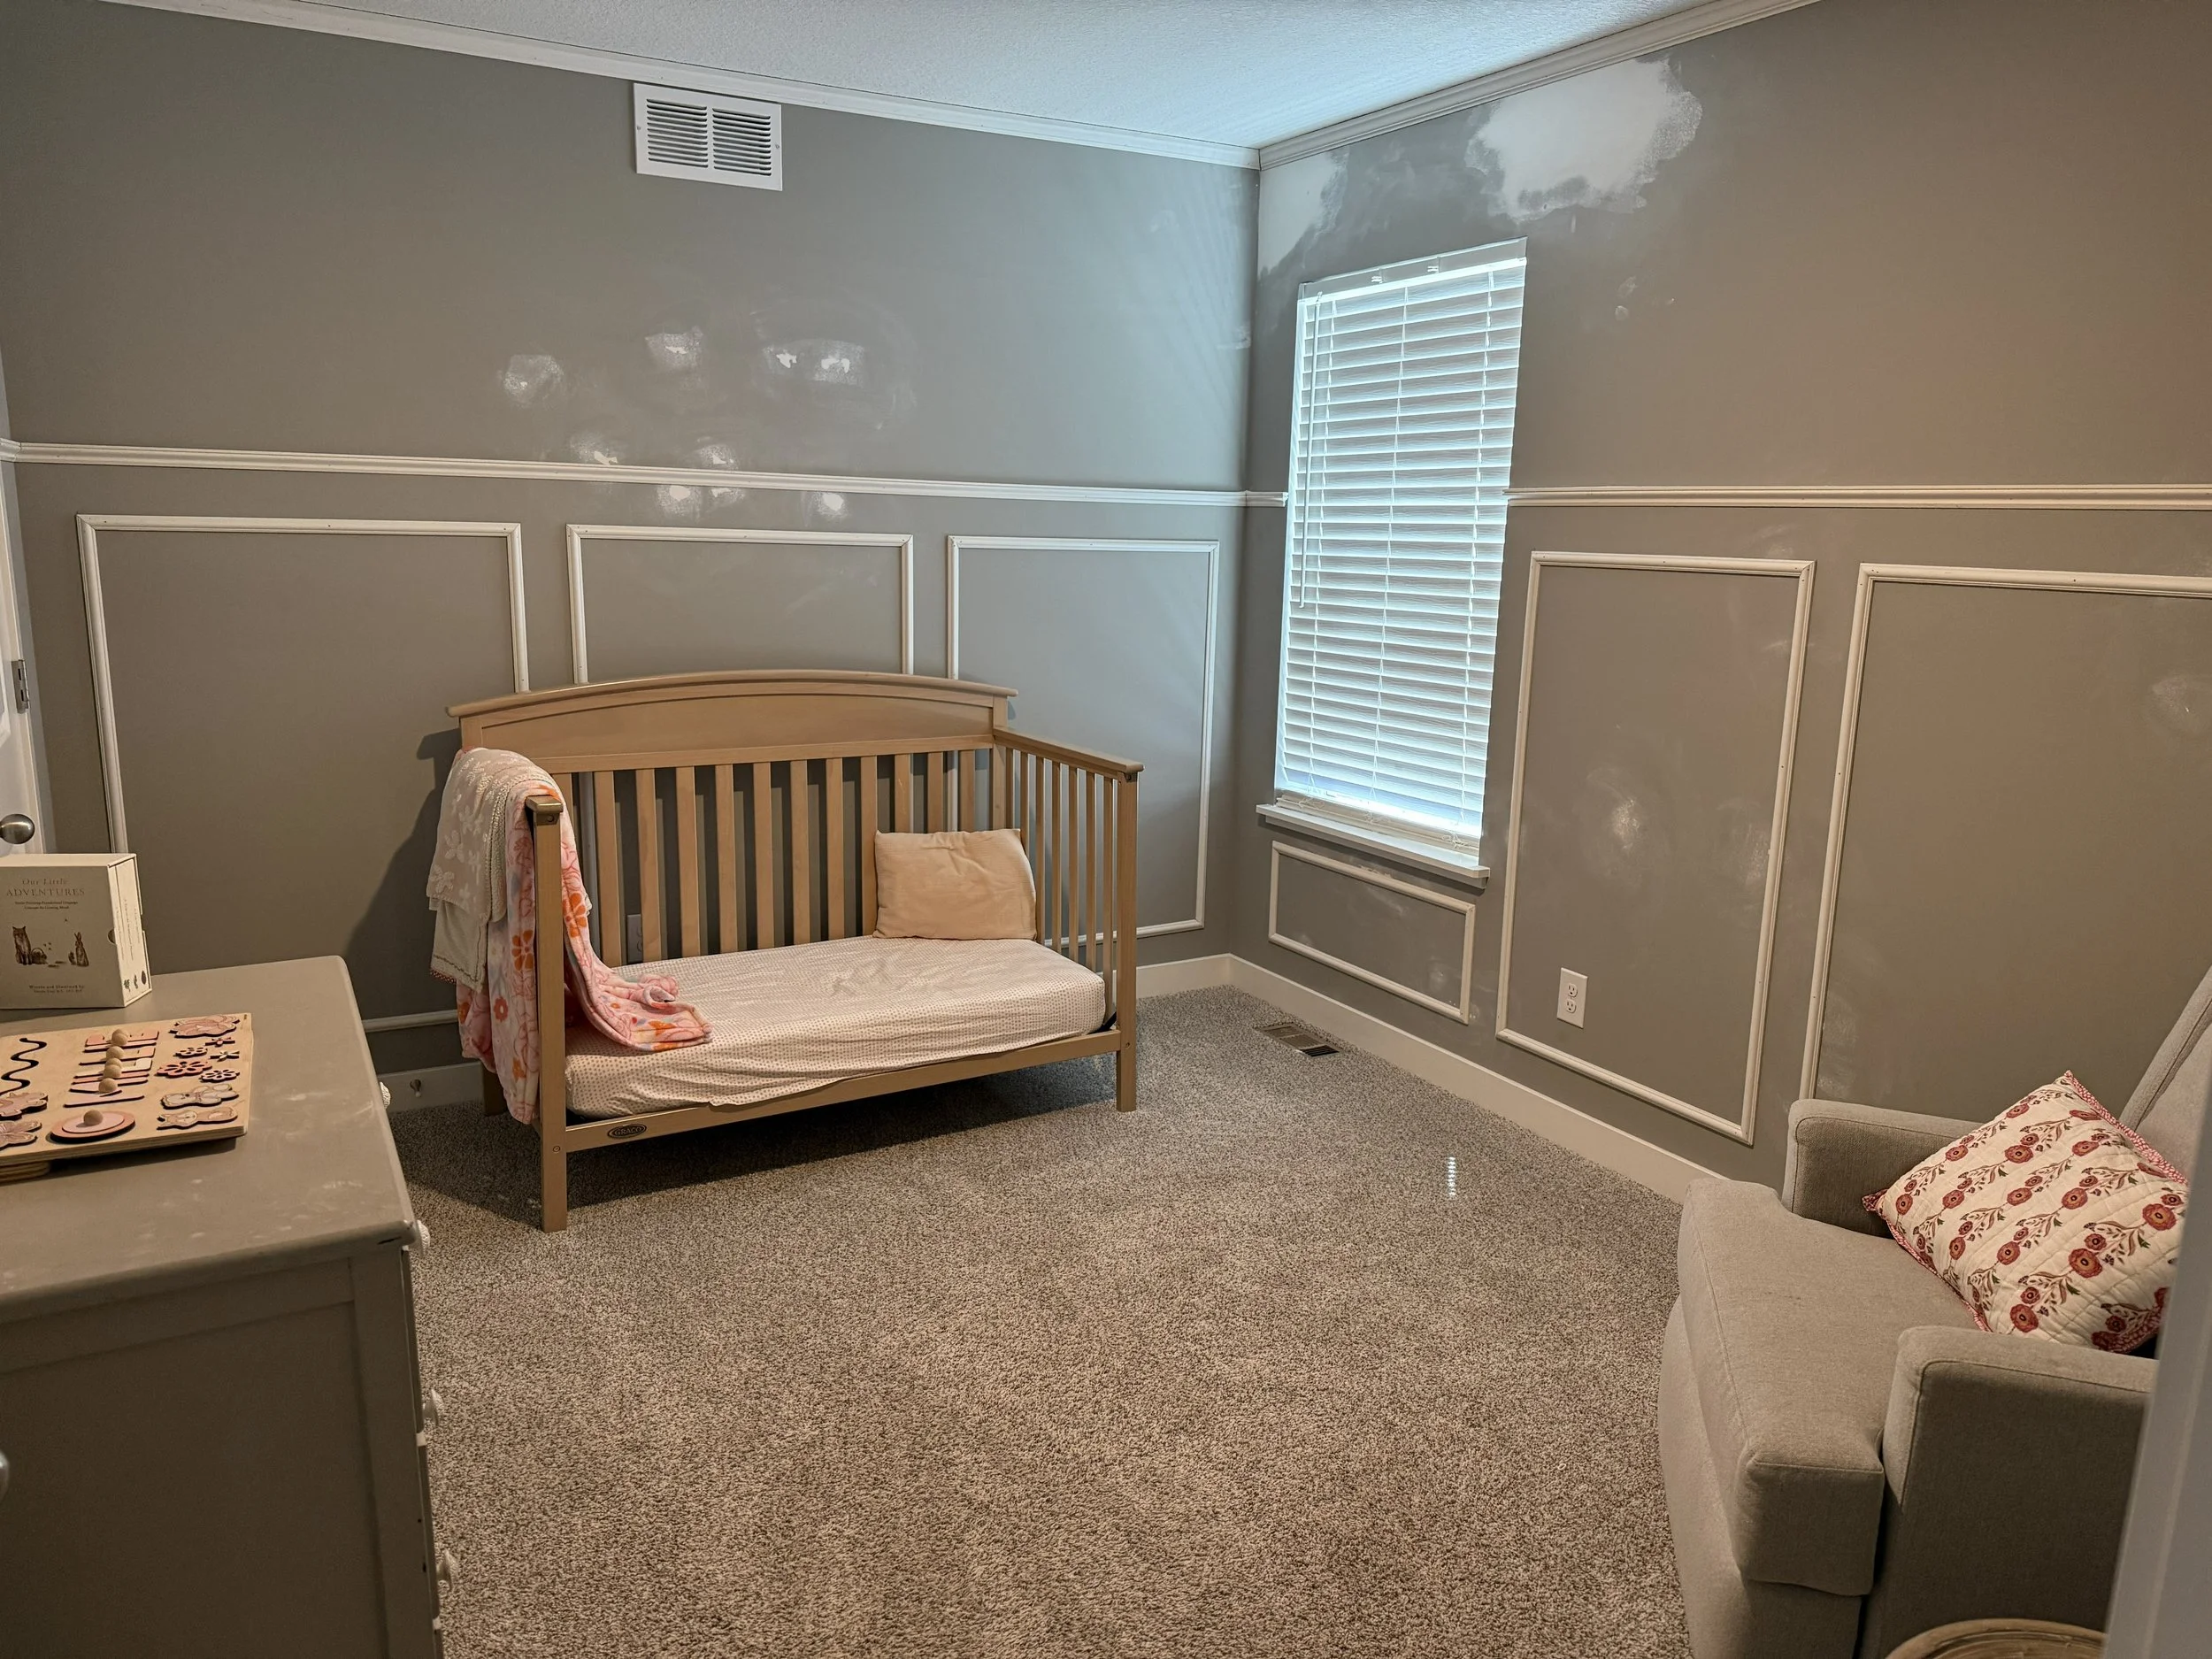
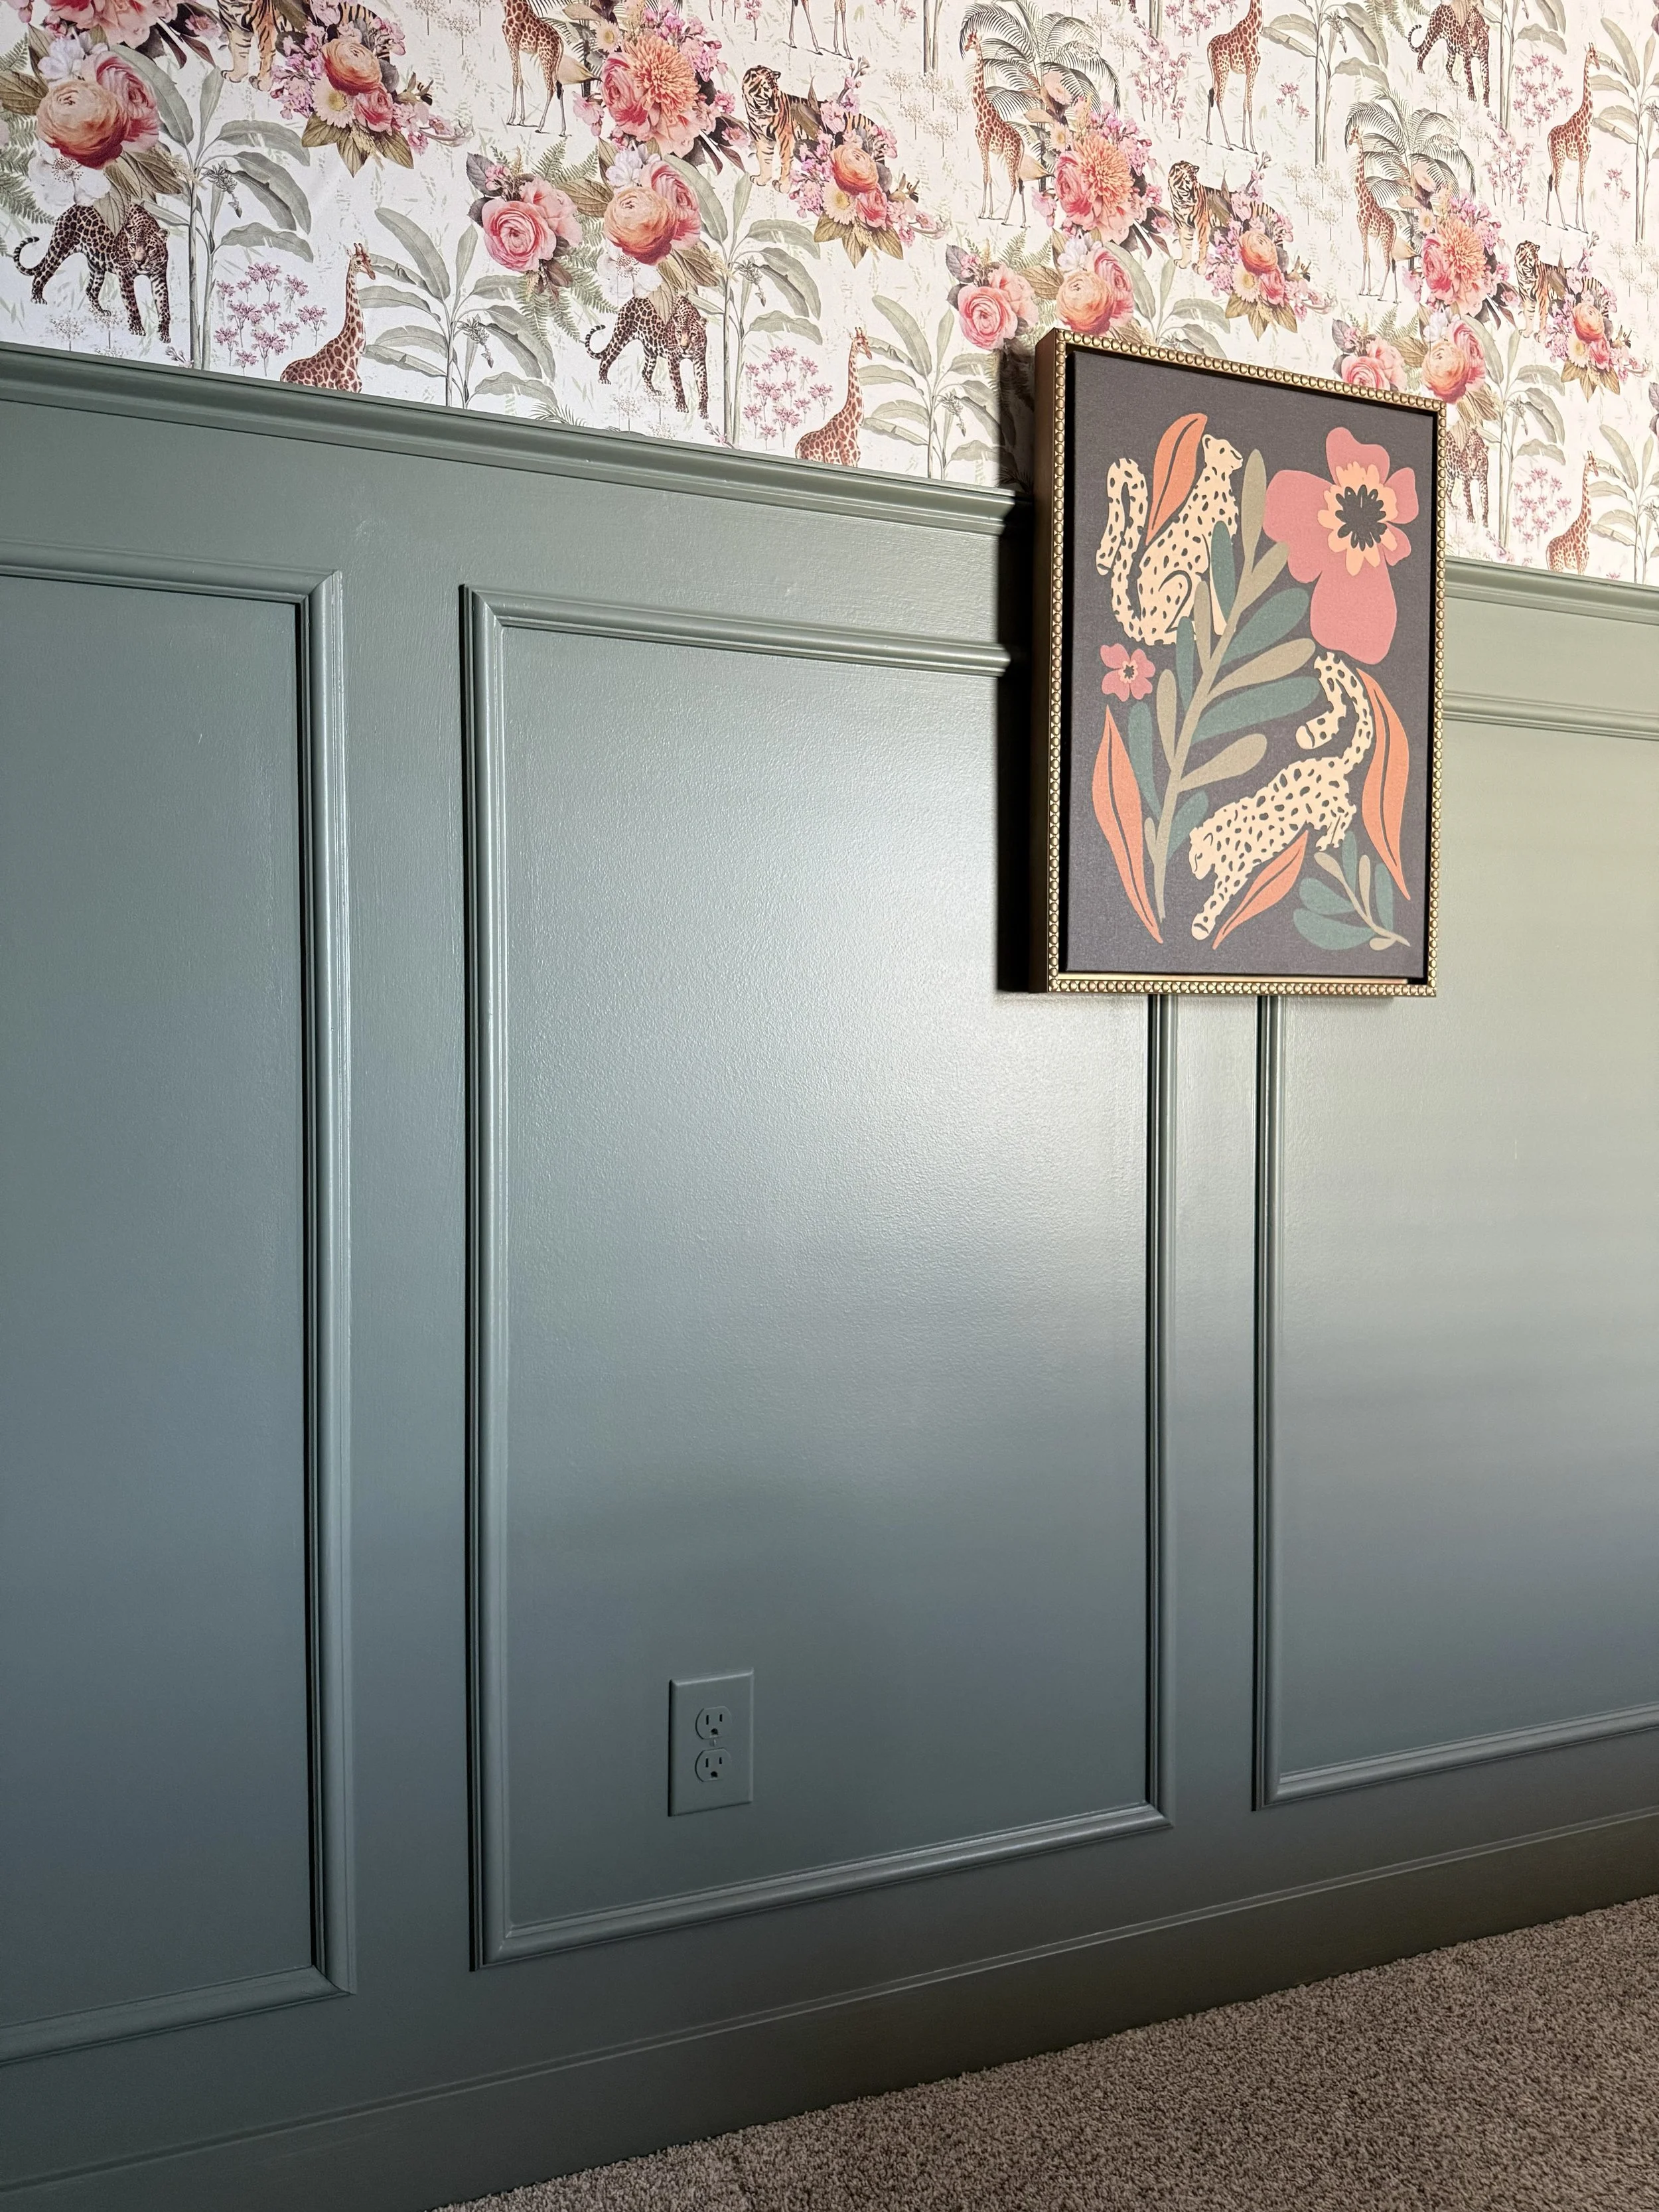
I’m absolutely loving the texture and interest that molding and trim can bring to a big, flat wall. We knew we wanted to do wainscoting on the lower half of the wall, and after not much deliberation I decided I wanted to go all out and install crown and chair molding in the space as well!
The best advice I can give before installing box molding is to test out your spacing with painters tape! This way you get the exact look and dimensions you want before purchasing and cutting your materials.
Because this project was going to take more than a few days, we needed to do it in pieces. So, after patching and sanding nail holes and knicks in the wall, the molding and trim was the first big step in this transformation!
Paint
Next up, the paint! We went with a lovely green called Retreat from Sherwin Williams for the color, and planned to paint all the doors, trim, crown molding and the lower half of the wall. However, because you cannot stick peel and stick wallpaper to a matte paint, we needed to paint the whole wall.
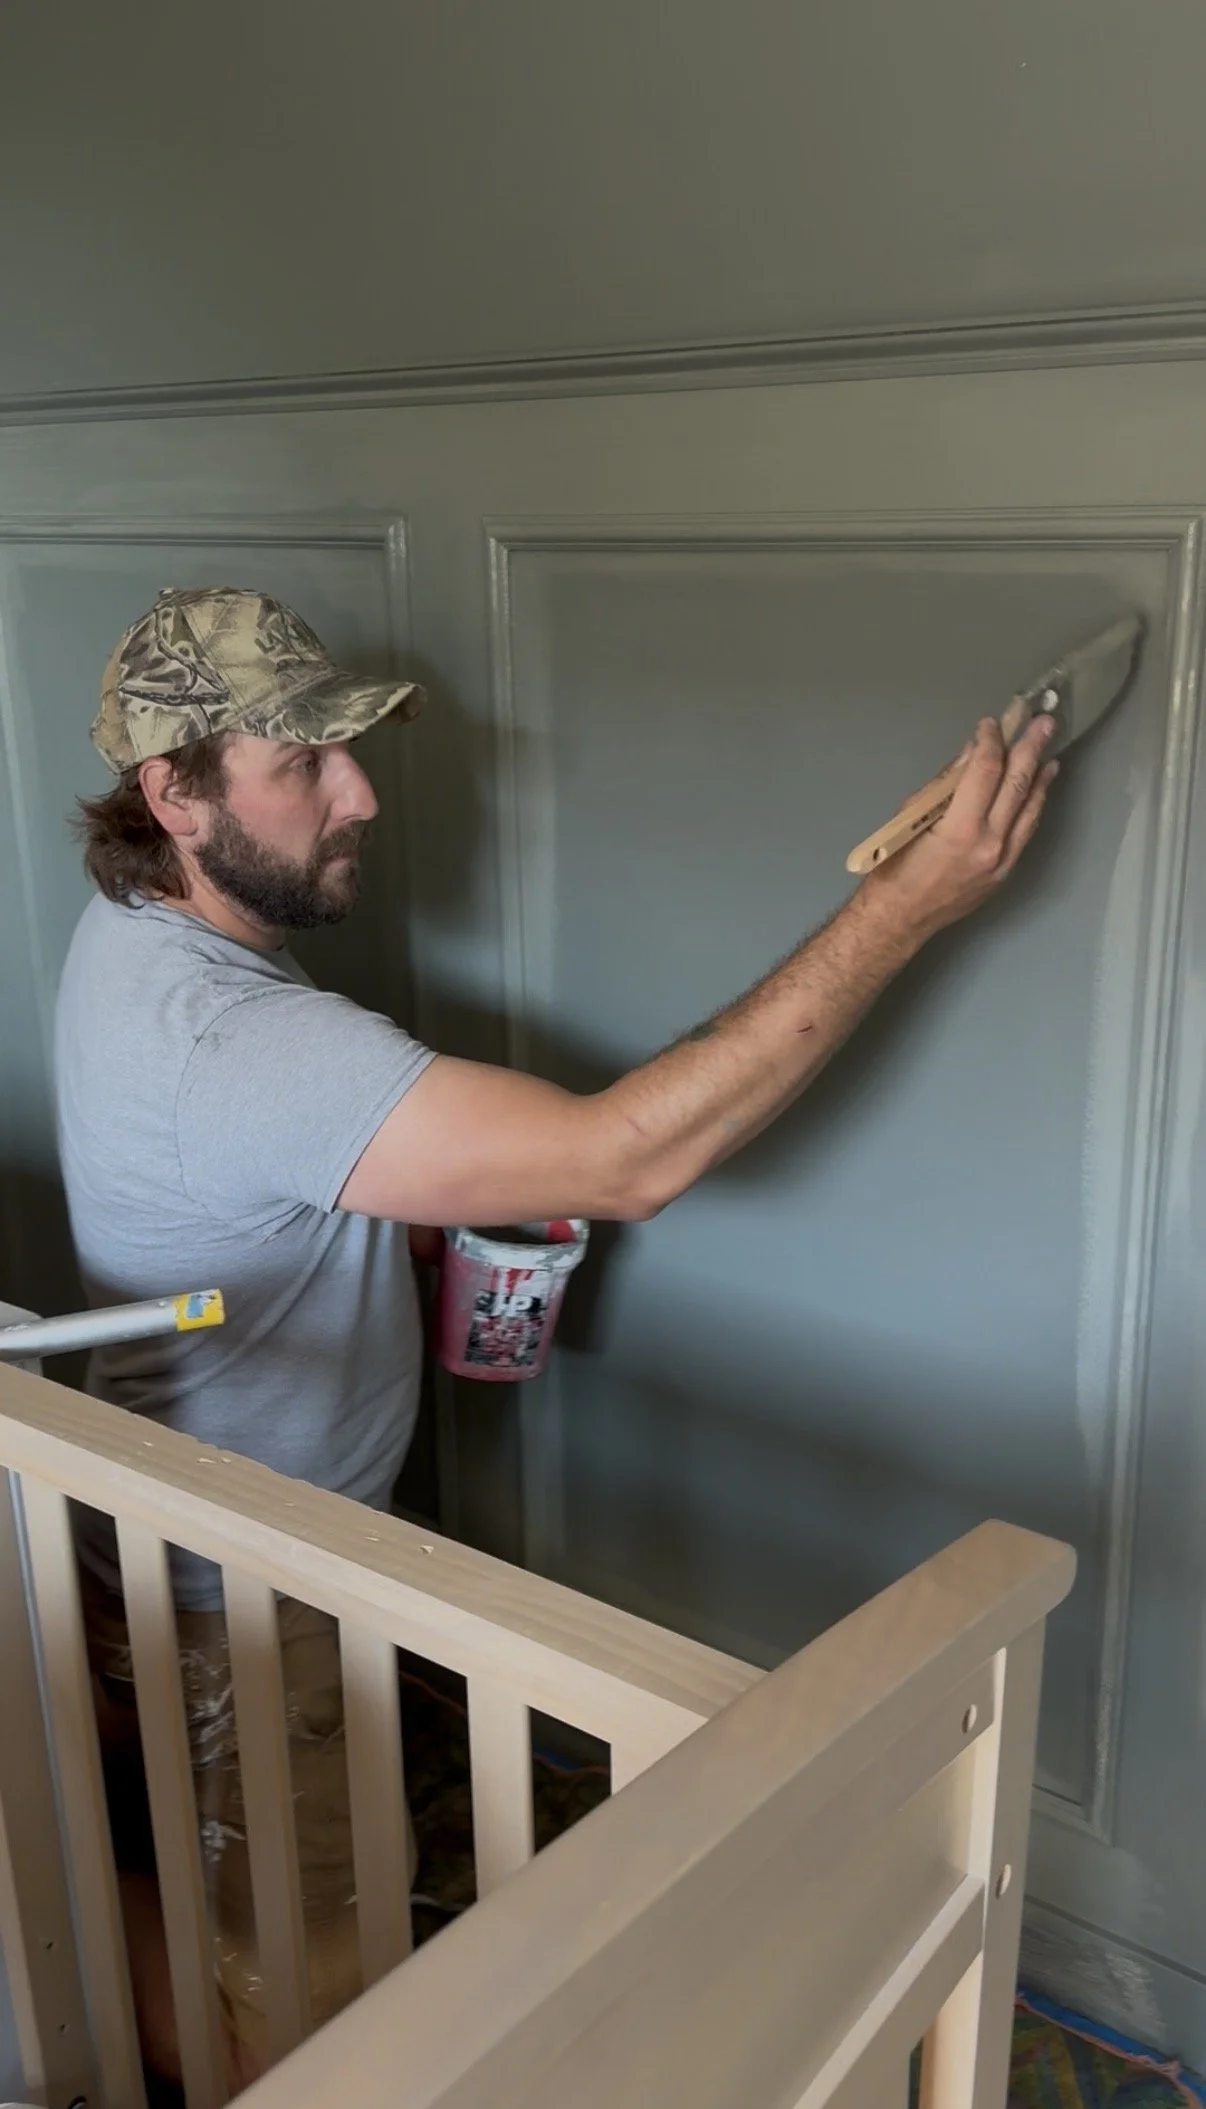
The pro at work!
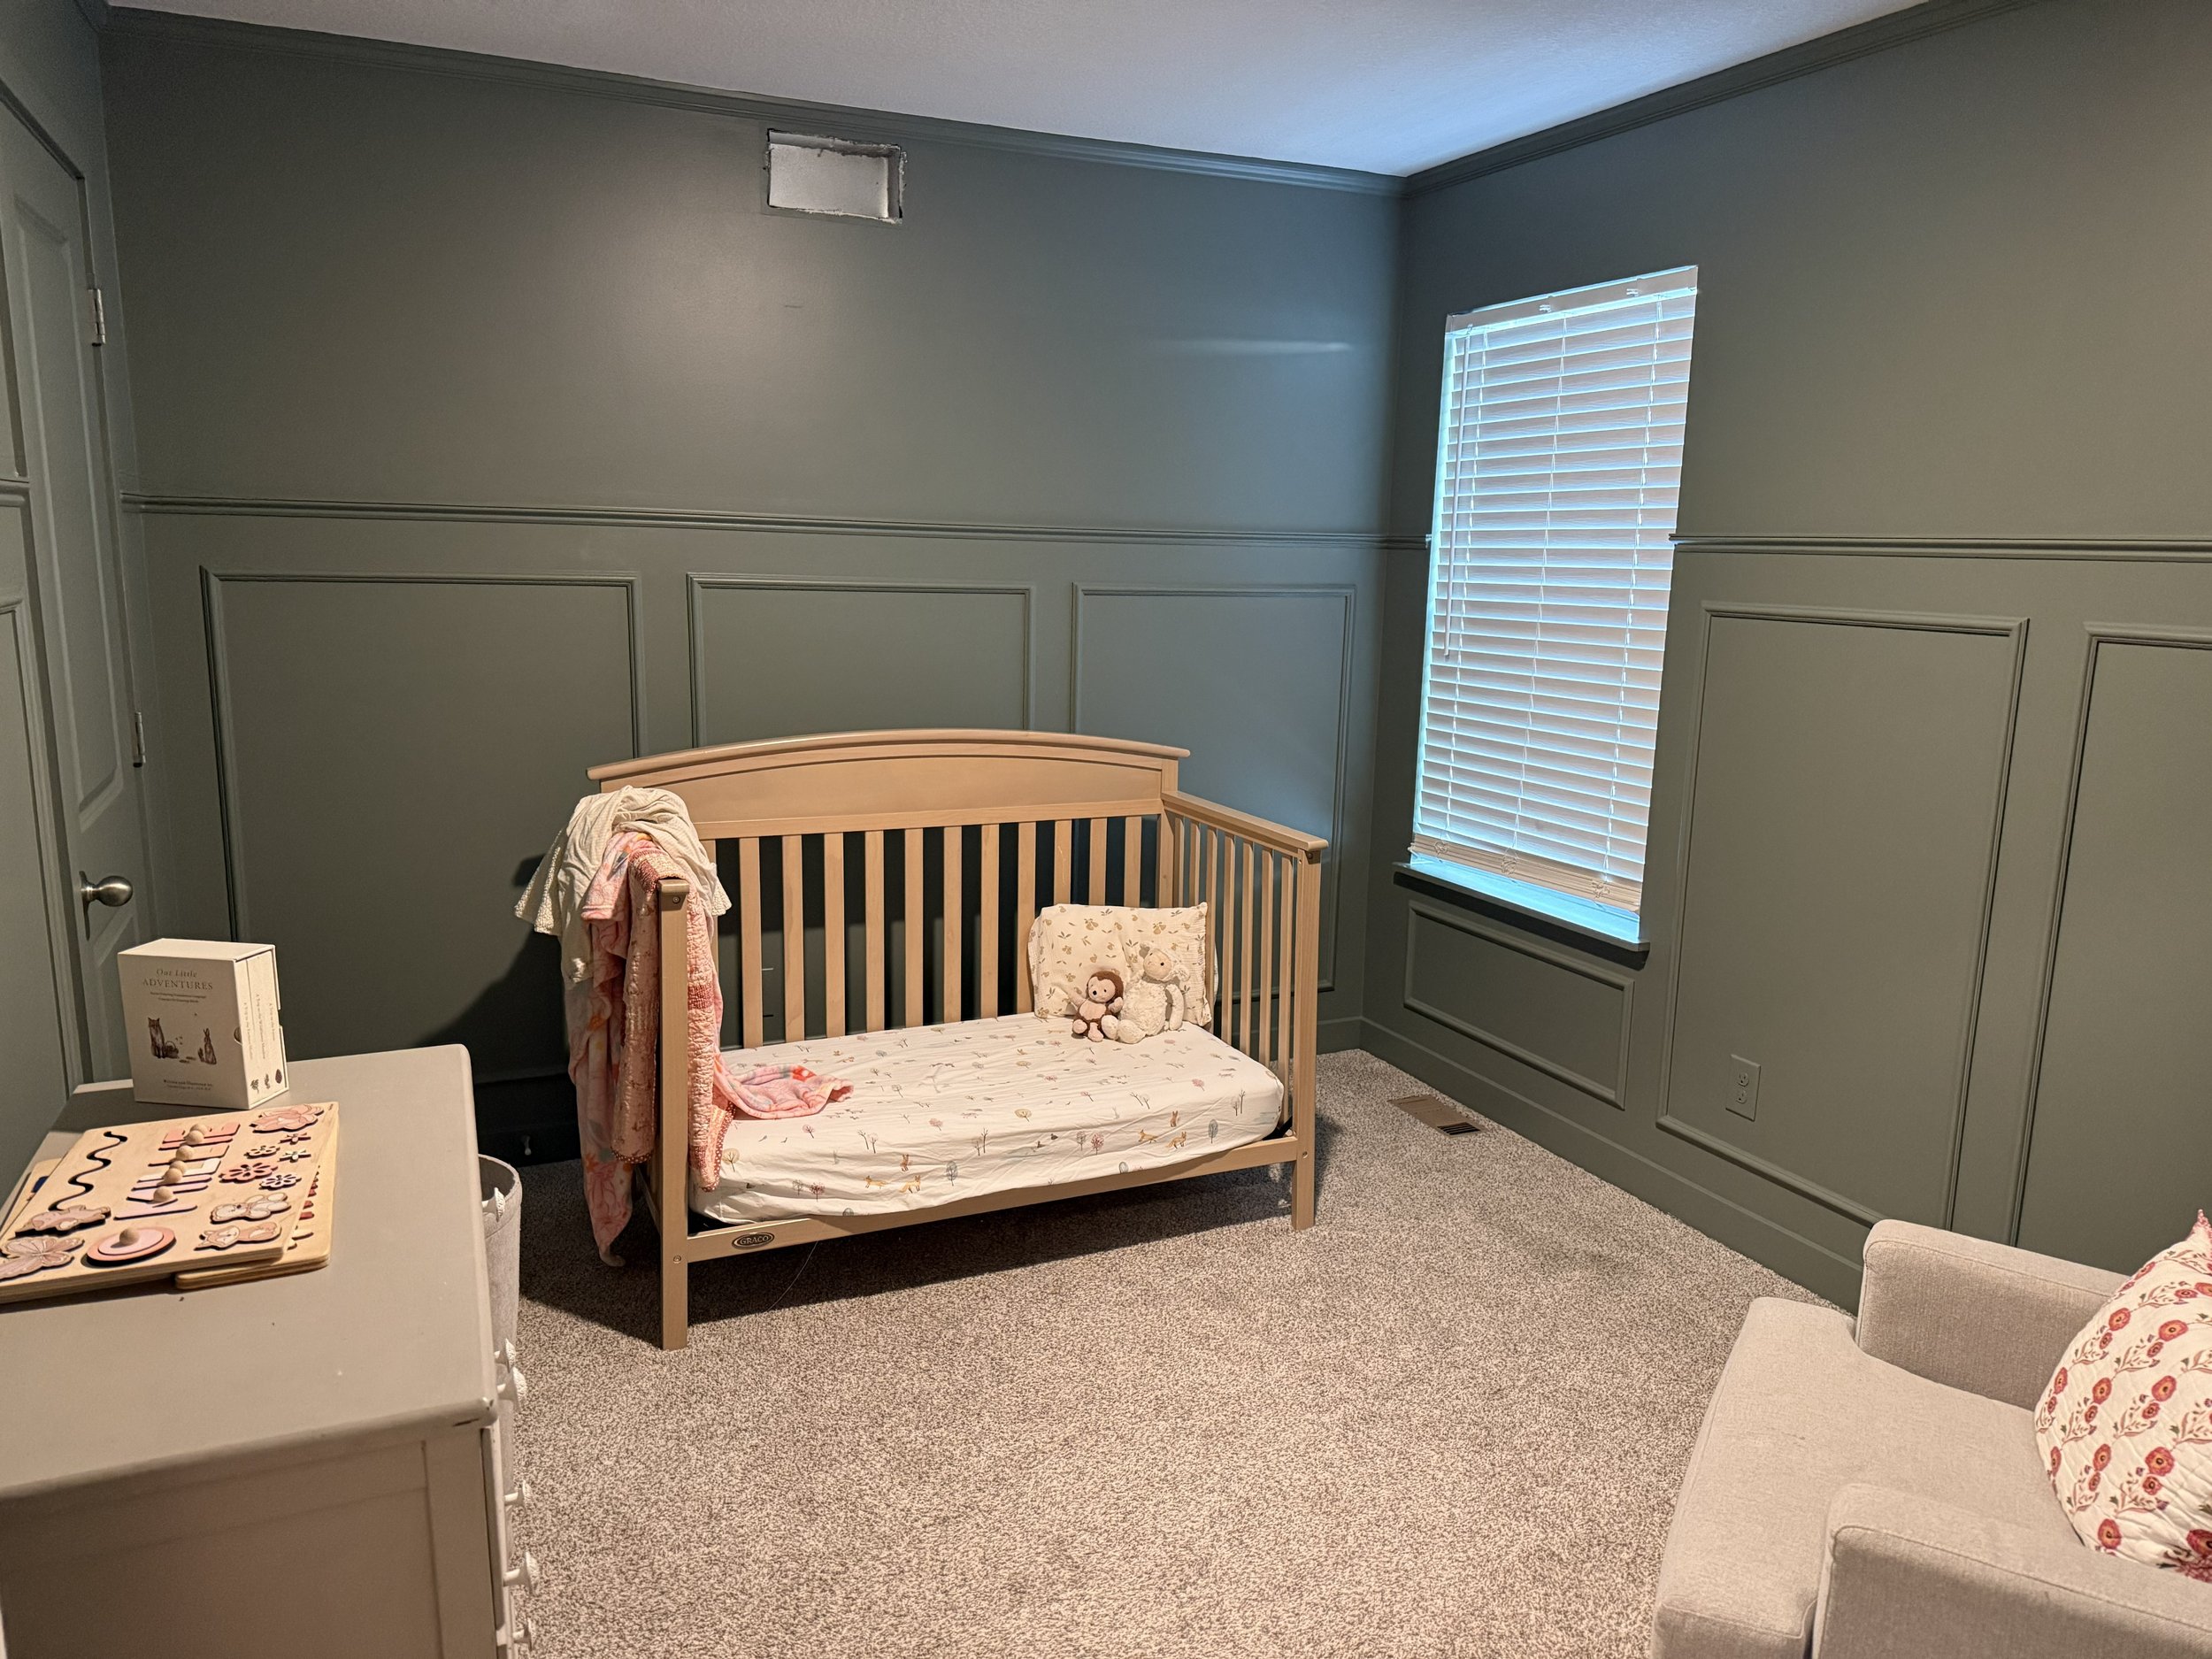
Even though this was not going to be the final look, we were amazed and how much richer and cozier this room looked with this color!
Wallpaper
While the molding and trim added texture and the paint added depth, the wallpaper is where we really added the fun and whimsy to this room!
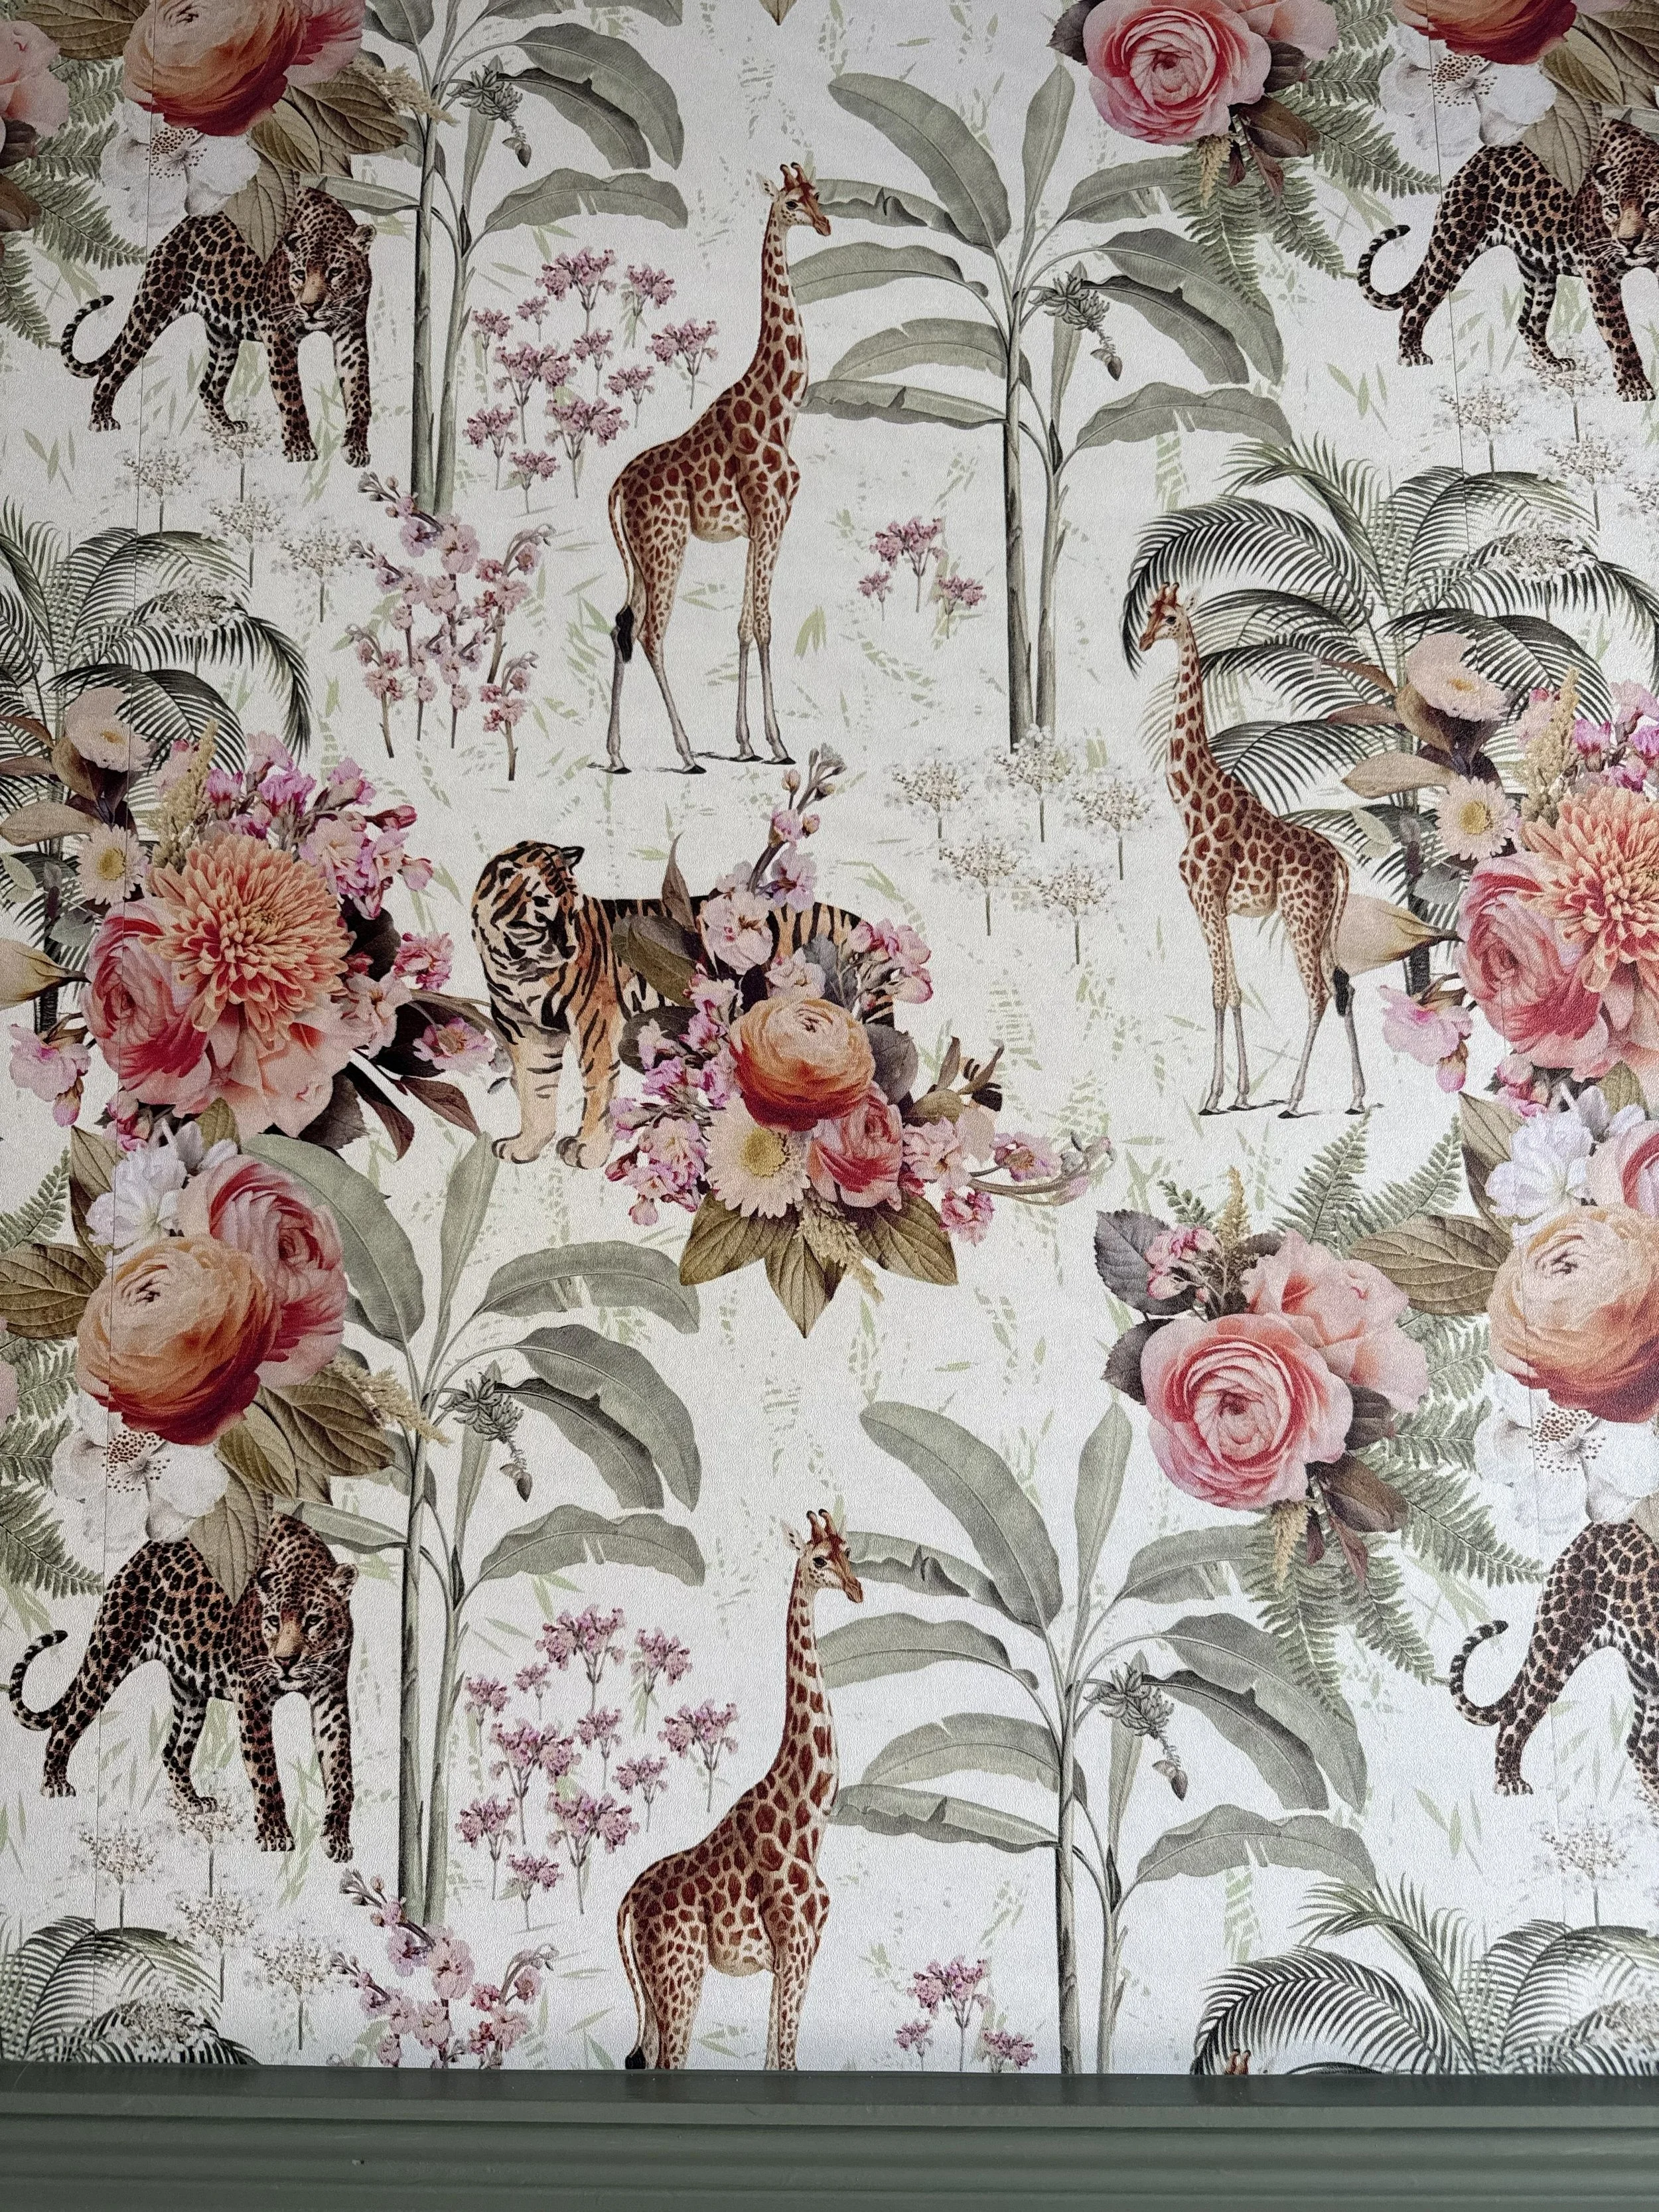
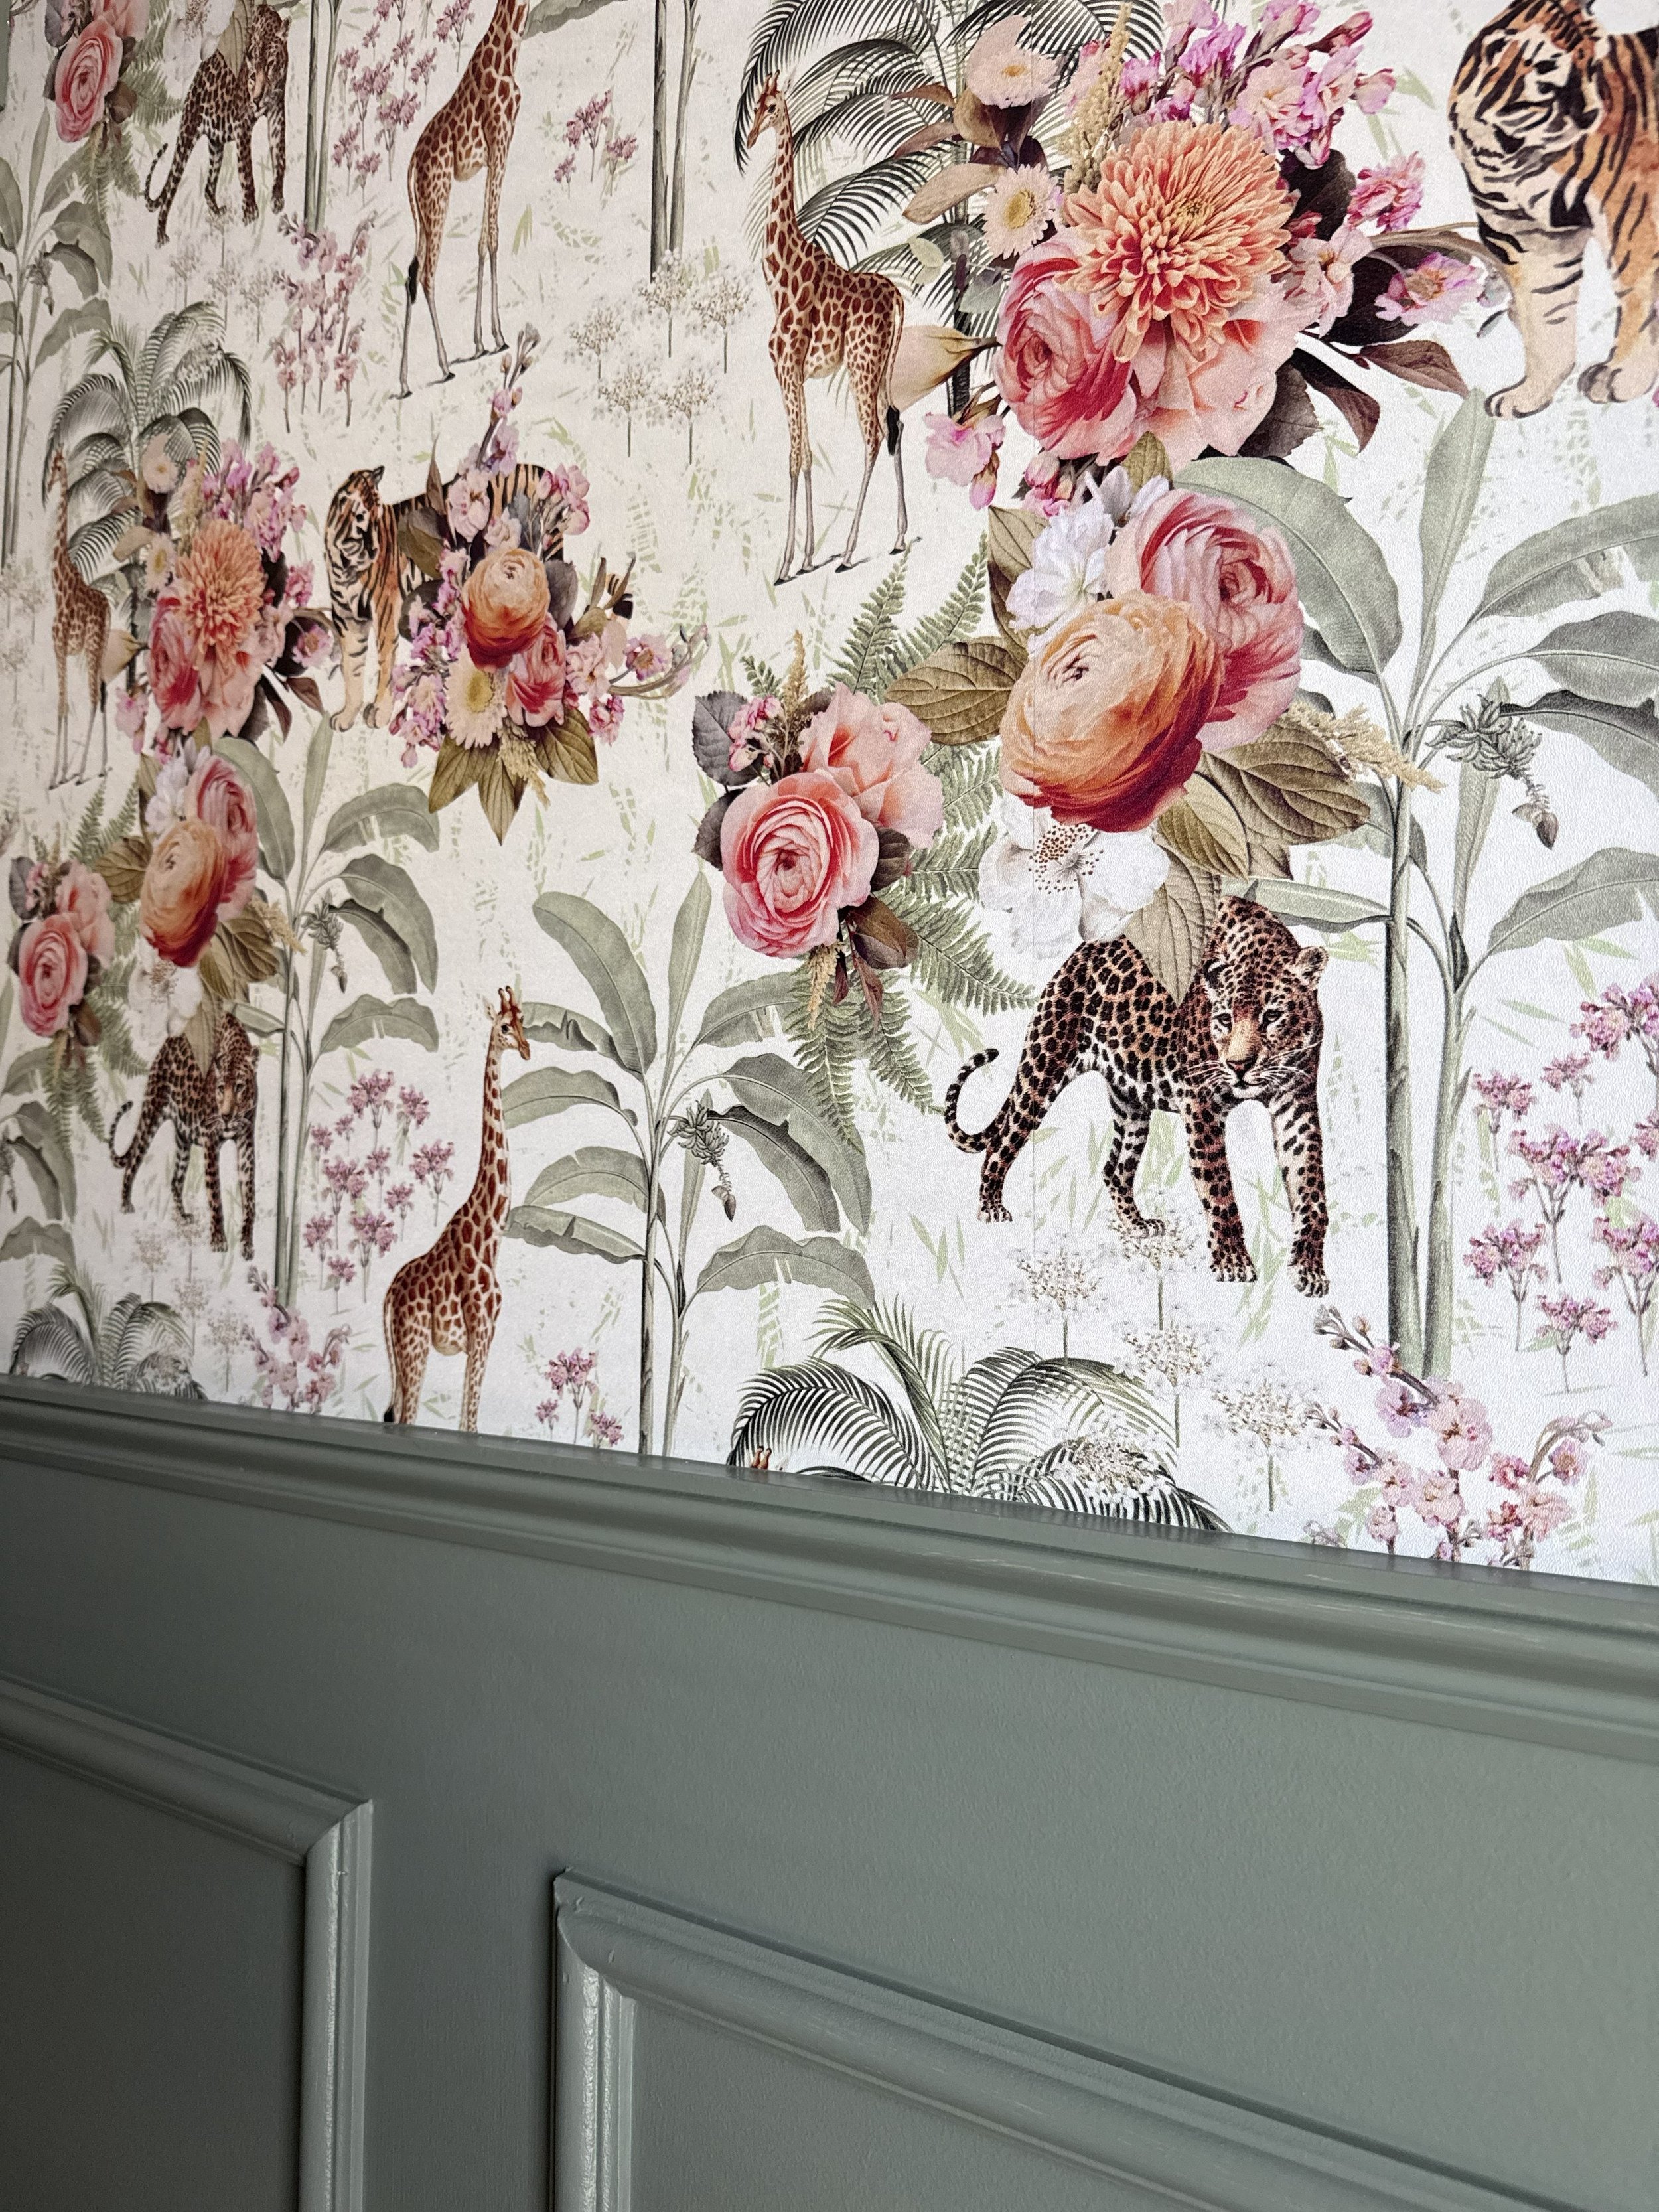
We love a peel n’ stick wallpaper, especially for a kids’ room! It’s easy on and easy off, so if our daughter changes her mind on the theme in a few years, it won’t be a major mess and project to change it!
This was probably our favorite part of the project, especially because we got to do it together!
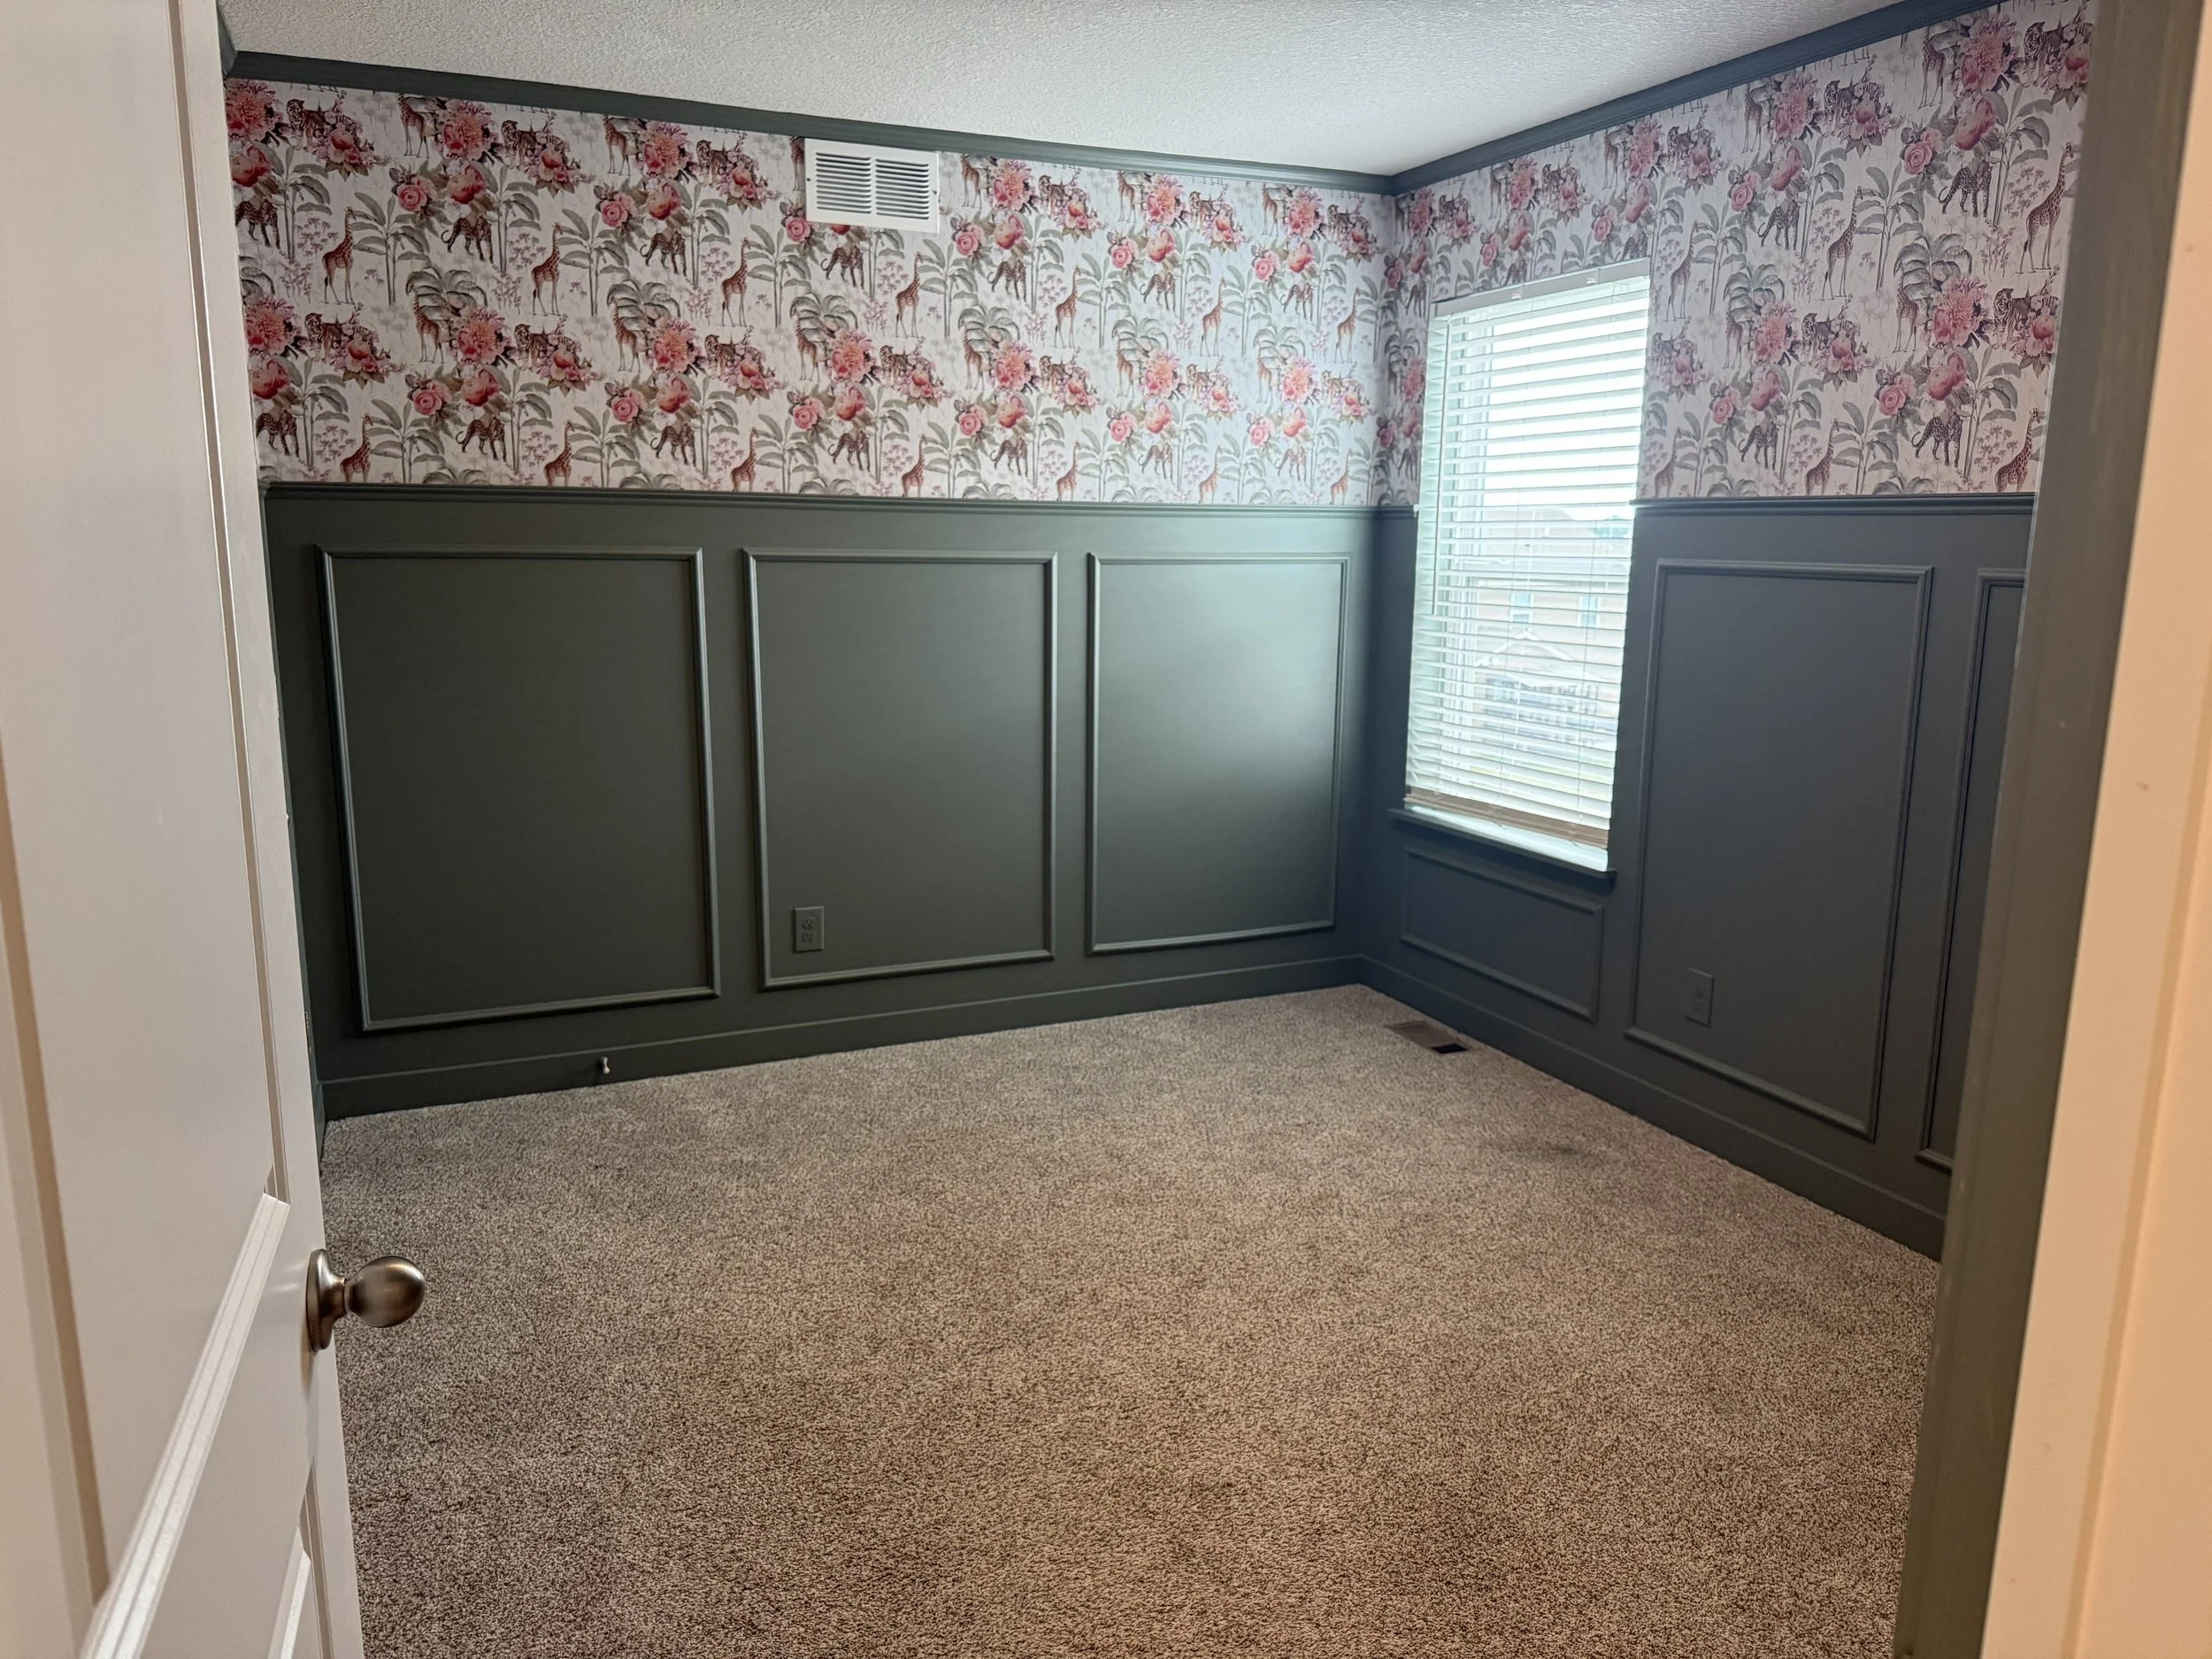
Lighting
Updating a light fixture can be one of the simplest ways to upgrade a room and give it personality! While I noodled on doing a girly chandelier for awhile, I eventually let my practical side win and we decided to install a ceiling fan.
Because it is so essential to see colors and scale in your actual space, you should never hesitate to order several options when it comes to lighting. Our final two choices were this sleek and simple option and this more “on-theme” choice from Amazon. While I would have loved to use the “on-theme” one, it was a very small 30 in fan and I was concerned the scale wouldn’t be quite right for the space.
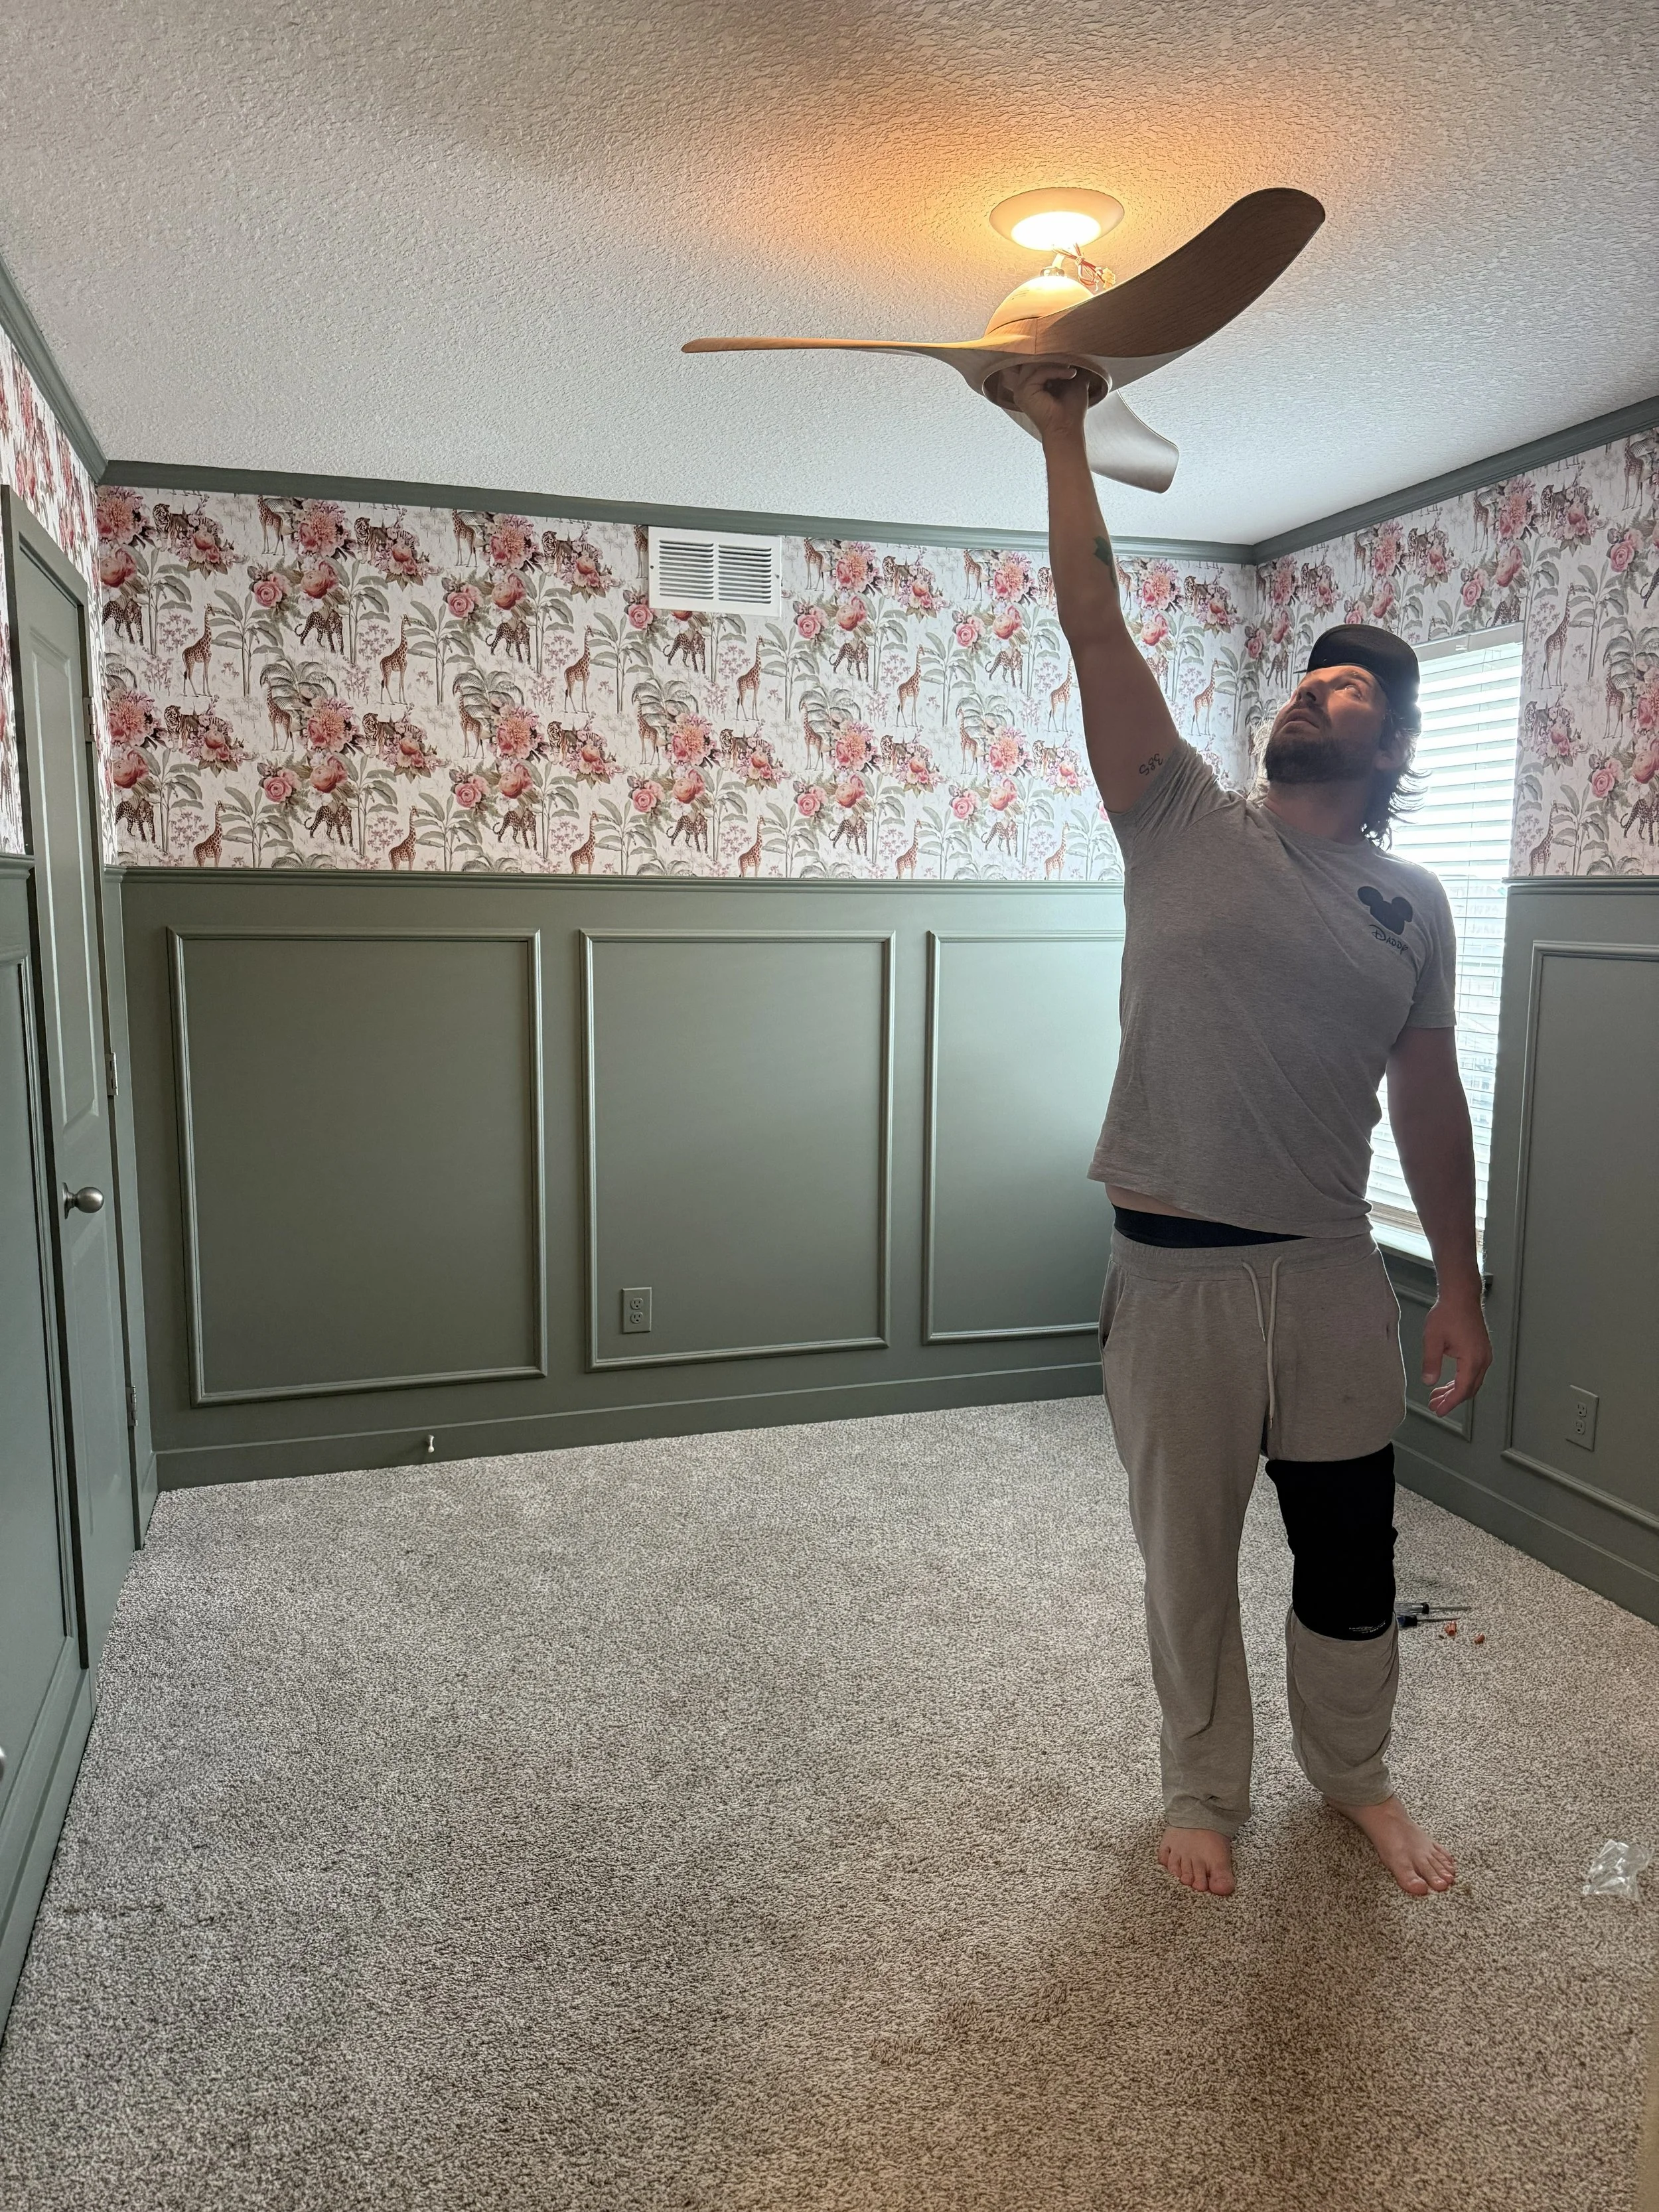
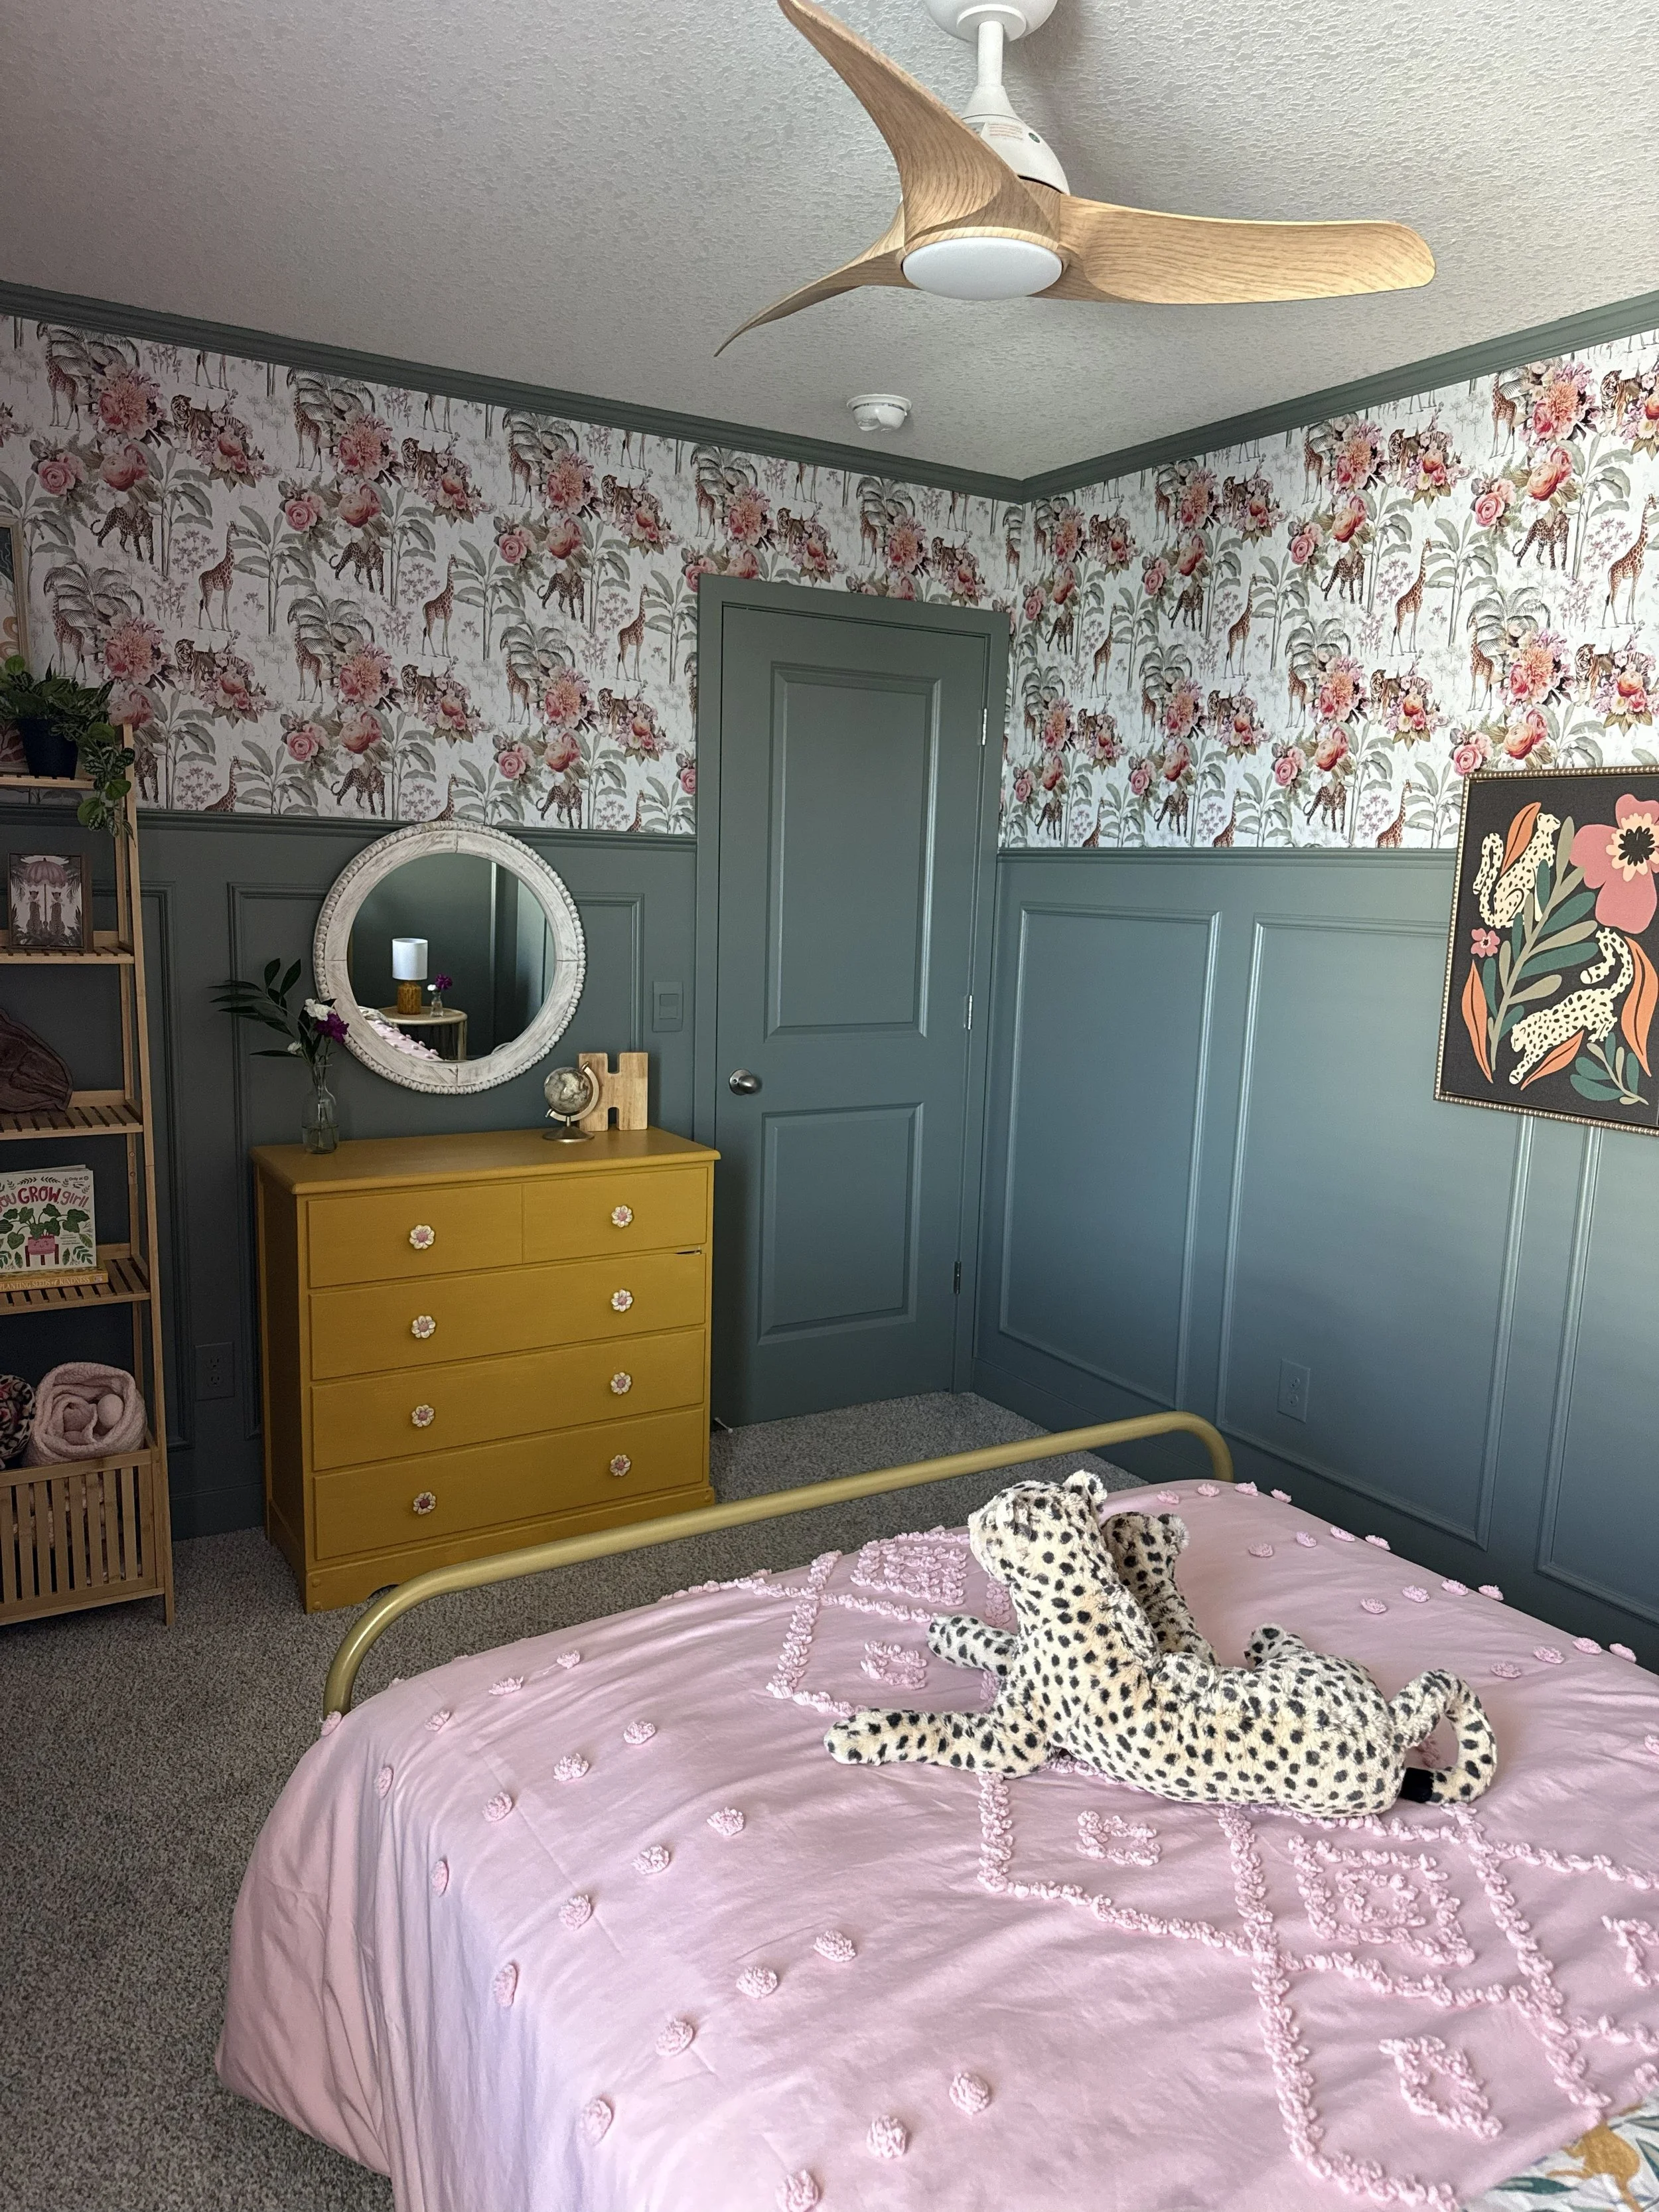
My assumptions turned out to be correct, and the sleek and simple 42 in was a much better fit and just the right scale for this 120 sq ft room!
What I like about our final choice is that it’s pretty, but simple and doesn’t take away from the rest of the space. It also is such a game-changer for our daughter to have an option to cool down her space!
The Dresser
Another great place to bring in color is in your furniture! And if your budget doesn’t have room for new purchases, you can always repurpose old pieces. Lucky for me, I LOVE refinishing furniture.
This dresser has lived many, many lives. An over 50-year old hand-me down, it lived with me in my first post-college apartment and then in the nursery with our first baby.
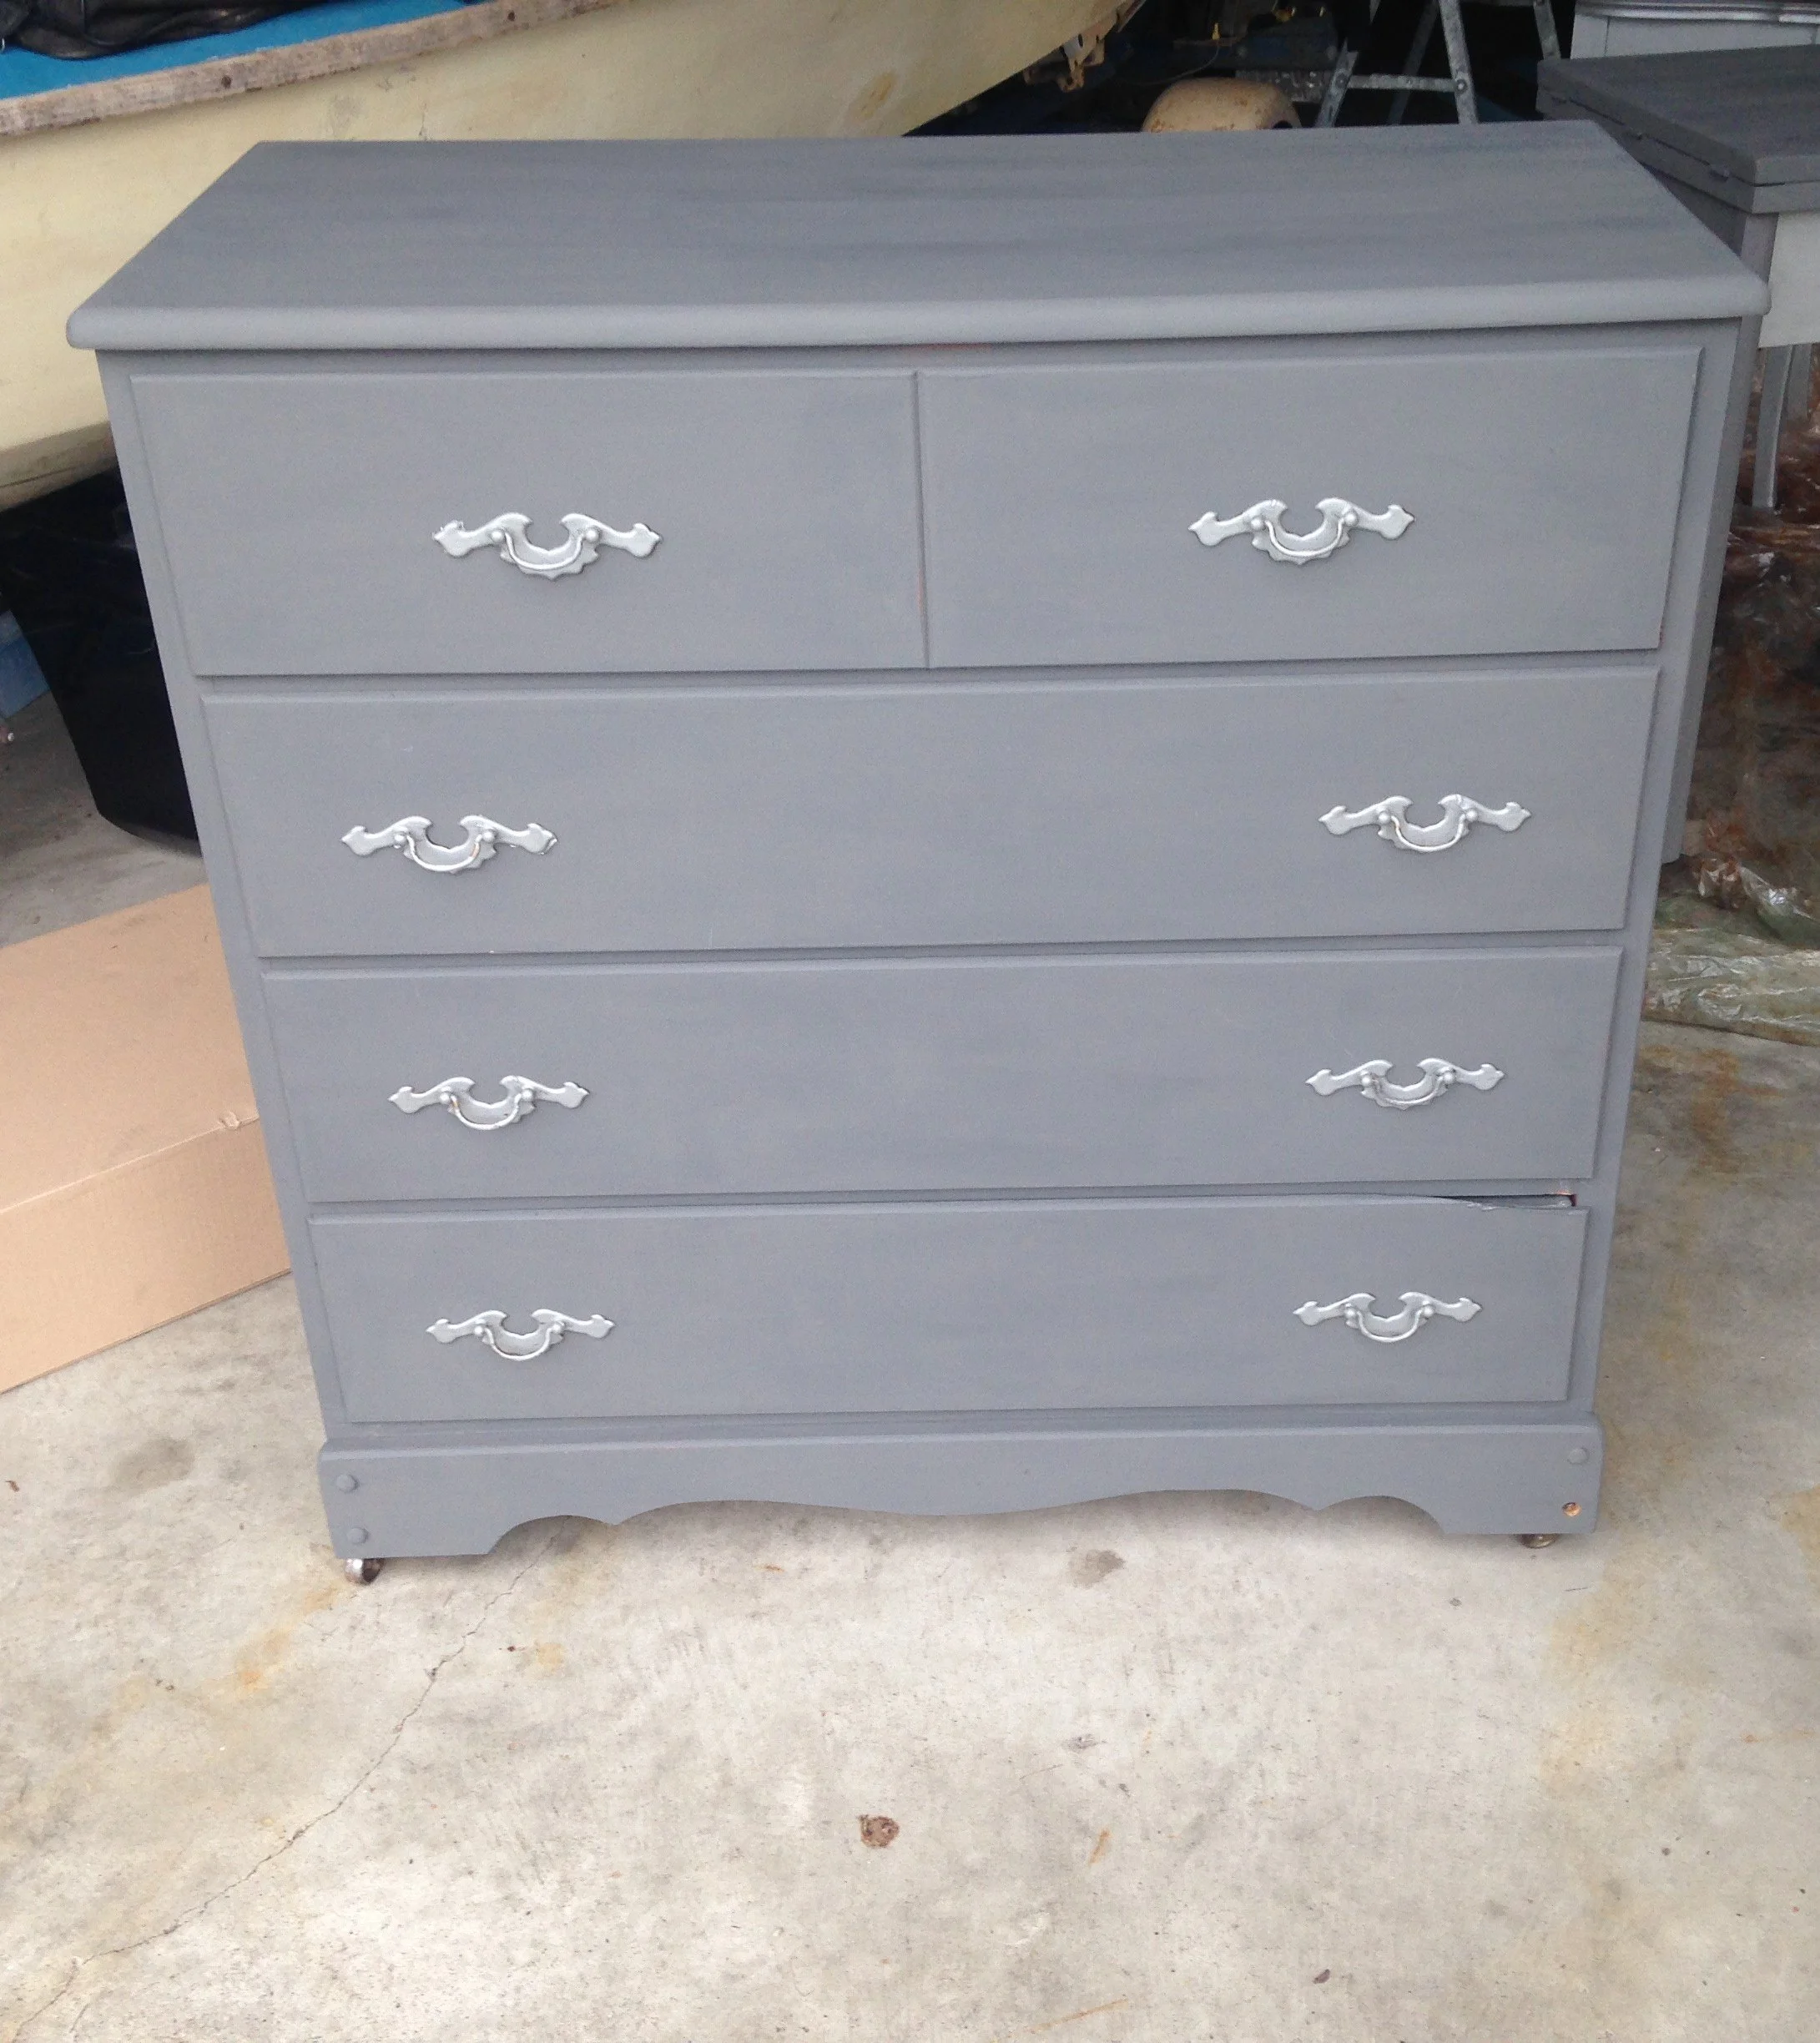
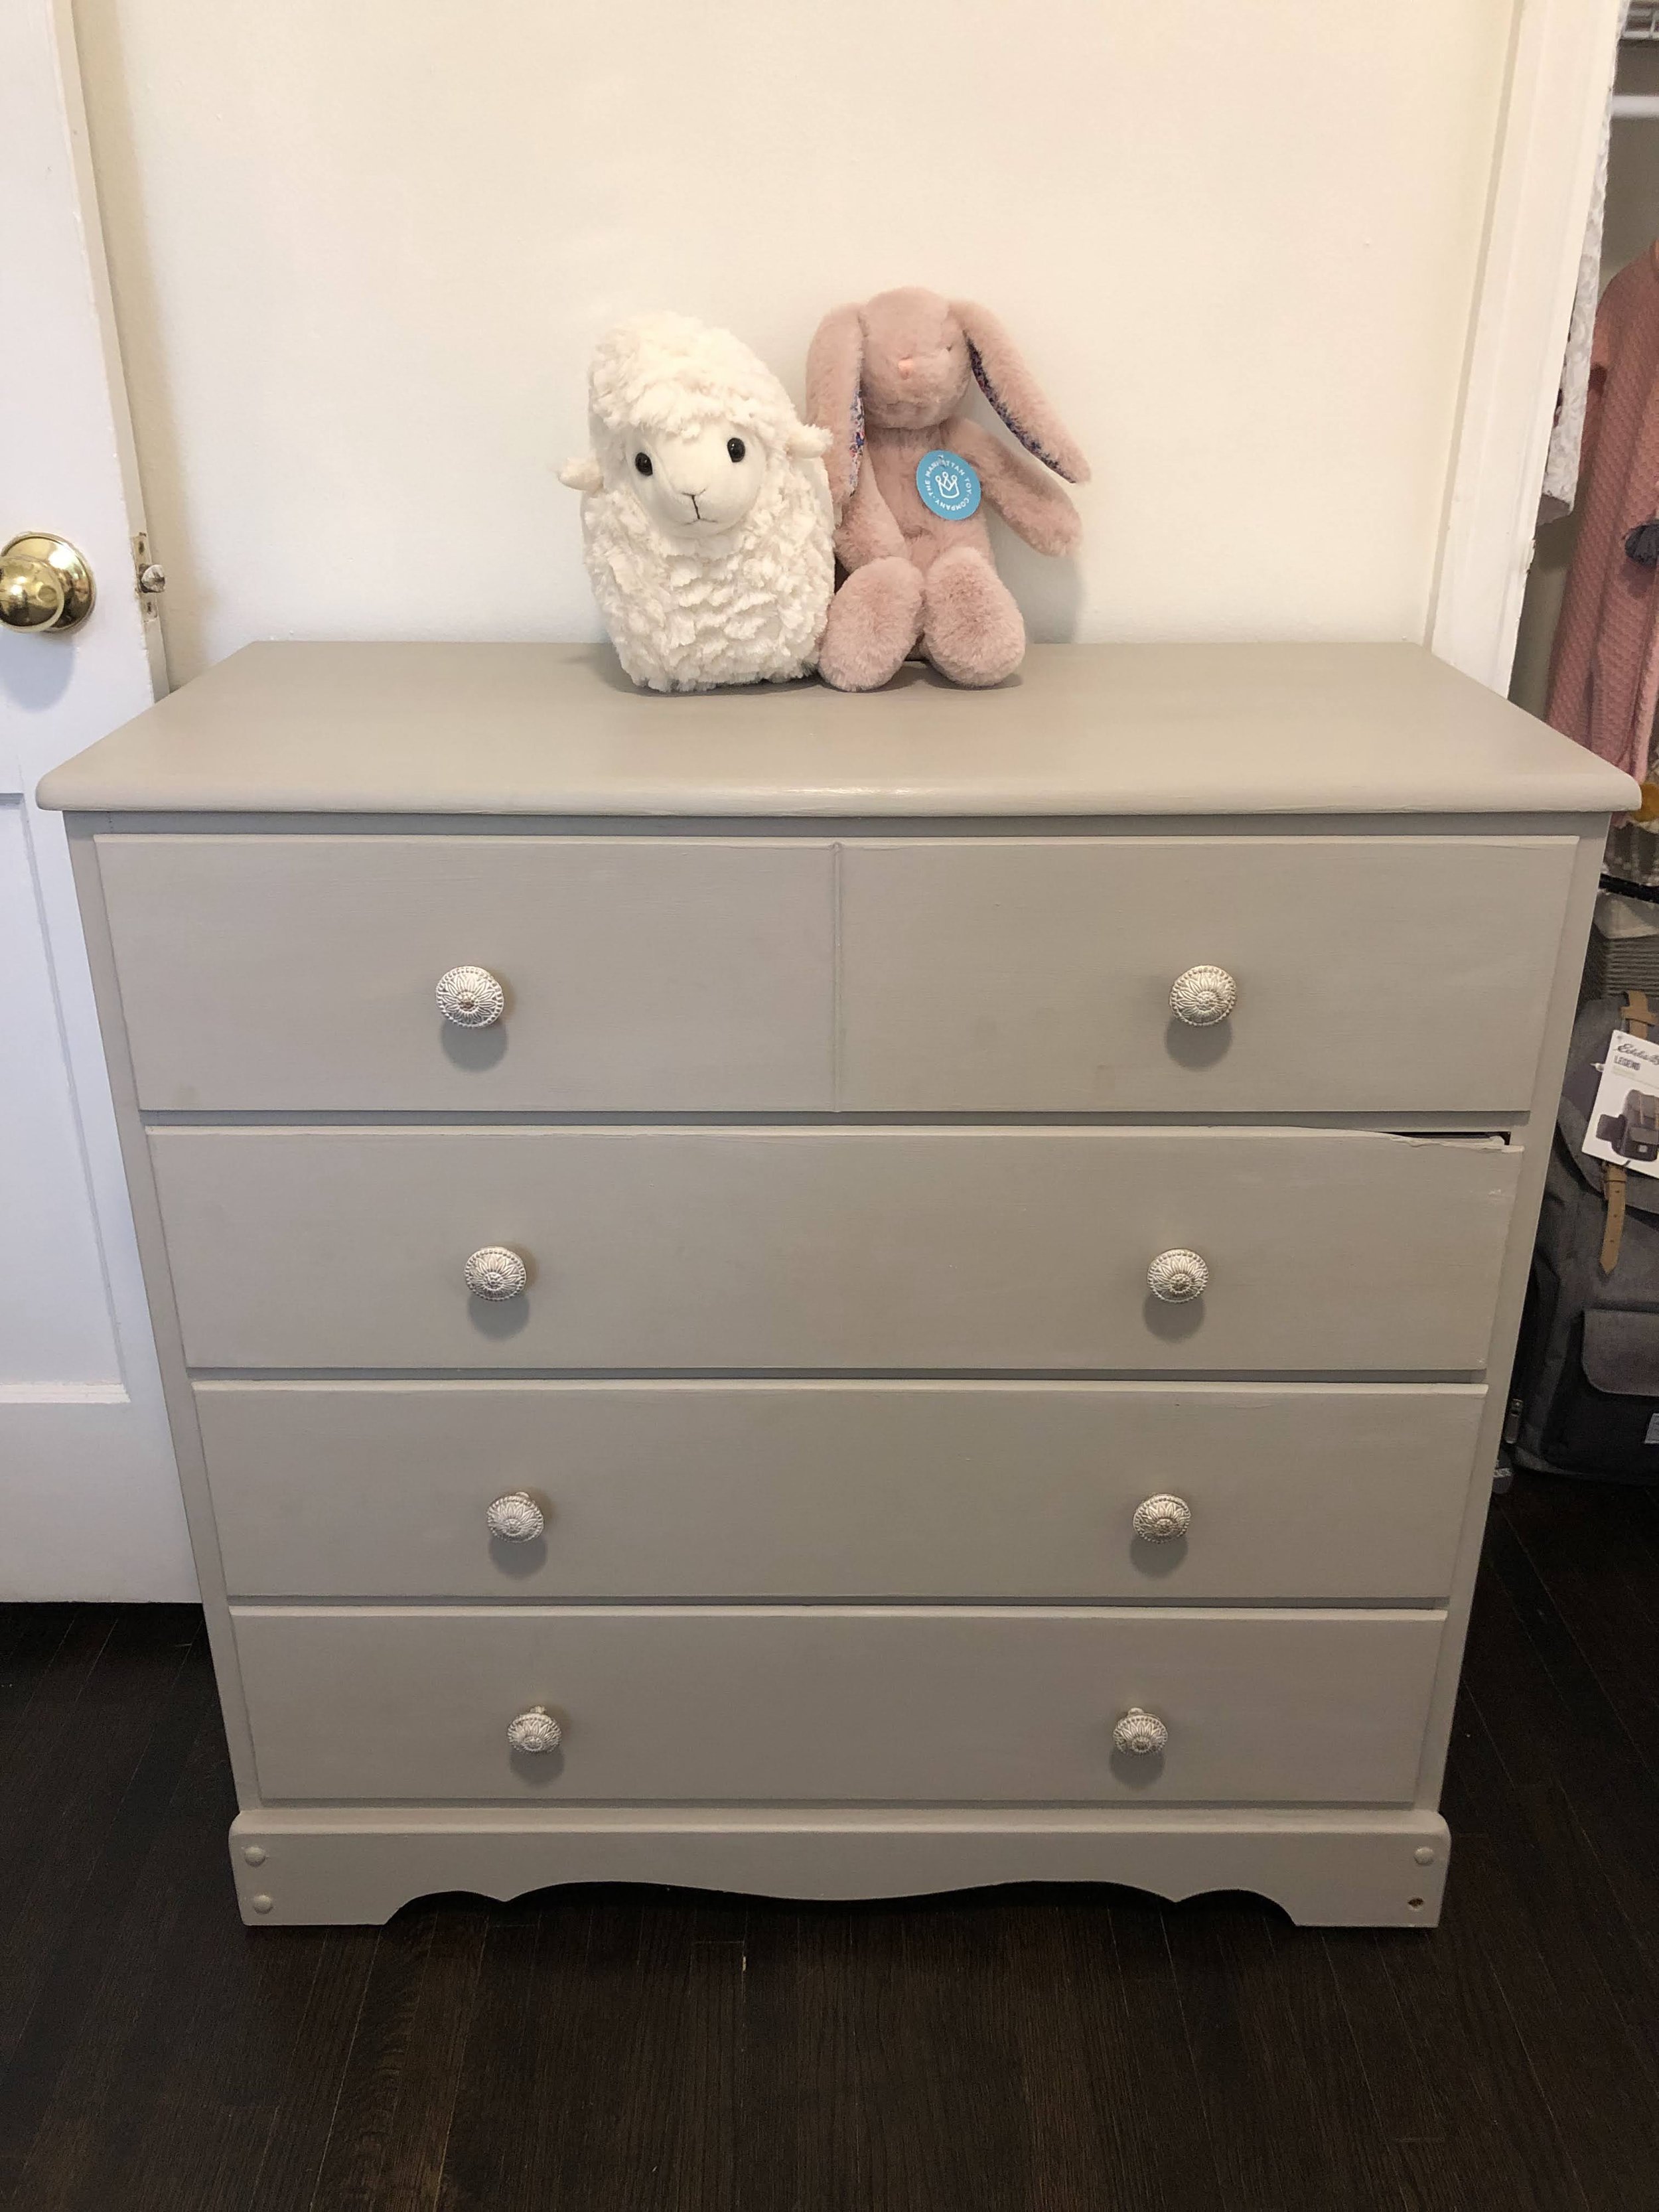
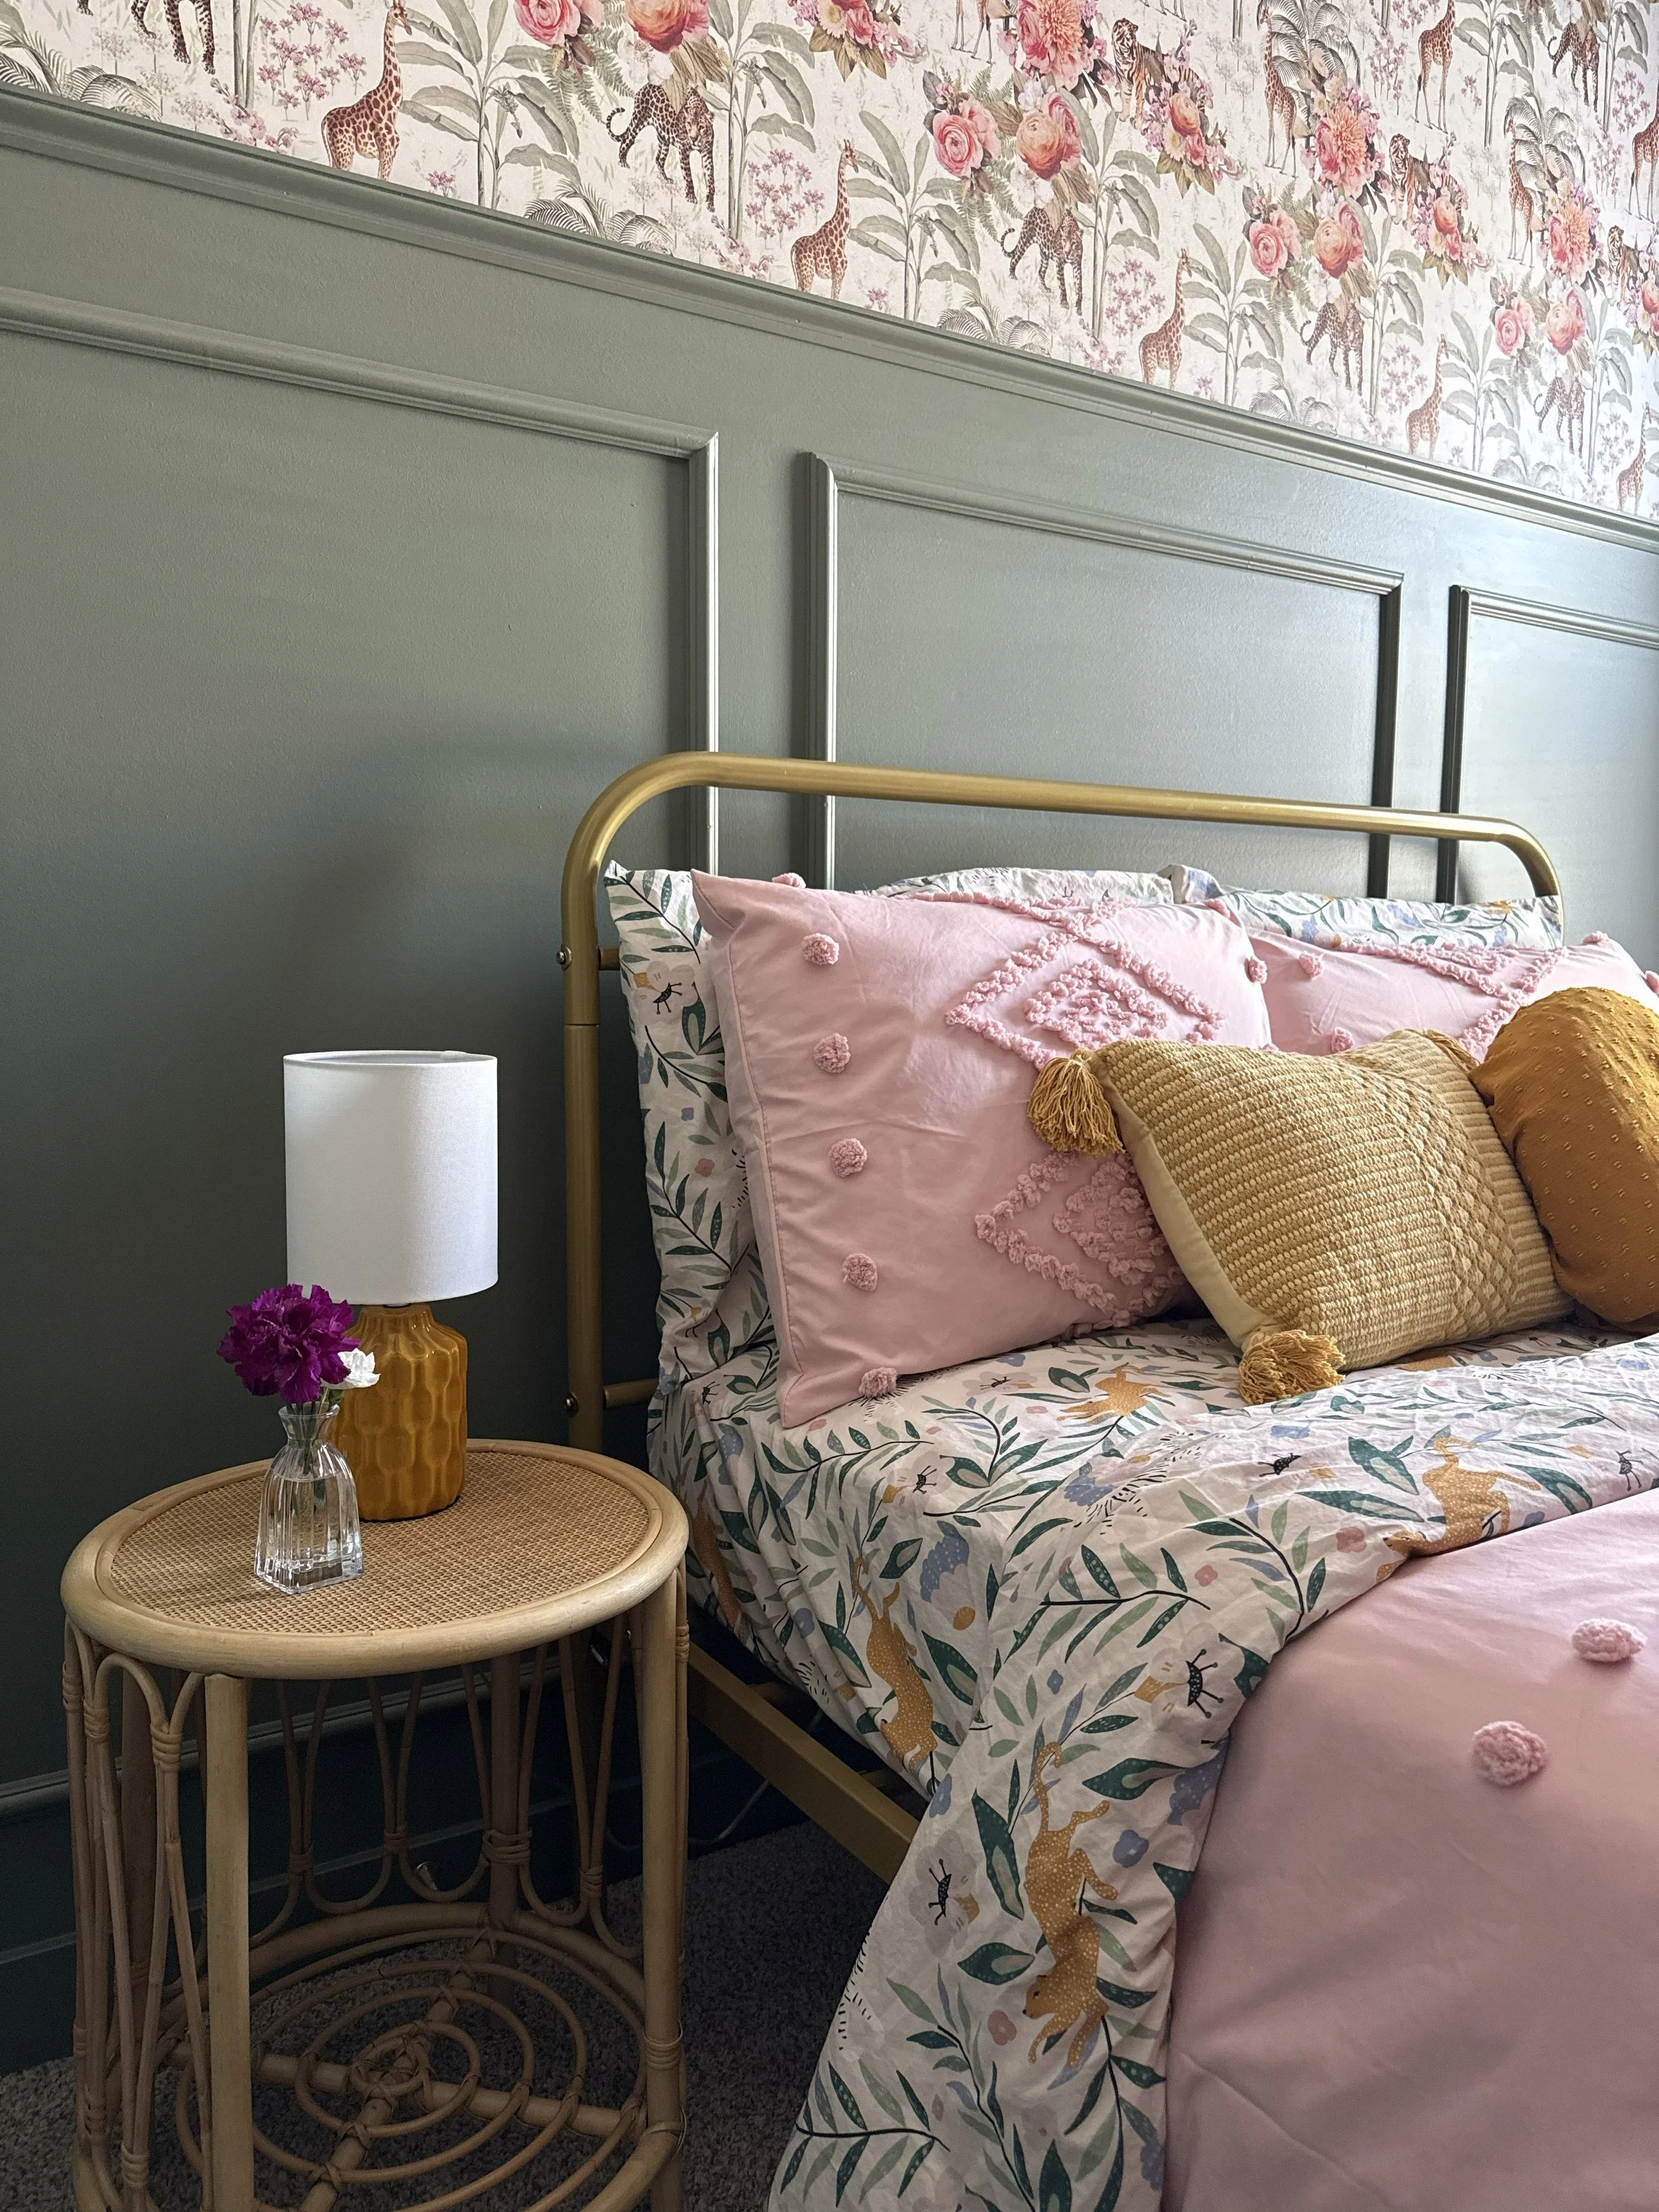
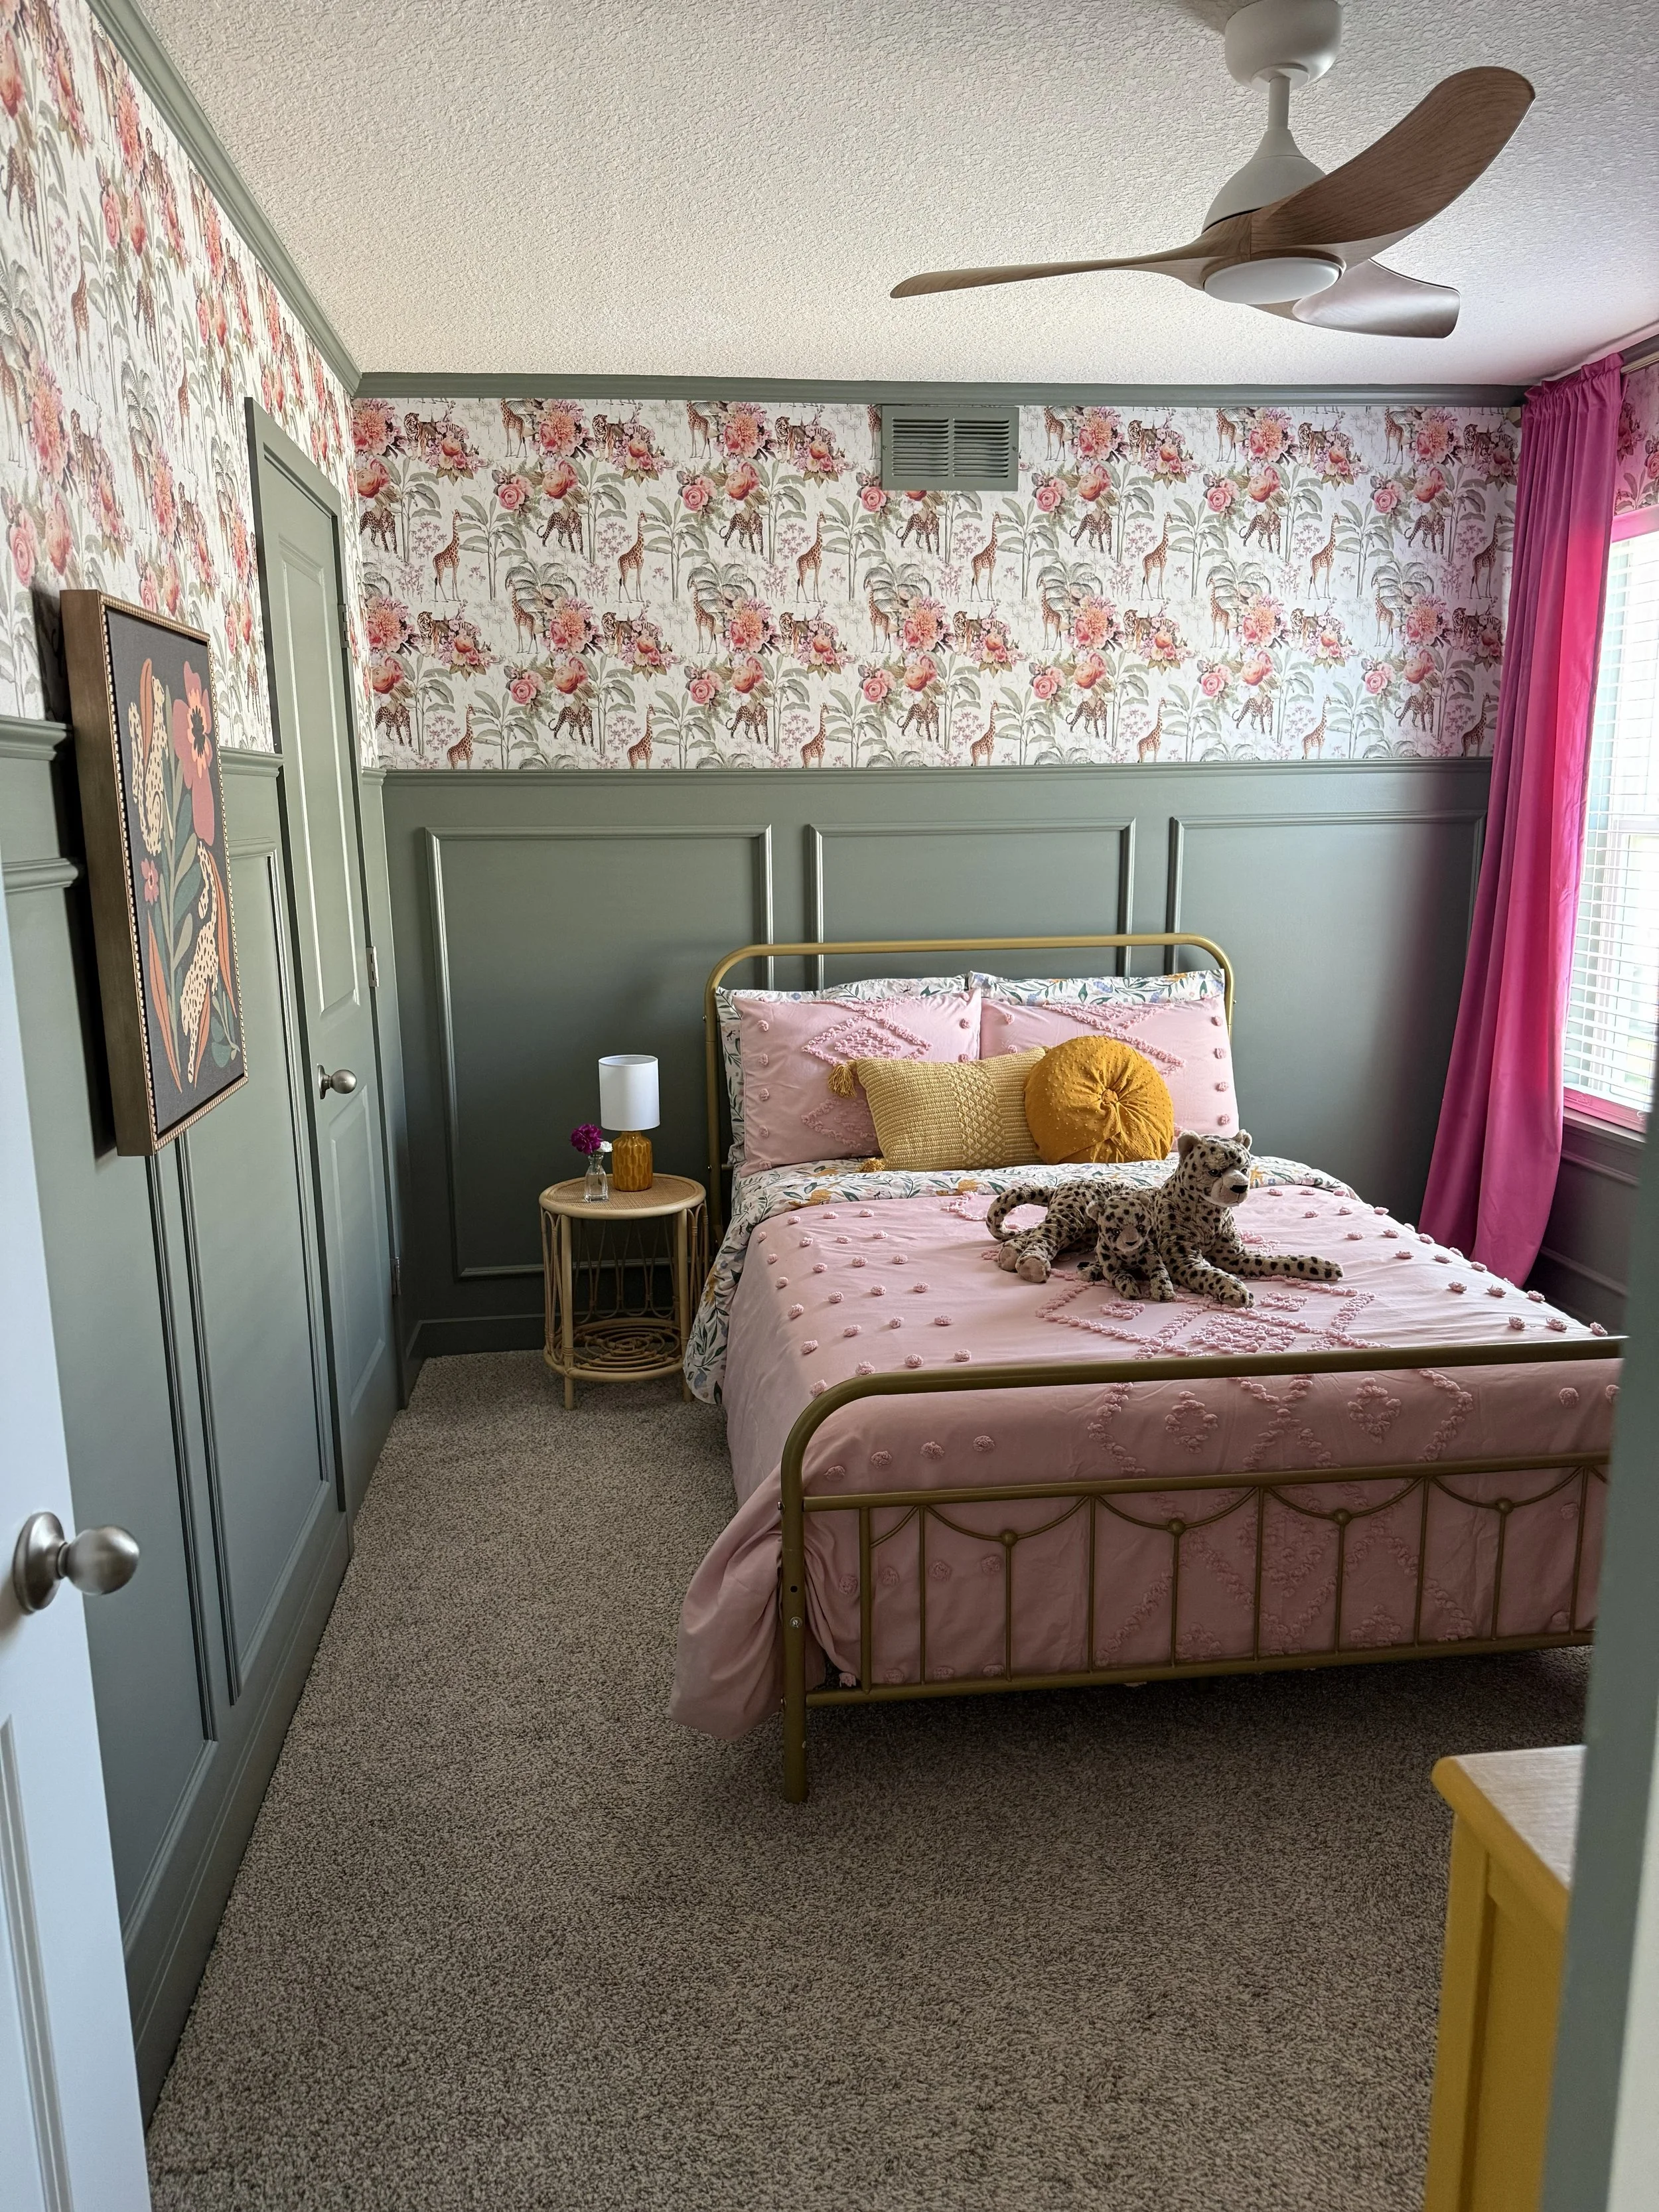
This time around, I pulled from the colors in the bedding (a gorgeous sheet set from Crate & Kids) and decided to go with a dusty, golden hue. My typical furniture paint of choice is Annie Sloan Chalk Paint, but I decided to trying going with milk paint this time around. Our color of choice was Rustoleum’s Venetian Yellow and I am really happy with how it turned out!
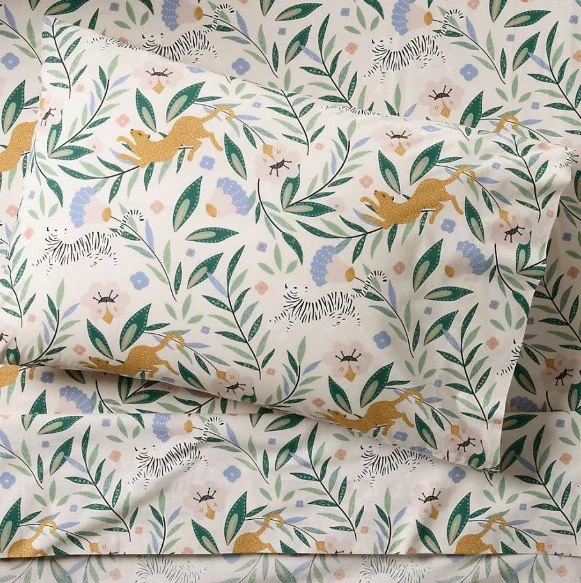
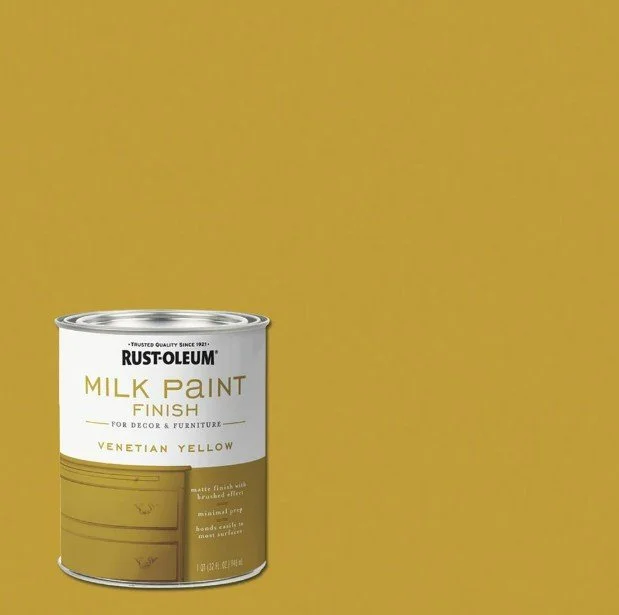
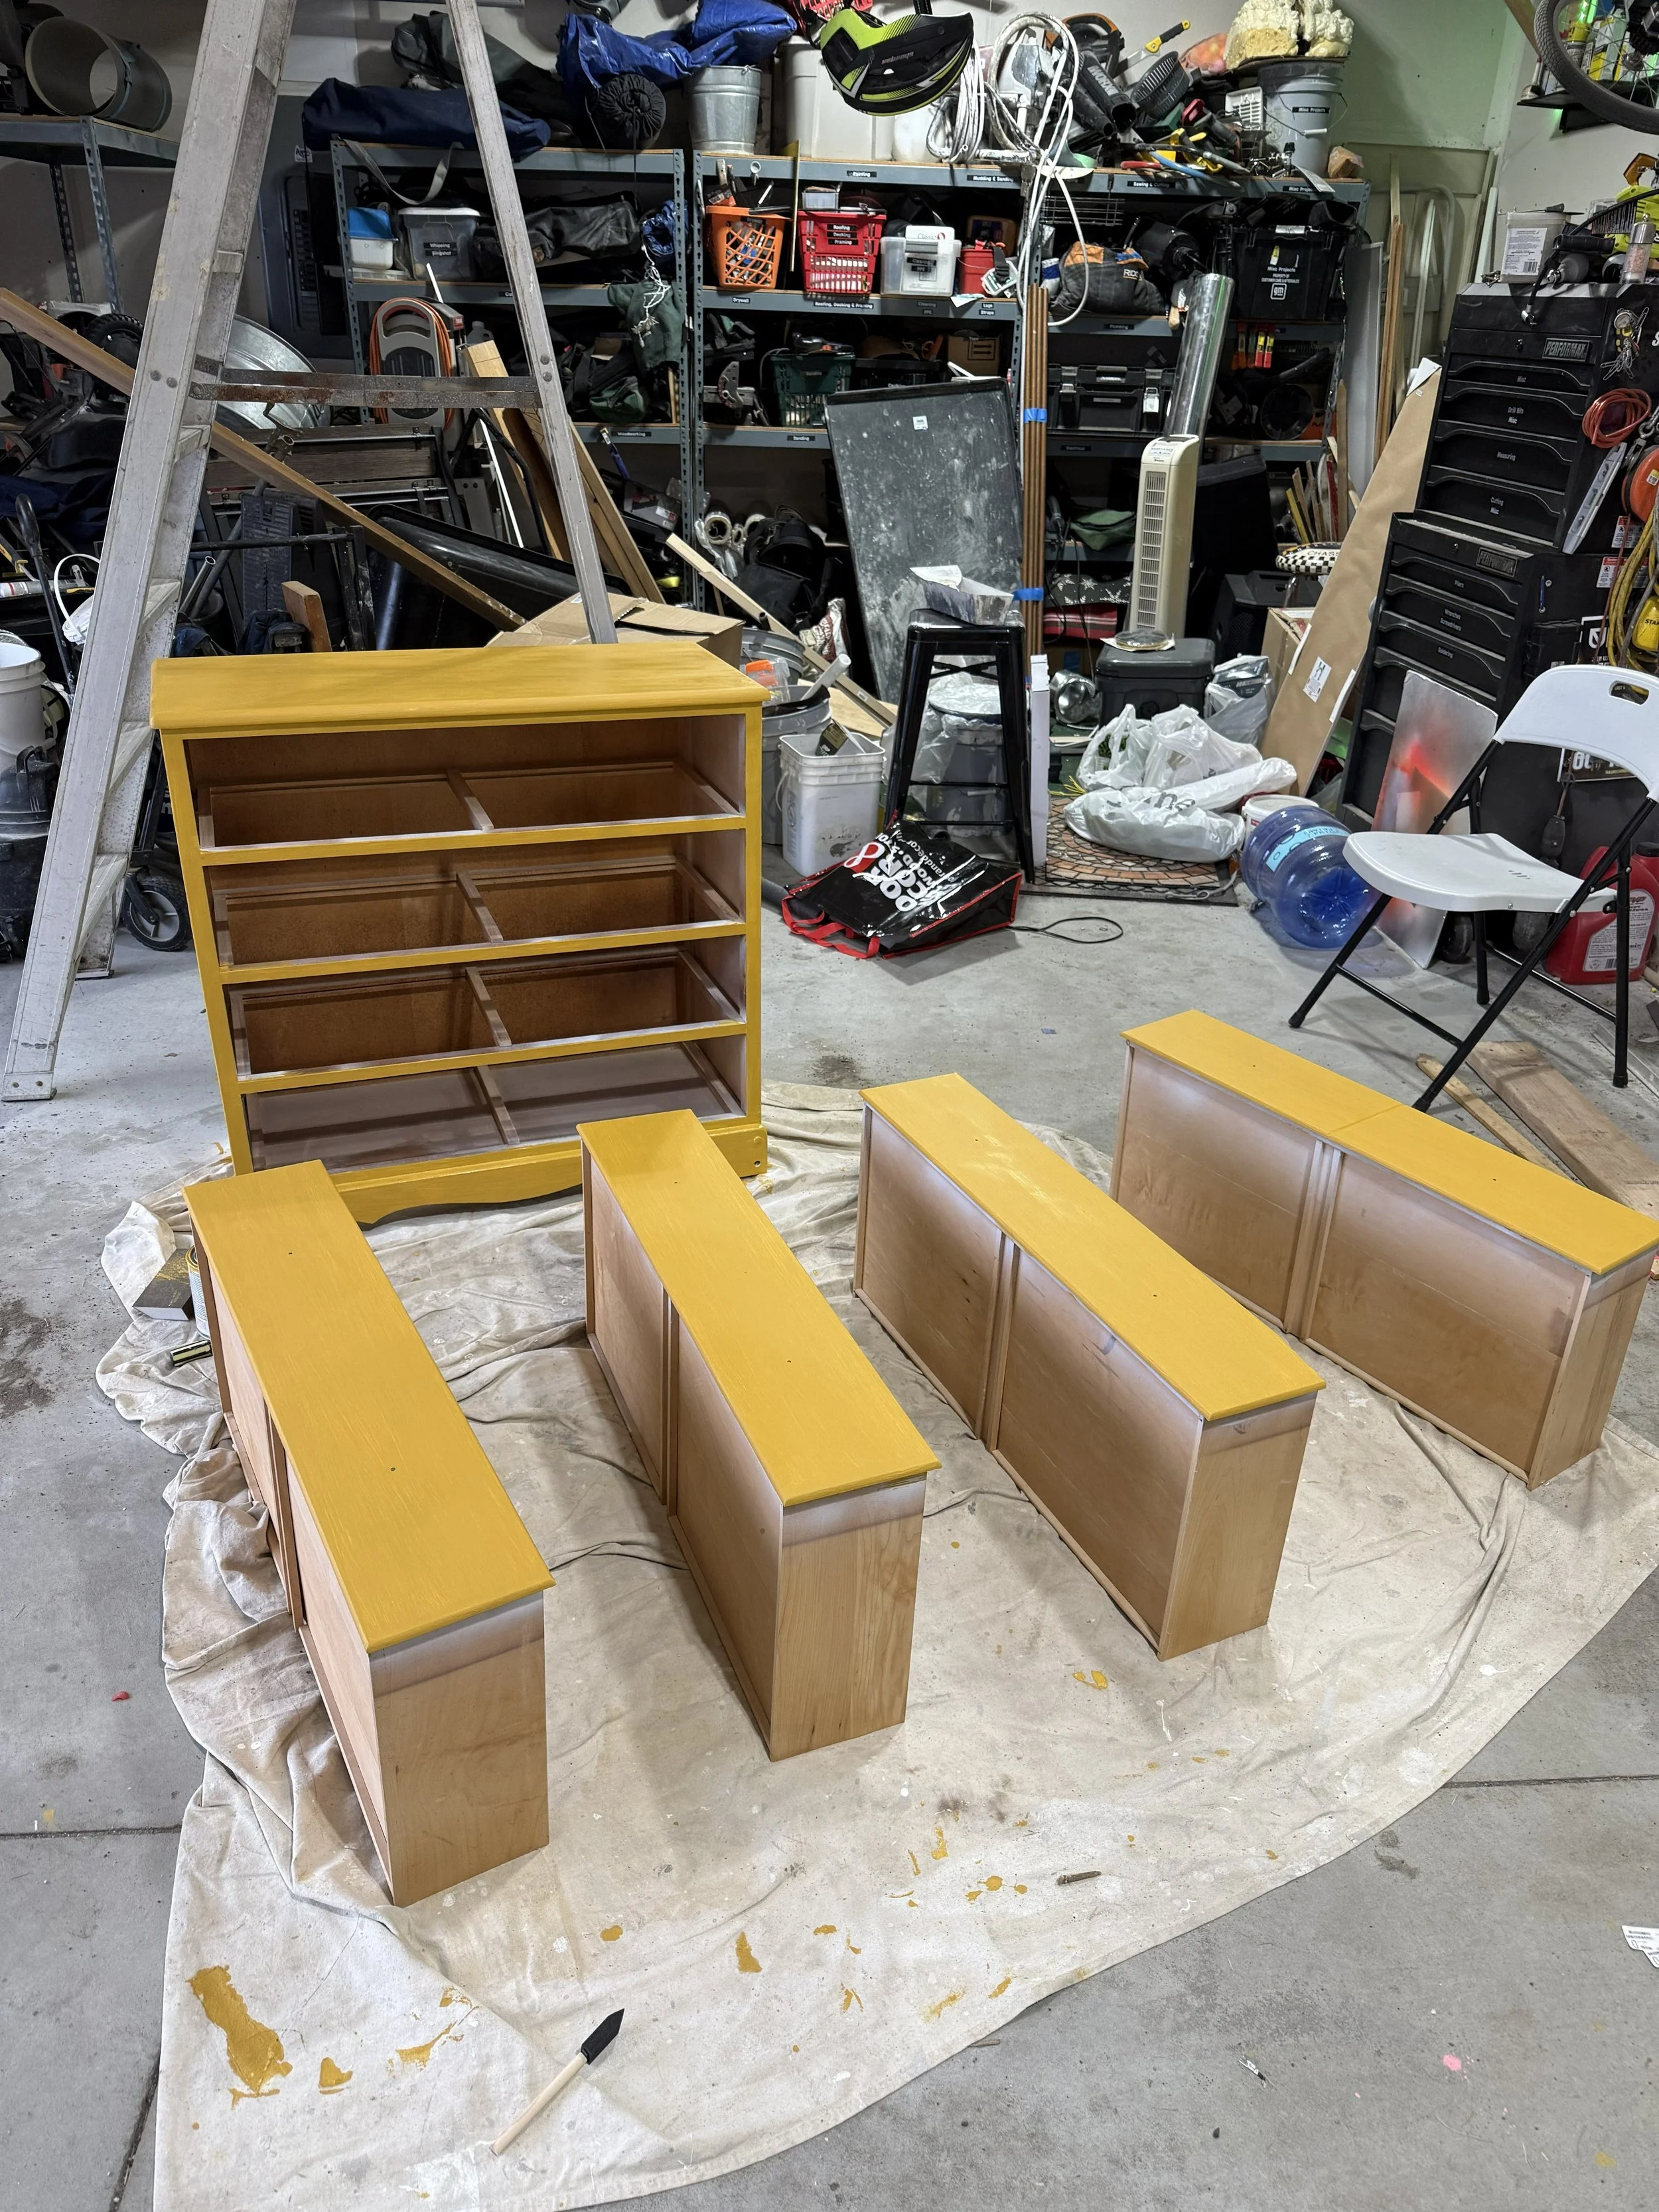
To finish it off, of course I needed some fun knobs, and I love how these ones brought in the pop of pink as well.
Finishing Details
Any ice cream sundae is made better with sprinkles on top, and there are a few finishing details that were my favorite little sprinkles that helped to complete this bedroom makeover!
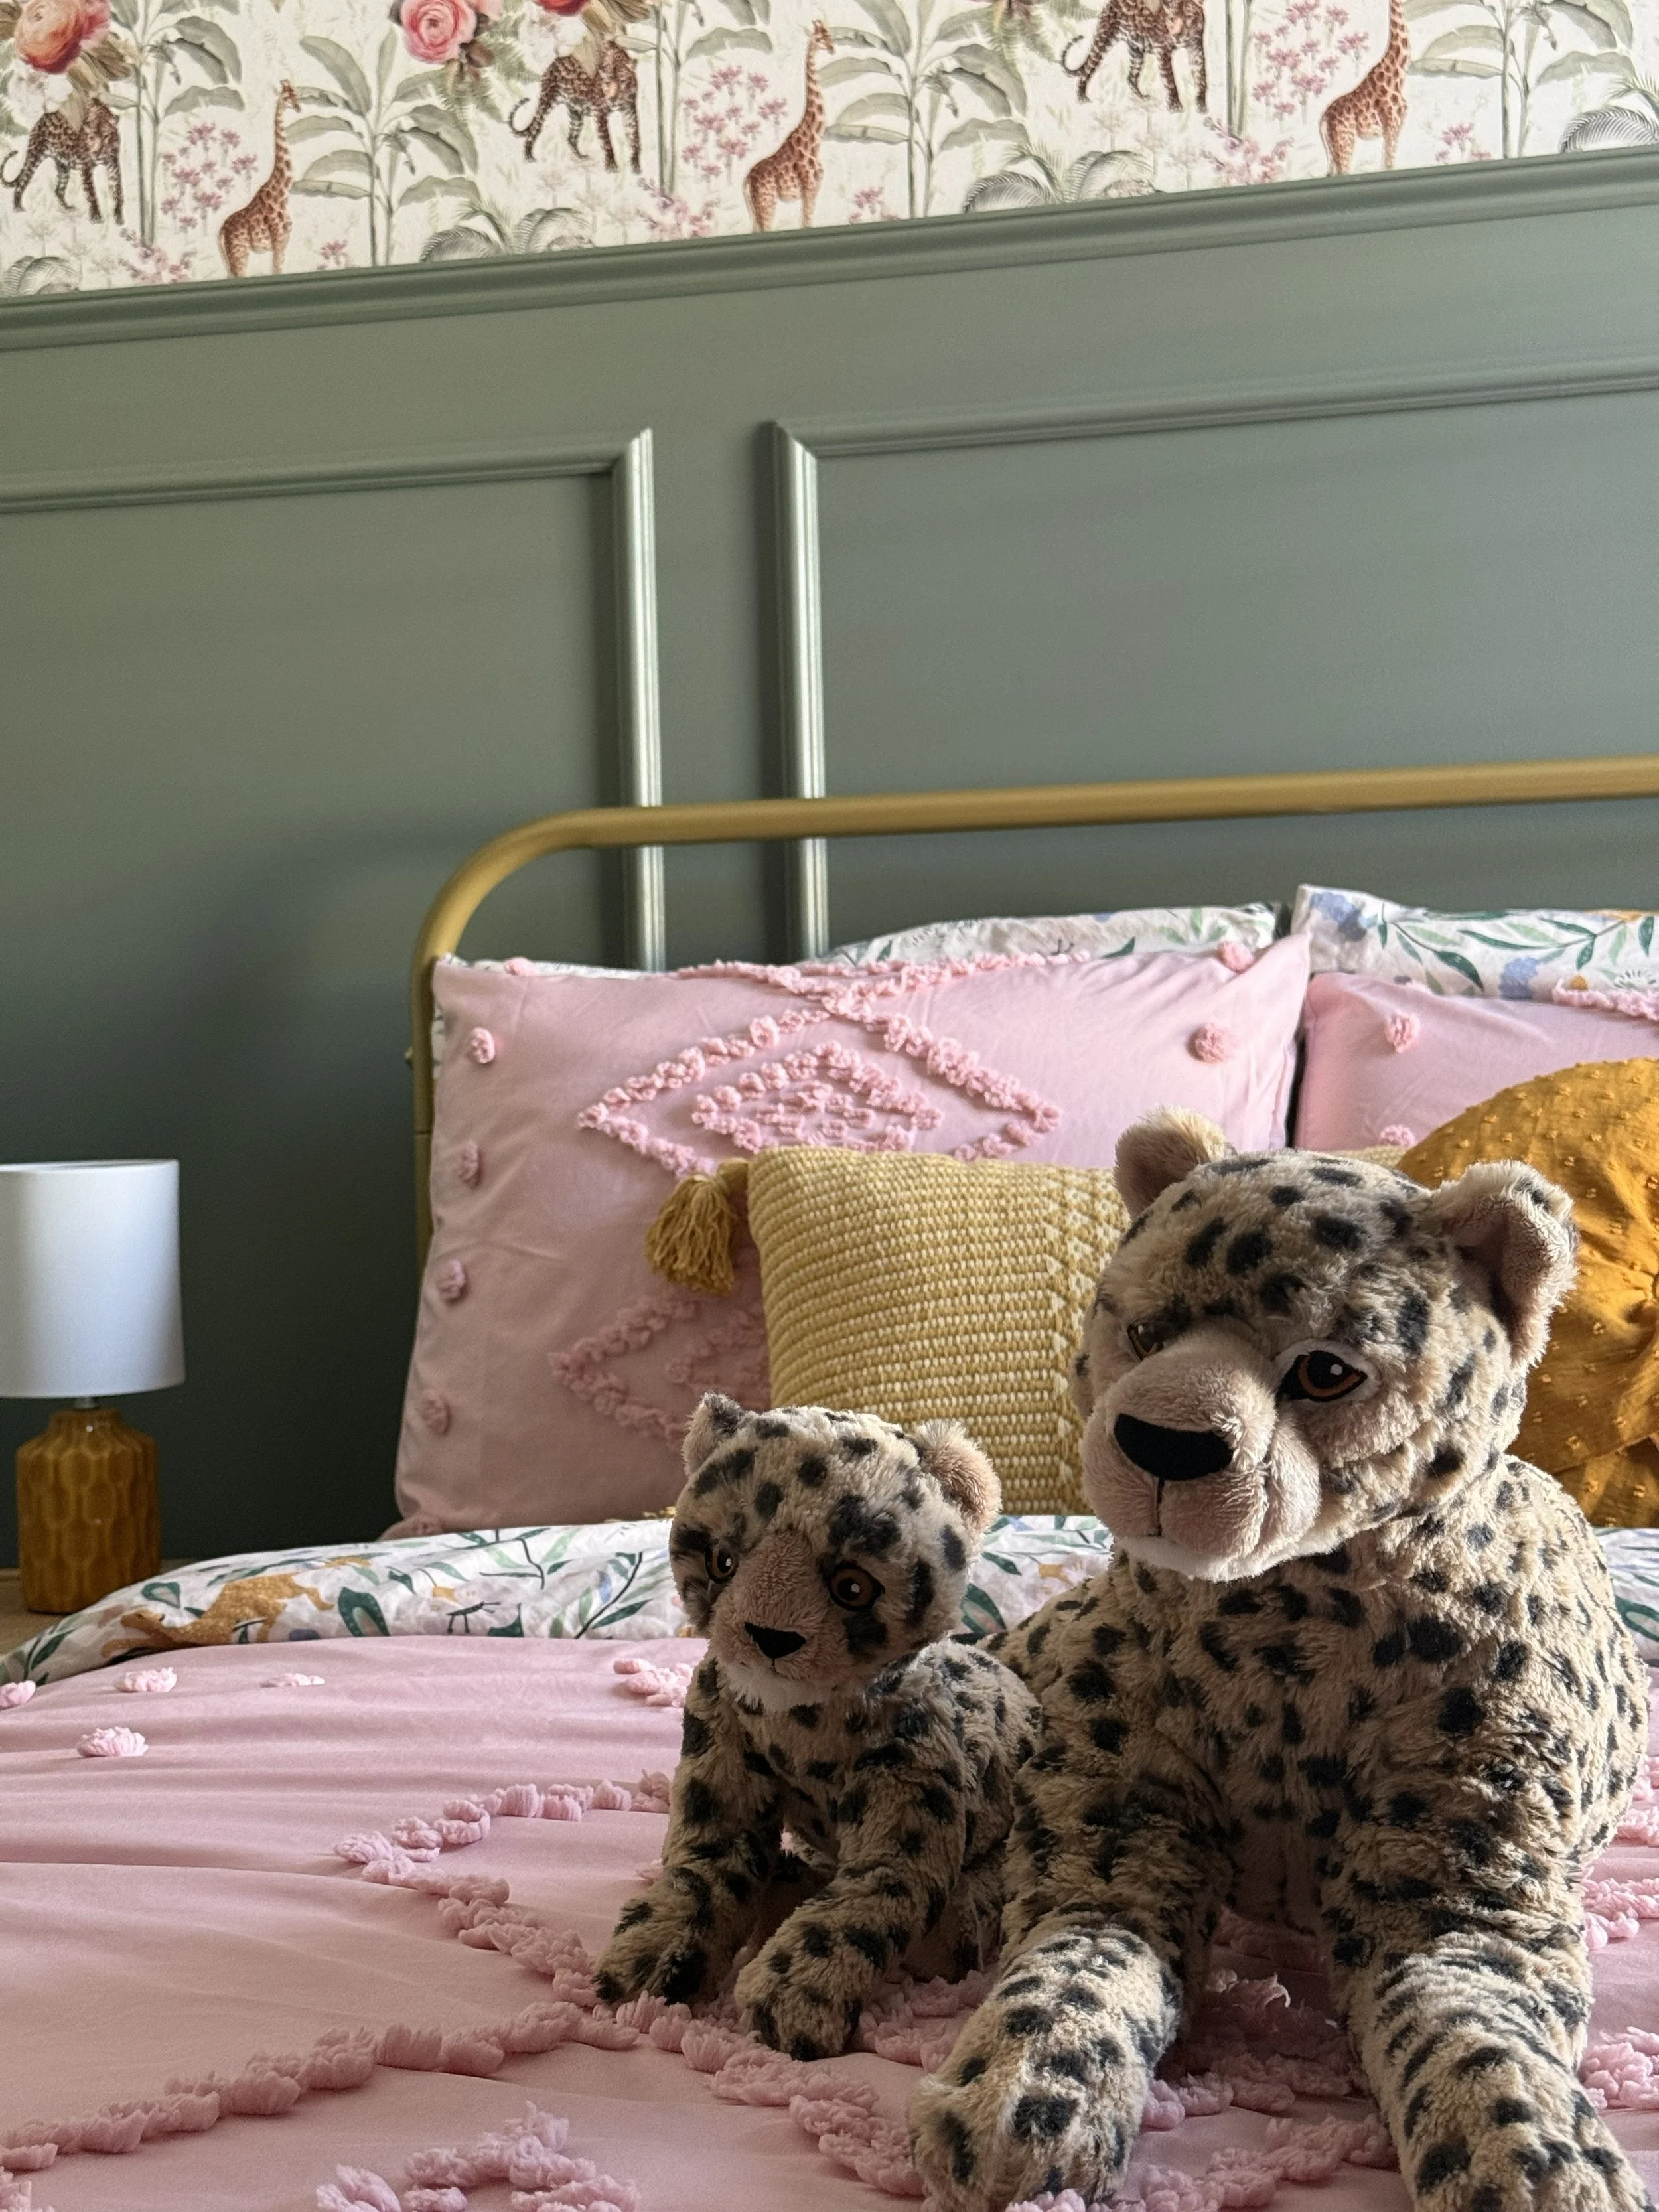
My girlie loves animals, stuffies and babies, so this little mama and baby cheetah set from Ikea were a must-have for the room. They are SO cute in here.
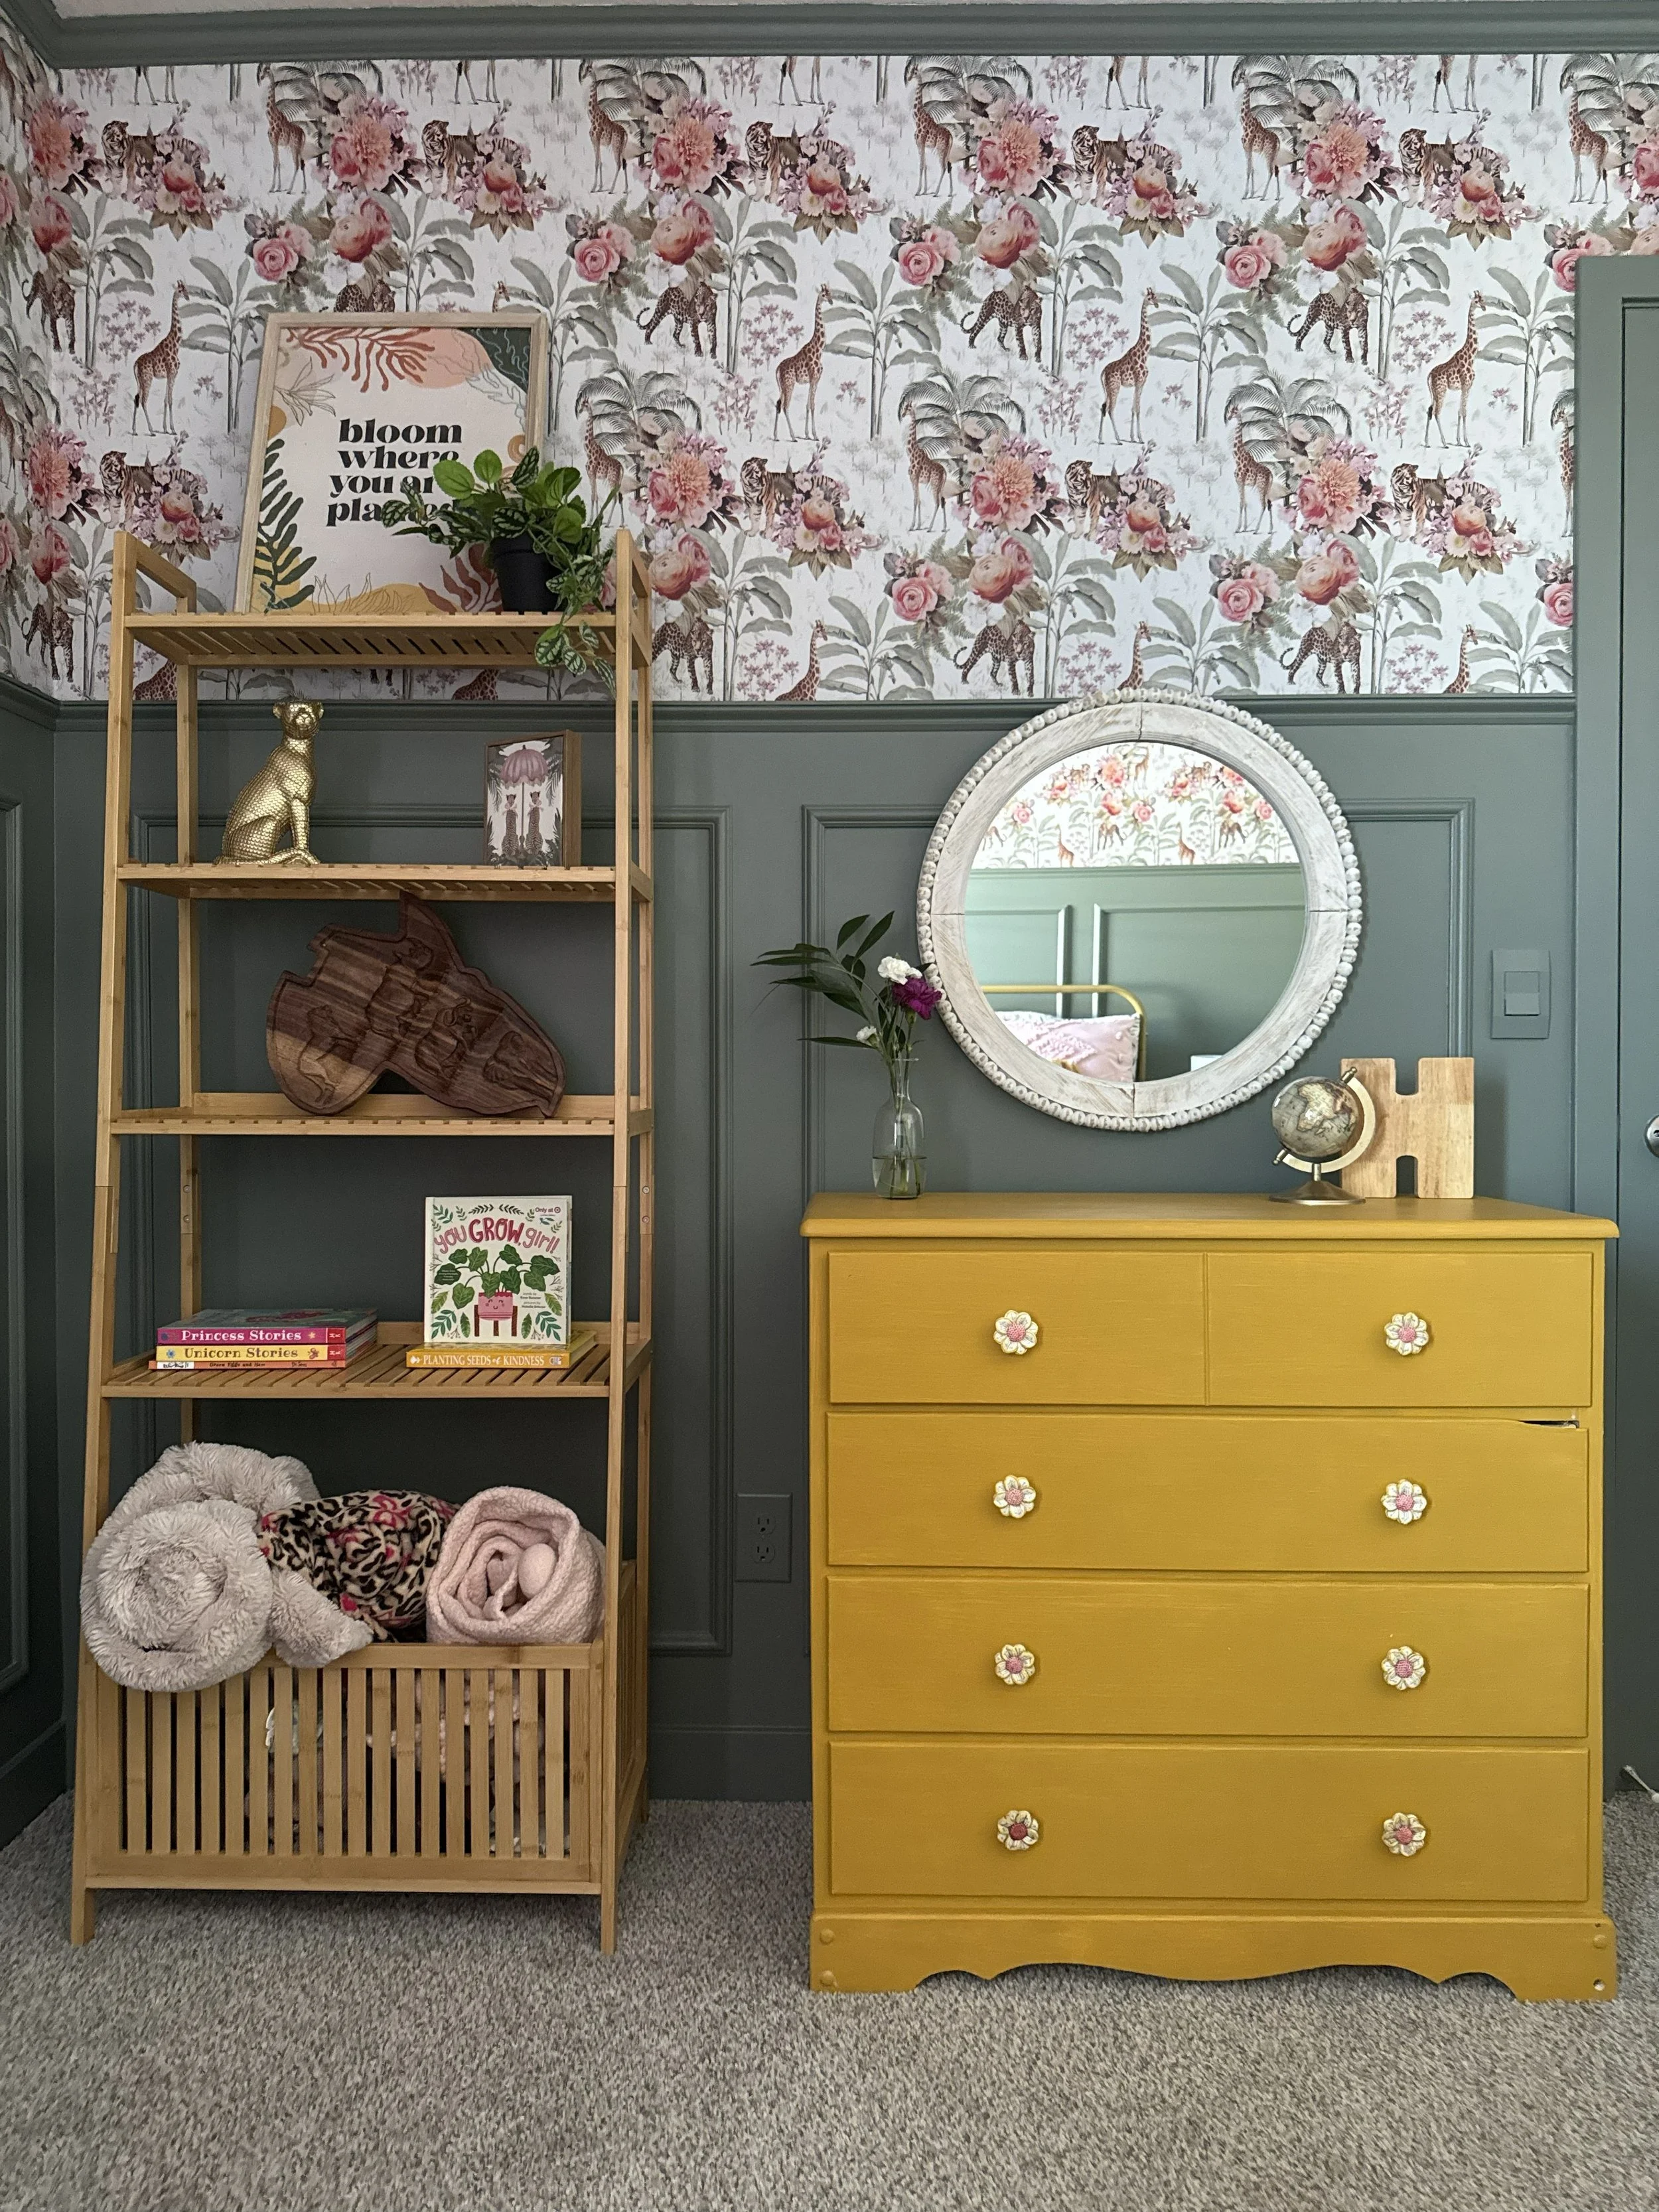
The nursery had had a wall shelf for books, and so we upgraded to this bamboo ladder shelf from Amazon in the big girl room. This shelf has many purposes, from being a functional place to store books and blankets (the little basket at the bottom is CLUTCH) to also being a way to display our jungle themed décor.
I was concerned about how we might hang this large piece of art, a canvas with a gold-beaded frame from Target, with the wainscotting, but it actually looks great hanging between the wainscotting and the wallpaper!
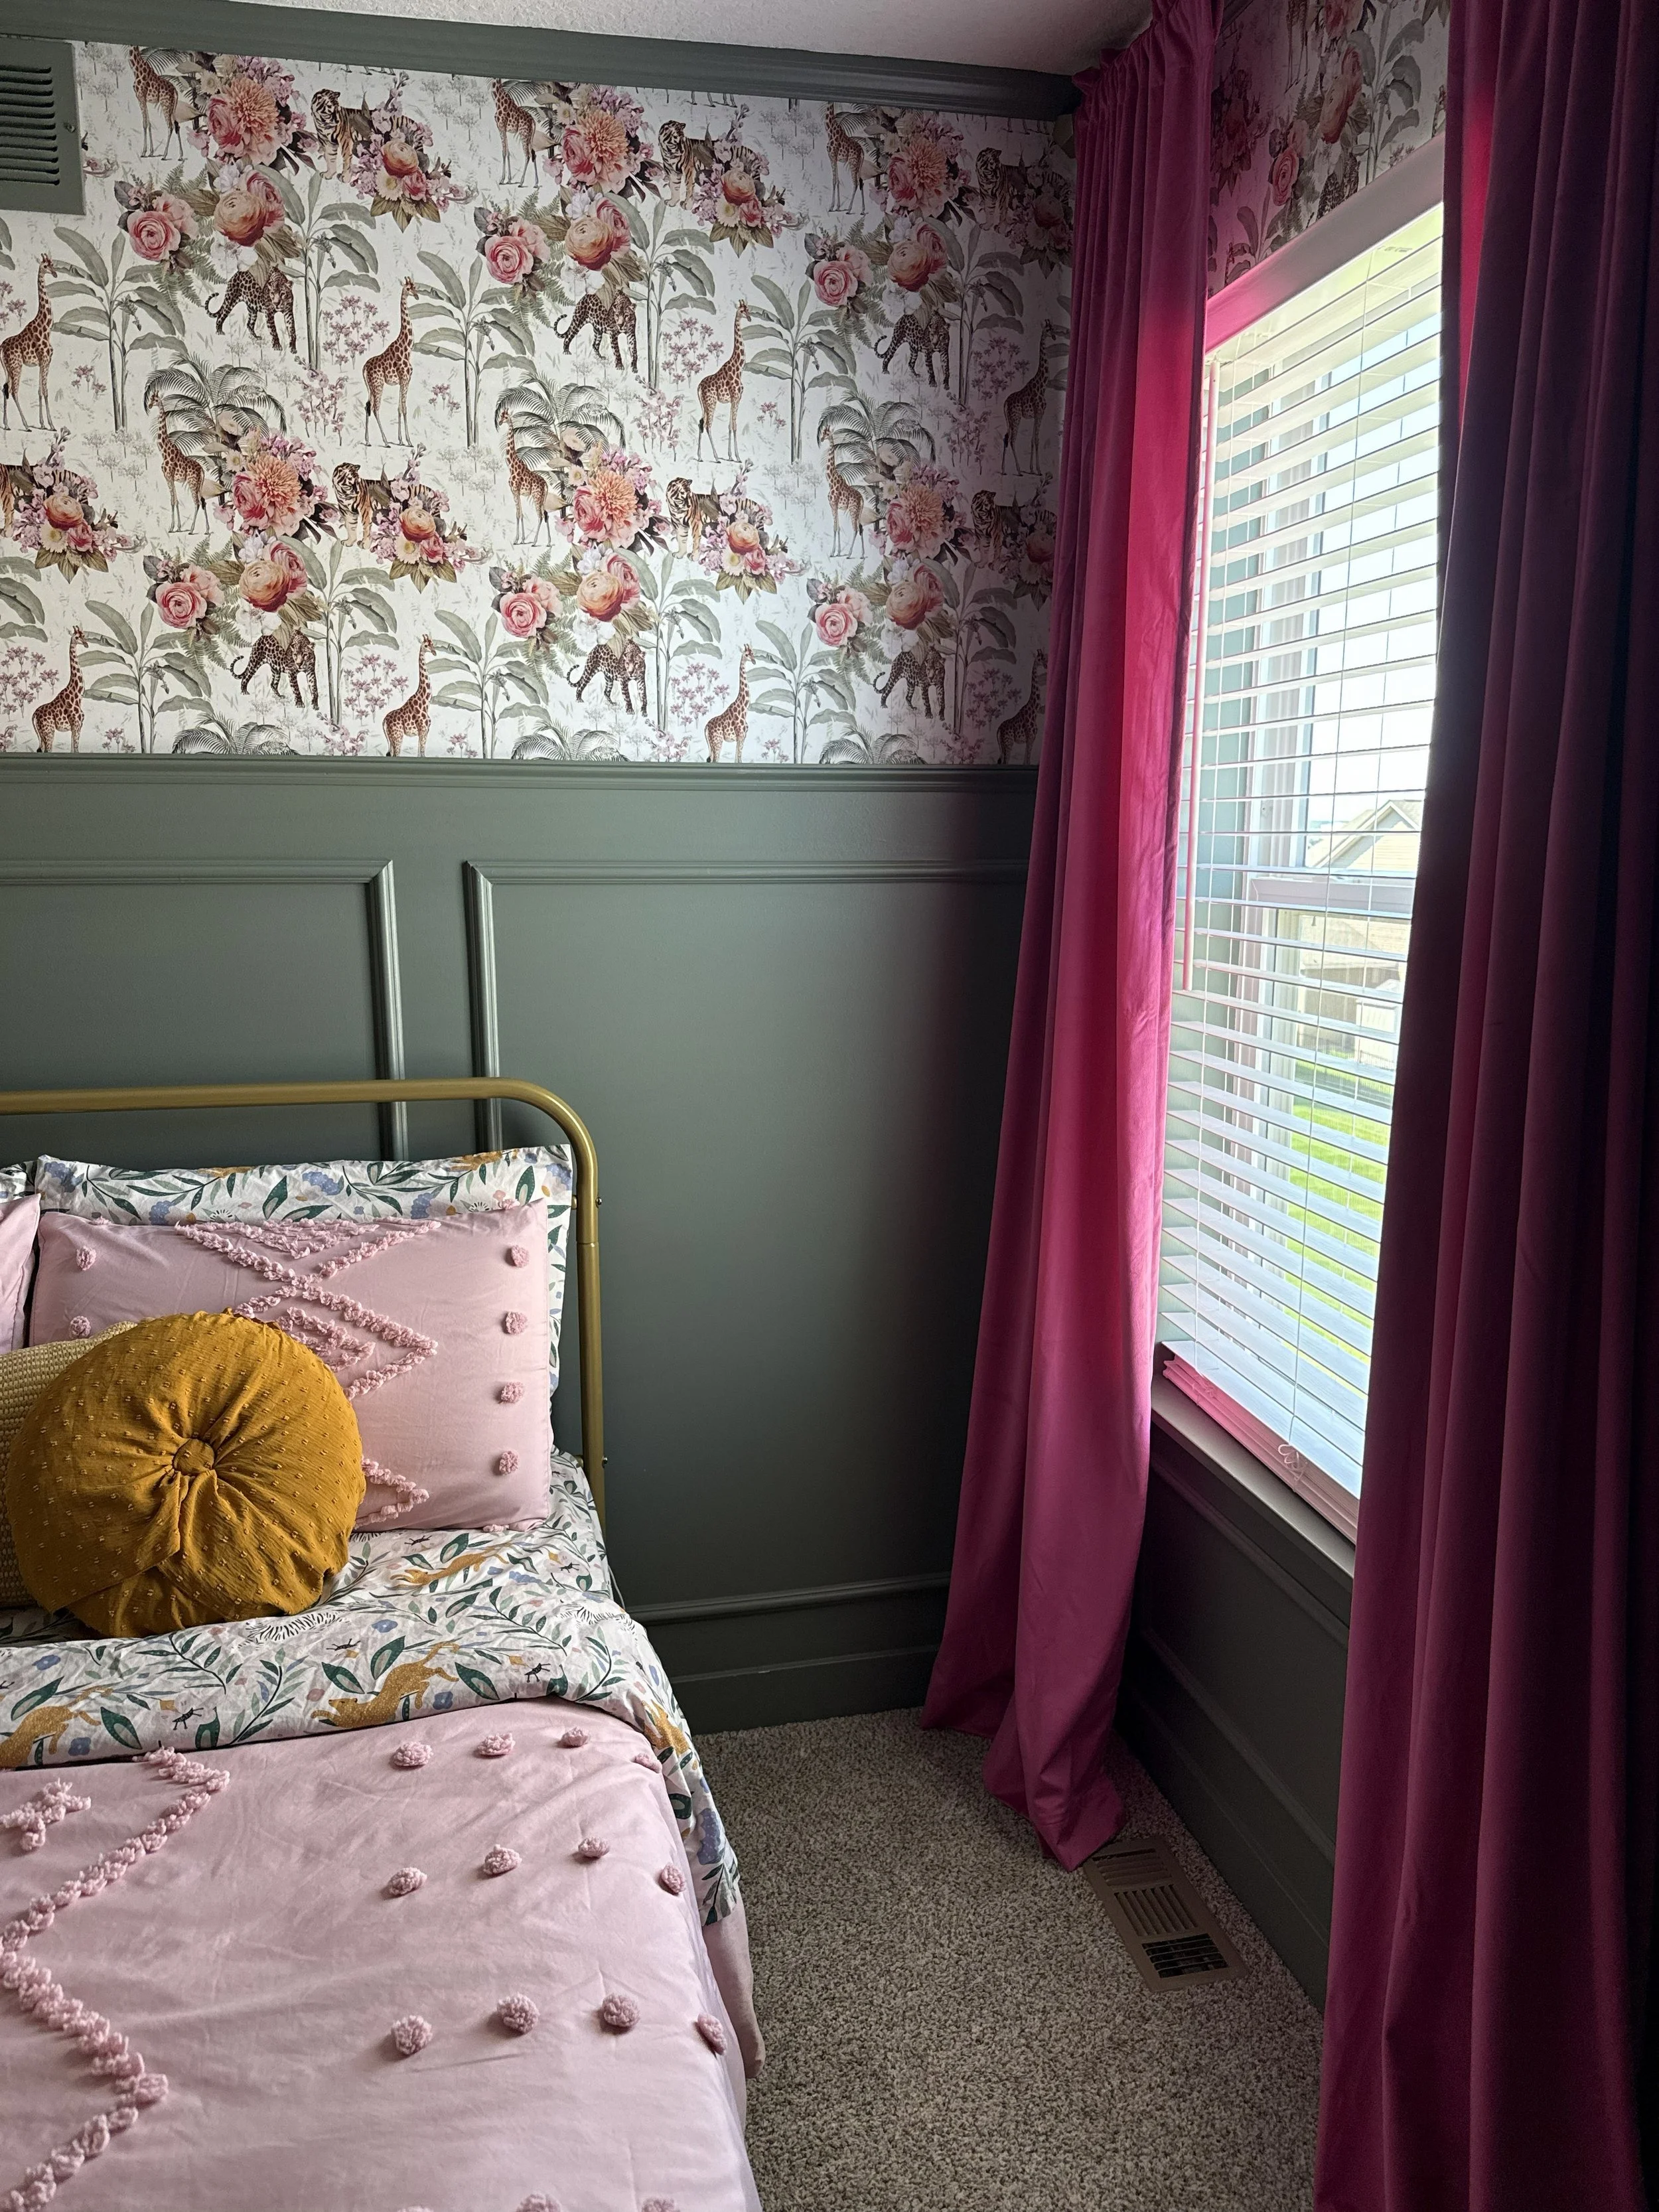
Henry and I LOVE projects like this that combine his technical abilities (he is an excellent and fast woodworker and painter) and my design dreams and this room quickly became another favorite space in our home. Take a look and see some more finishing shots of the space!
Feel inspired by this project? Be sure to follow IDIA on Instagram for more behind the scenes looks at projects like this, inspiring finished products and tips and tricks for making the most out of your home and your space. And don’t forget to reach out and see if IDIA can help turn your own home reno dreams into reality!