
From Concrete Playground to a Bright, Airy & Organic 2nd Living Space: A Basement Finish Story
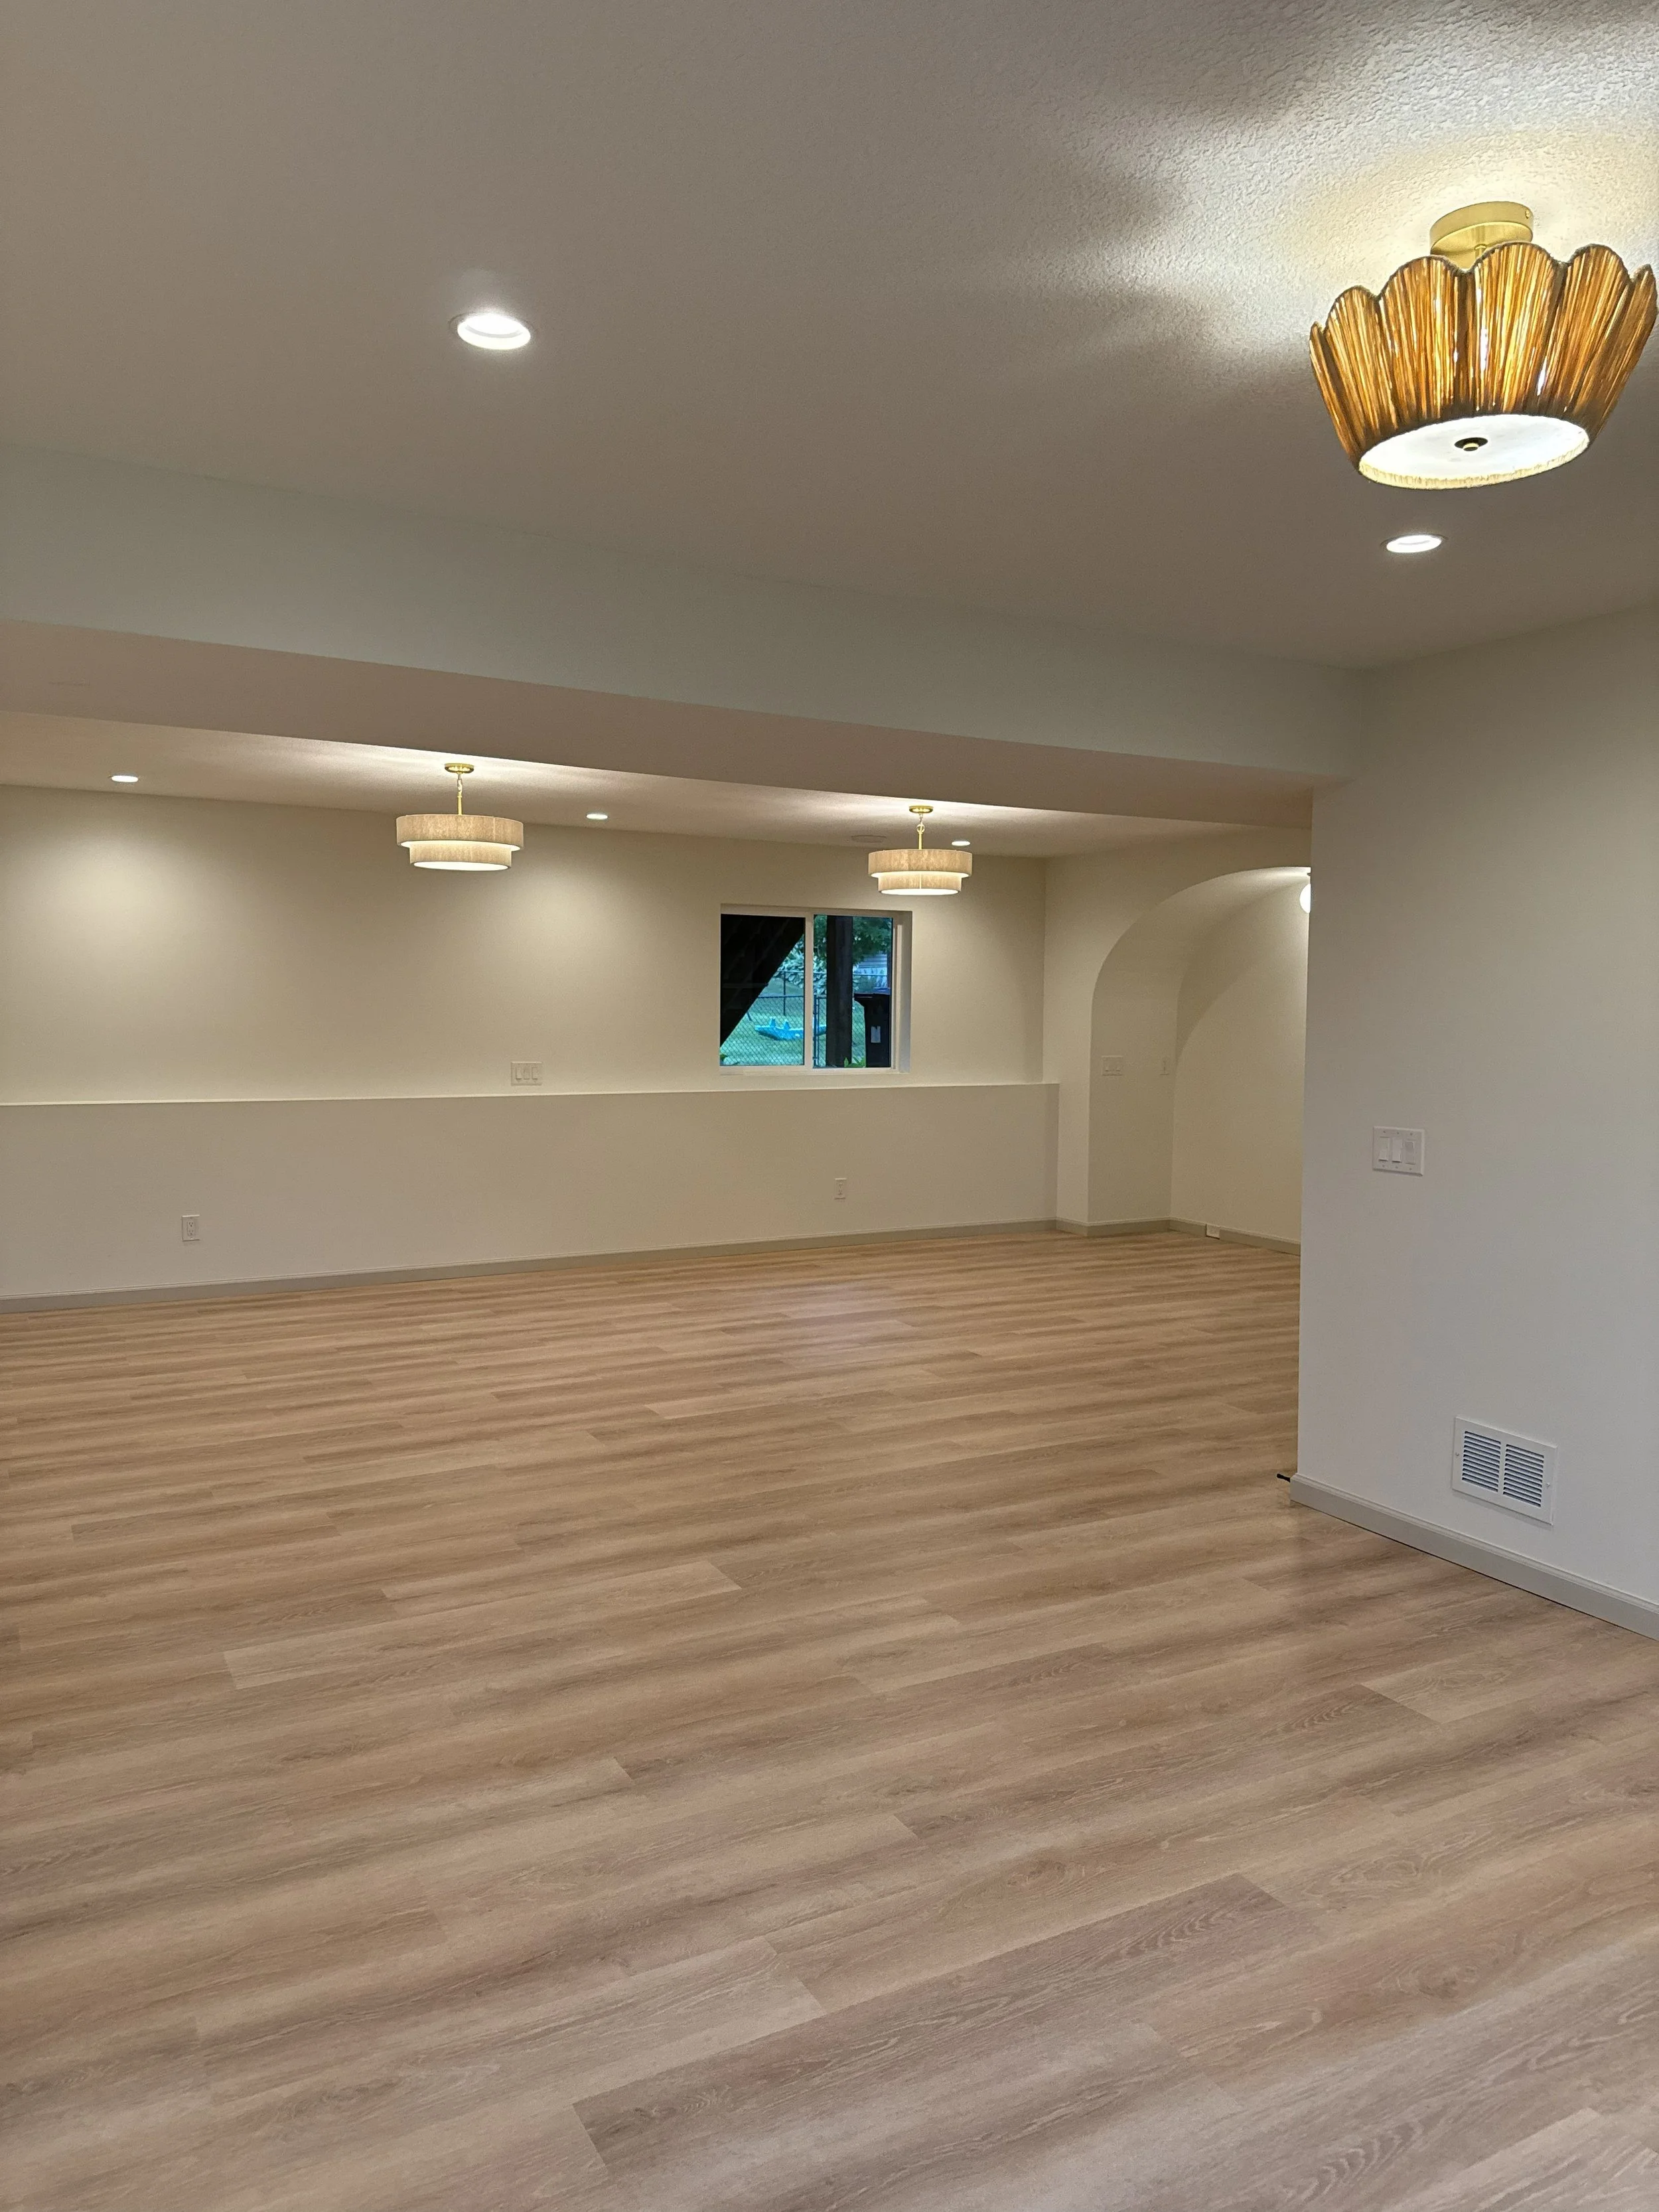
As this family expanded from a family of 5 to a family of 6, they knew they would be outgrowing the main area of their split-entry home. Lucky for them, their home sat on top of 1,000 sq ft of endless potential in the form of an unfinished basement! So it was time to finally dive headfirst into this major renovation project.
From initial design & mood boards, to framing & drywalling to a finished full bathroom & custom painted doors, IDIA was there every step of the way bringing this vision to reality. In the end, we ended up with a fully finished basement that almost doubled this family’s square footage, gave some much needed breathing room, and not only transformed it into a beautiful and welcoming space, but a space with loads of functionality.
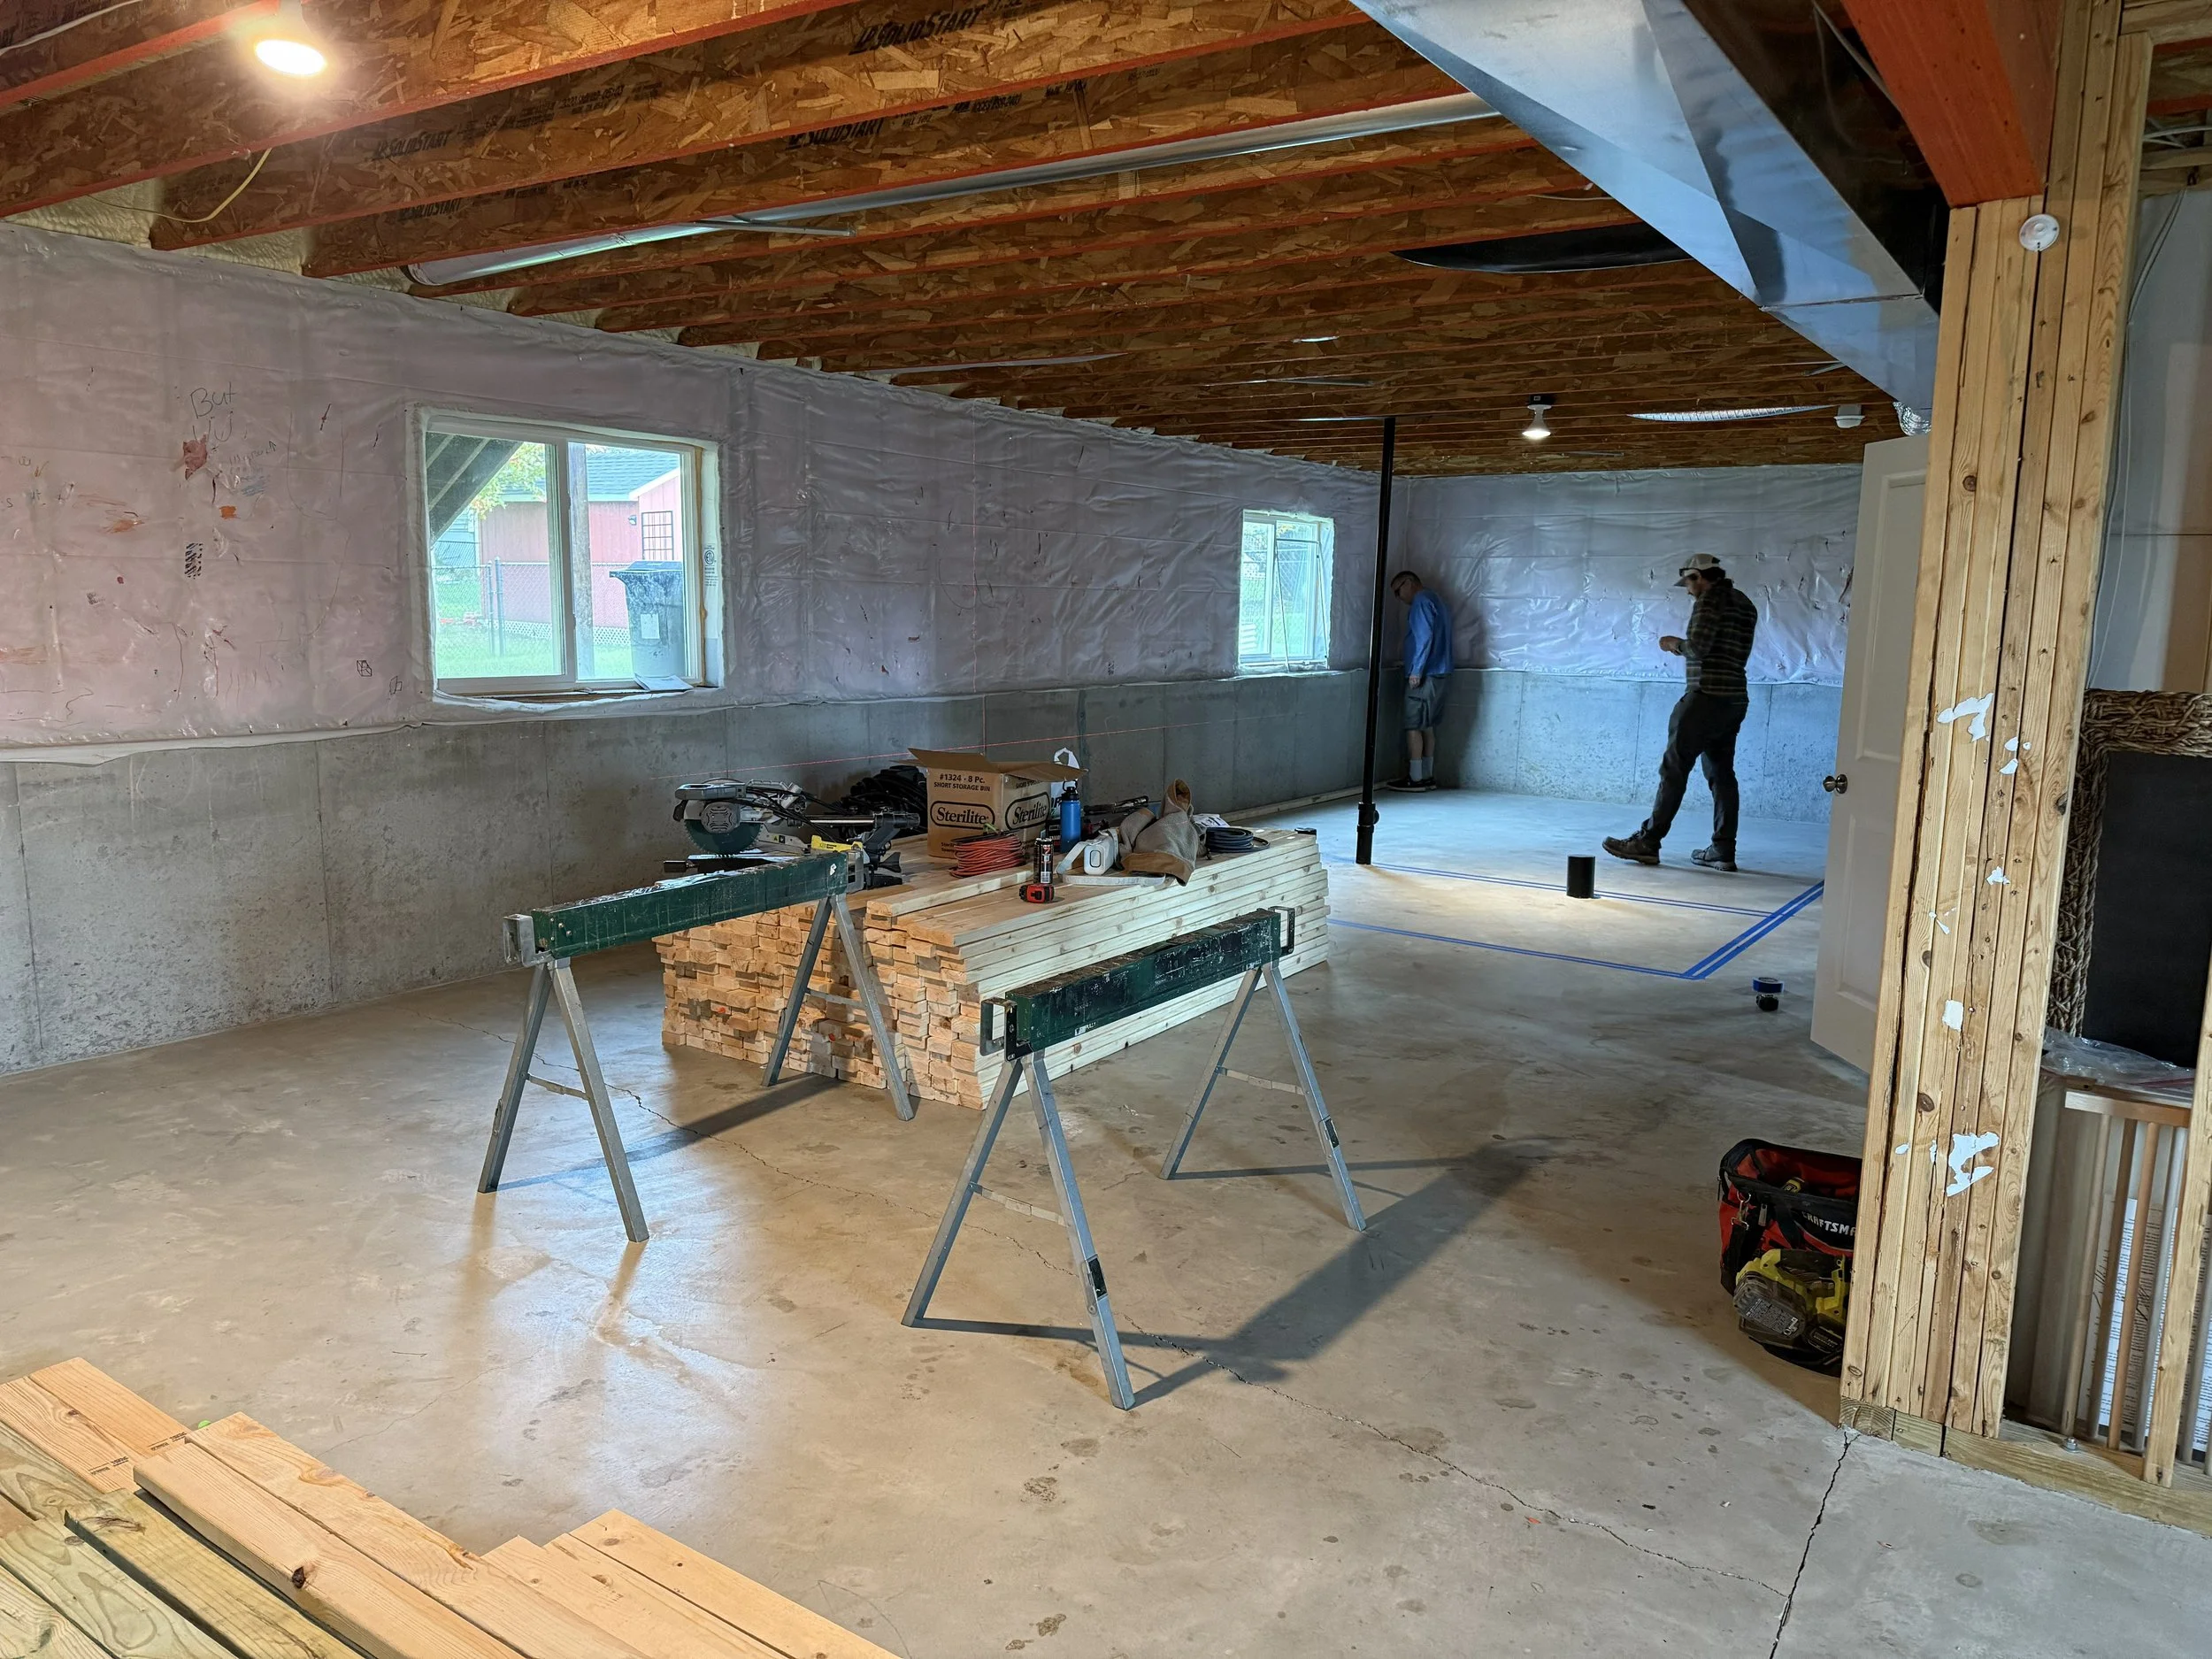
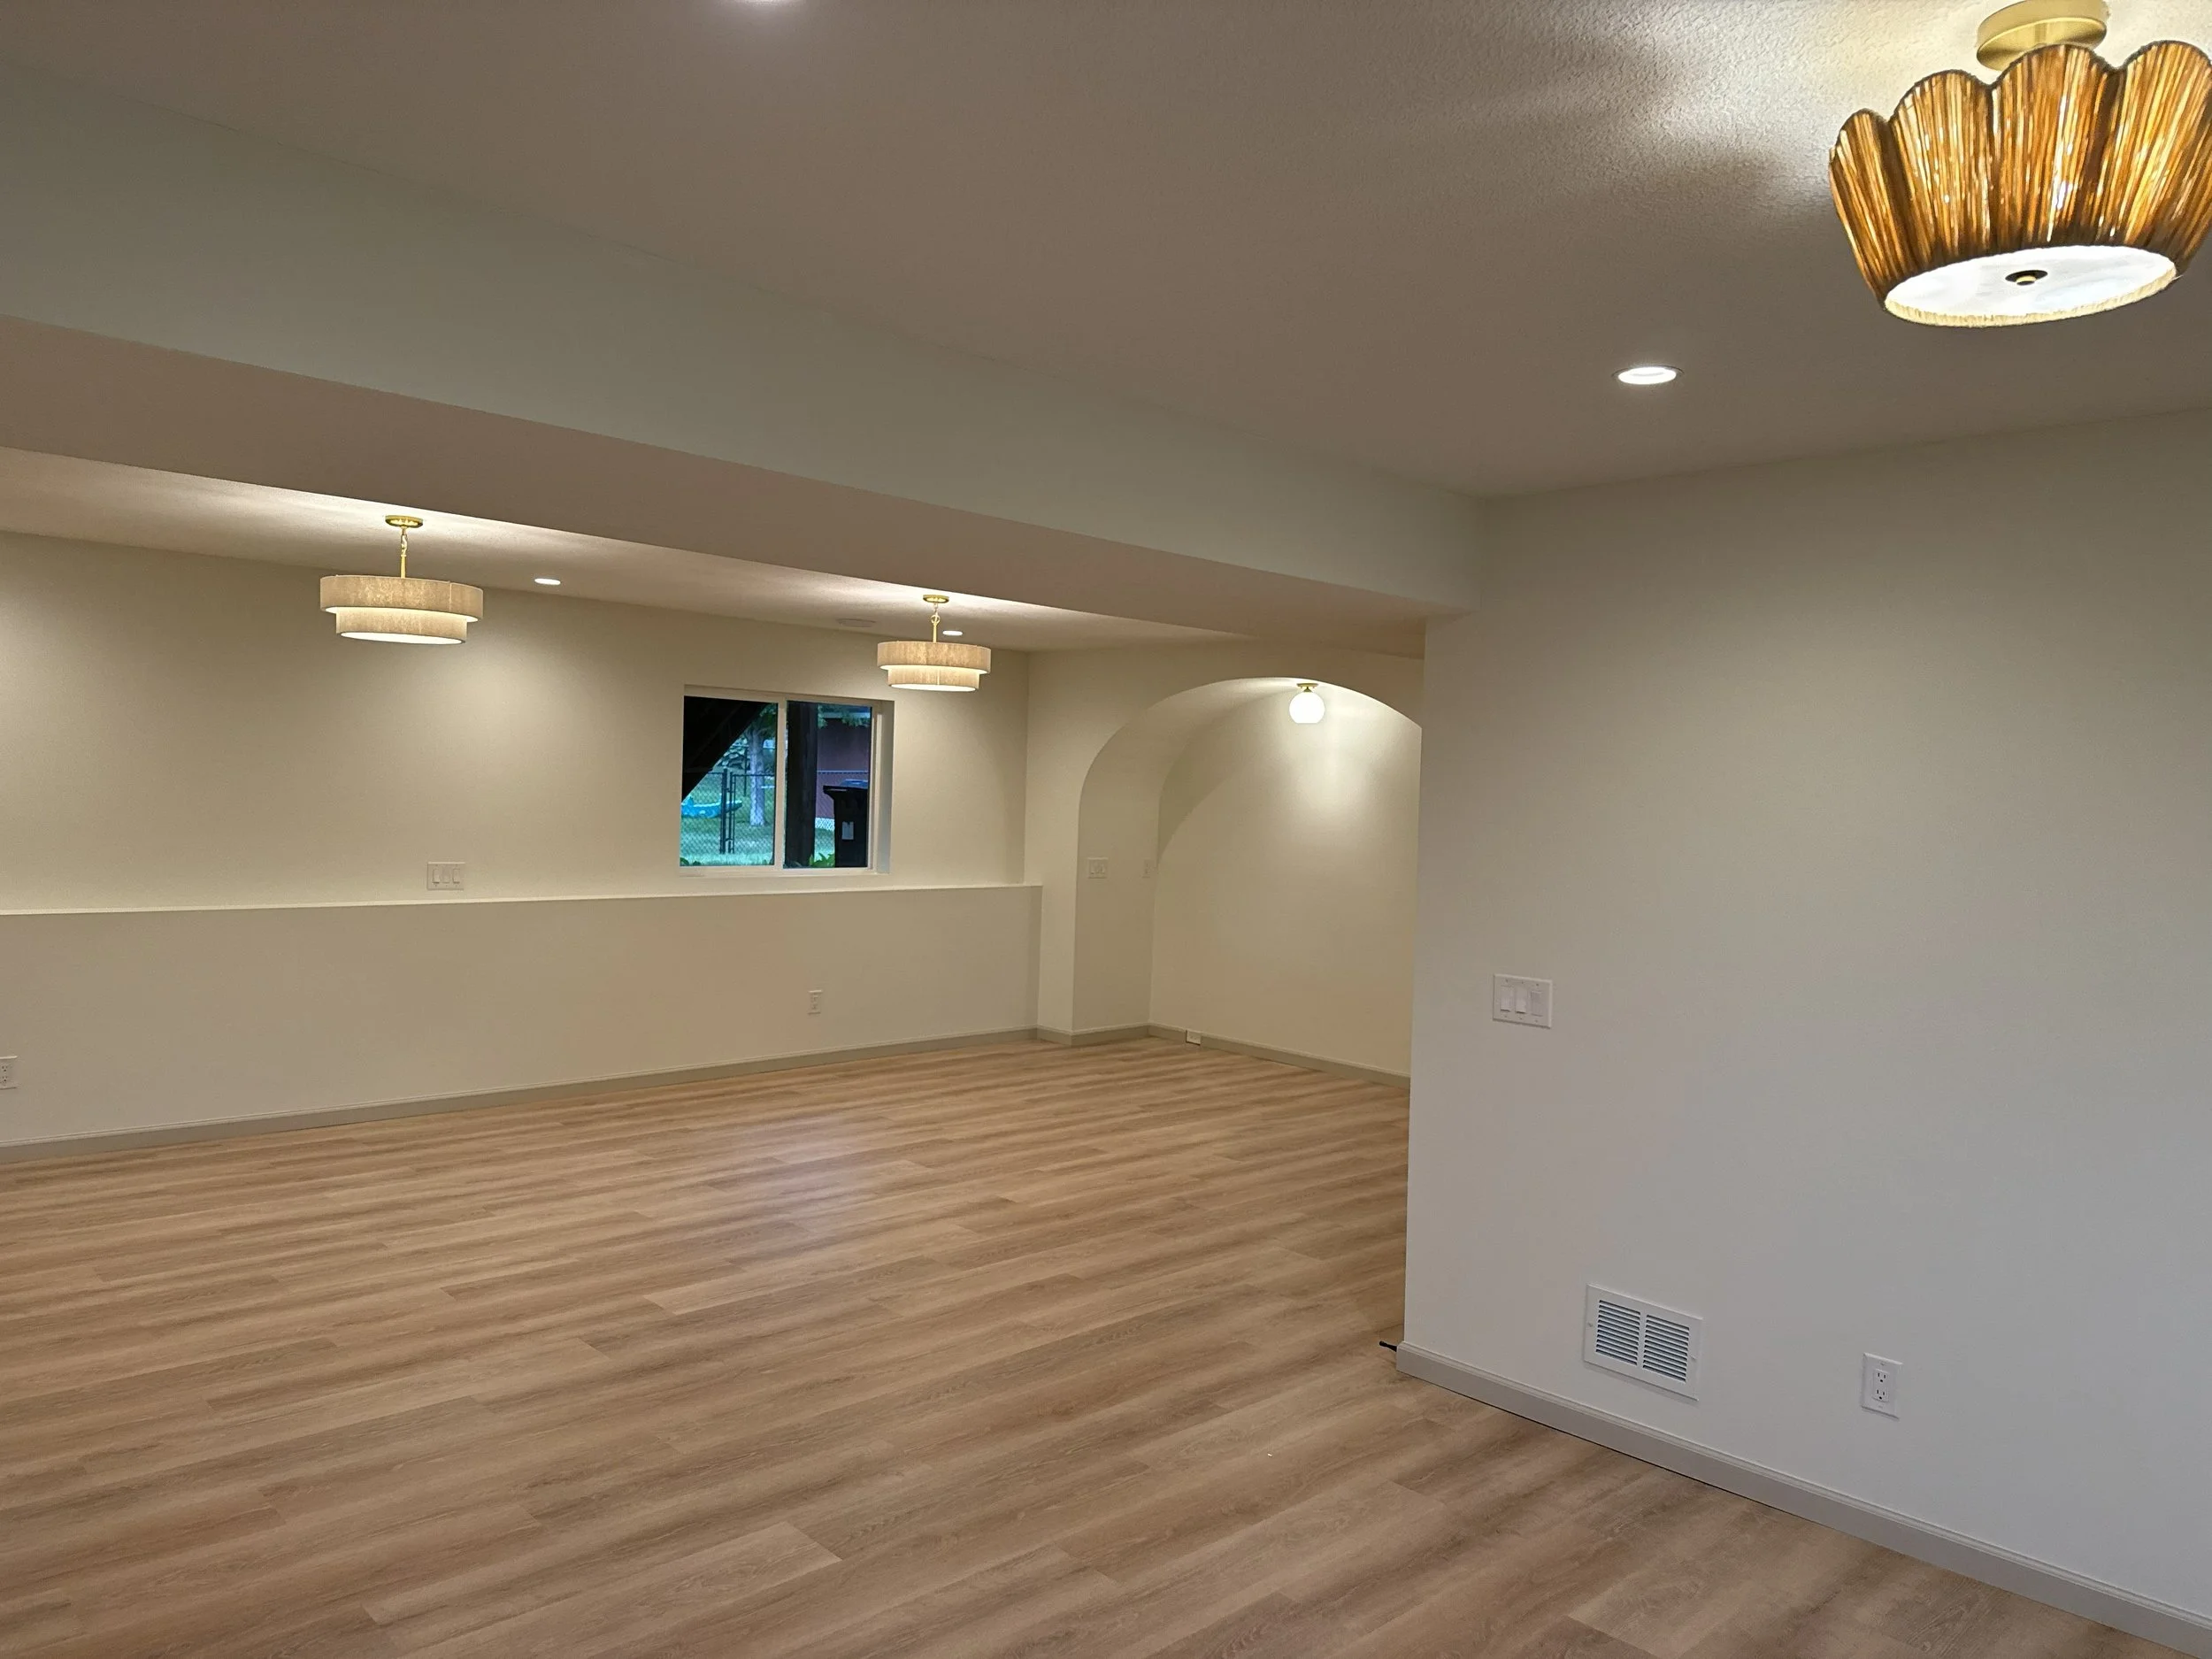
Read on for a look behind the scenes at this year-long project and take a deeper look at some of this basement’s key features including an arched niche, raised subfloor, painted doors and trim and full bathroom with checkerboard tile.
The Arched Niche: Early Planning and Long-Term Thinking
A large scale project like a basement finish begins long before the first hammer is swung. This client came to us with floorplan, a handful of inspiration photos and an ideal investment amount. Our job? To find a place where all these pieces could meet in the middle.
So before diving into construction, we spent several weeks working with the clients to pick finishes that both matched their aesthetic and wish list, but also helped keep them within their budget.
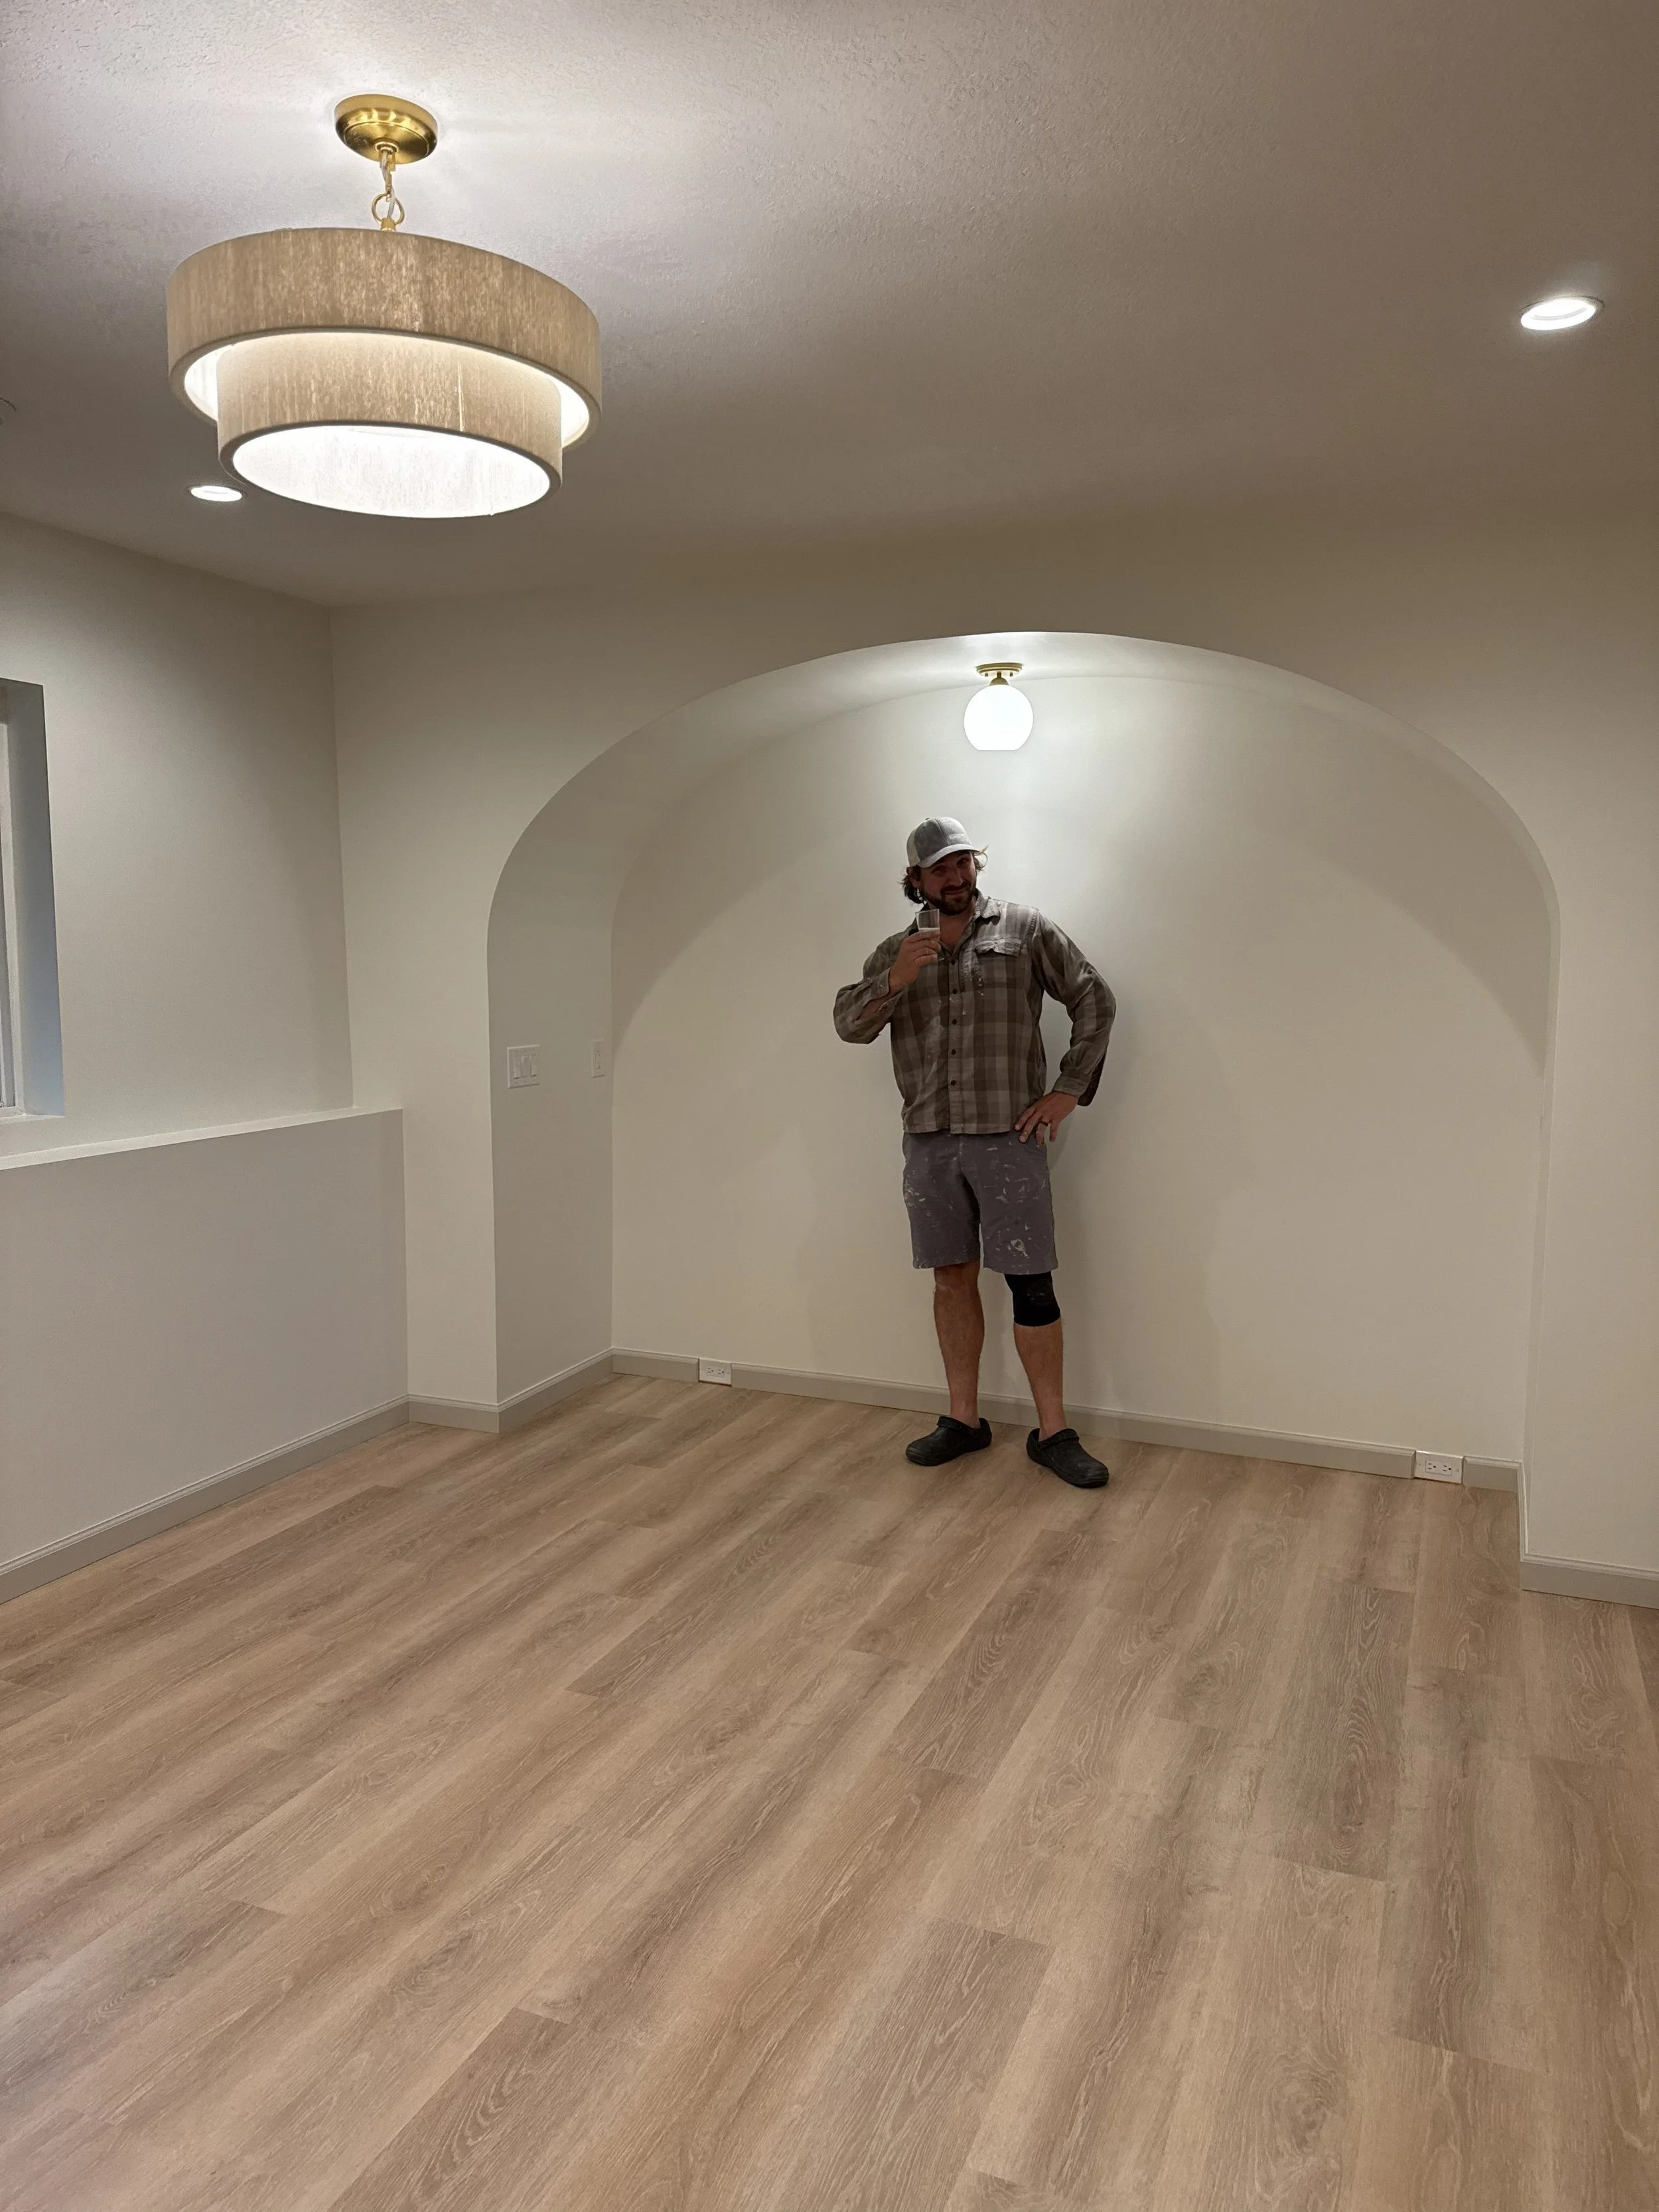
One item on the wish list for this client was an arched niche with a built-in dry bar.
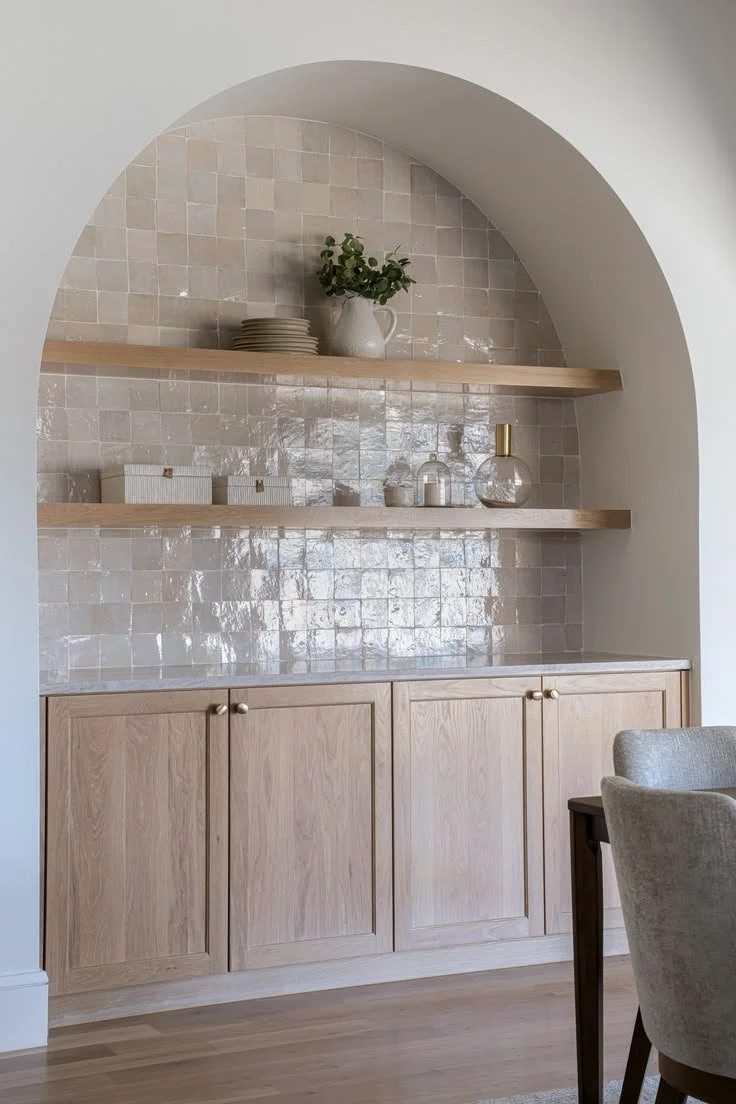
This was our early inspiration photo for the arched niche/bar bar. The client loved the organic brightness of the wood tone, the zellige tile wall and the floating shelves.
Photo Credit: Riad Tile/Pinterest
We quickly learned that this dry bar may be something that would push the budget over the top, but instead of forgoing it completely, we chose to build it into our design, with materials in mind for how it could be fully finished in the future.
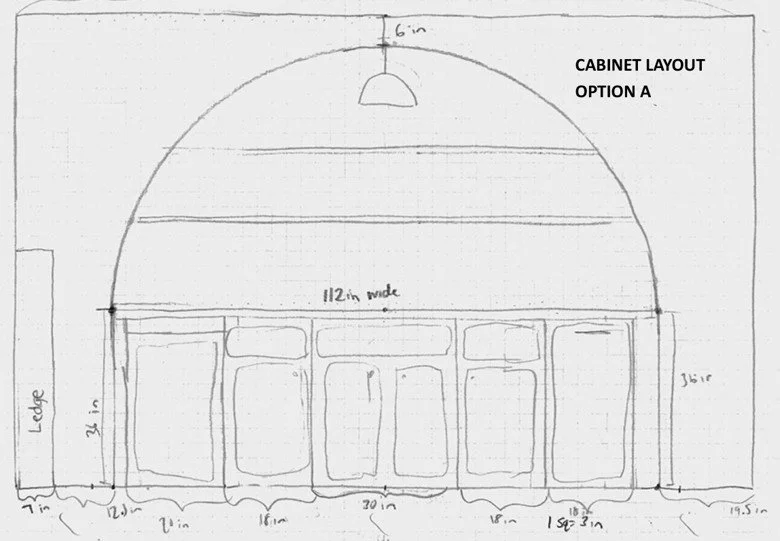
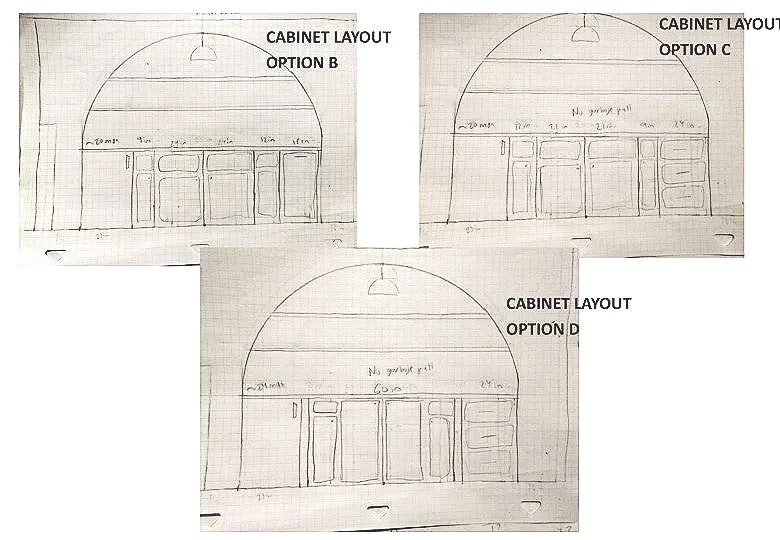
To set this client up to eventually get the dry bar of their dreams we did the following:
Framed and drywalled an arched niche with the appropriate depth and width for future cabinetry and countertops
Coordinated with electrician to install outlets within the niche at appropriate places for a future mini-fridge and countertop appliances
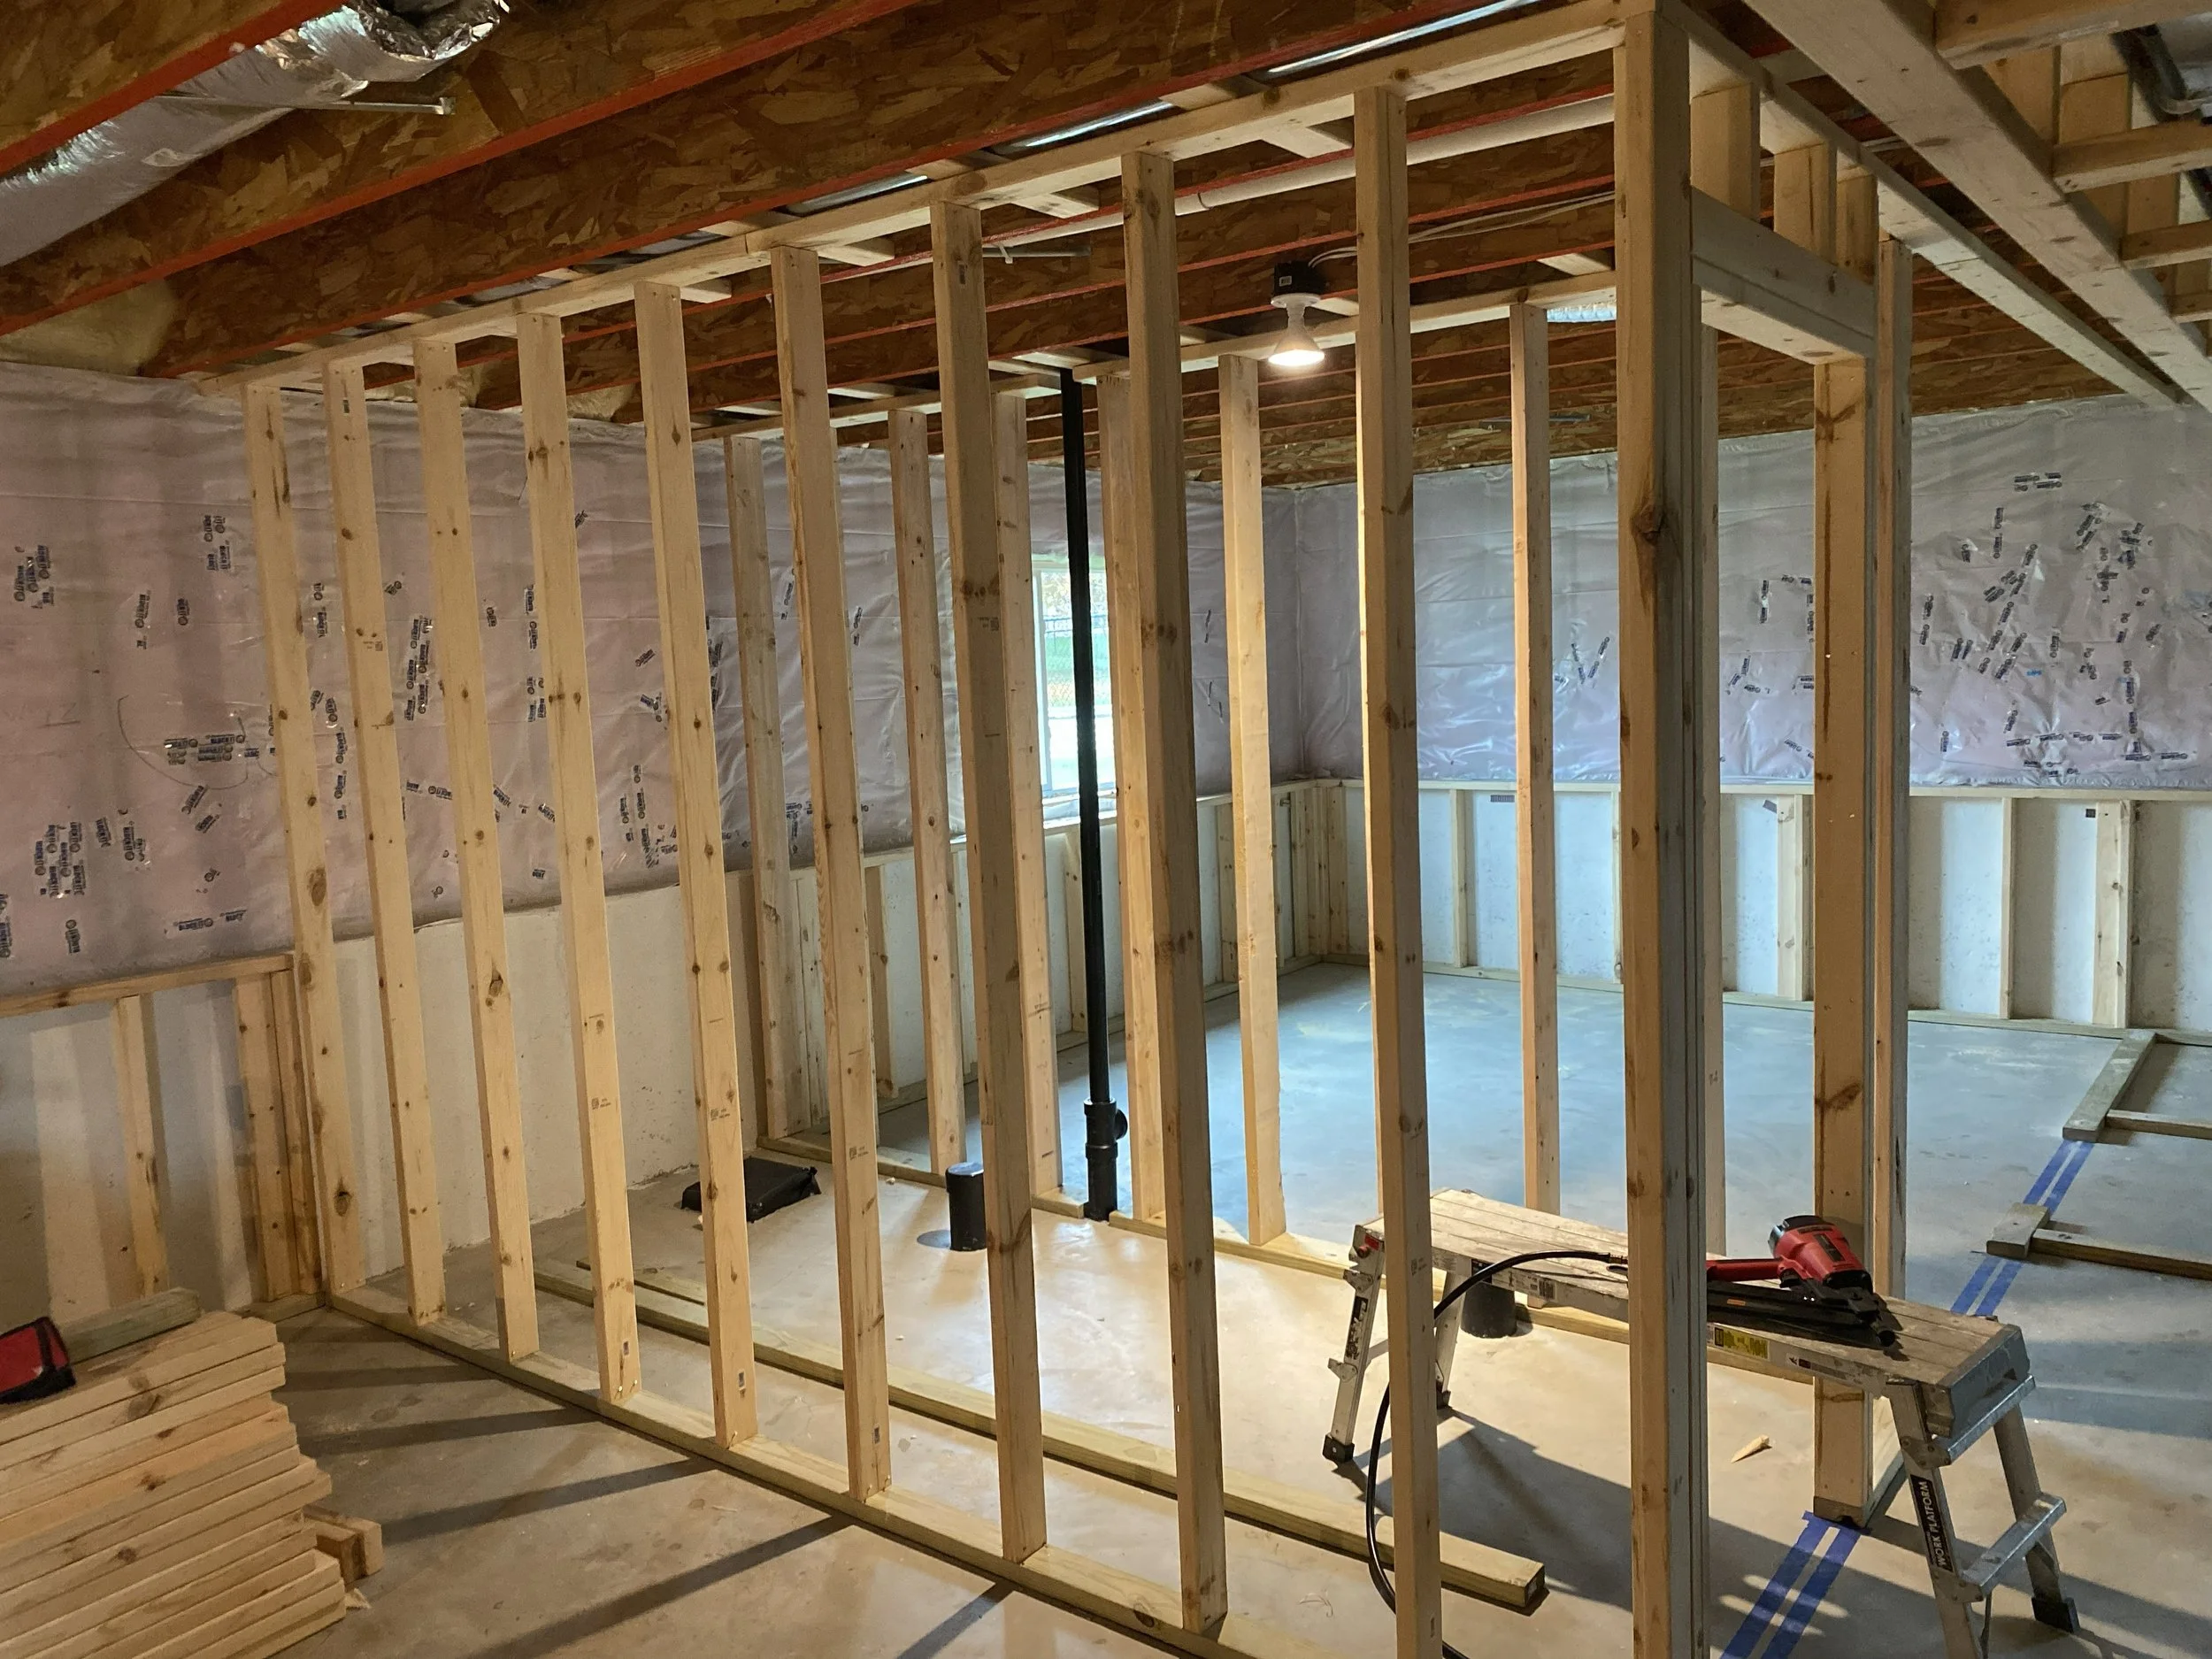
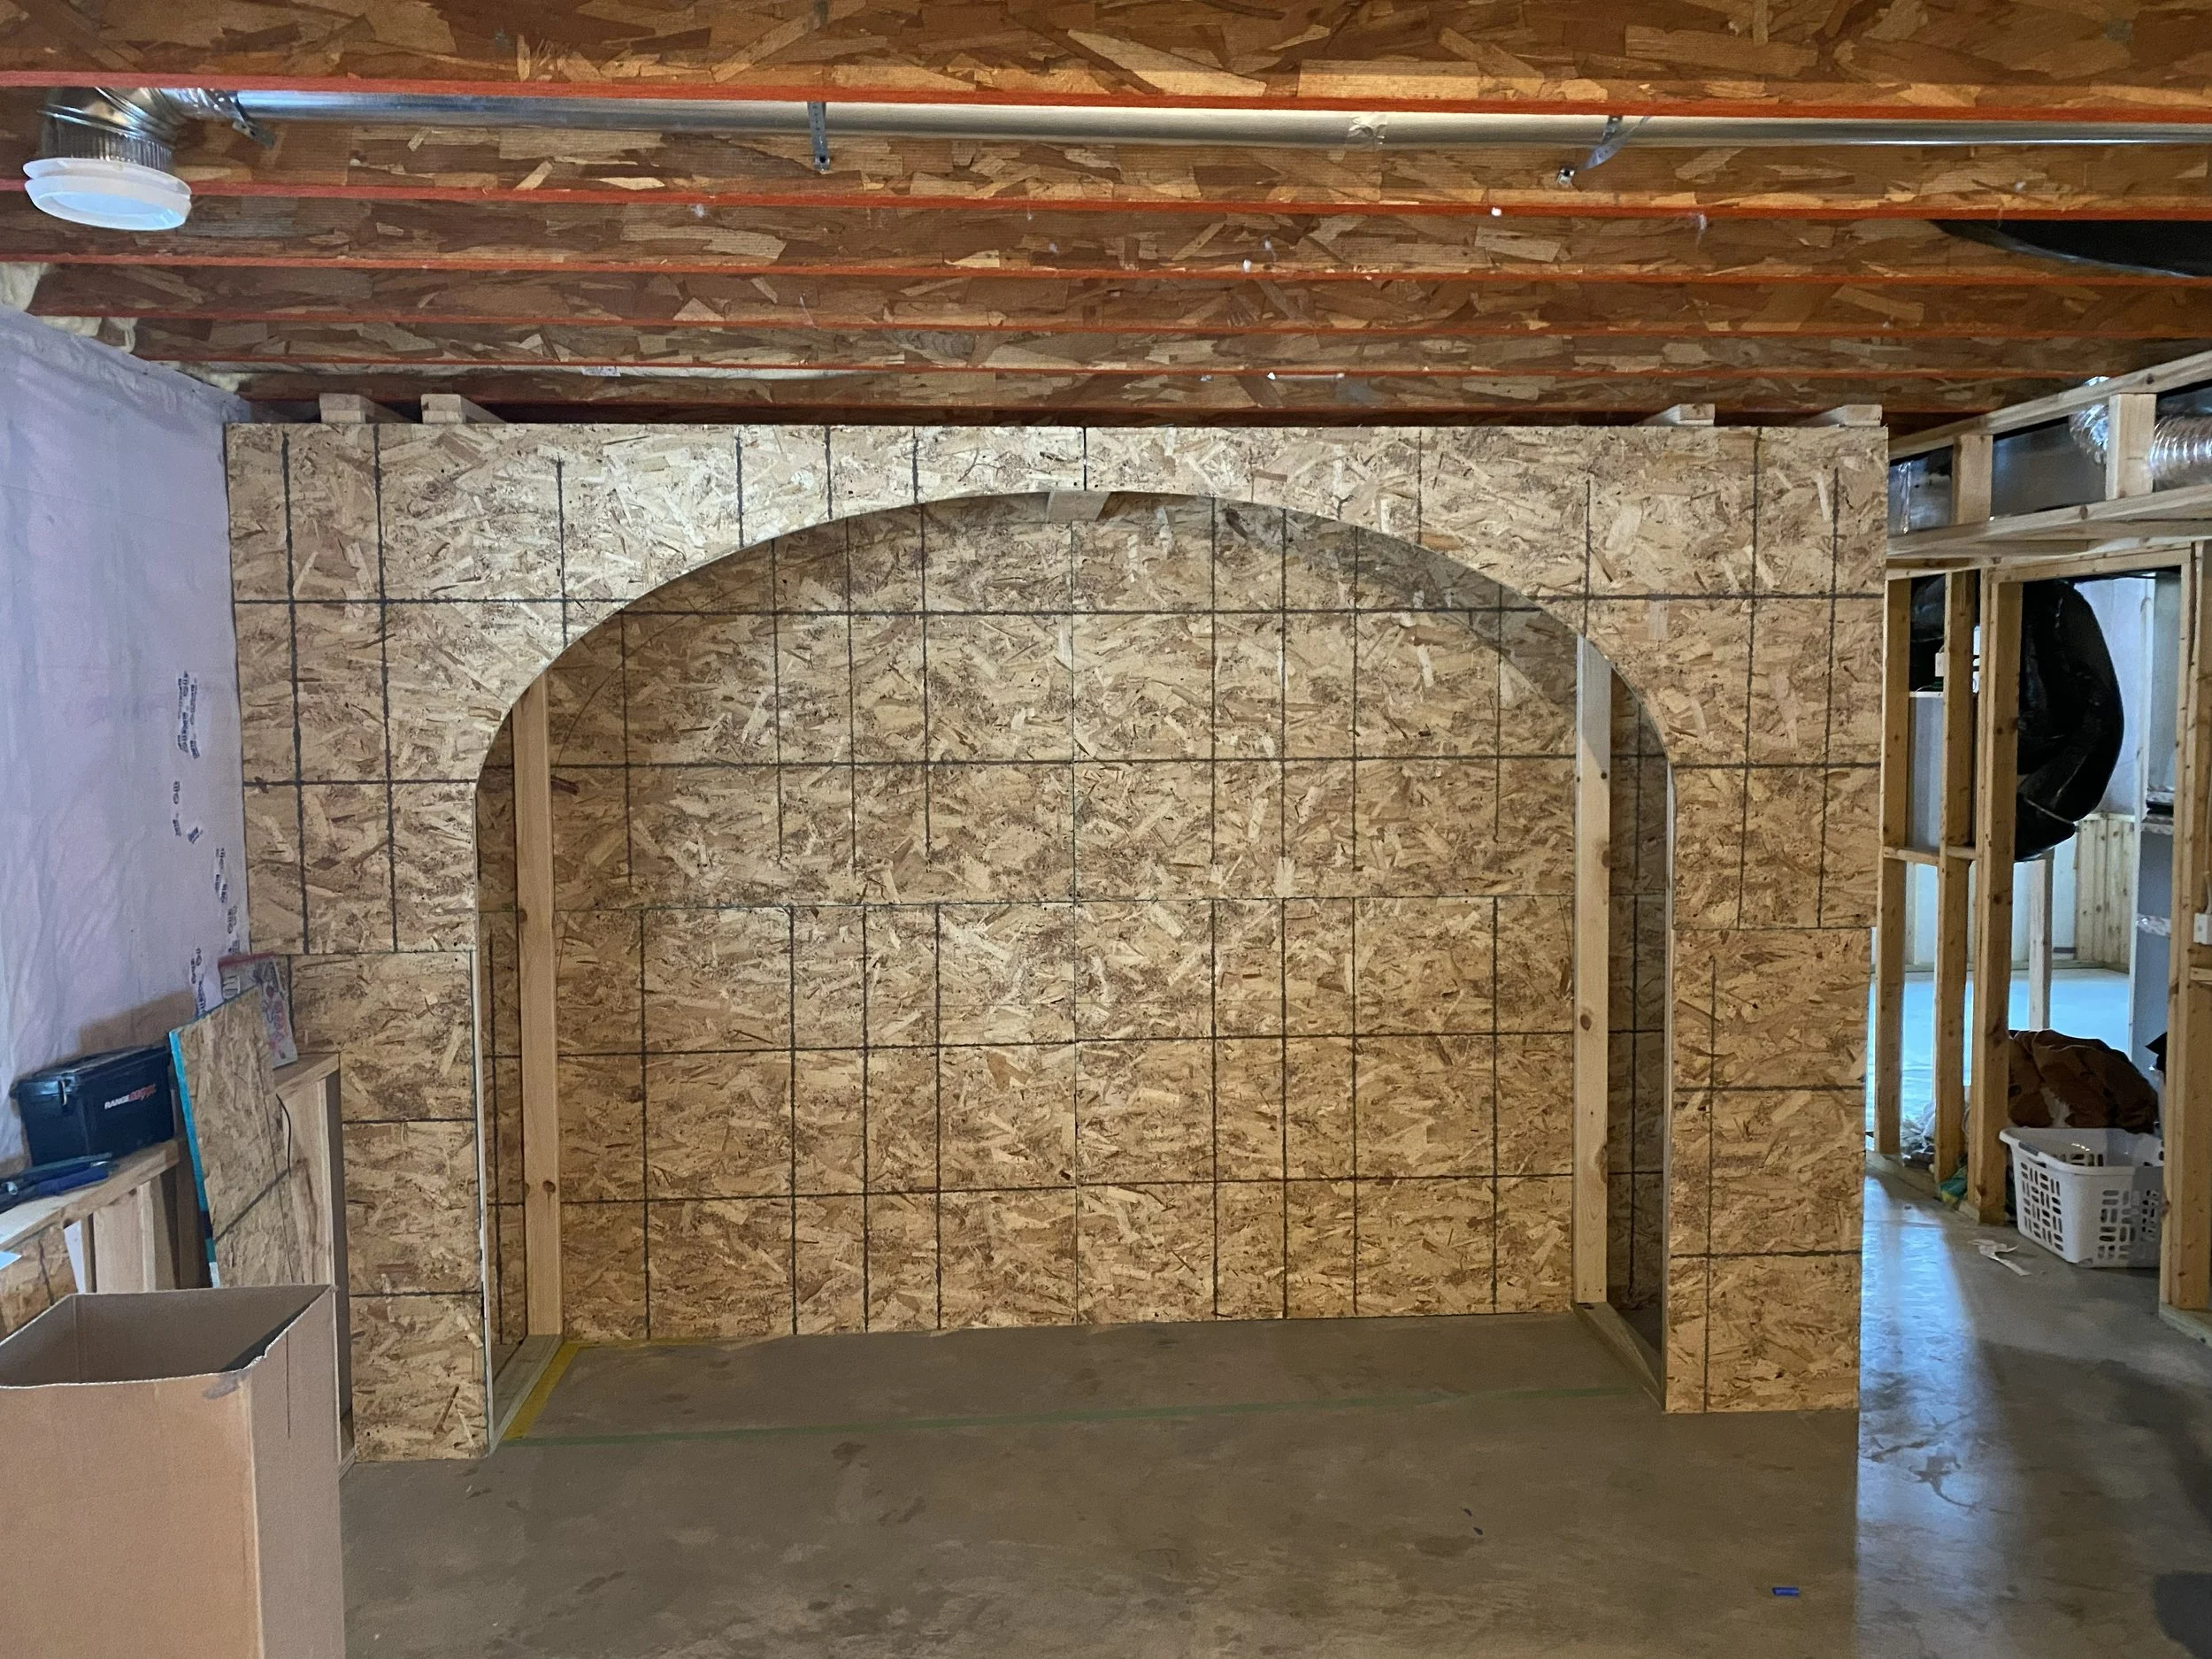
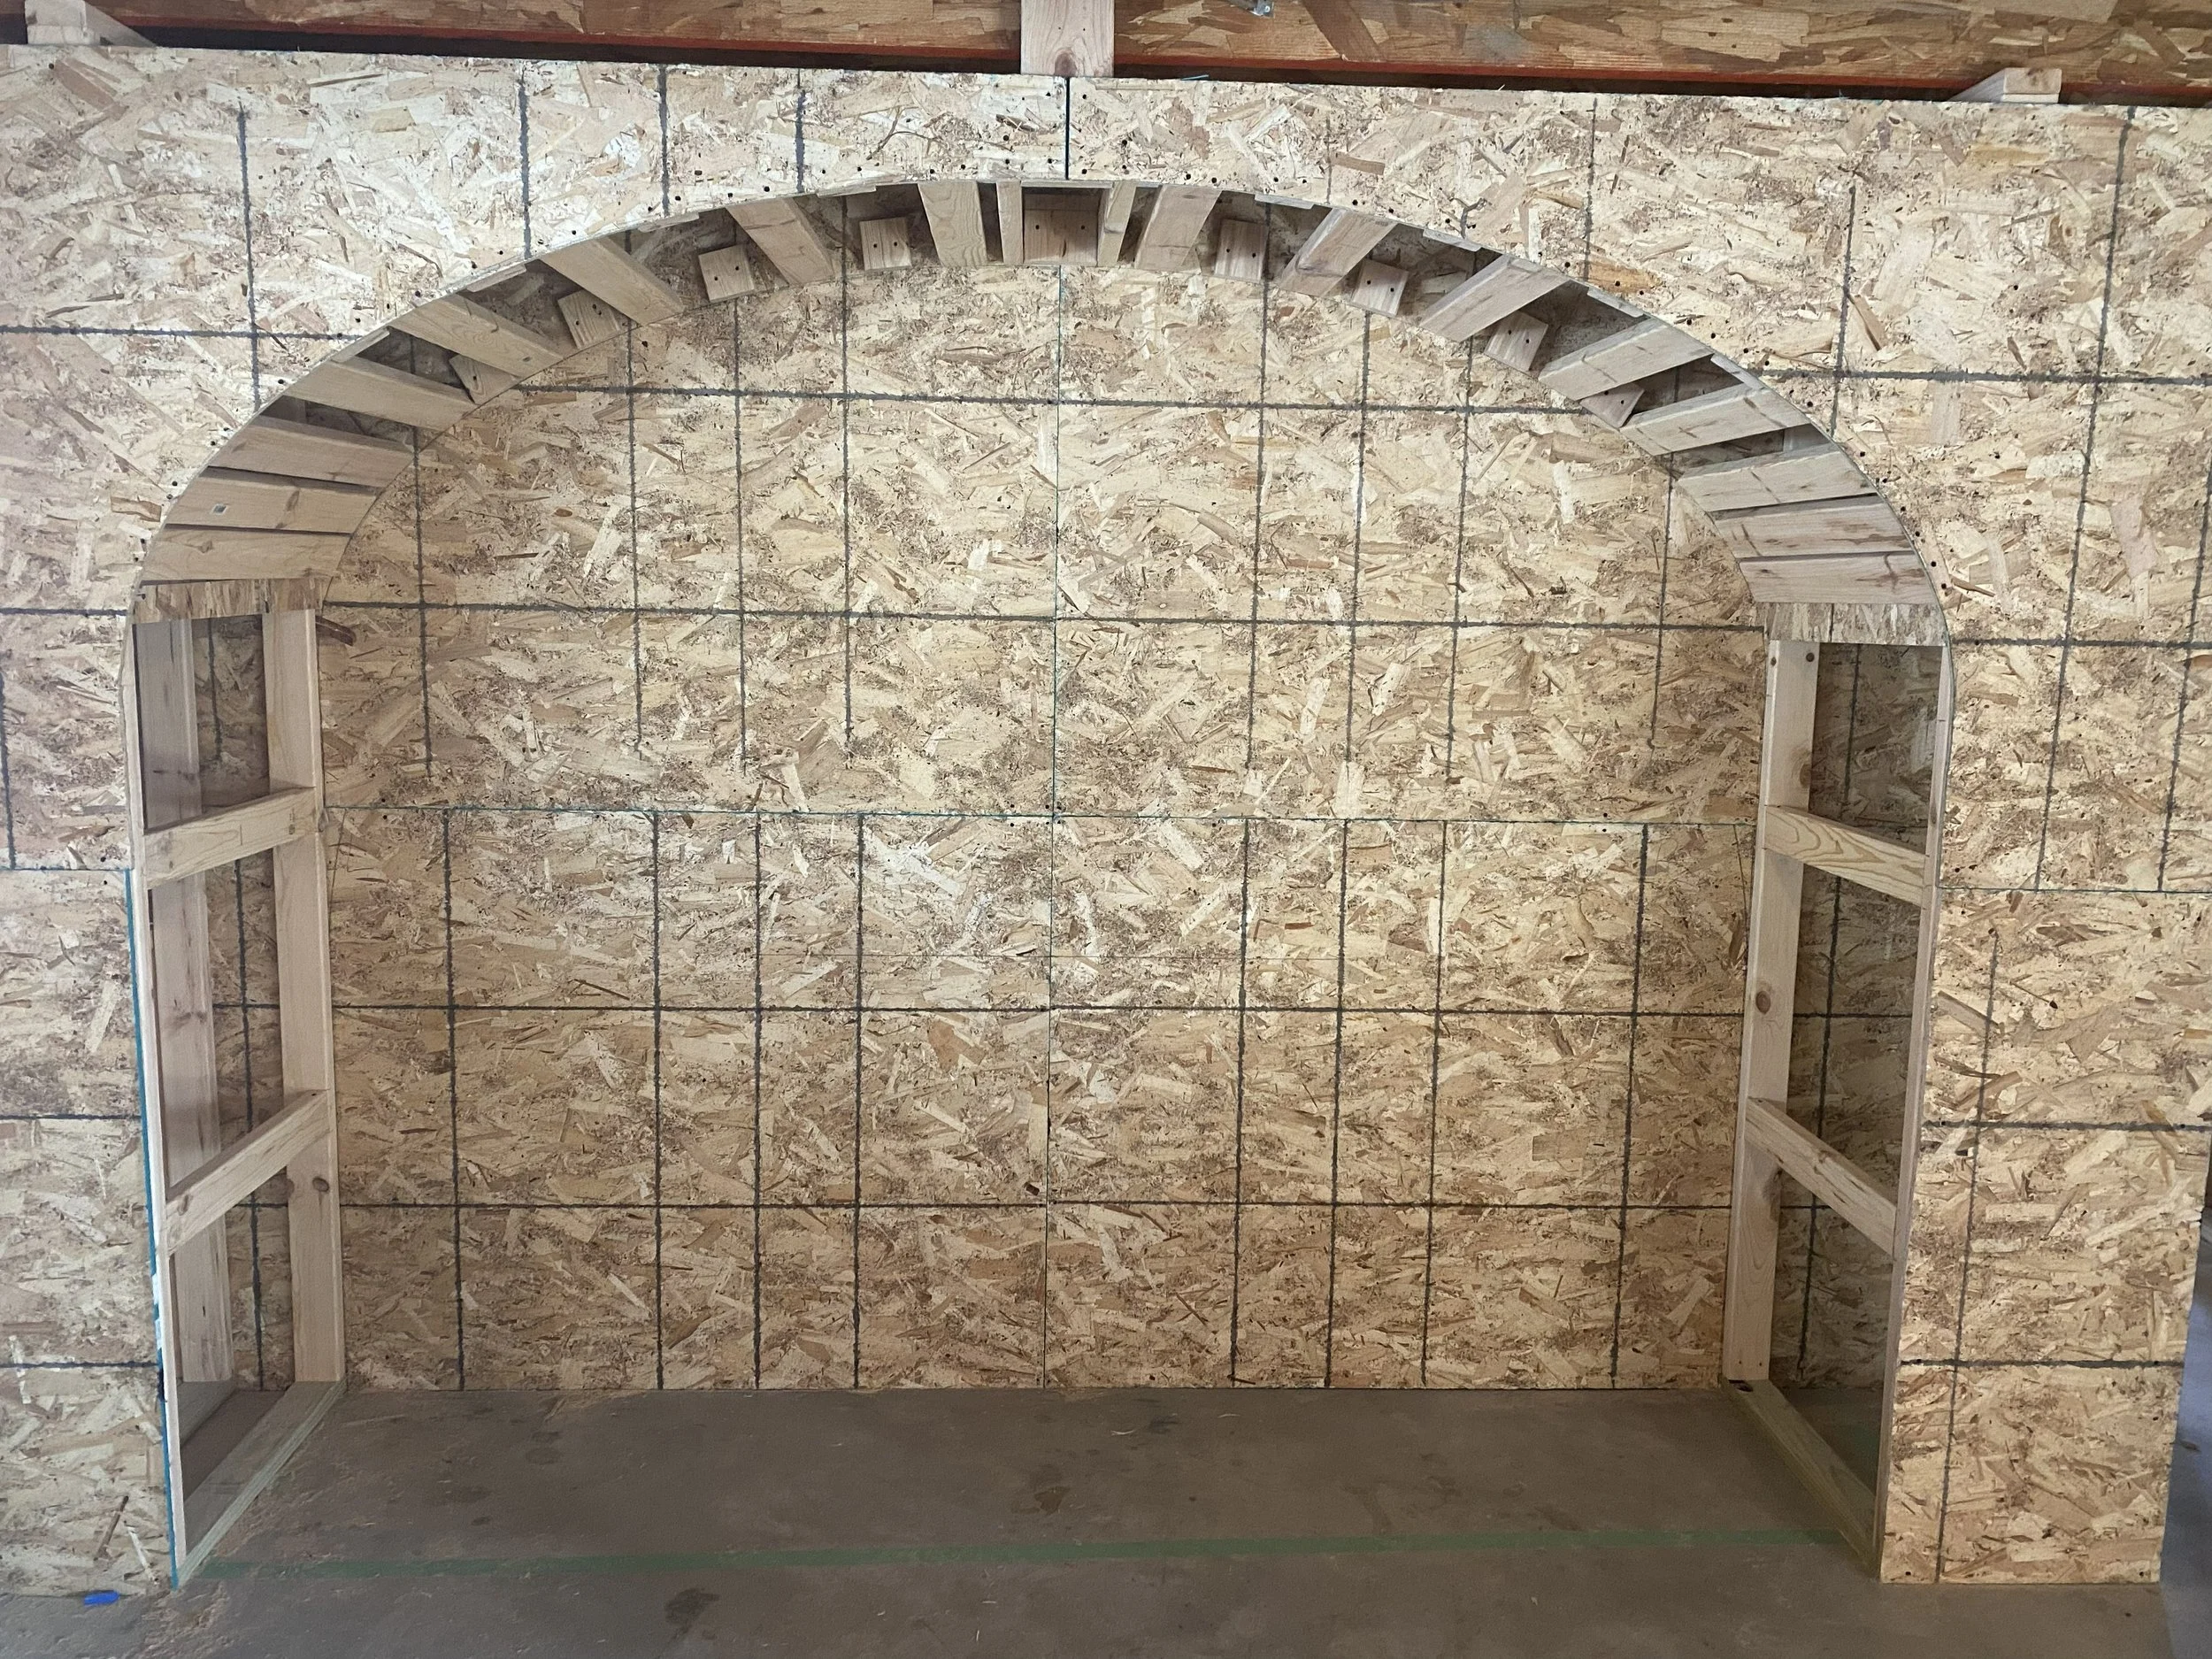
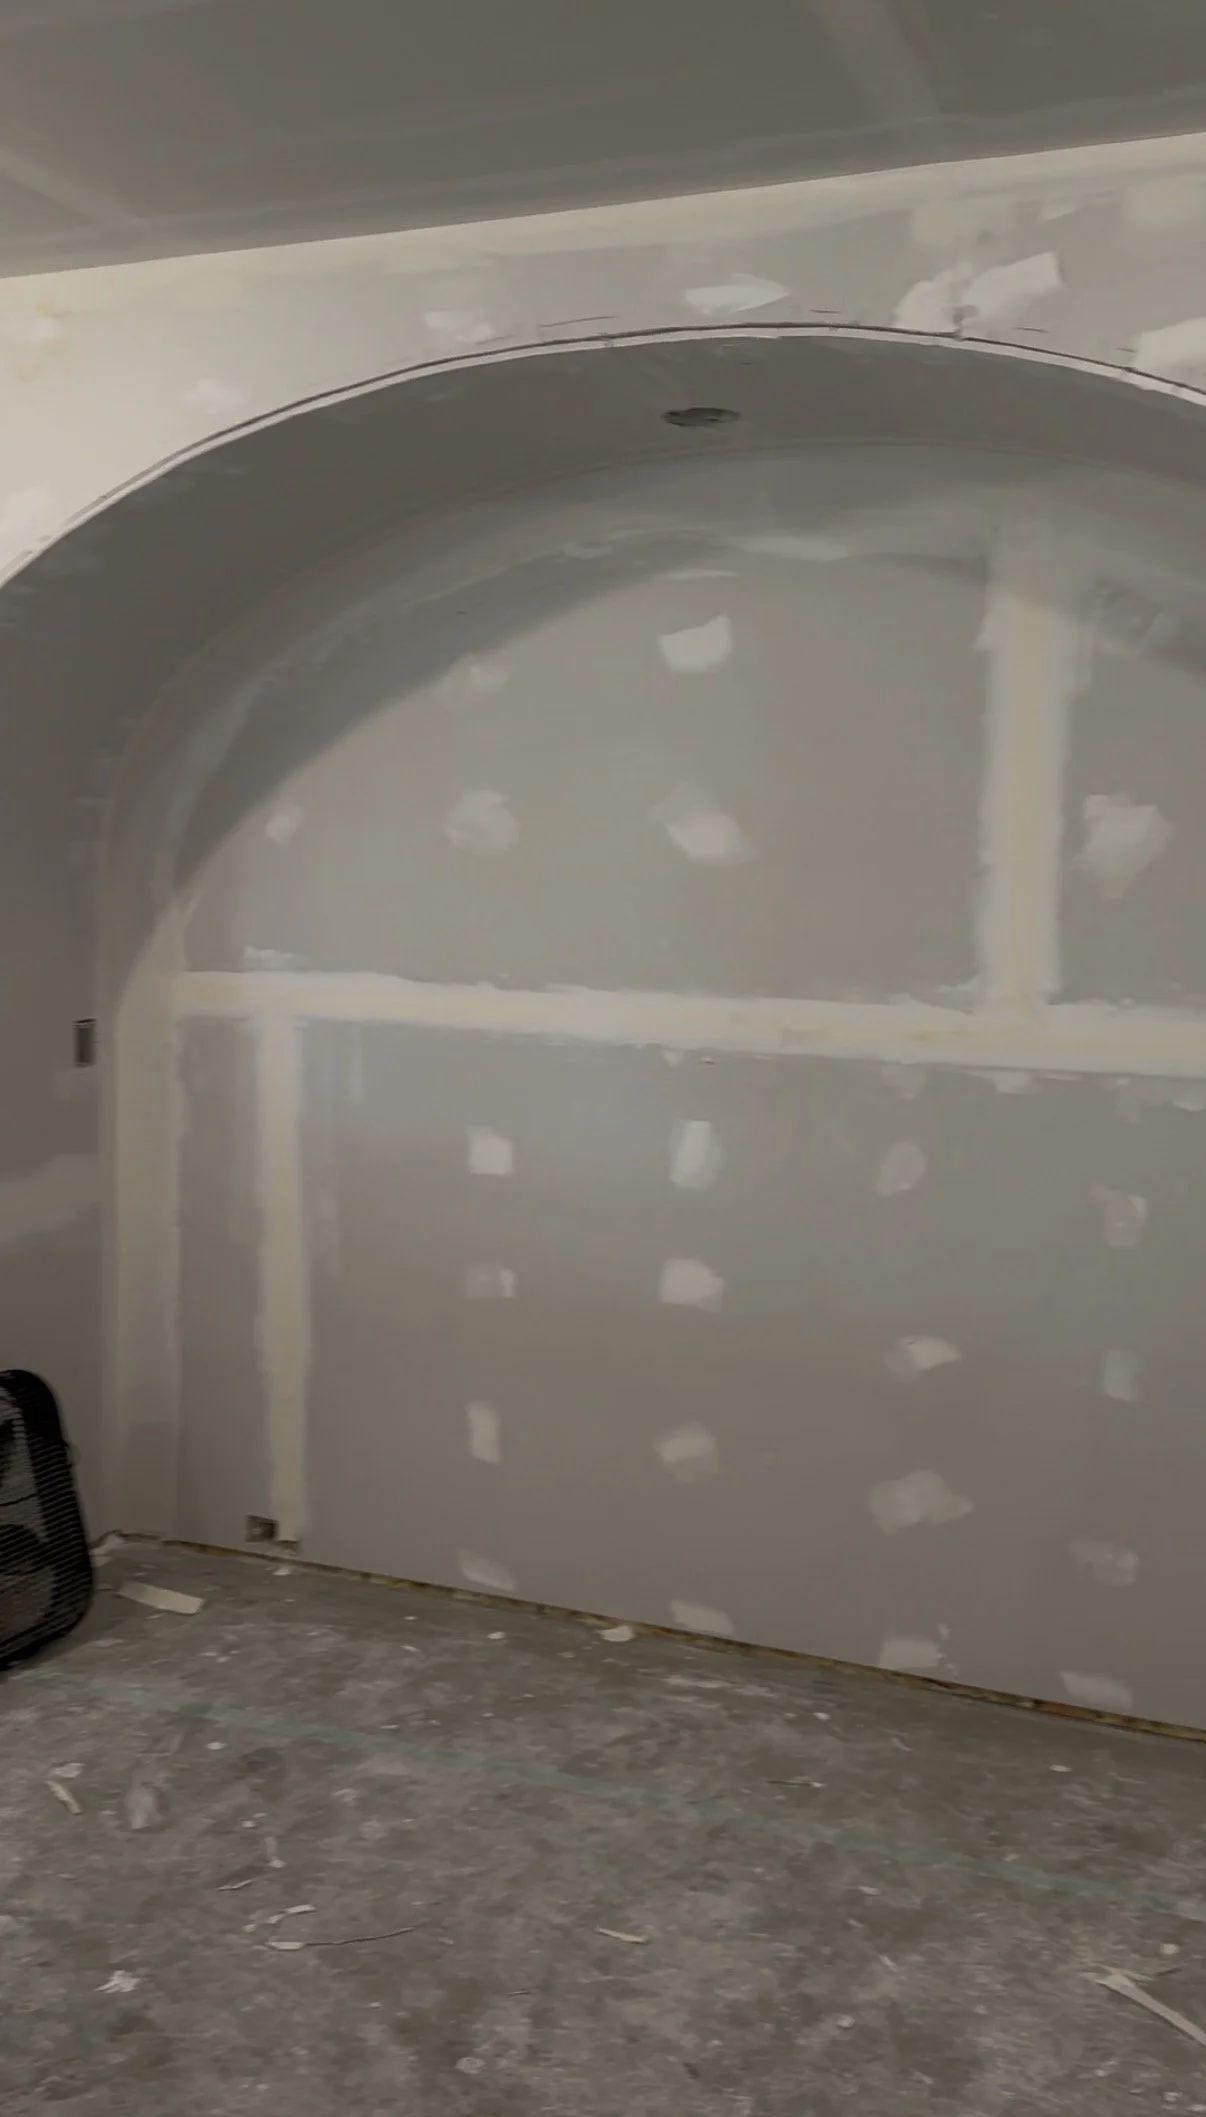
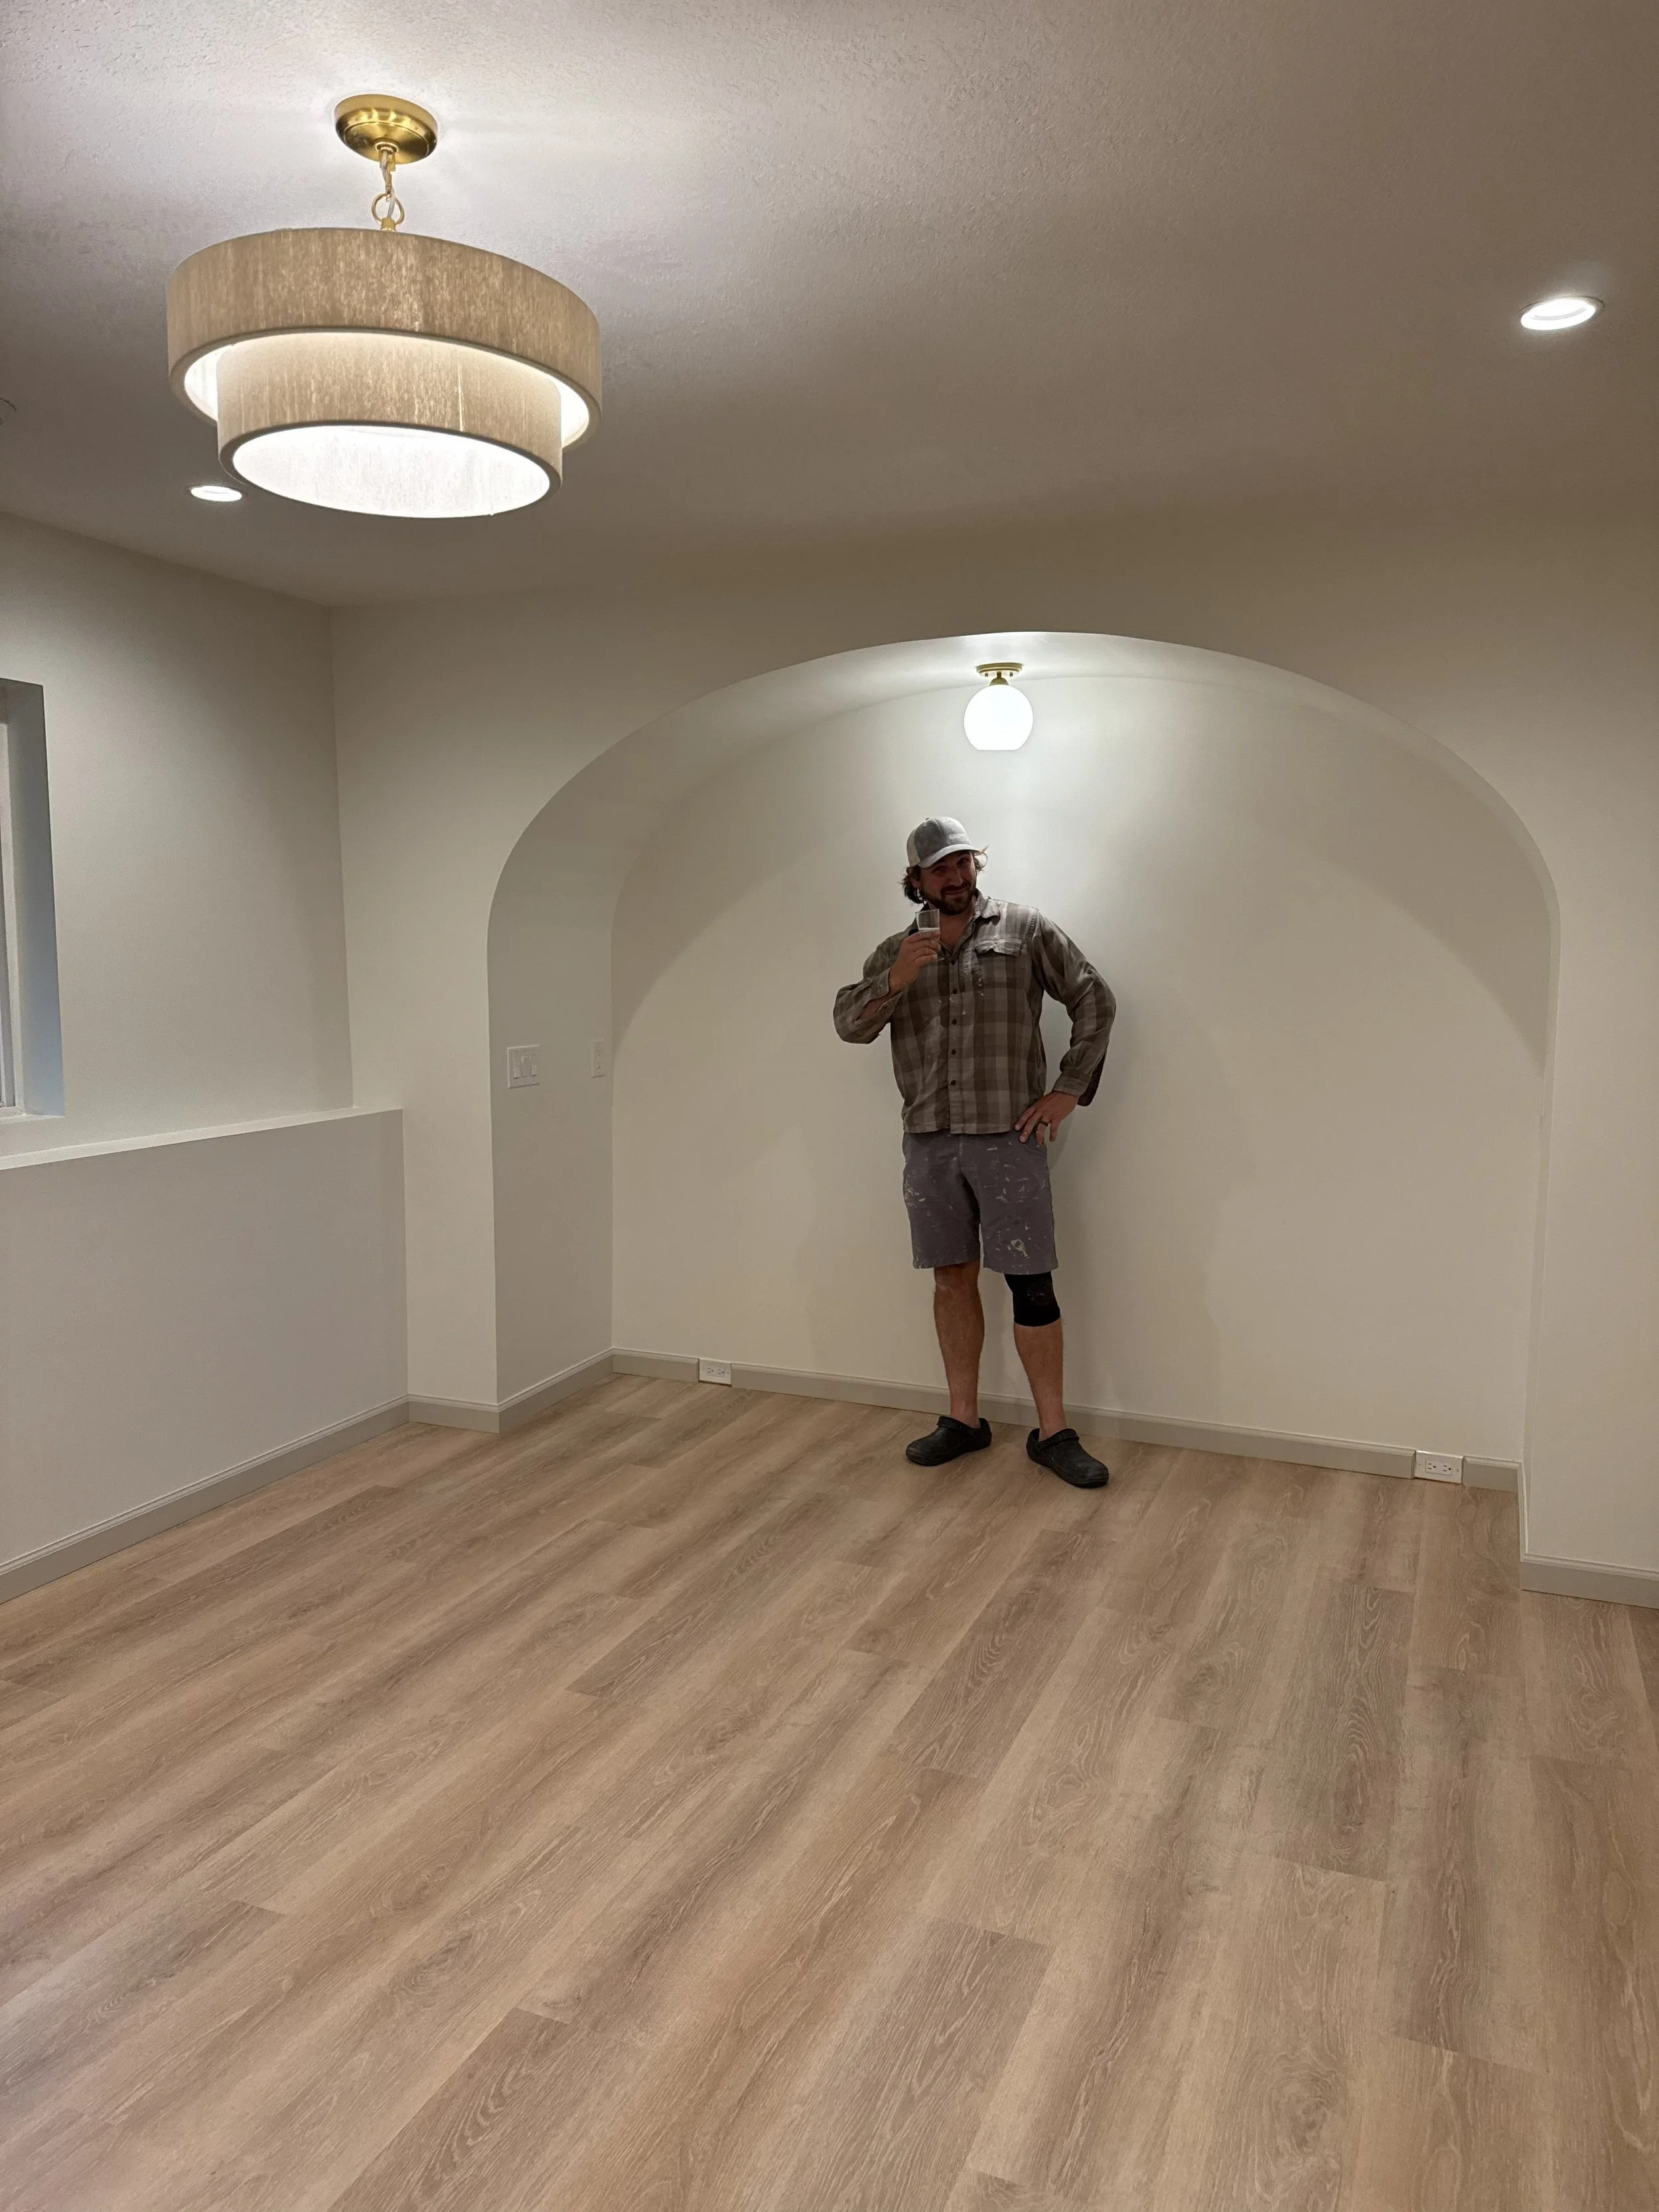
While we really hoped there would be wiggle room in the budget at the end of this project to actually install the dry bar, reality hit and different pieces of the renovation became higher priority. Sometimes that’s just what happens and that’s OKAY!
The great news in the case of this project is that now these clients have a unique arched niche area that can temporarily house a piece of furniture like a large buffet or even a little mini sitting area. And when they are ready for another project/upgrade, the space is 100% ready for a beautiful dry bar install, one step at a time!
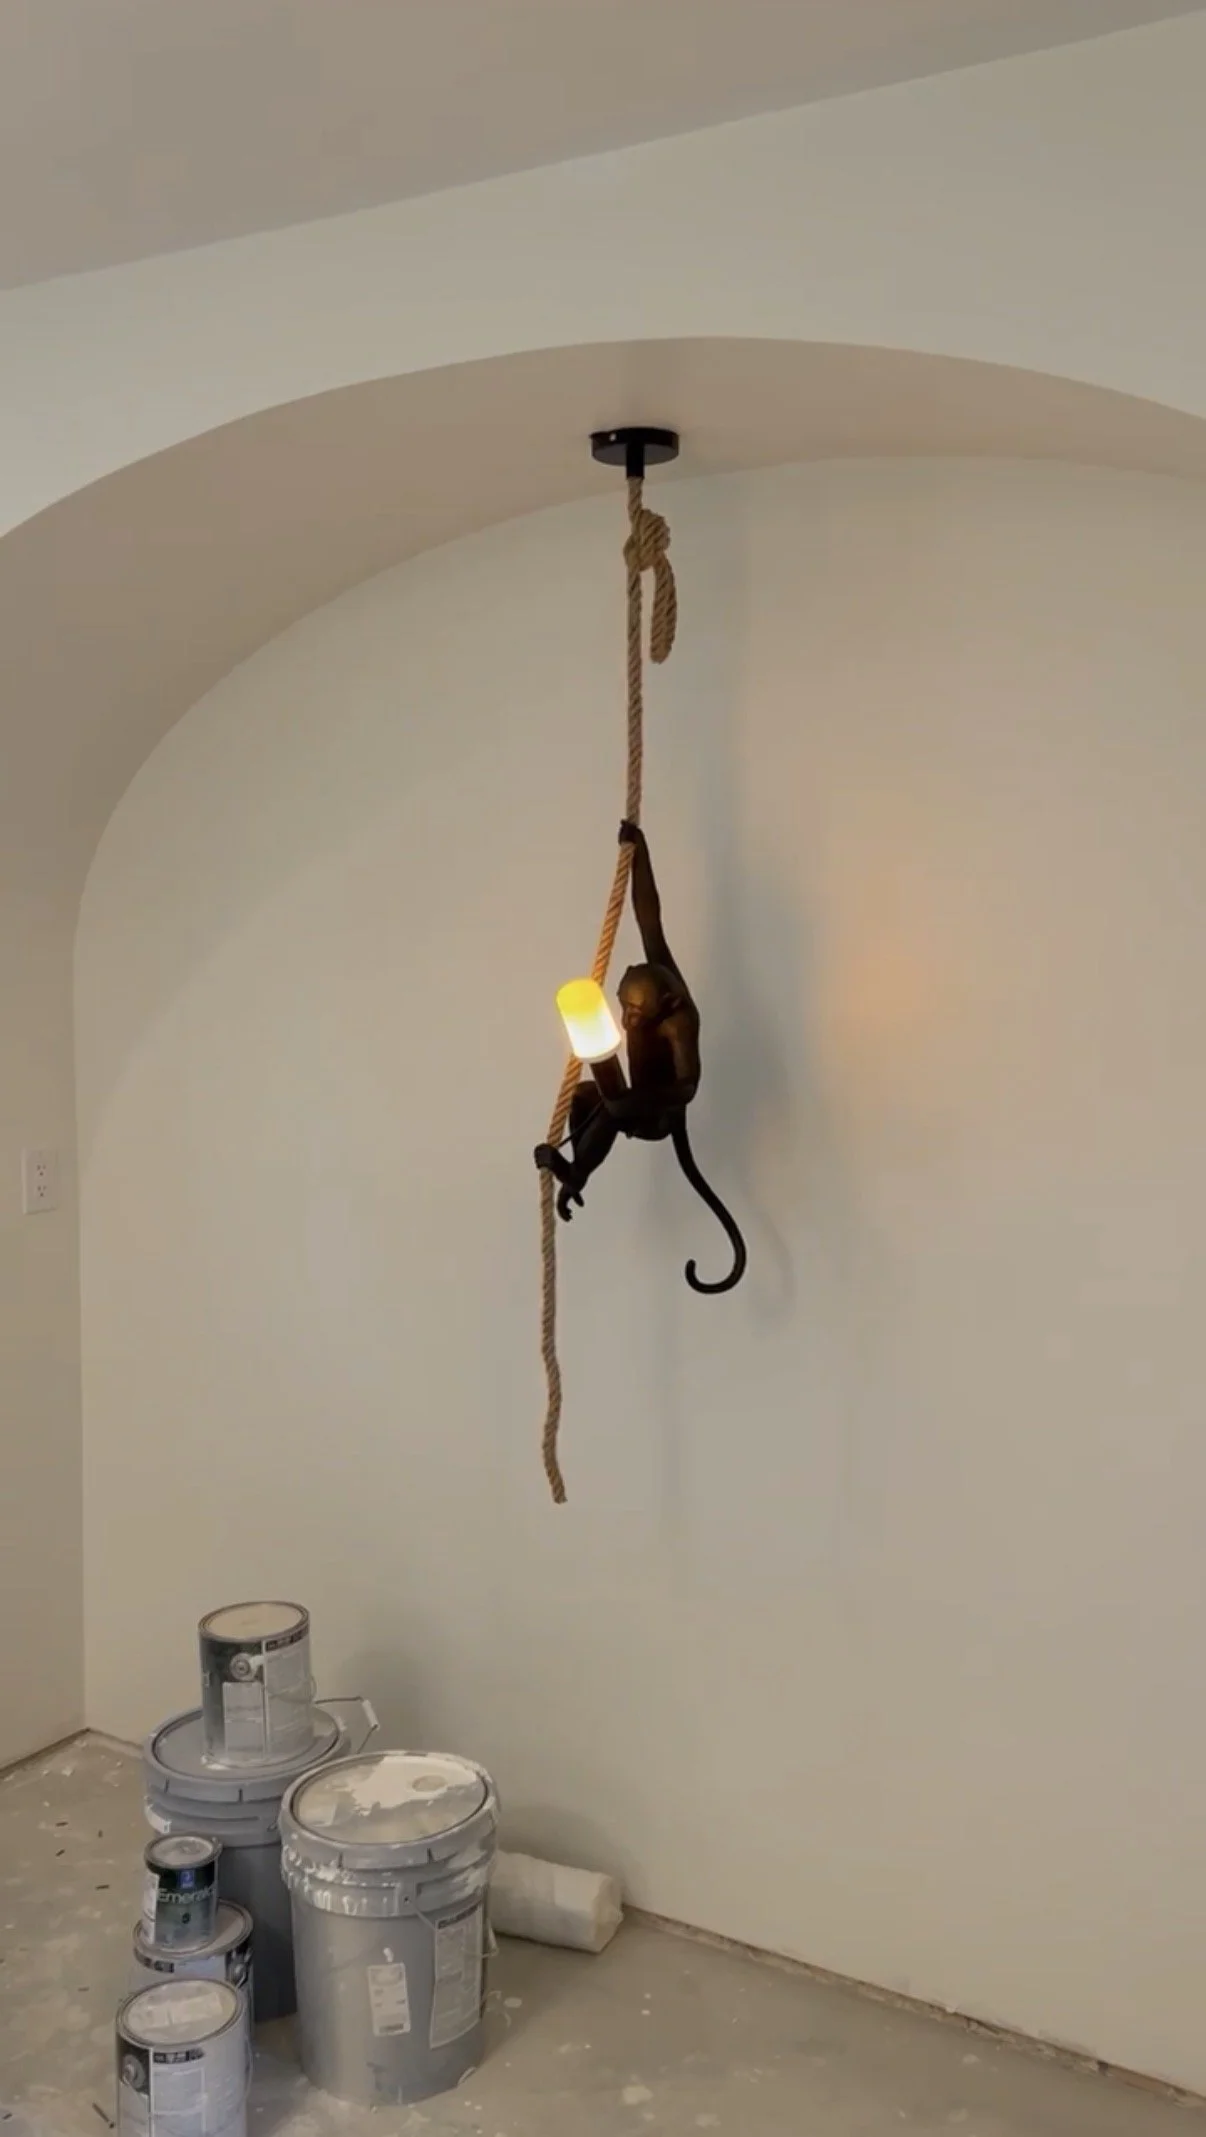
Steve the Monkey
Our temporary lighting placeholder while we waited for the final fixture to arrive! While definitely not within the correct design aesthetic, he definitely brought some laughs and bit of whimsy along the way!
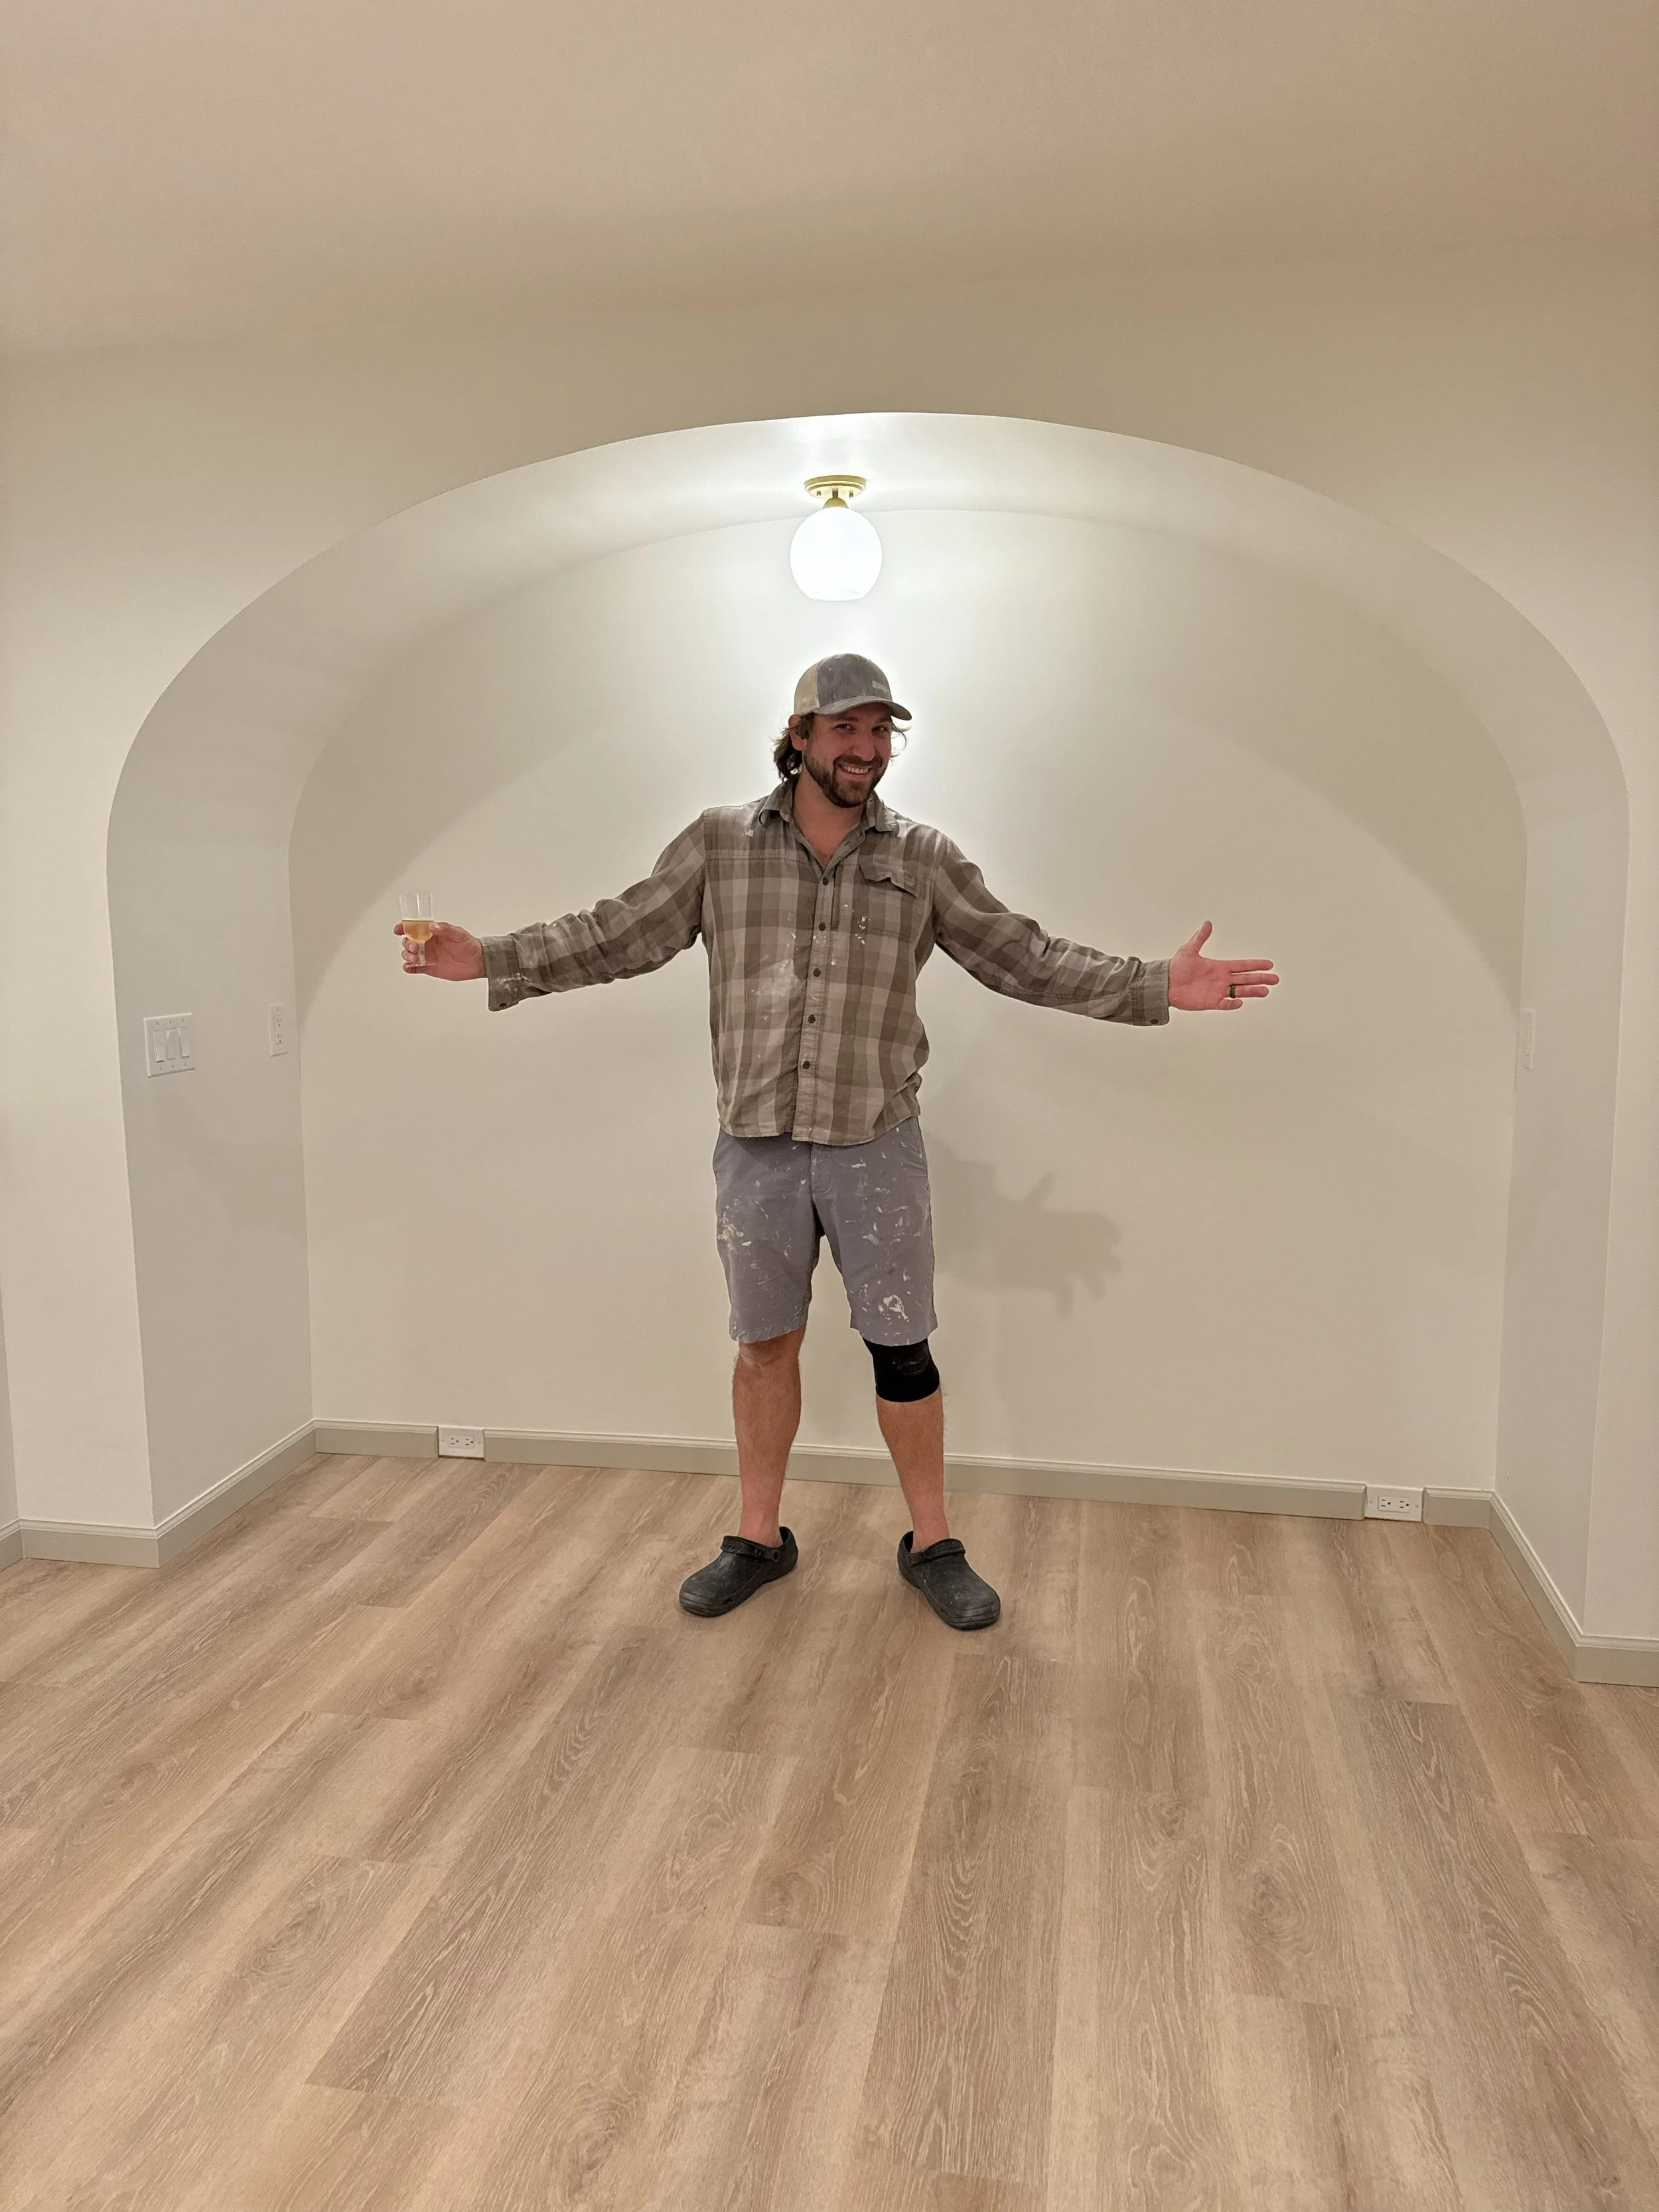
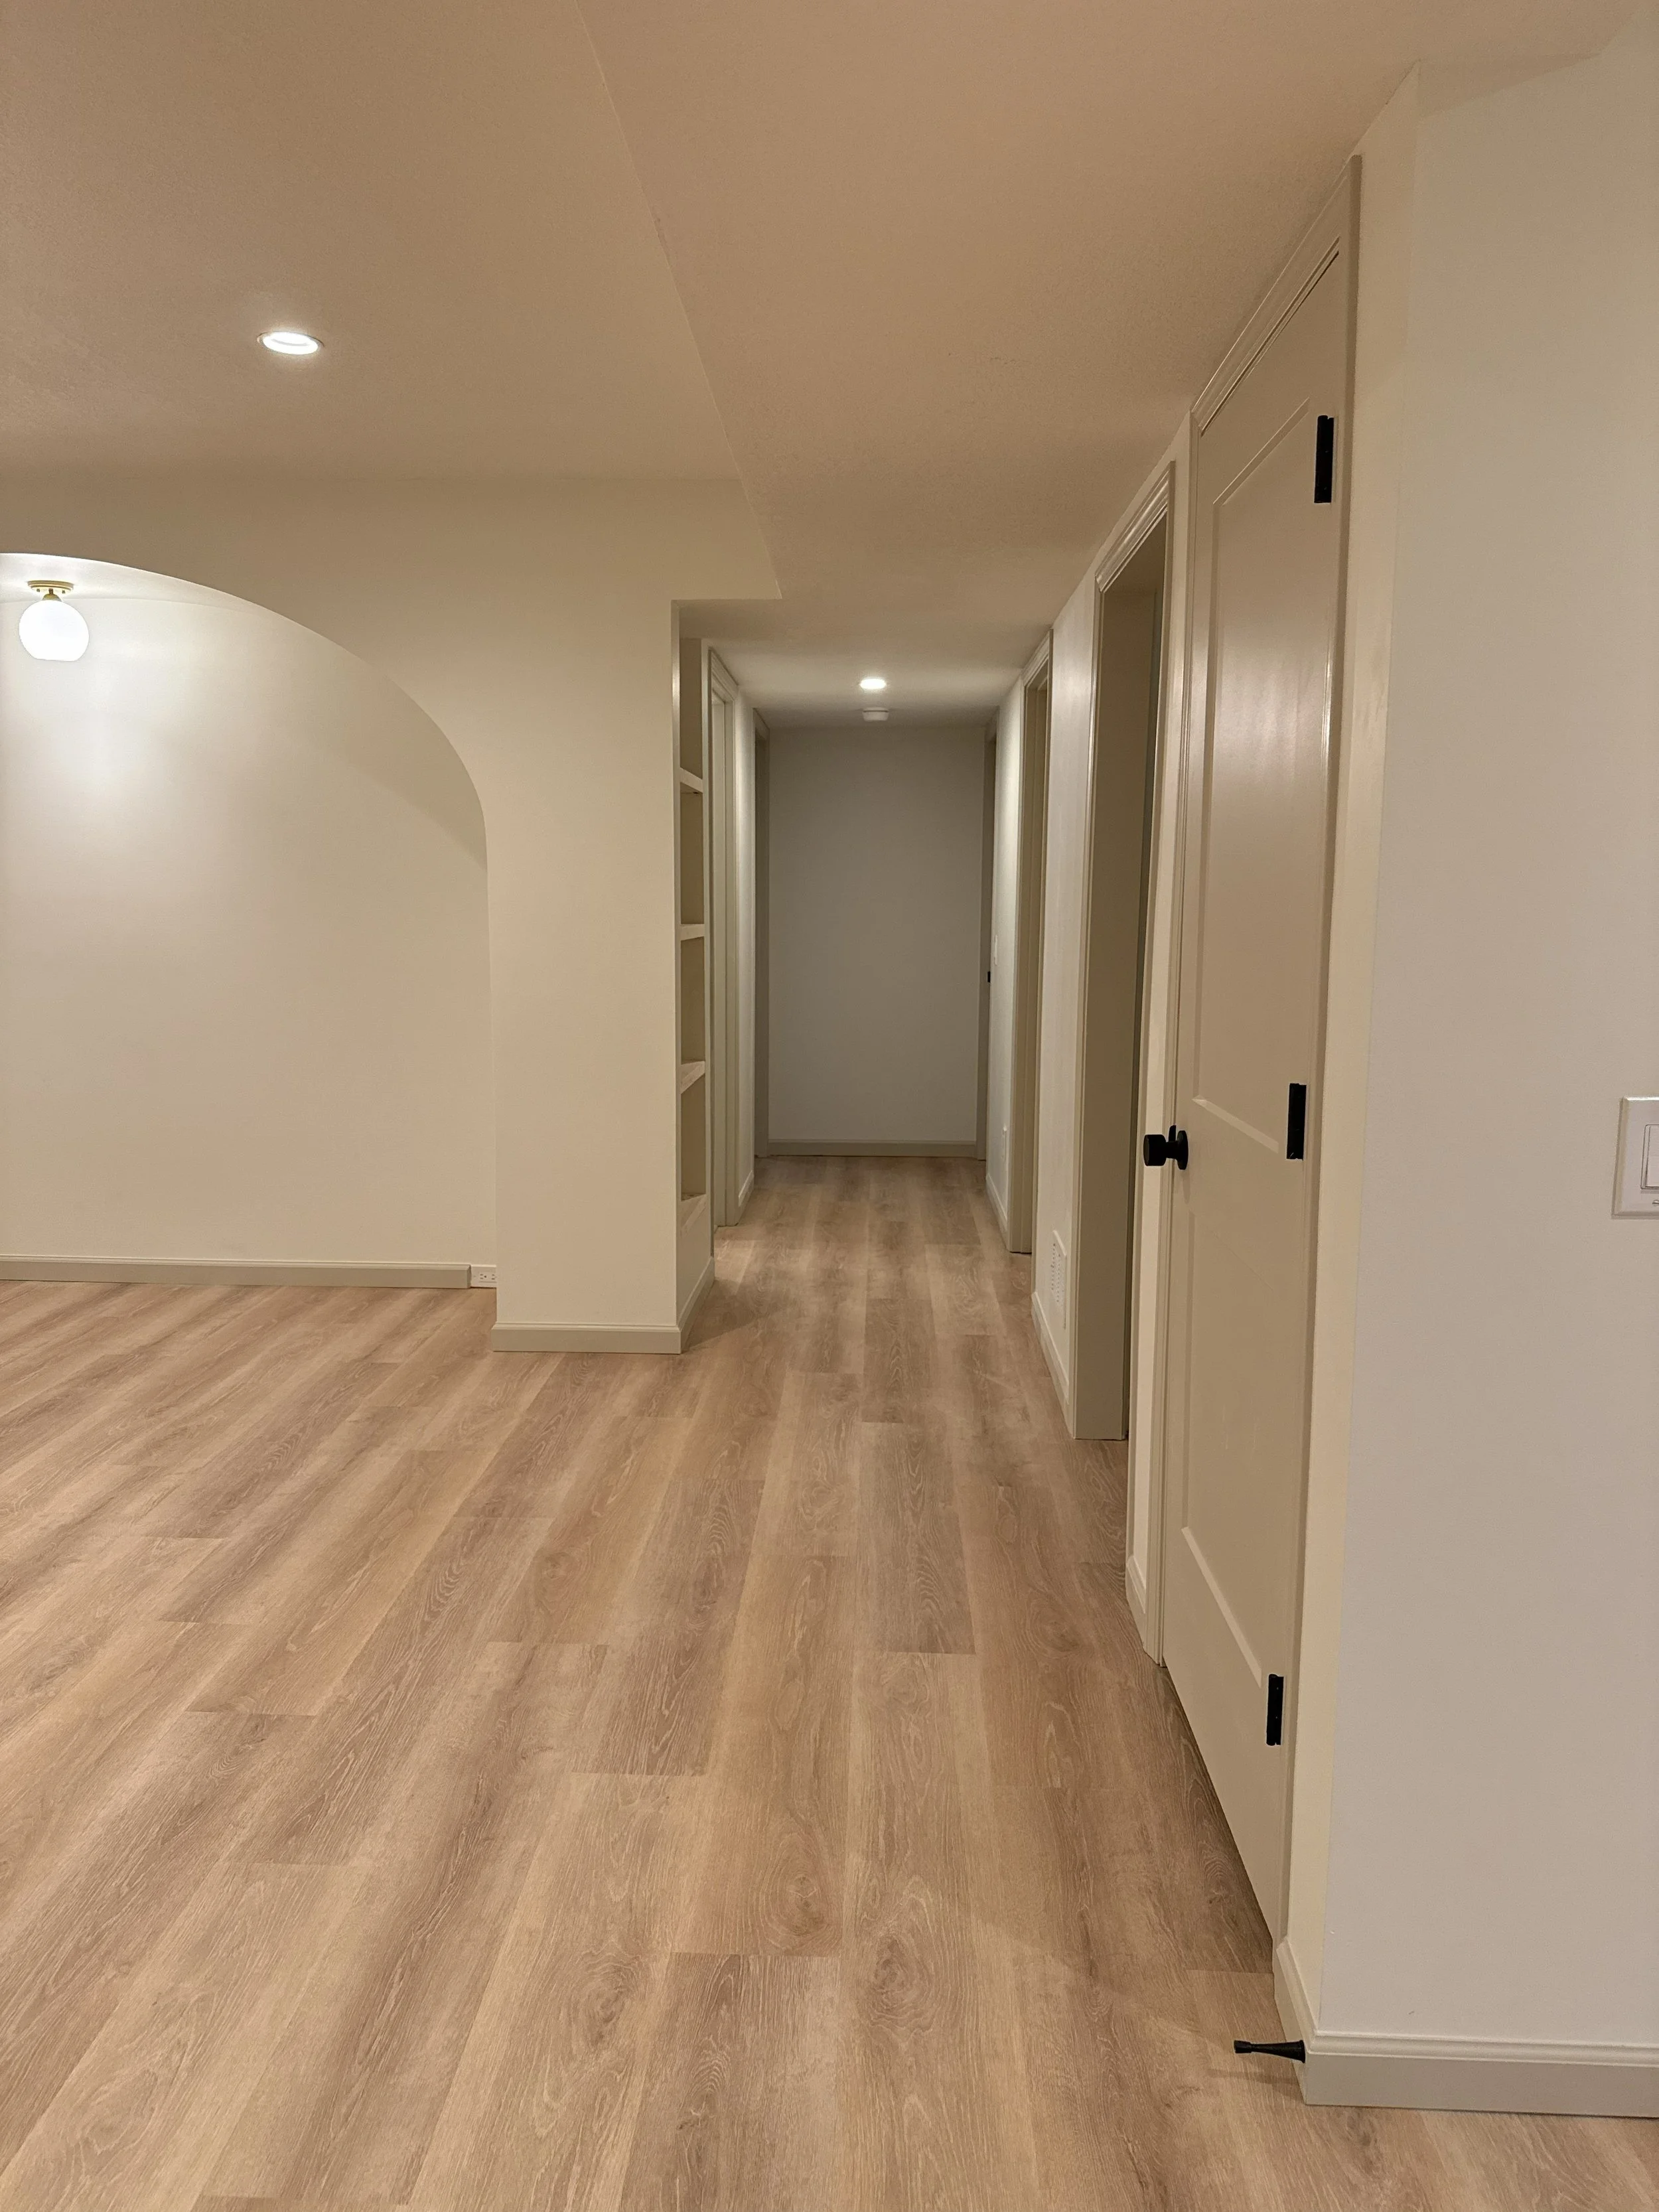
We love this architectural feature and how it turned out!
Our main takeaways from this arched nice are these:
It is SO important to consider all of your design decisions before you start actual construction so you have an understanding of which items on your wish list to prioritize and splurge on and where you may need to curb expectations
It is okay to do certain parts of your renovation in stages if budget prevents you from going all in
The Raised Subfloor: “Invisible” Upgrades to Increase Functionality
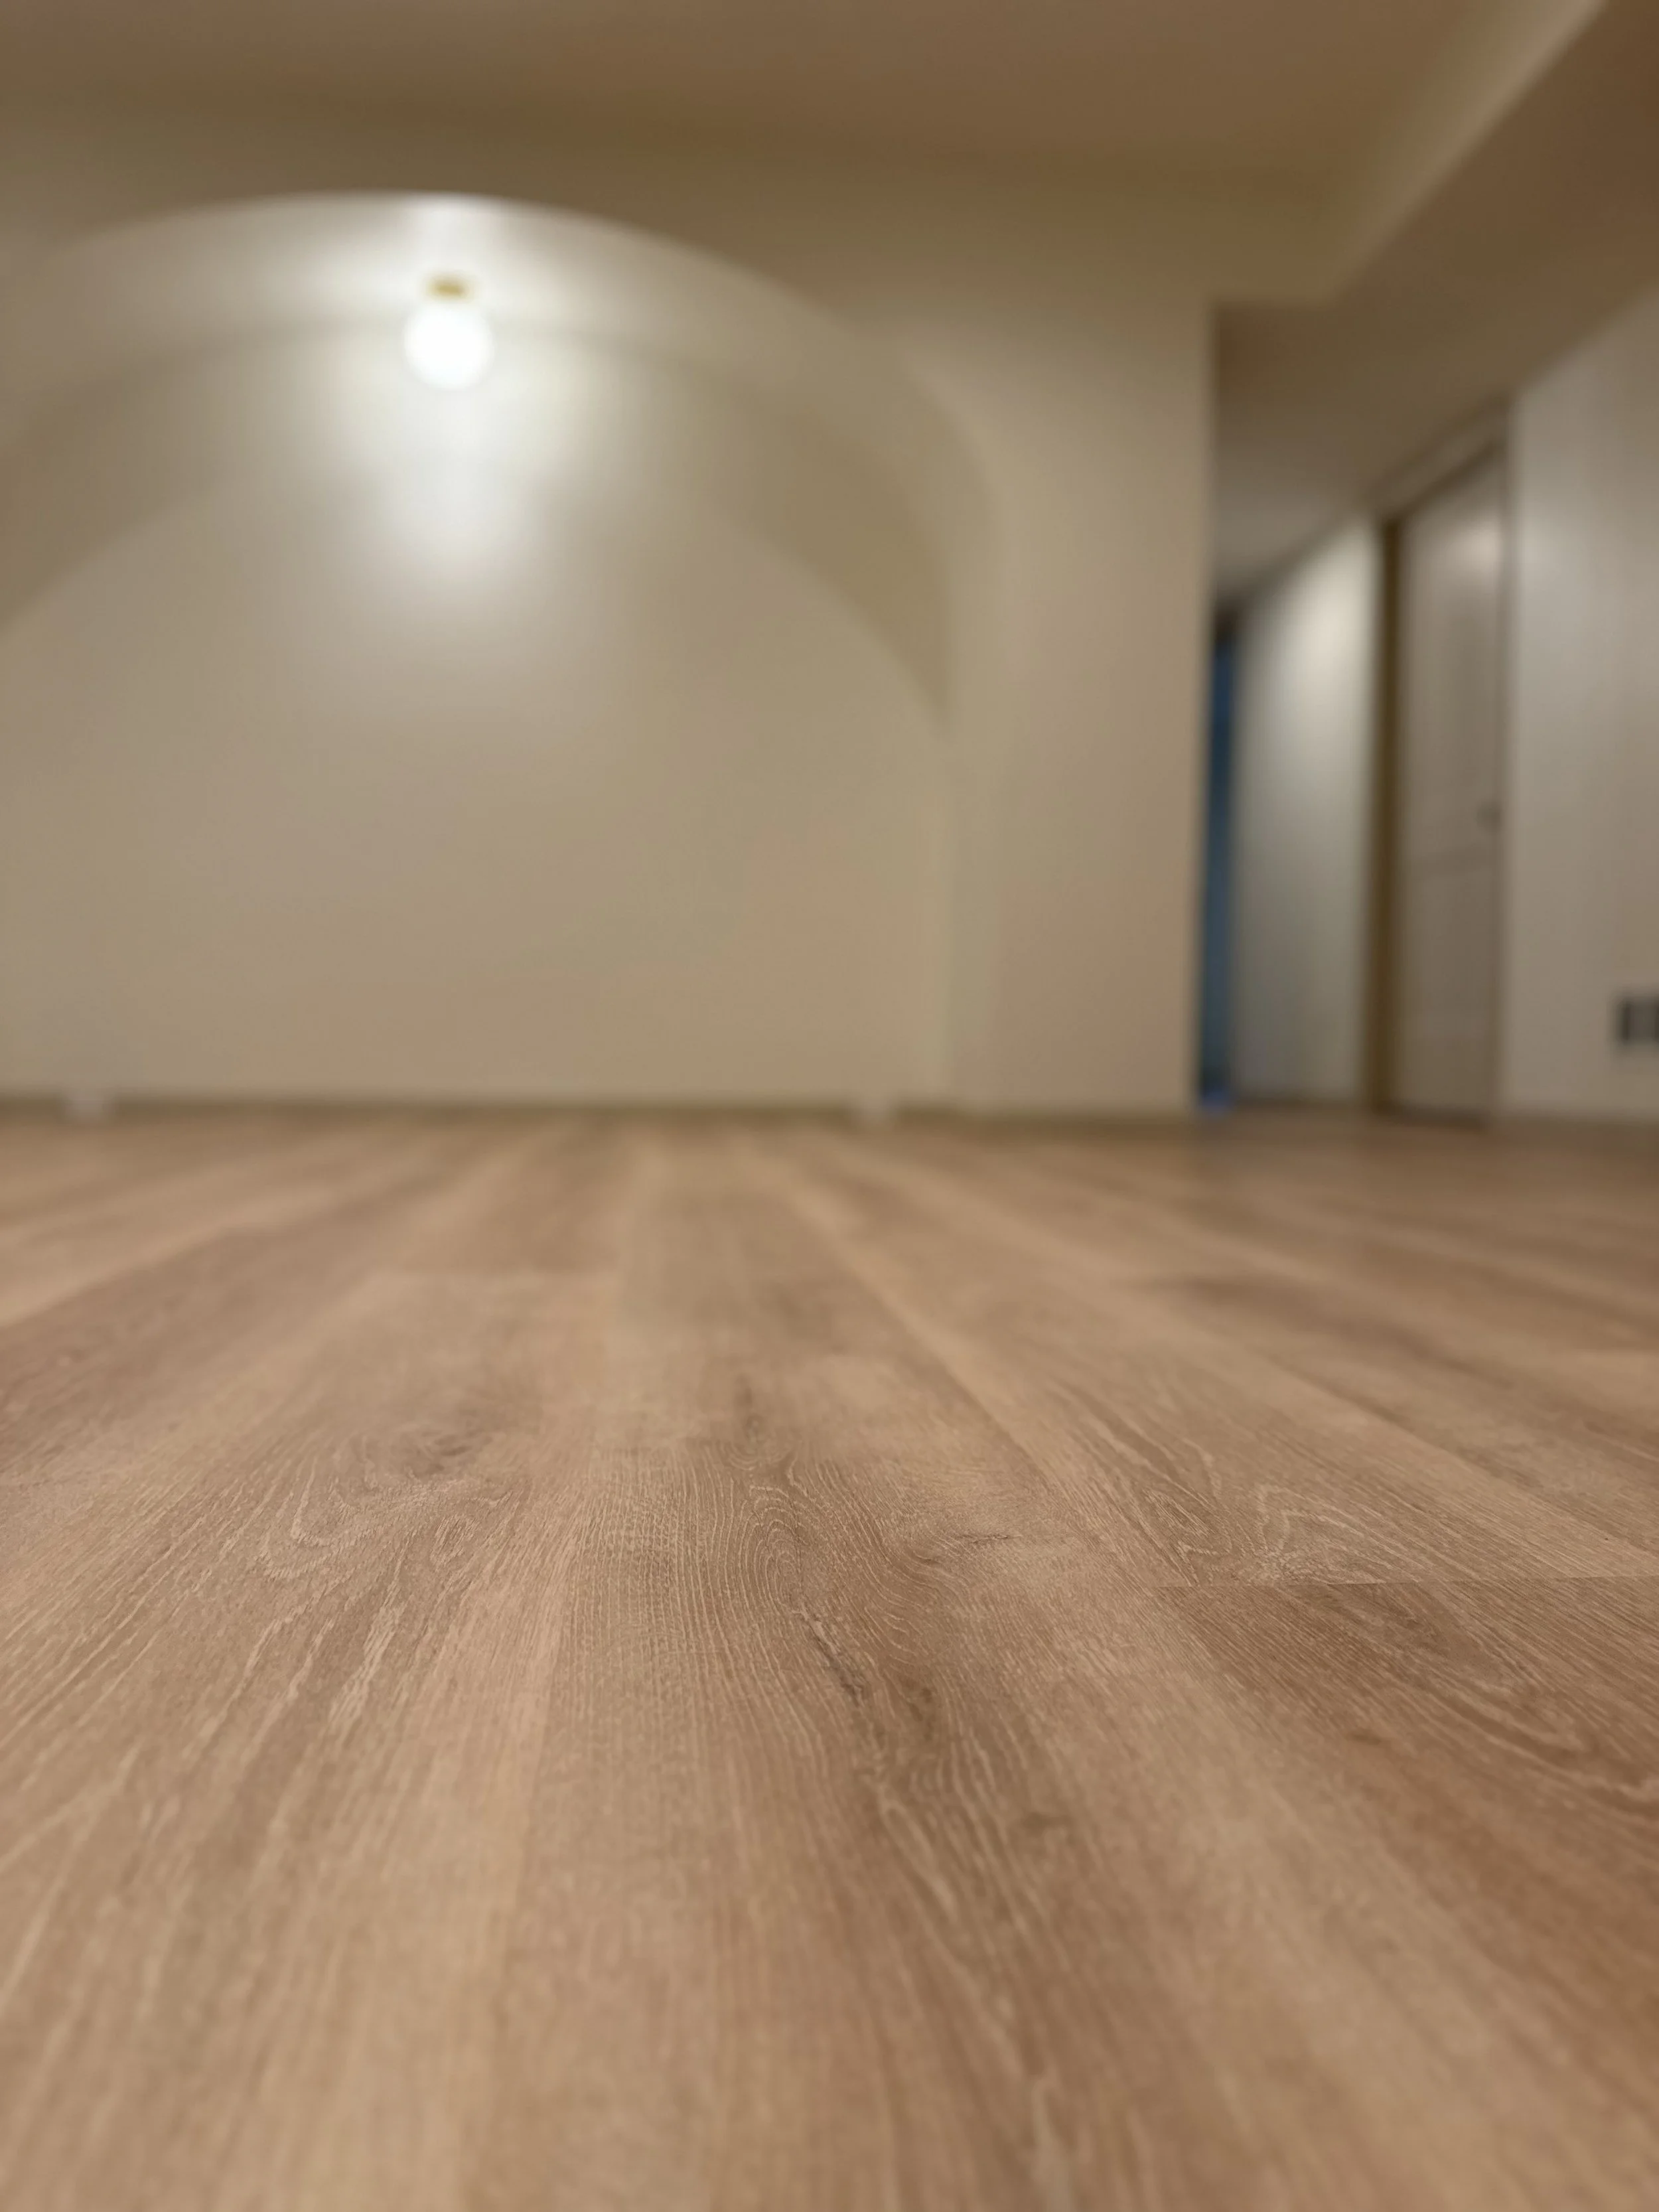
Every decision we made about flooring for this basement was based on function. The client knew from very early on that they didn’t want to go with carpet because they have pets. LVP is a great option for quick and easy clean up when it comes to pet stains (and let’s be honest, kid stains too!)
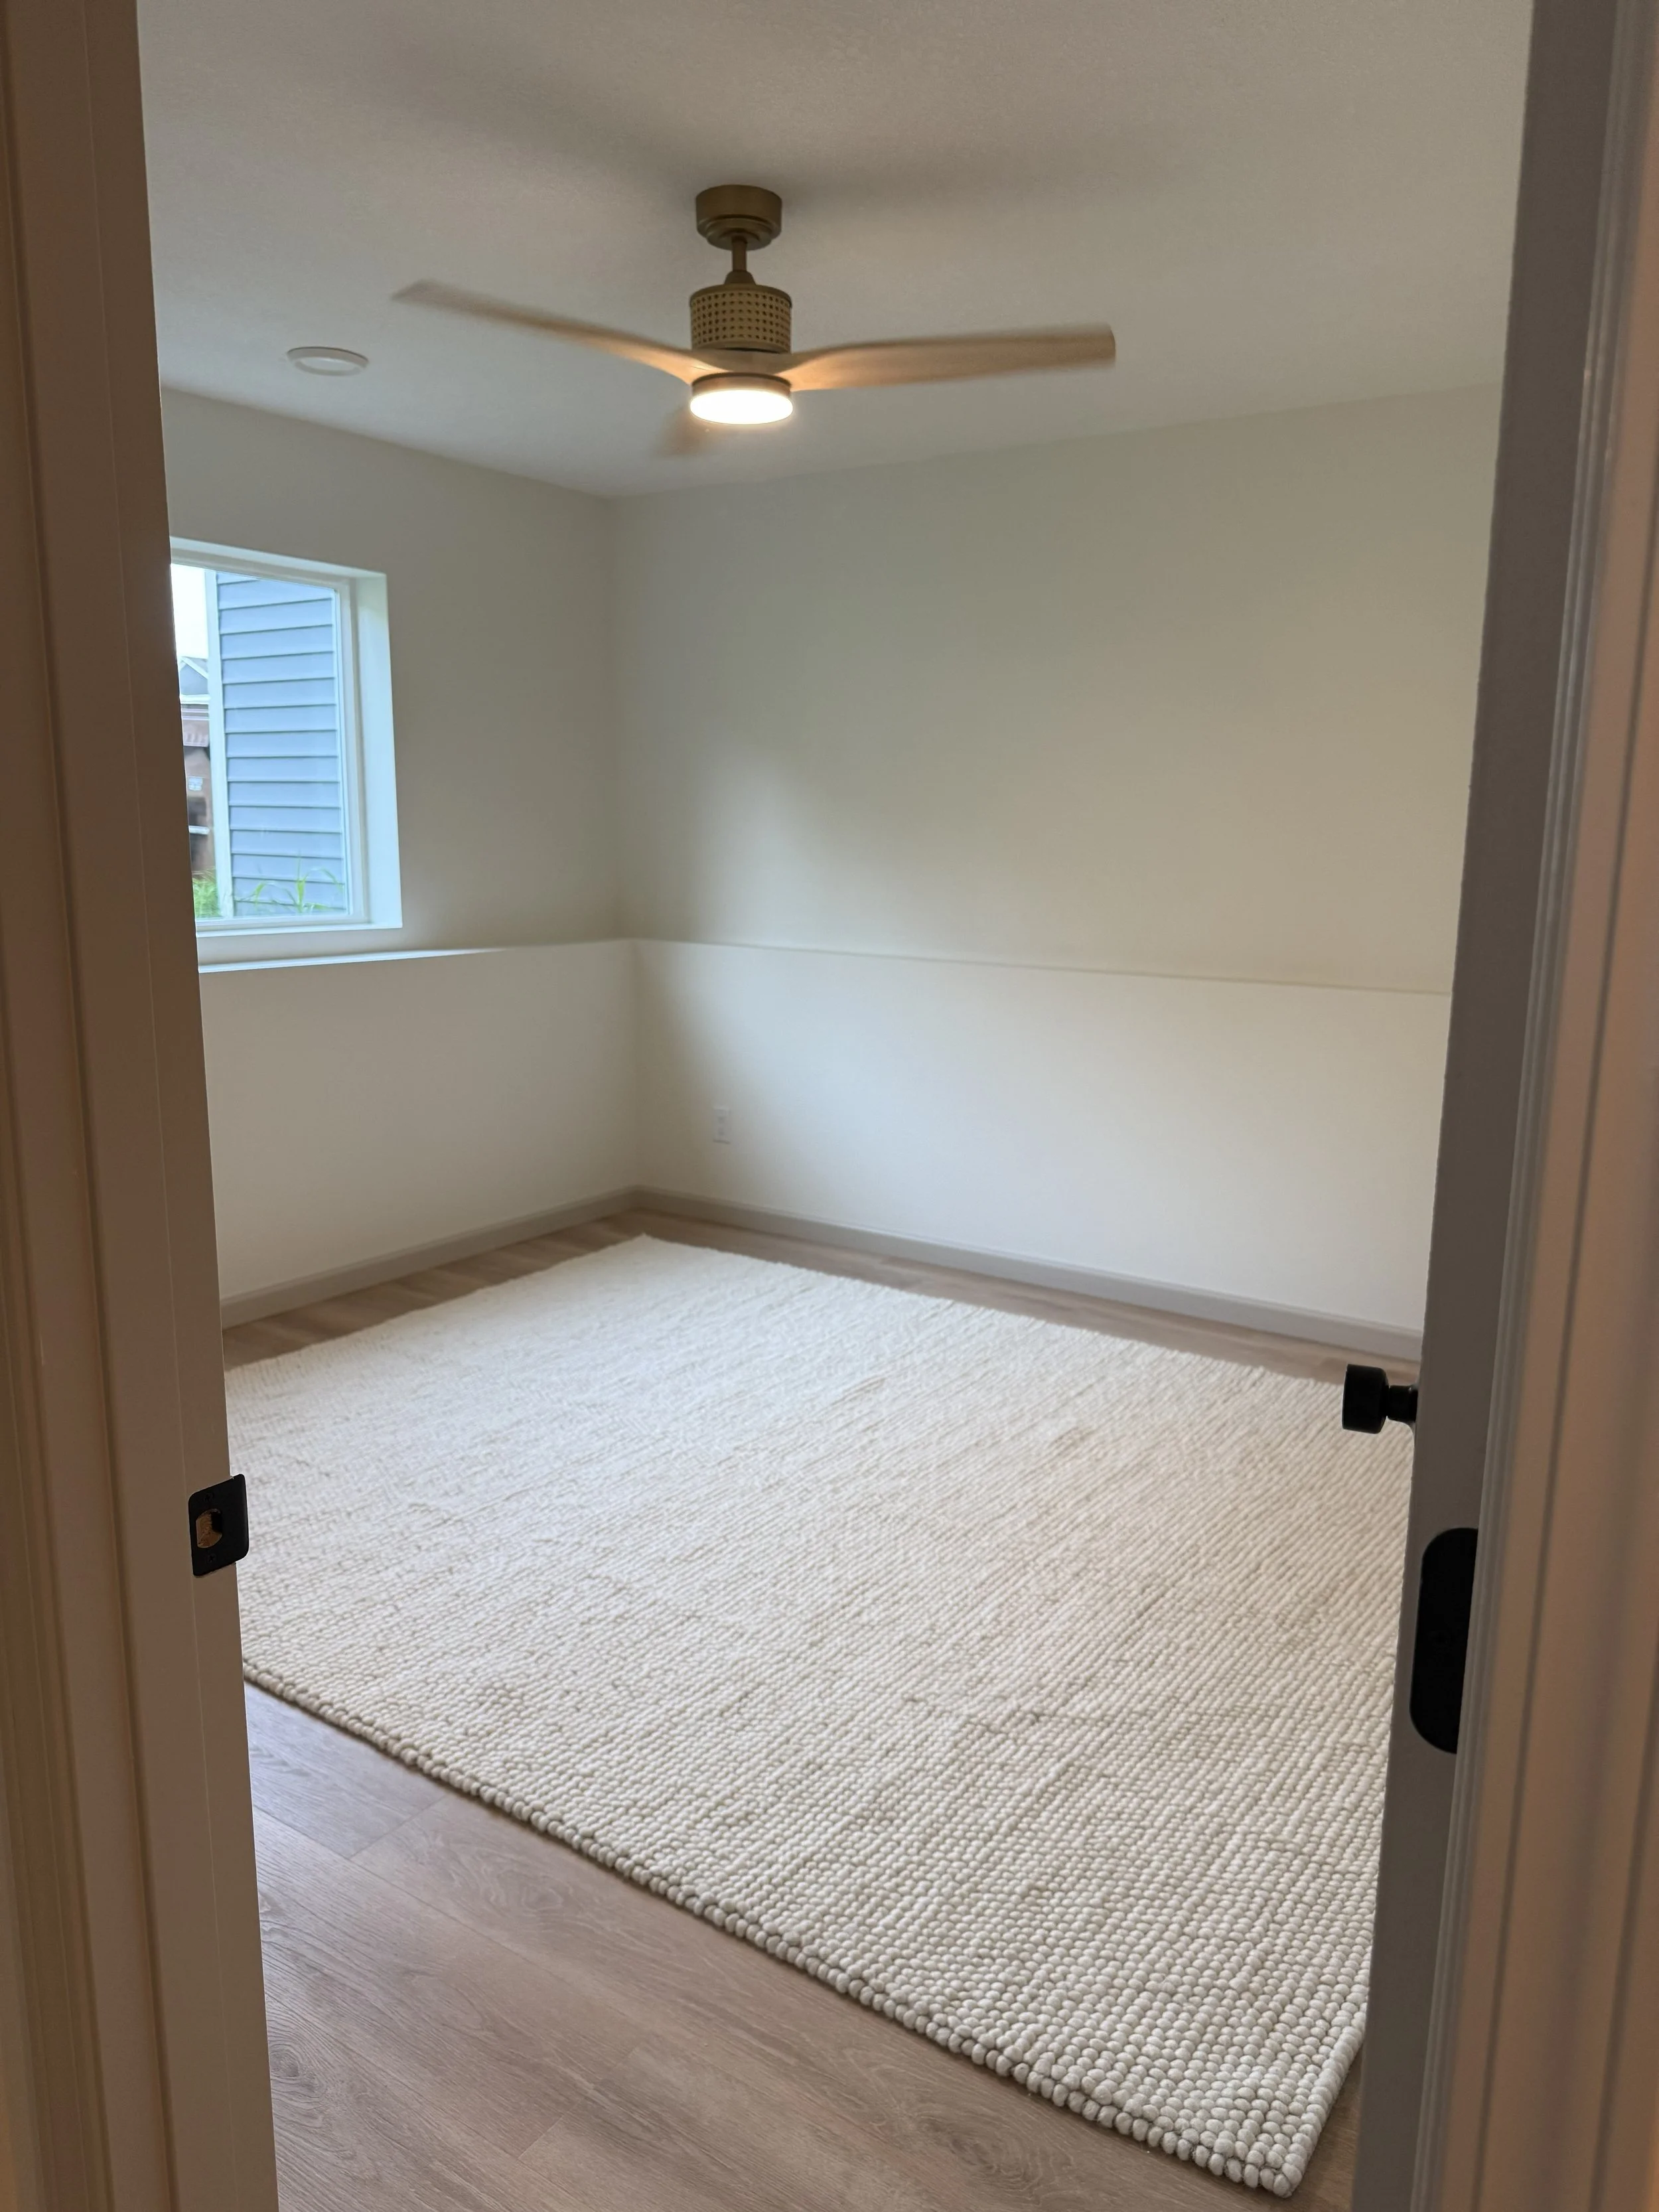
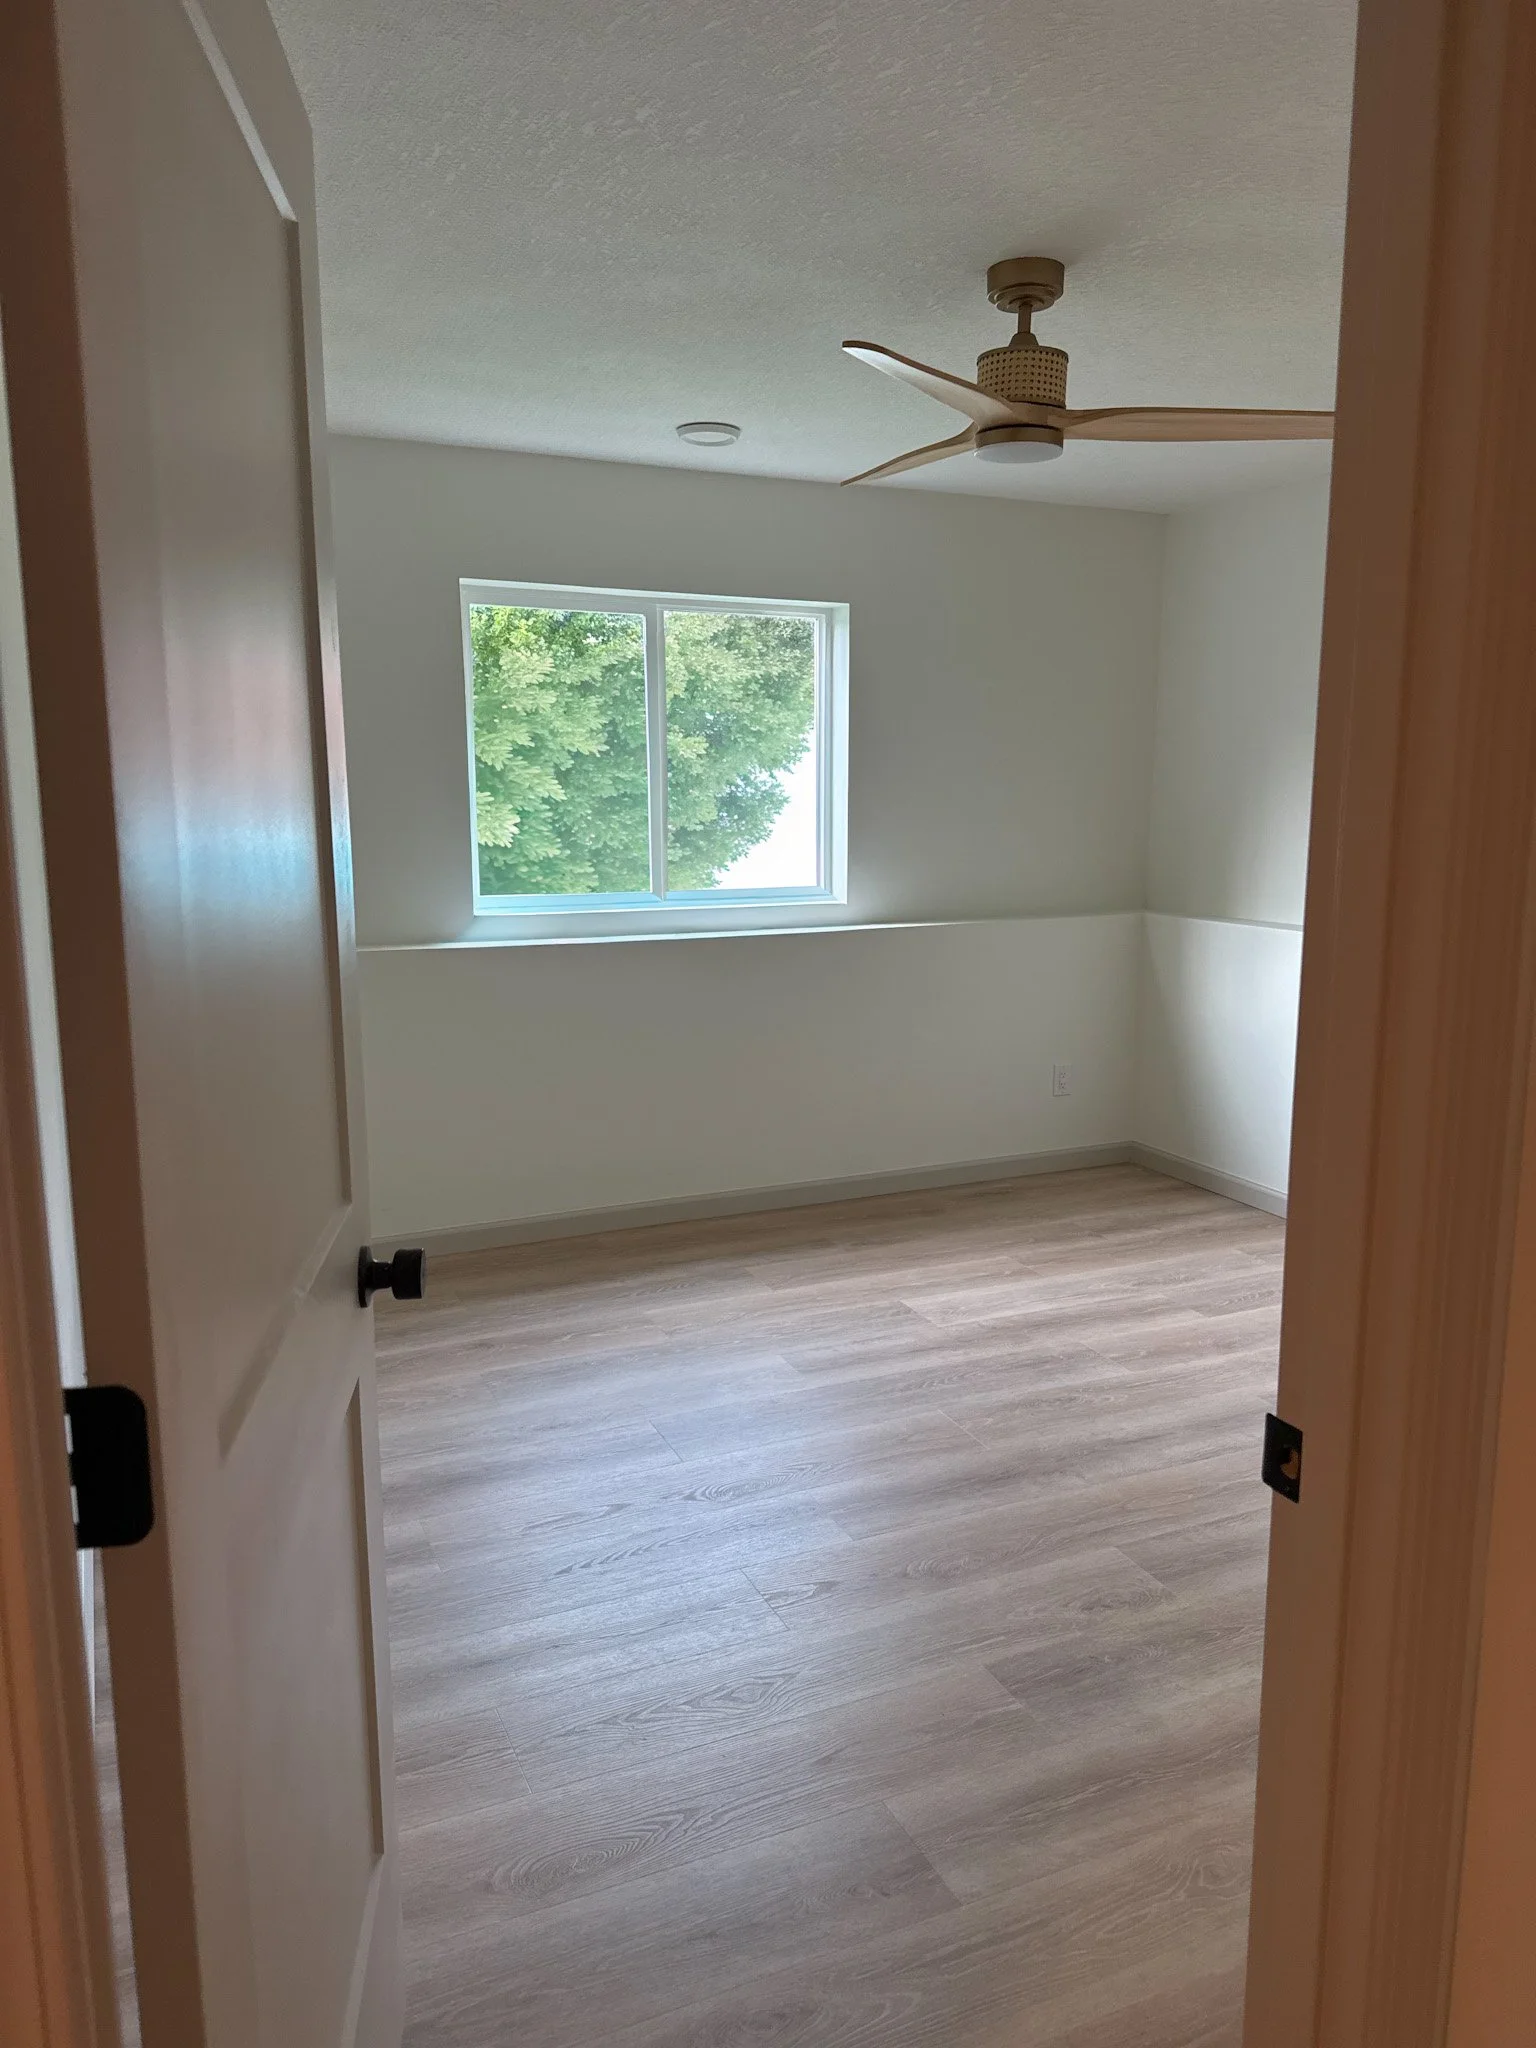
After many, many samples that we looked at both in store and in the actual space, we went with this lighter wood toned LVP called Dusk Cherry from Lifeproof.
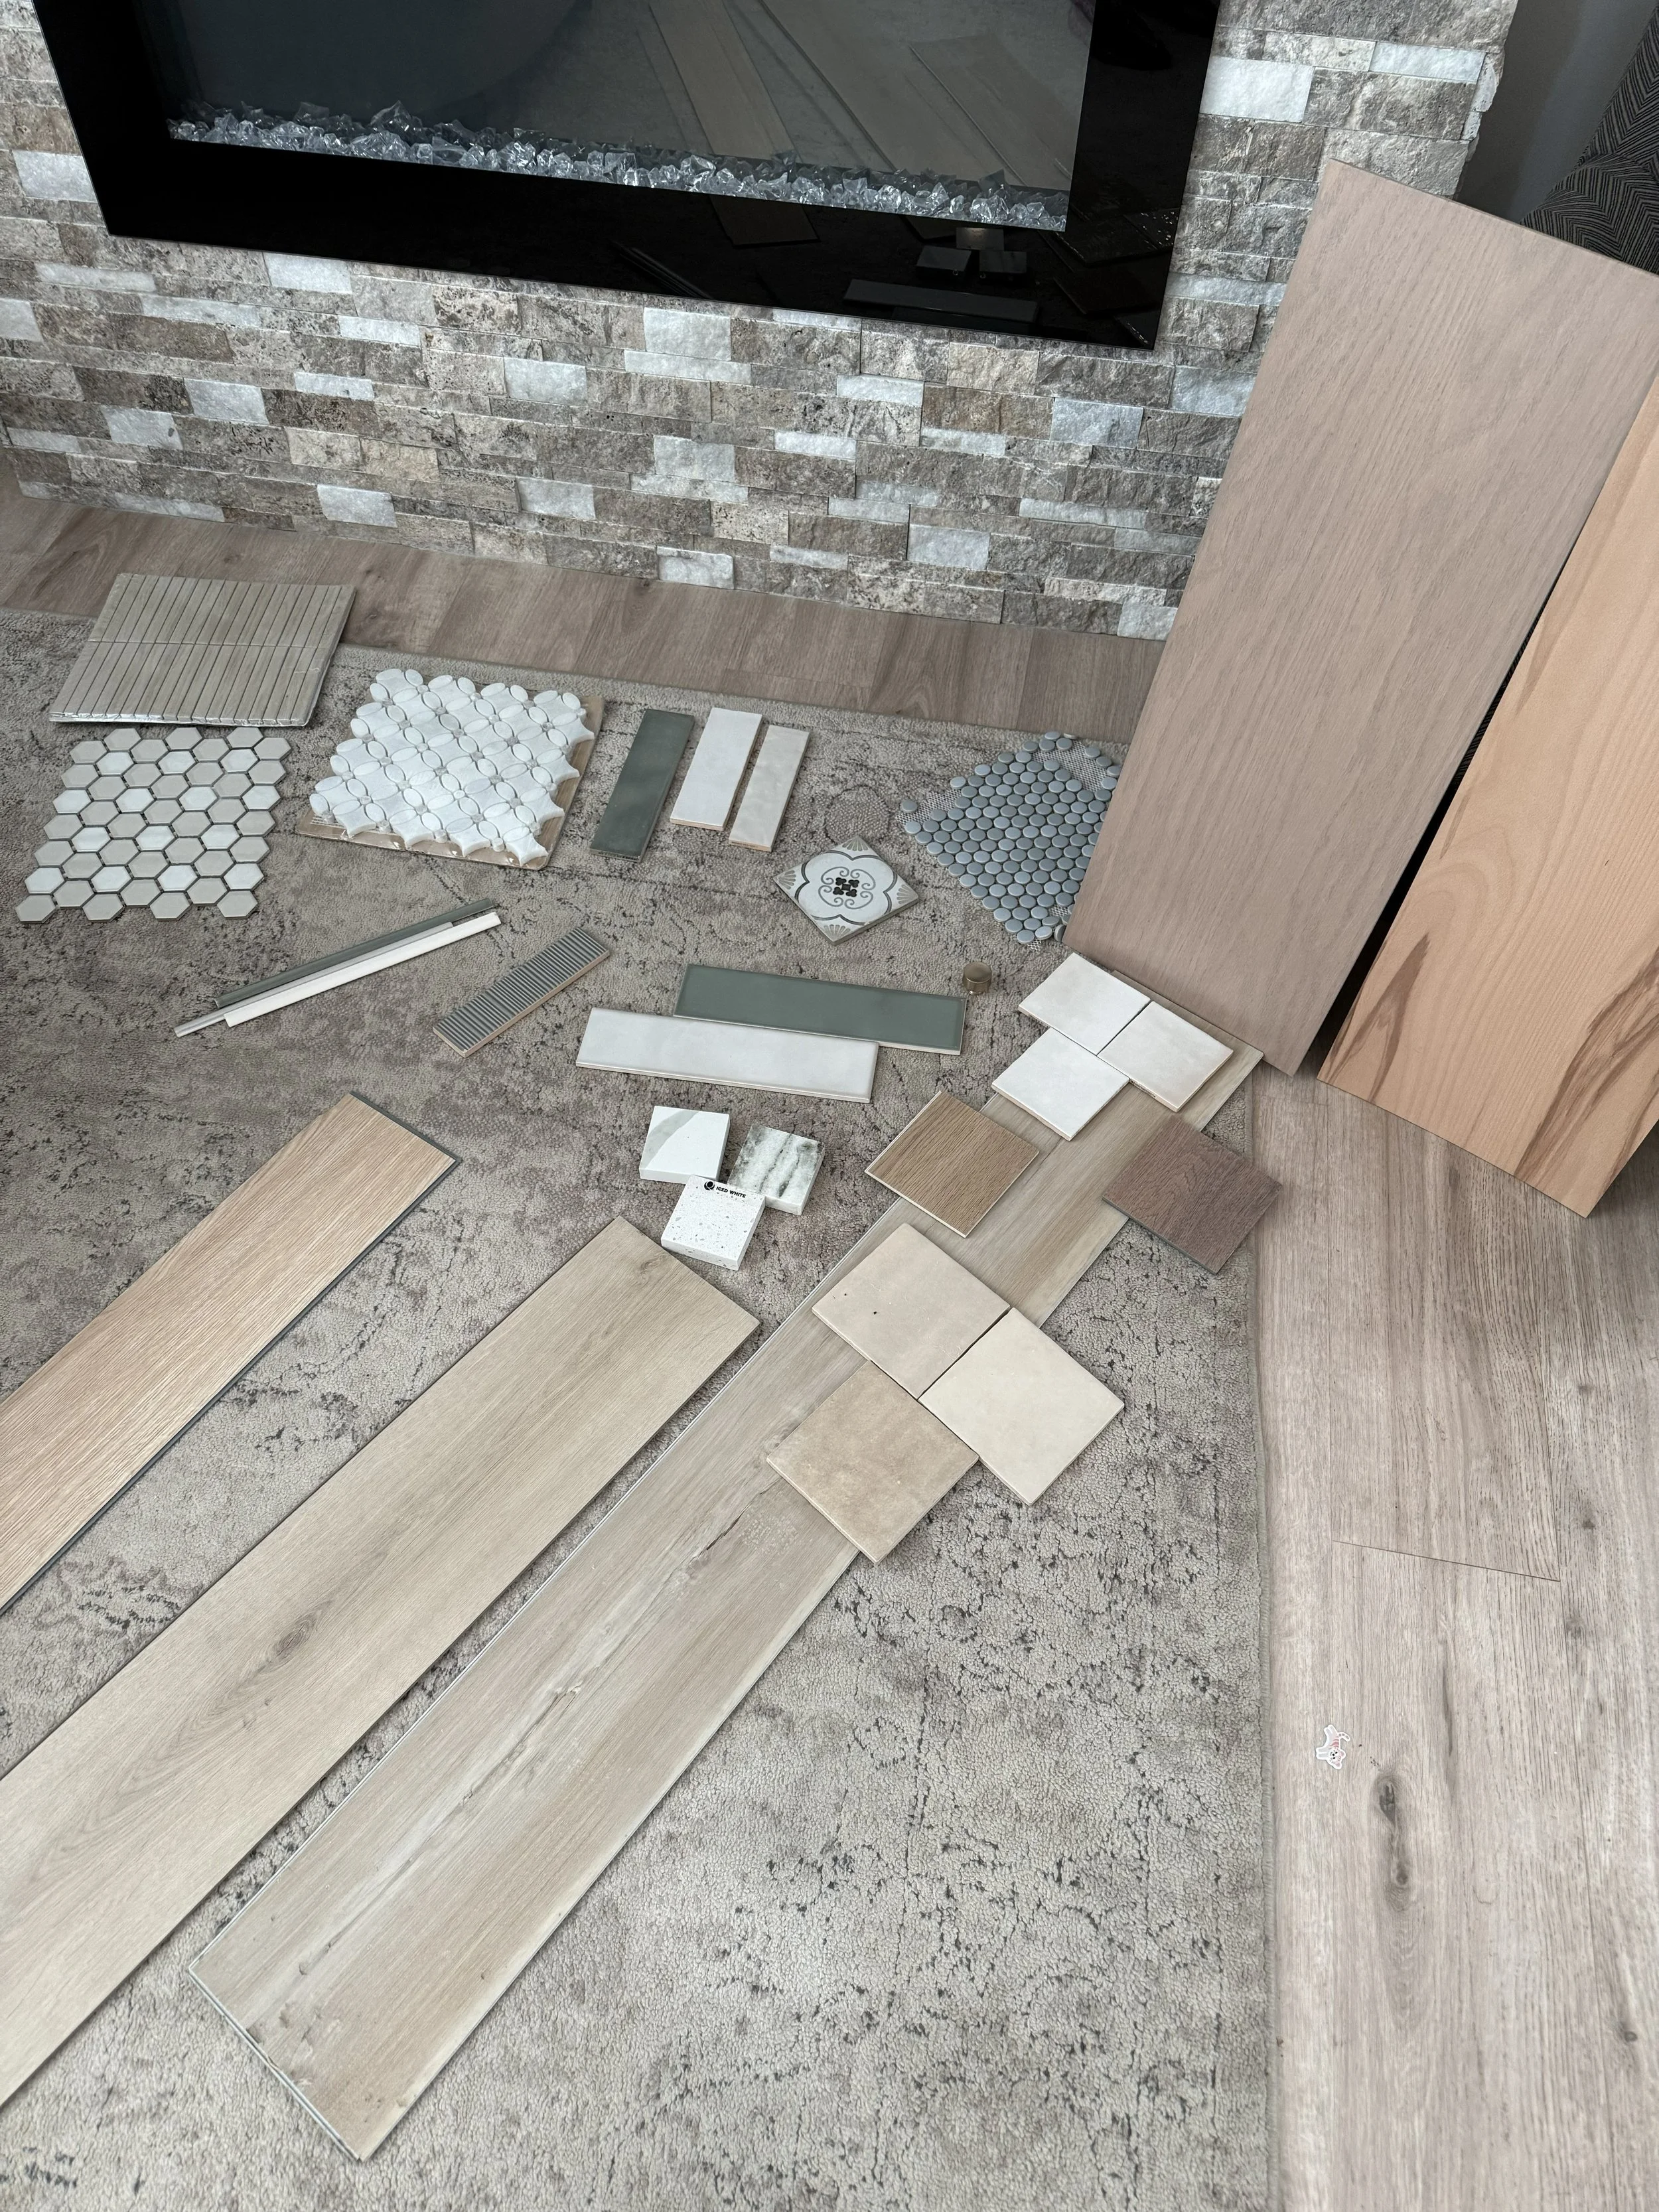
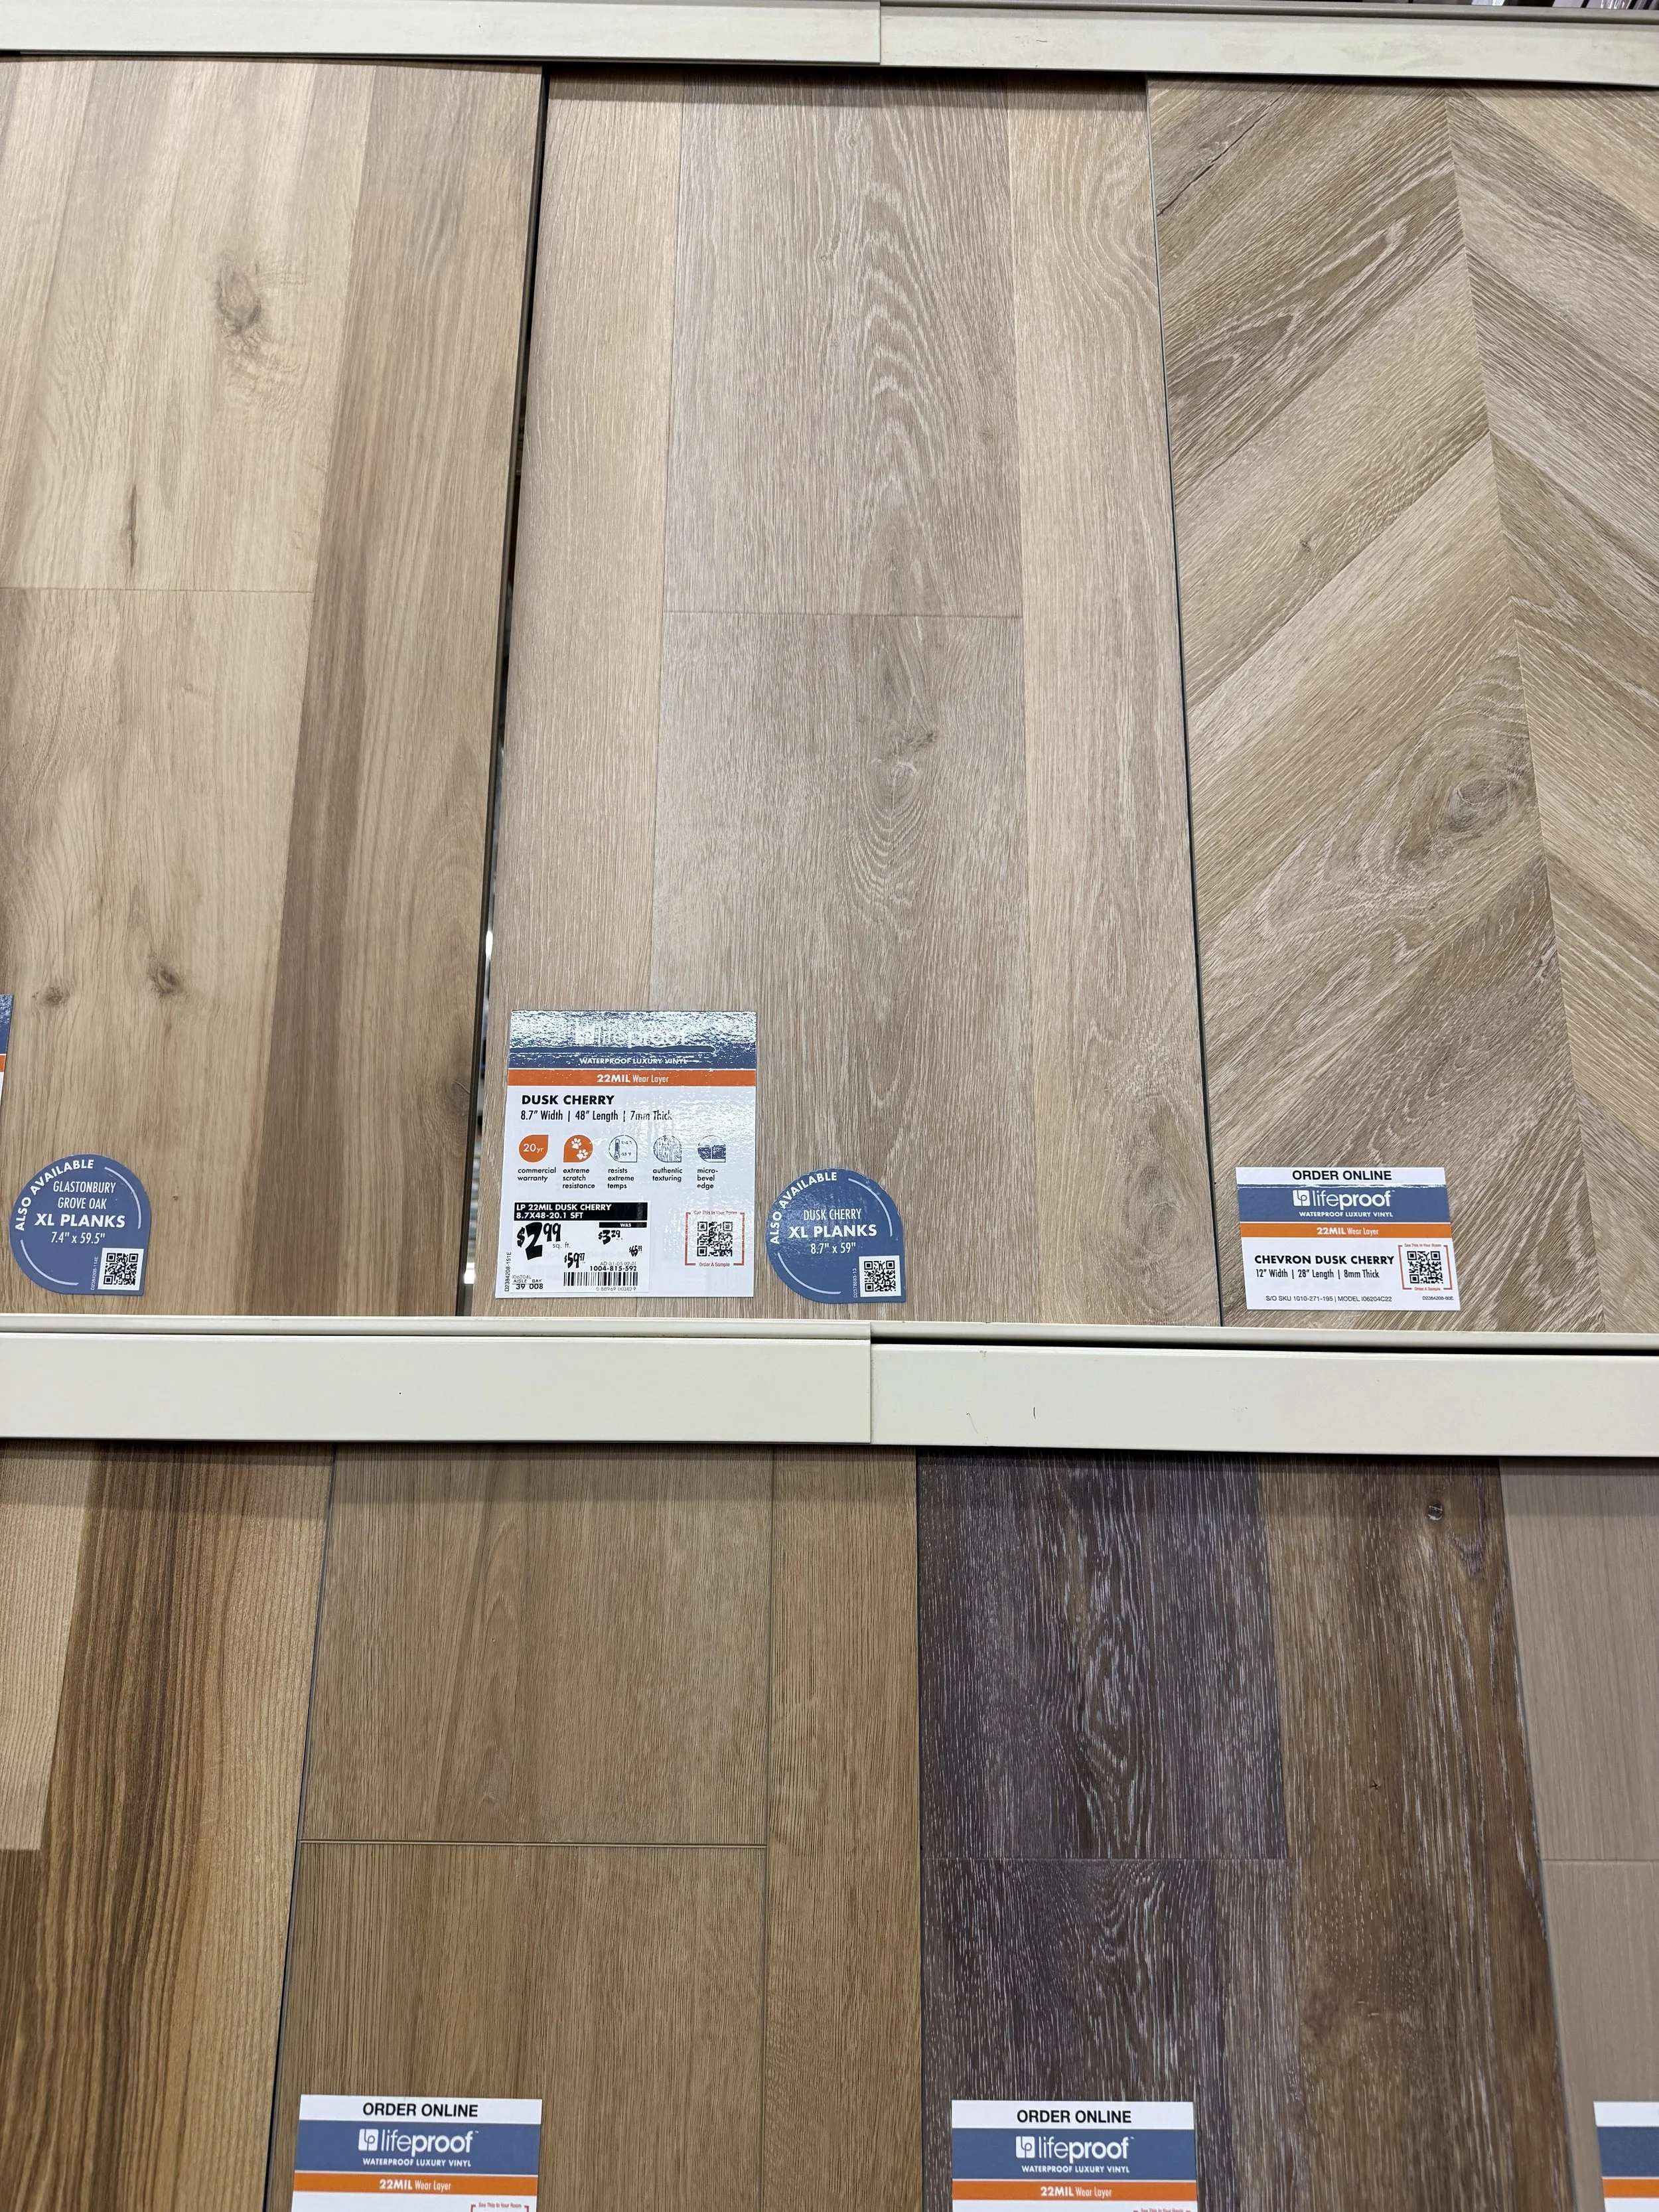
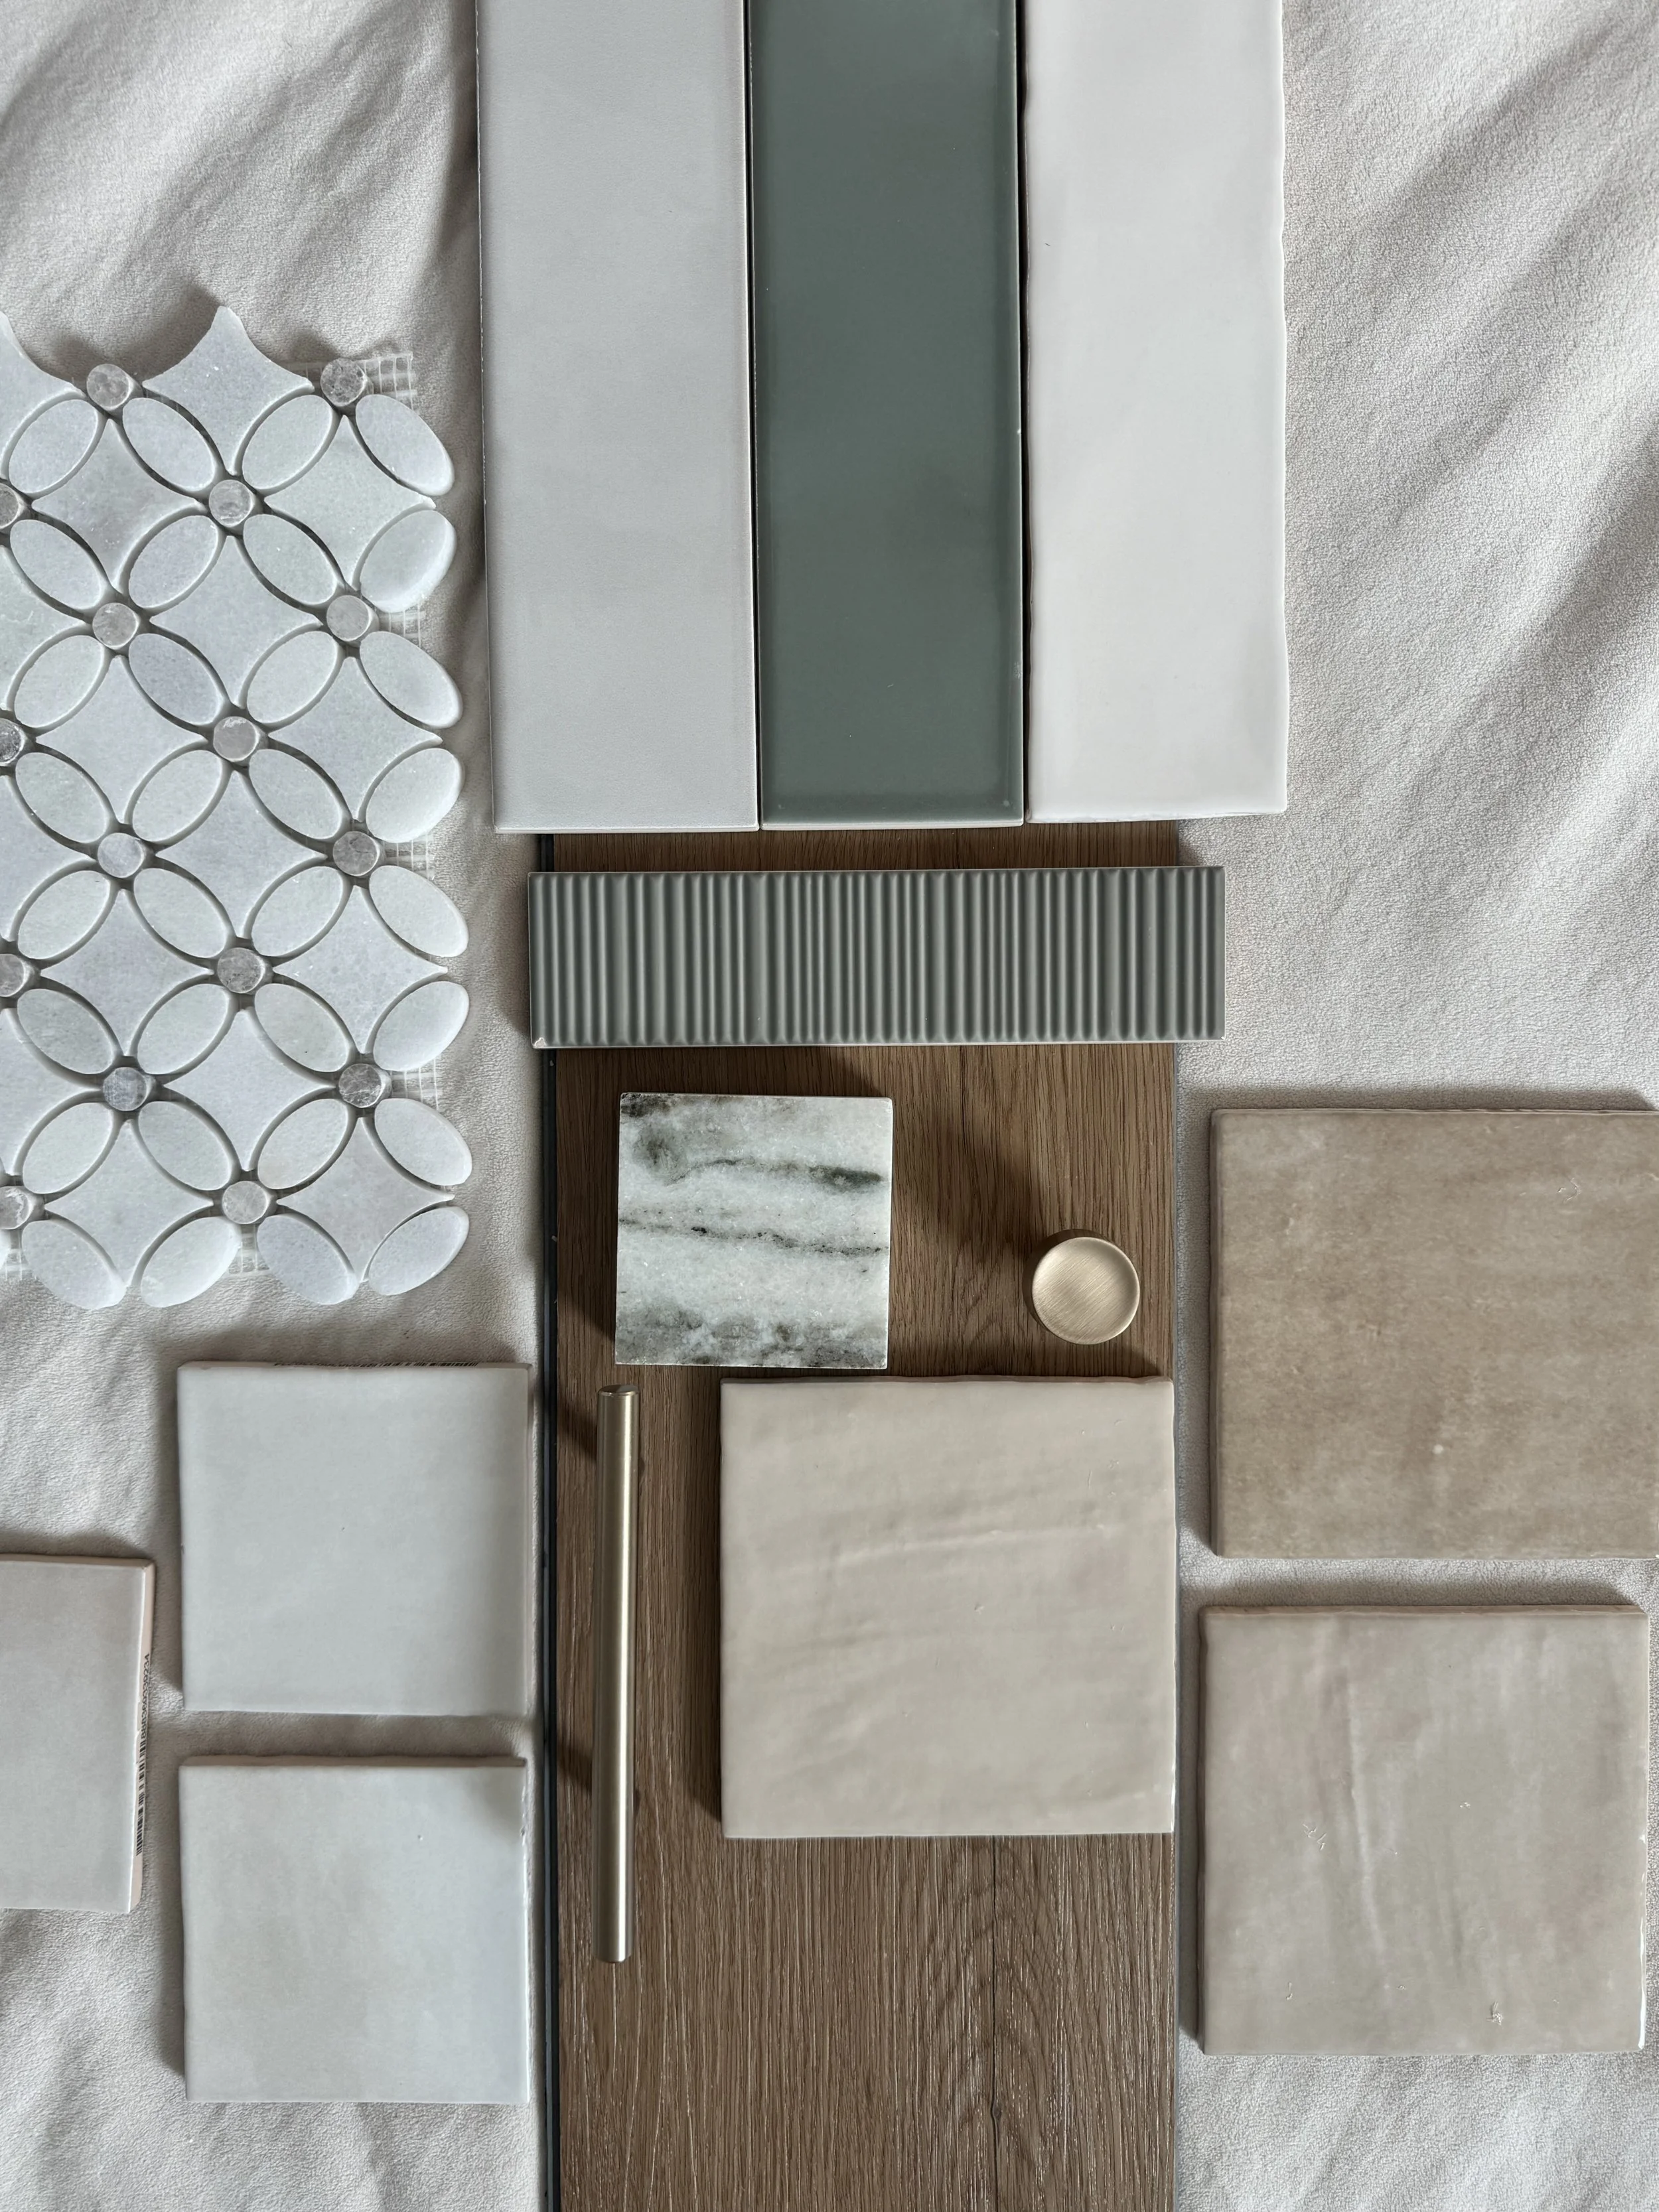
In addition to the function of the flooring itself, a lot of thought also went into the plan for the subfloor. Because we’d be adding LVP on top of concrete, we knew we may need to find some solutions for any unevenness we might find in the existing floor. One option would be to add more self-leveling concrete, but another would to install raised plywood subfloor. The benefit with this raised subfloor would also be that it would help with the temperature! Wood has a lower thermal conductivity than concrete, which means that wood flooring draws heat away from you more slowly than concrete does. With Minnesota winters ahead, this upgrade, though “invisible”, is one that would be more than worth it when it comes to comfort!
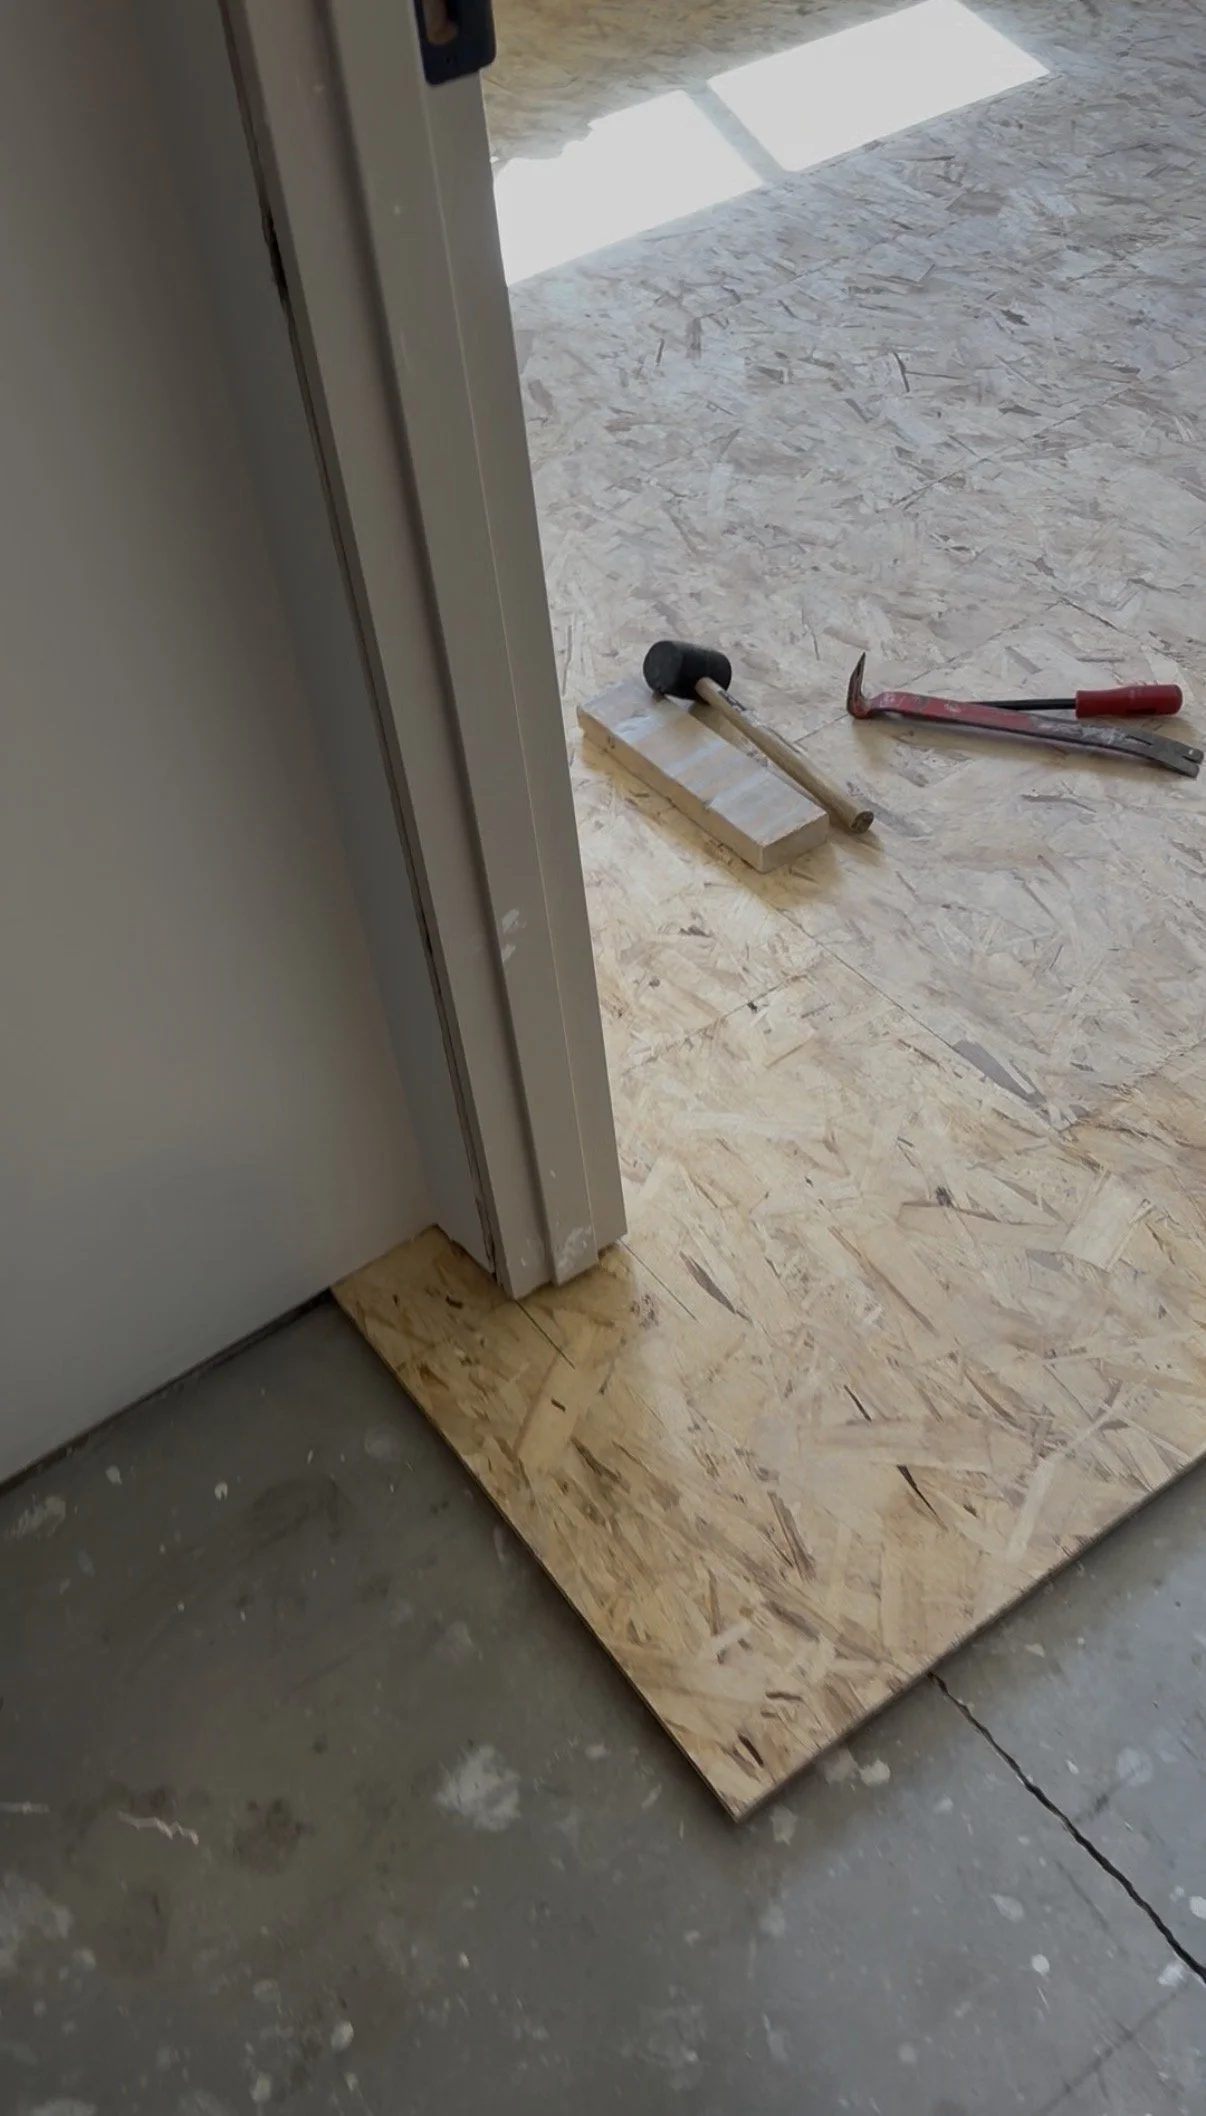
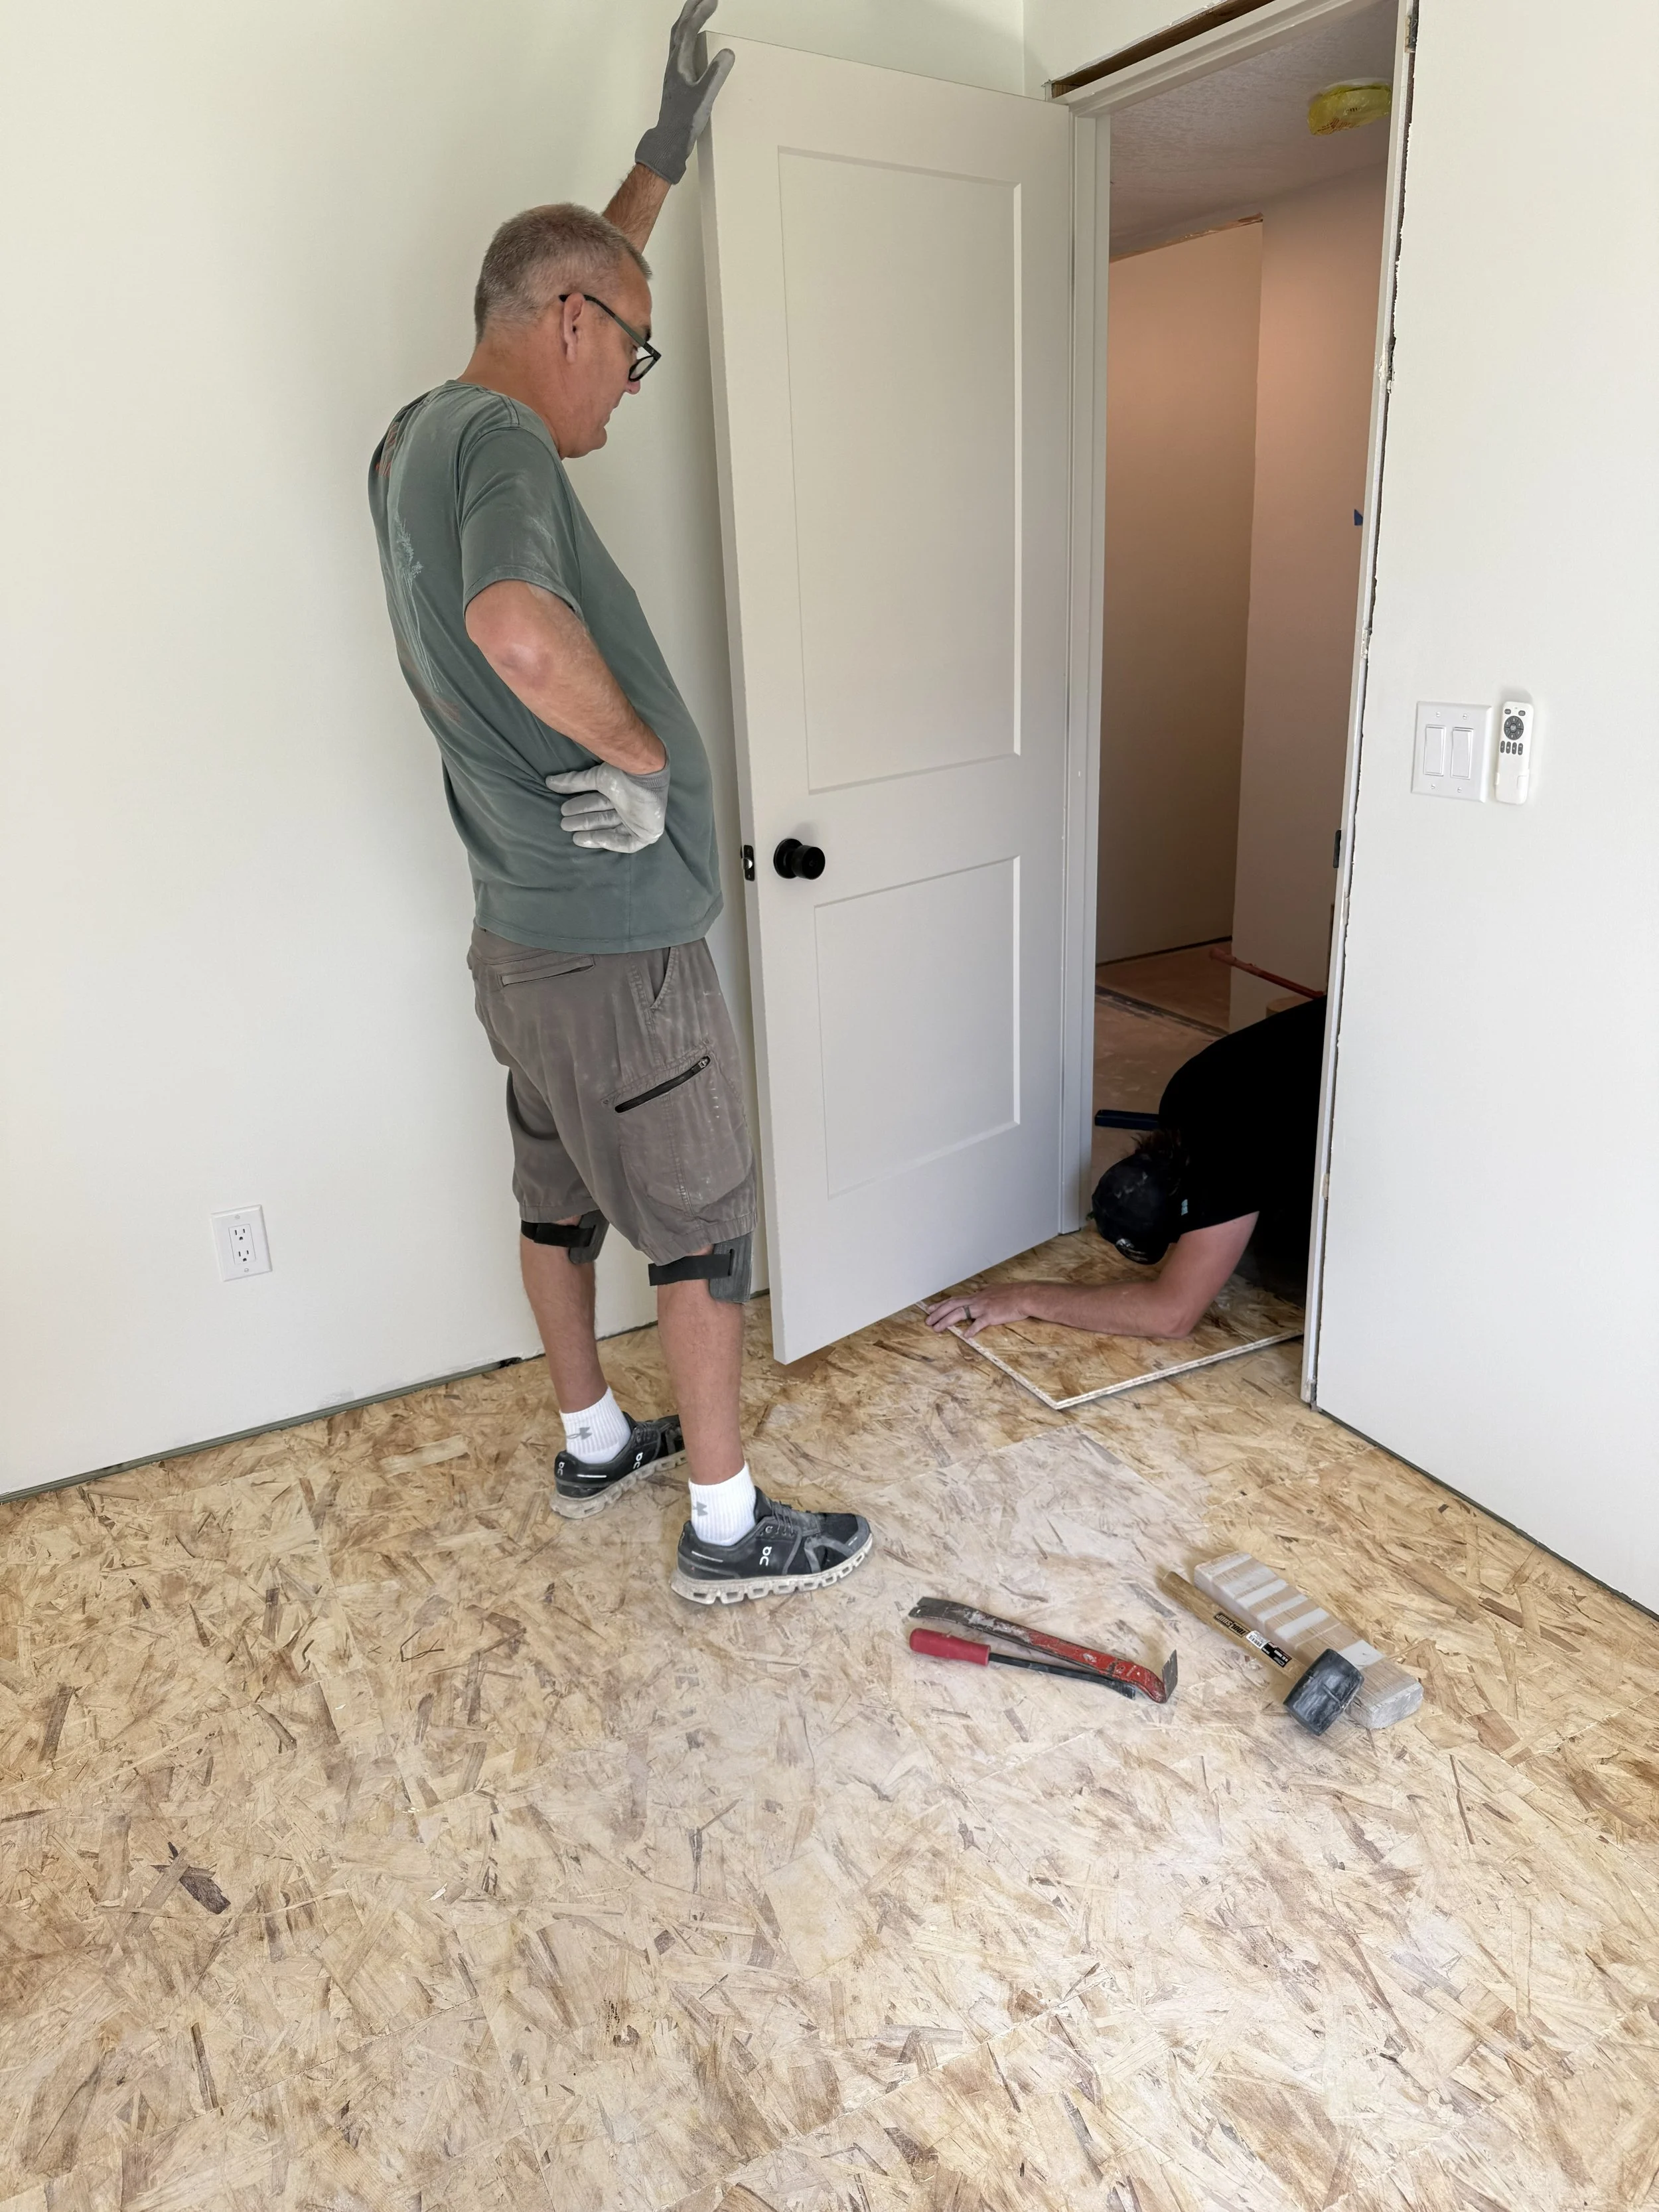
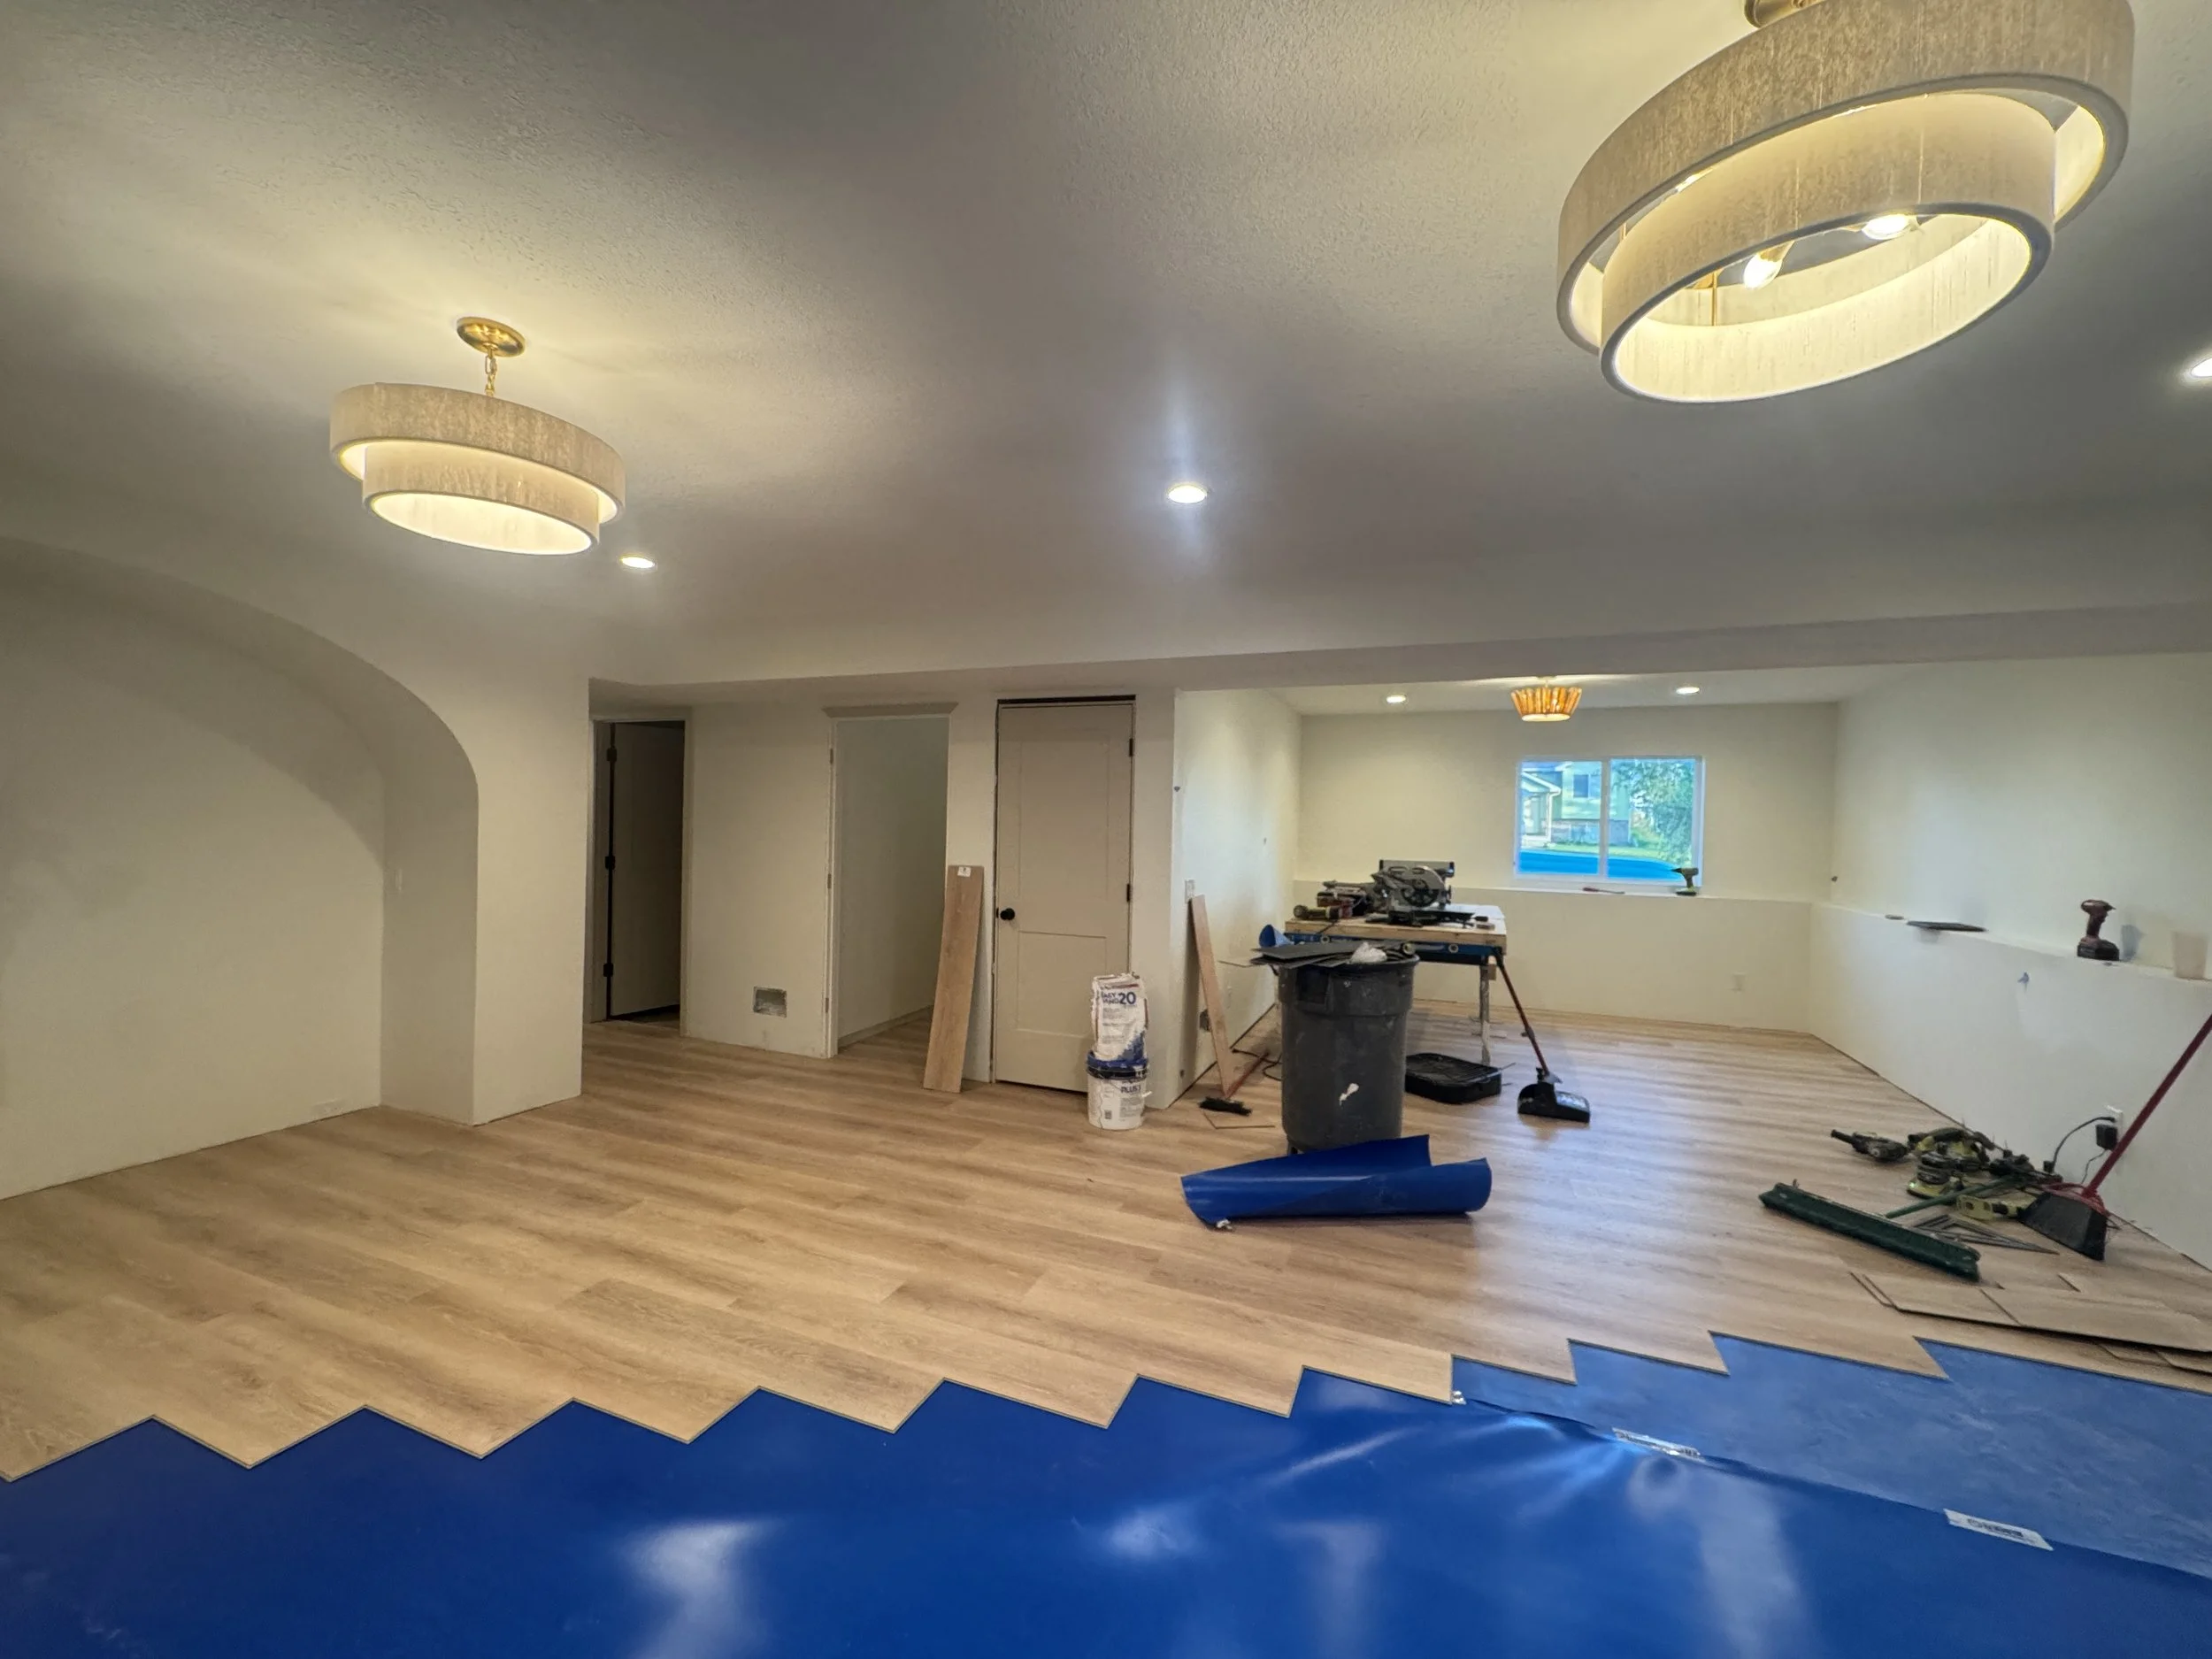
After the raised subfloor, we still installed a foam underlayment before finishing with the LVP
Our main takeaways from this raised subfloor are these:
Always, always, always prioritize function and comfort when it comes to your design and material choices
Sometimes the “invisible” upgrades are the ones that make the biggest difference (Side note: another “invisible” upgrade that went into this basement finish was upgrading to a larger water heater. A major game changer for showering, especially when going from a 2 bath to a 3 bath household!)
The Doors & Trim: Paint Choices to Add Dimension & Warmth
We started this project with an initial mood board and a few words to inspire our design. Those words were bright, organic, natural, texture and character.
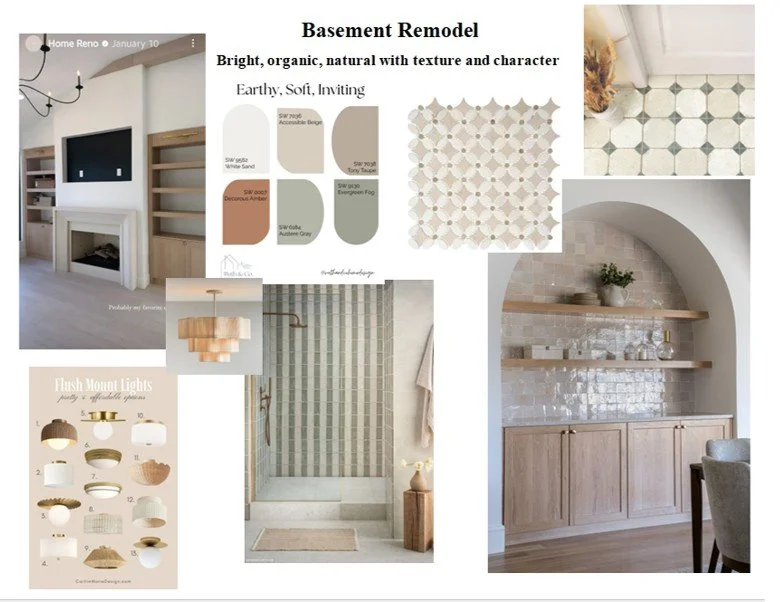
Initial mood board
Even though it was a lookout basement, we didn’t want it to feel like a dungeon. We knew we wanted to go with a warm, white for the walls and Swiss Coffee by Sherwin Williams ended up being the perfect choice for the main walls.
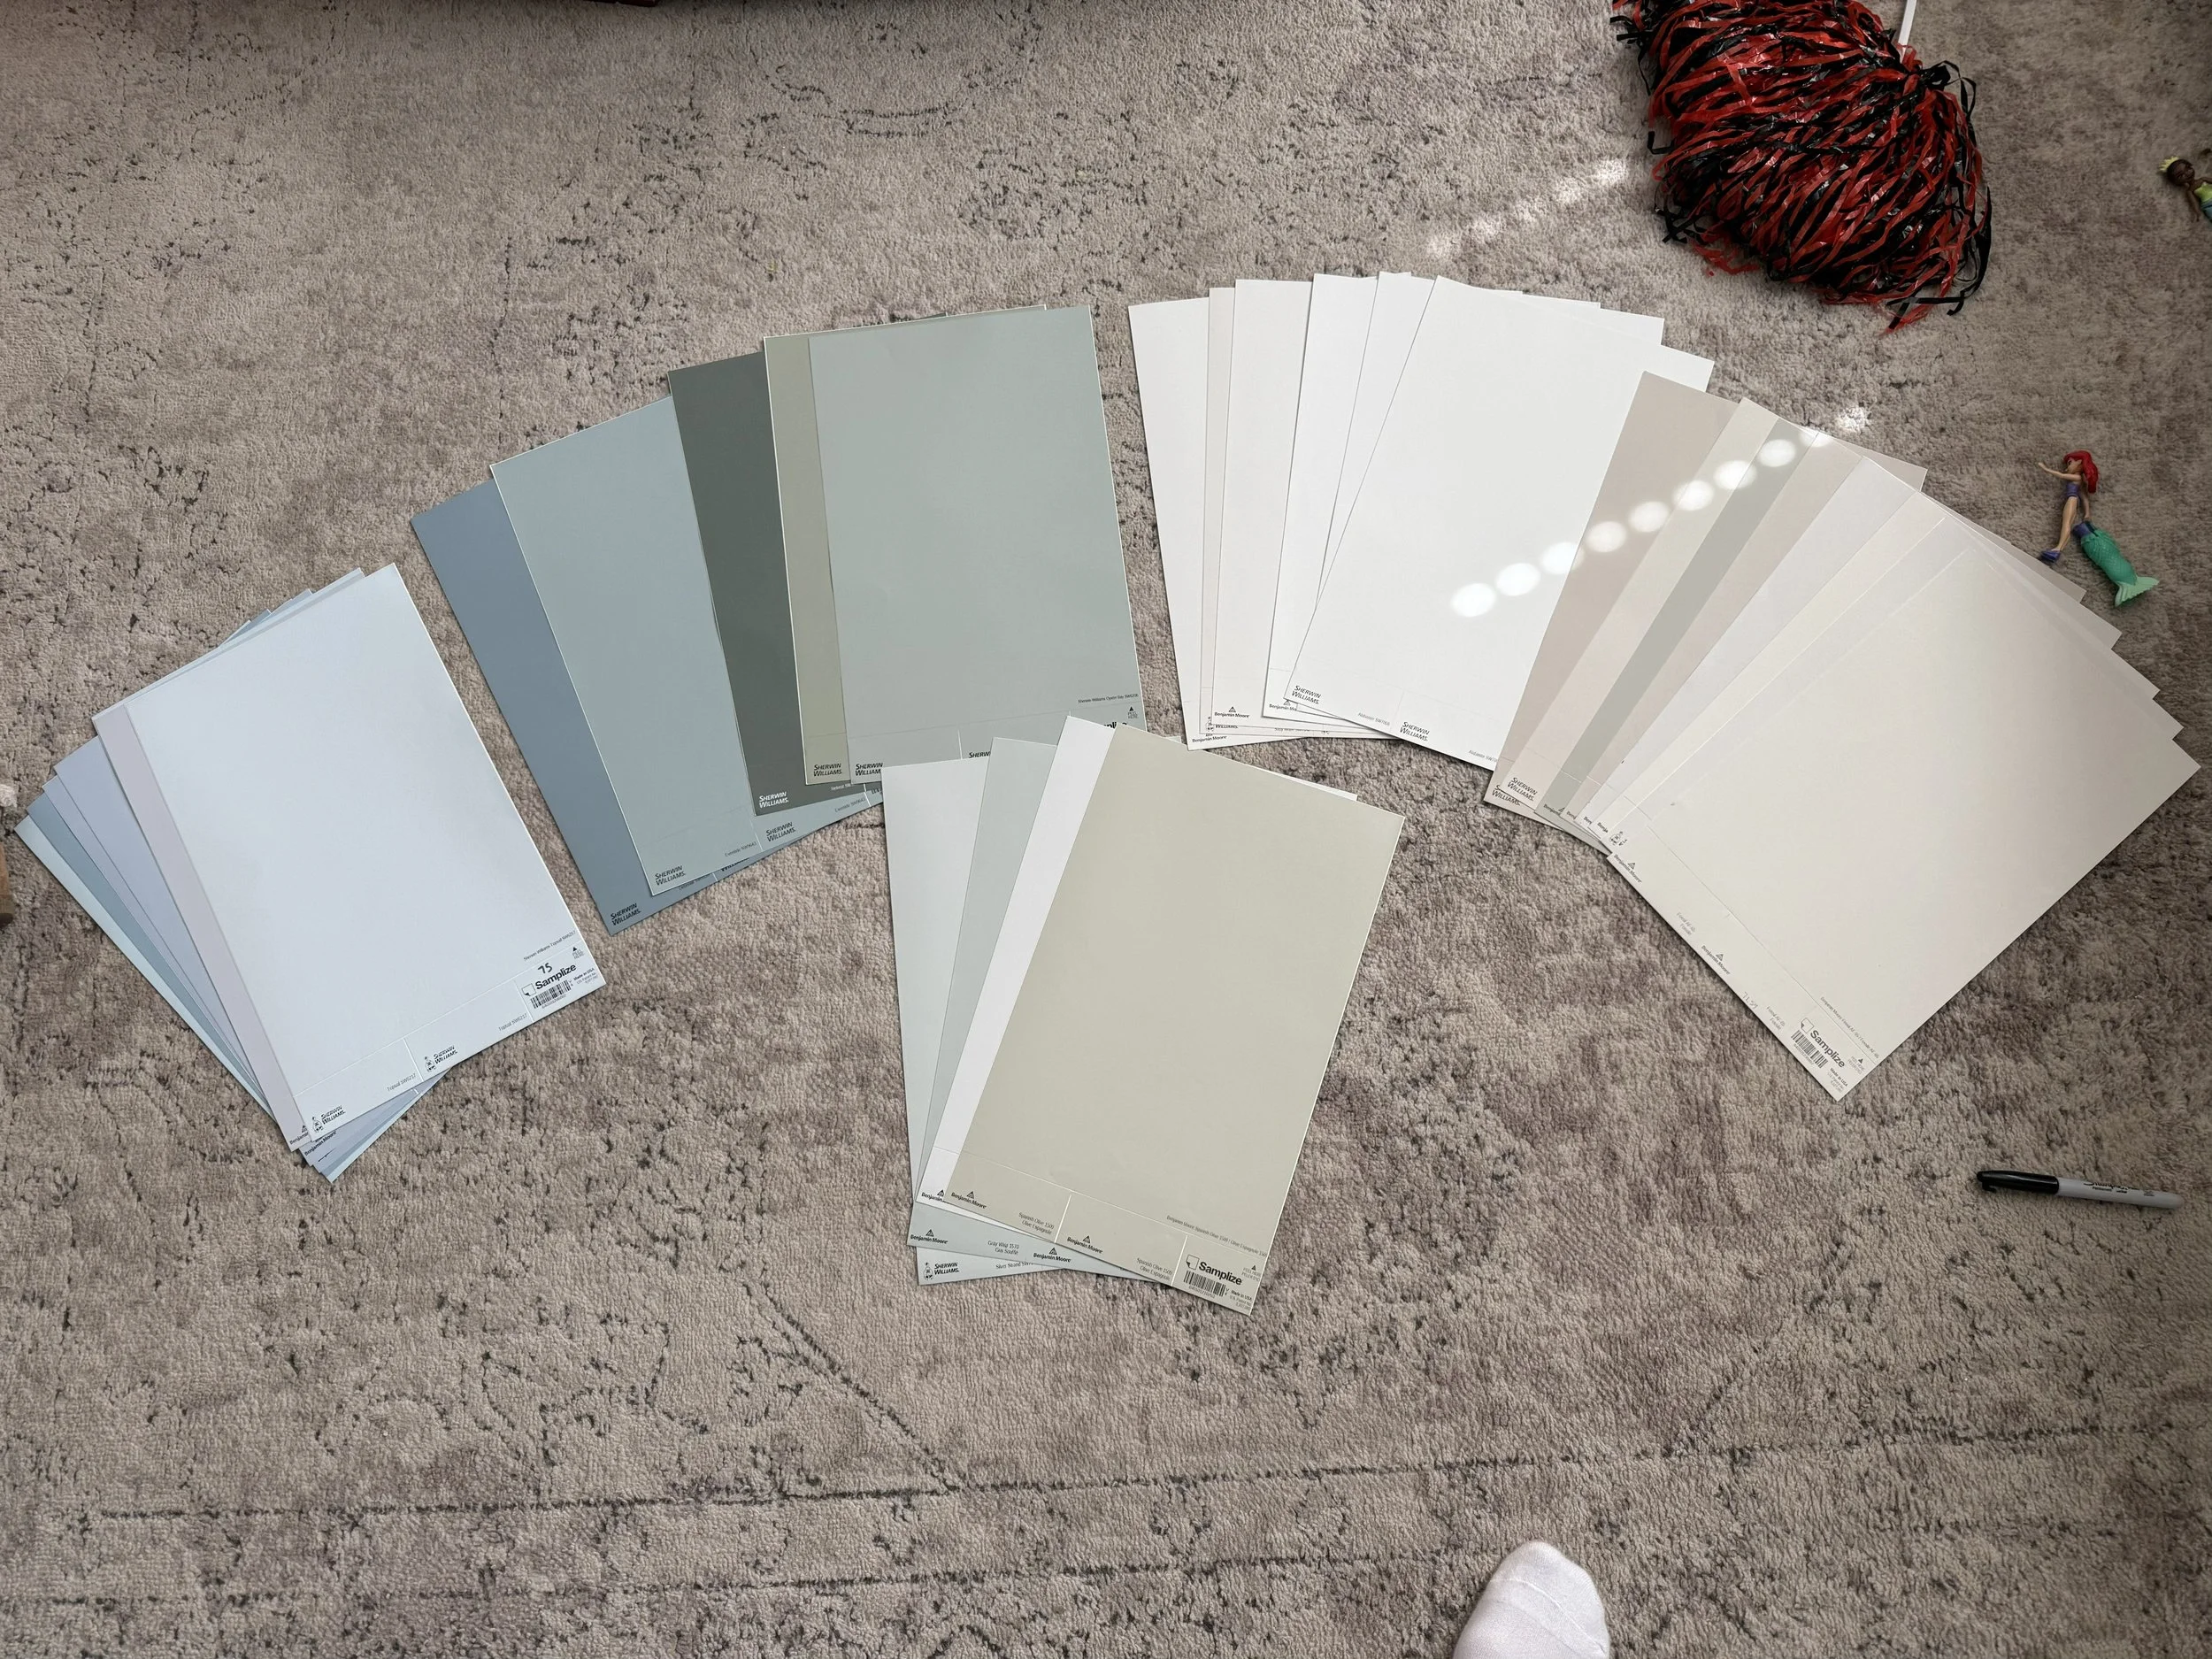
Pro-tip, these large stick on samples from Samplize are game changers! Also, bonus points if you can spy a certain mermaid hiding in this pic…
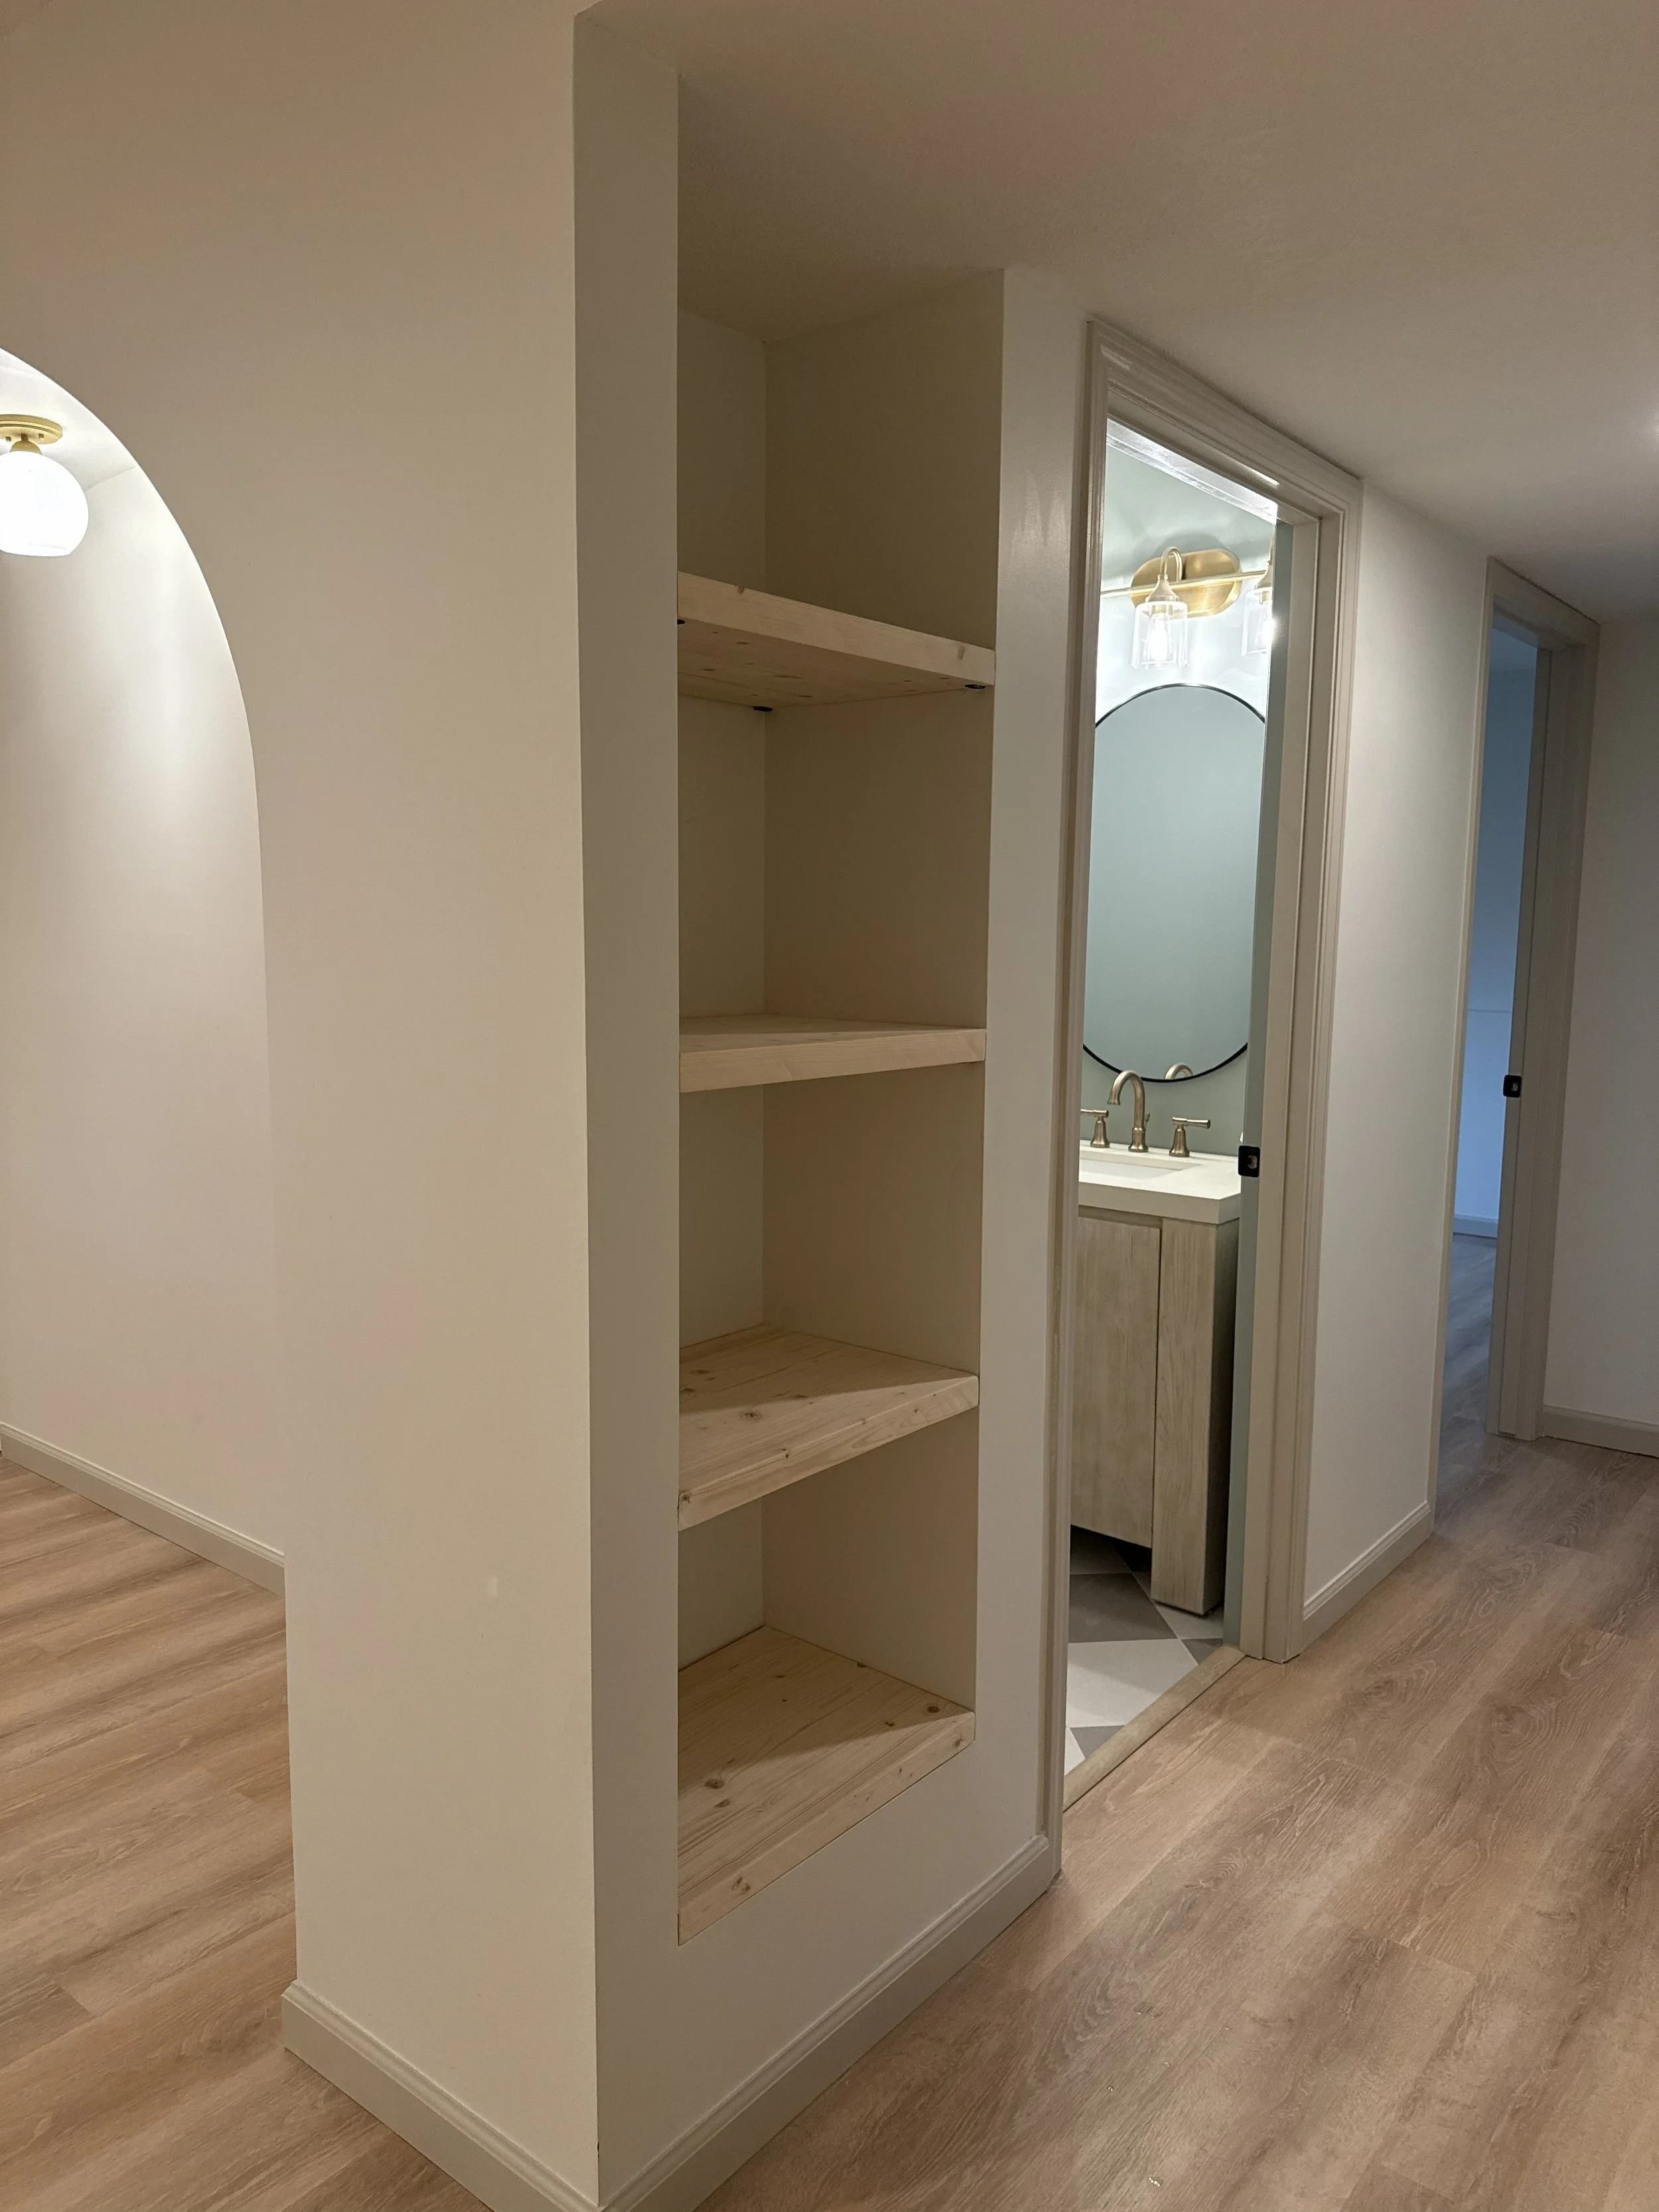
In order to add dimension and contrast, but keep the warmth and organic feel in the space, we decided to paint all doors and trim in a darker neutral, and went with another Sherwin Williams classic: Accessible Beige.
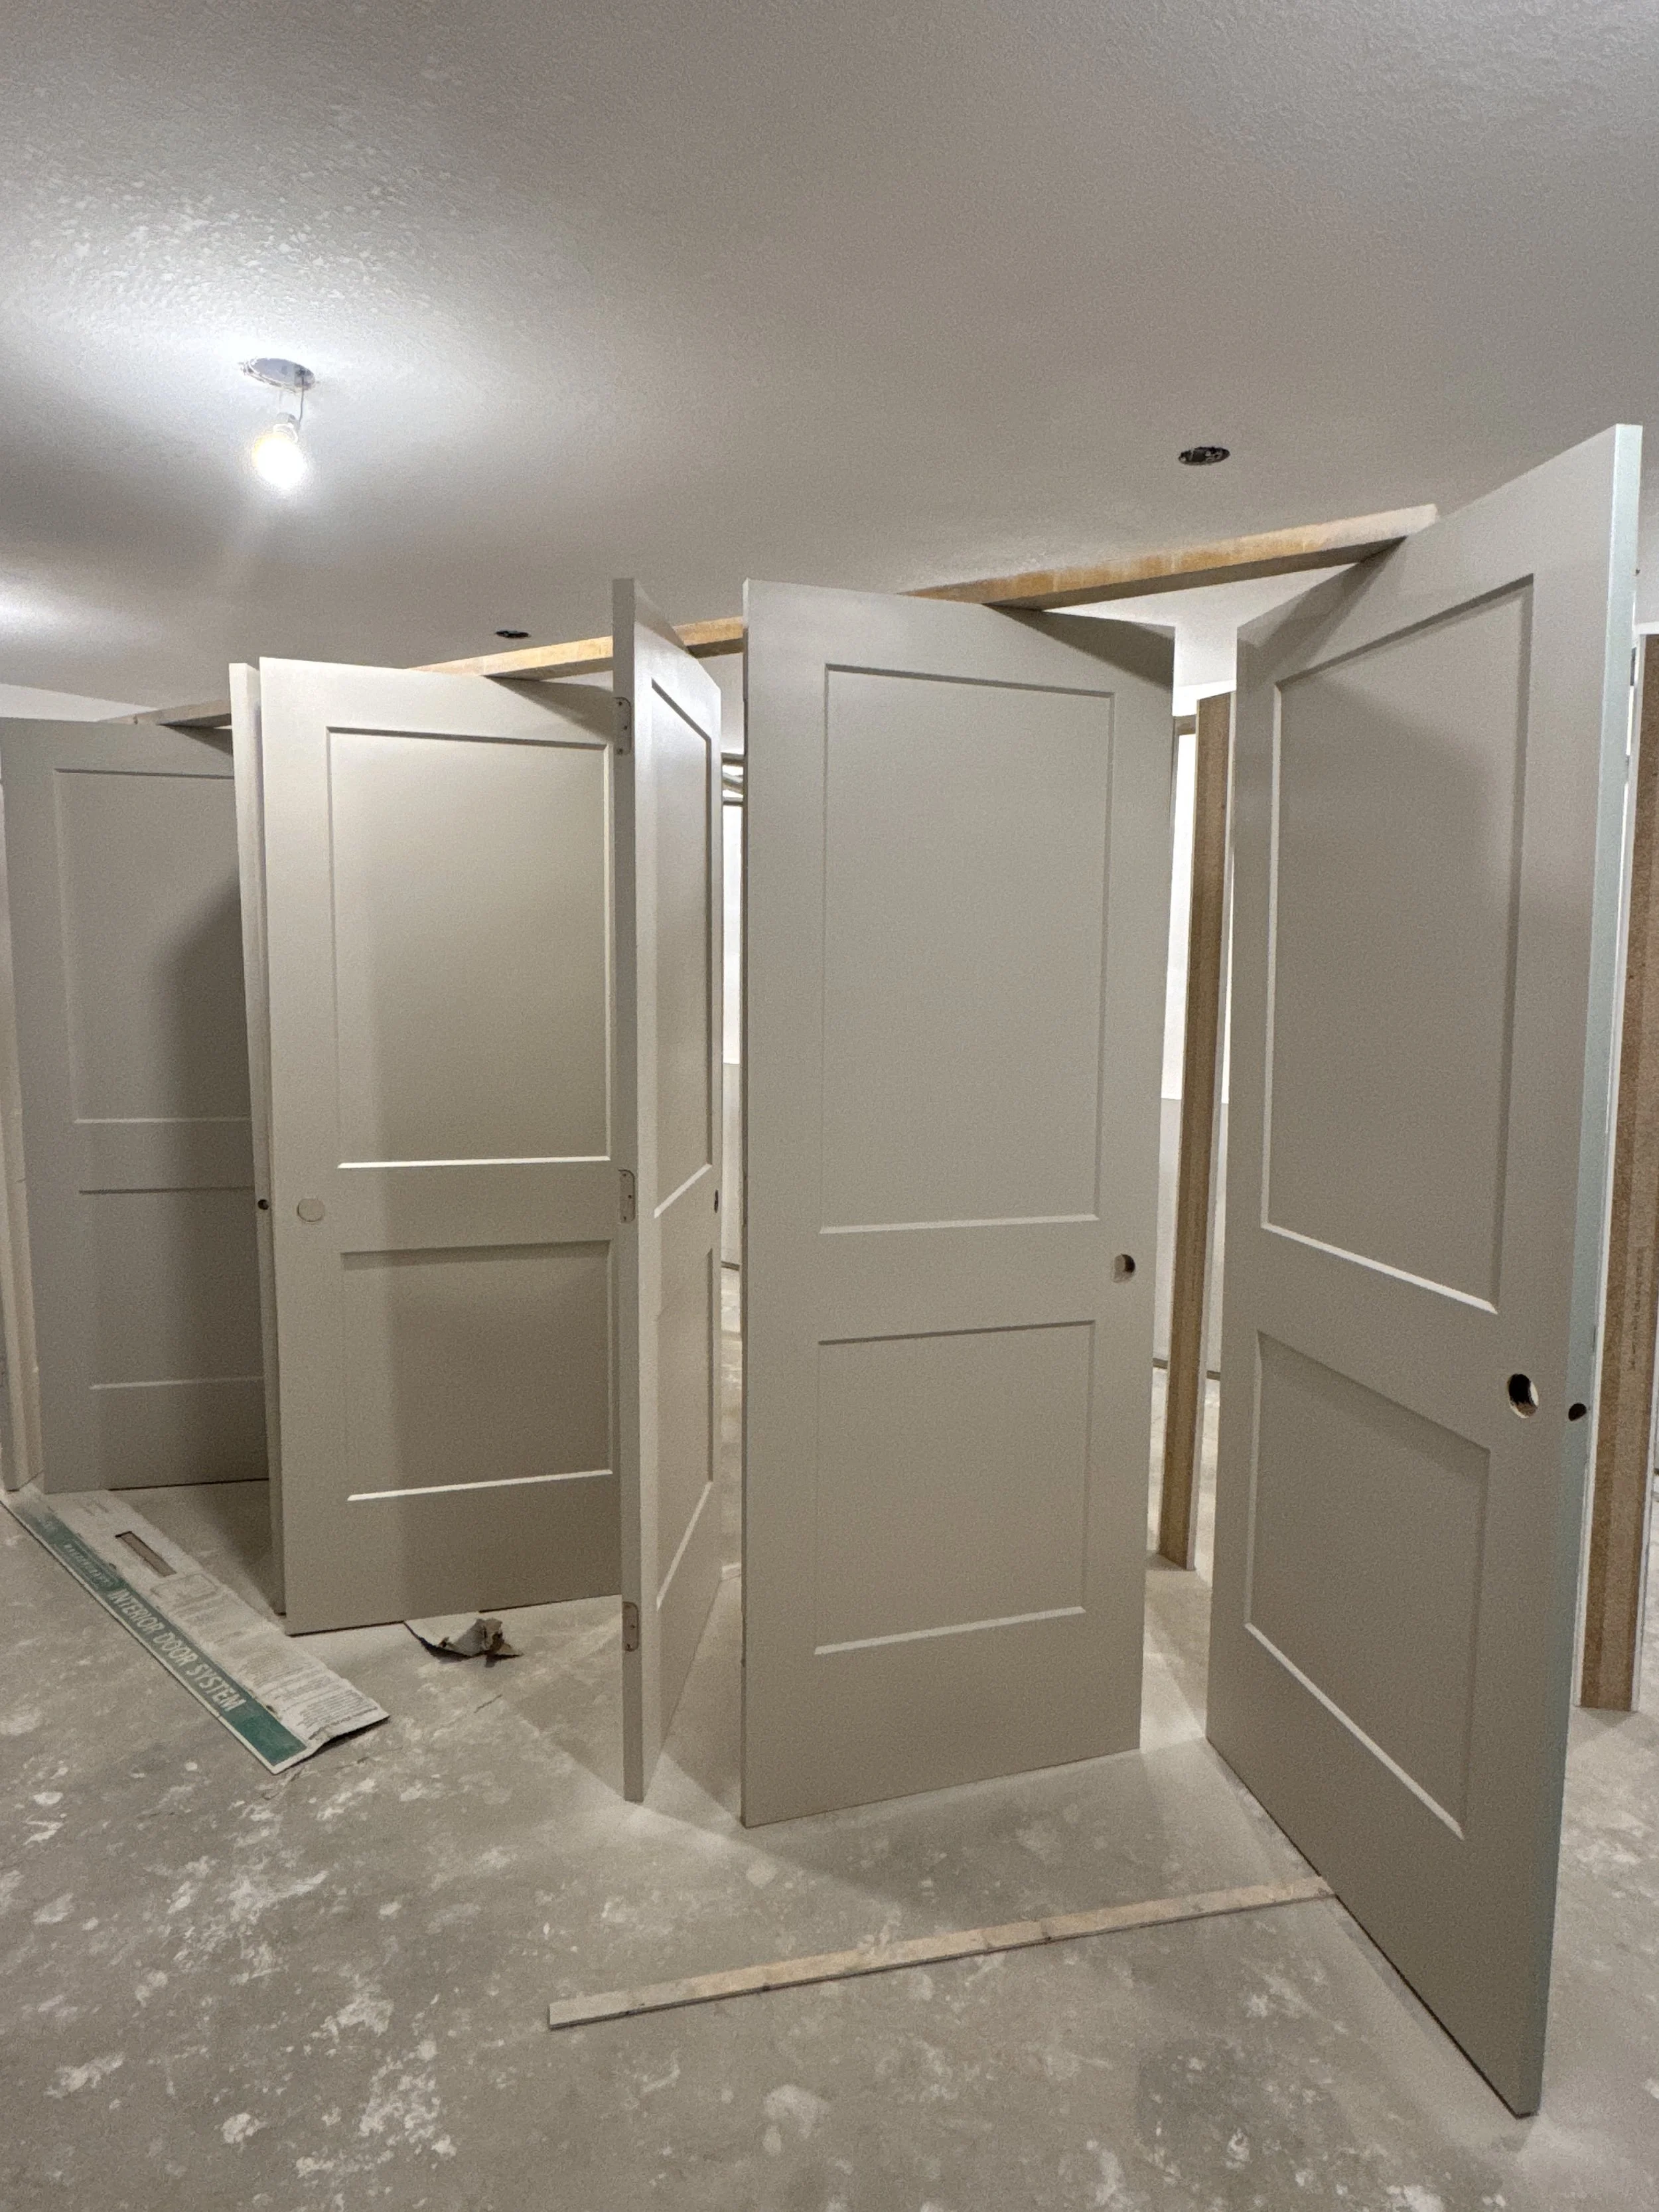
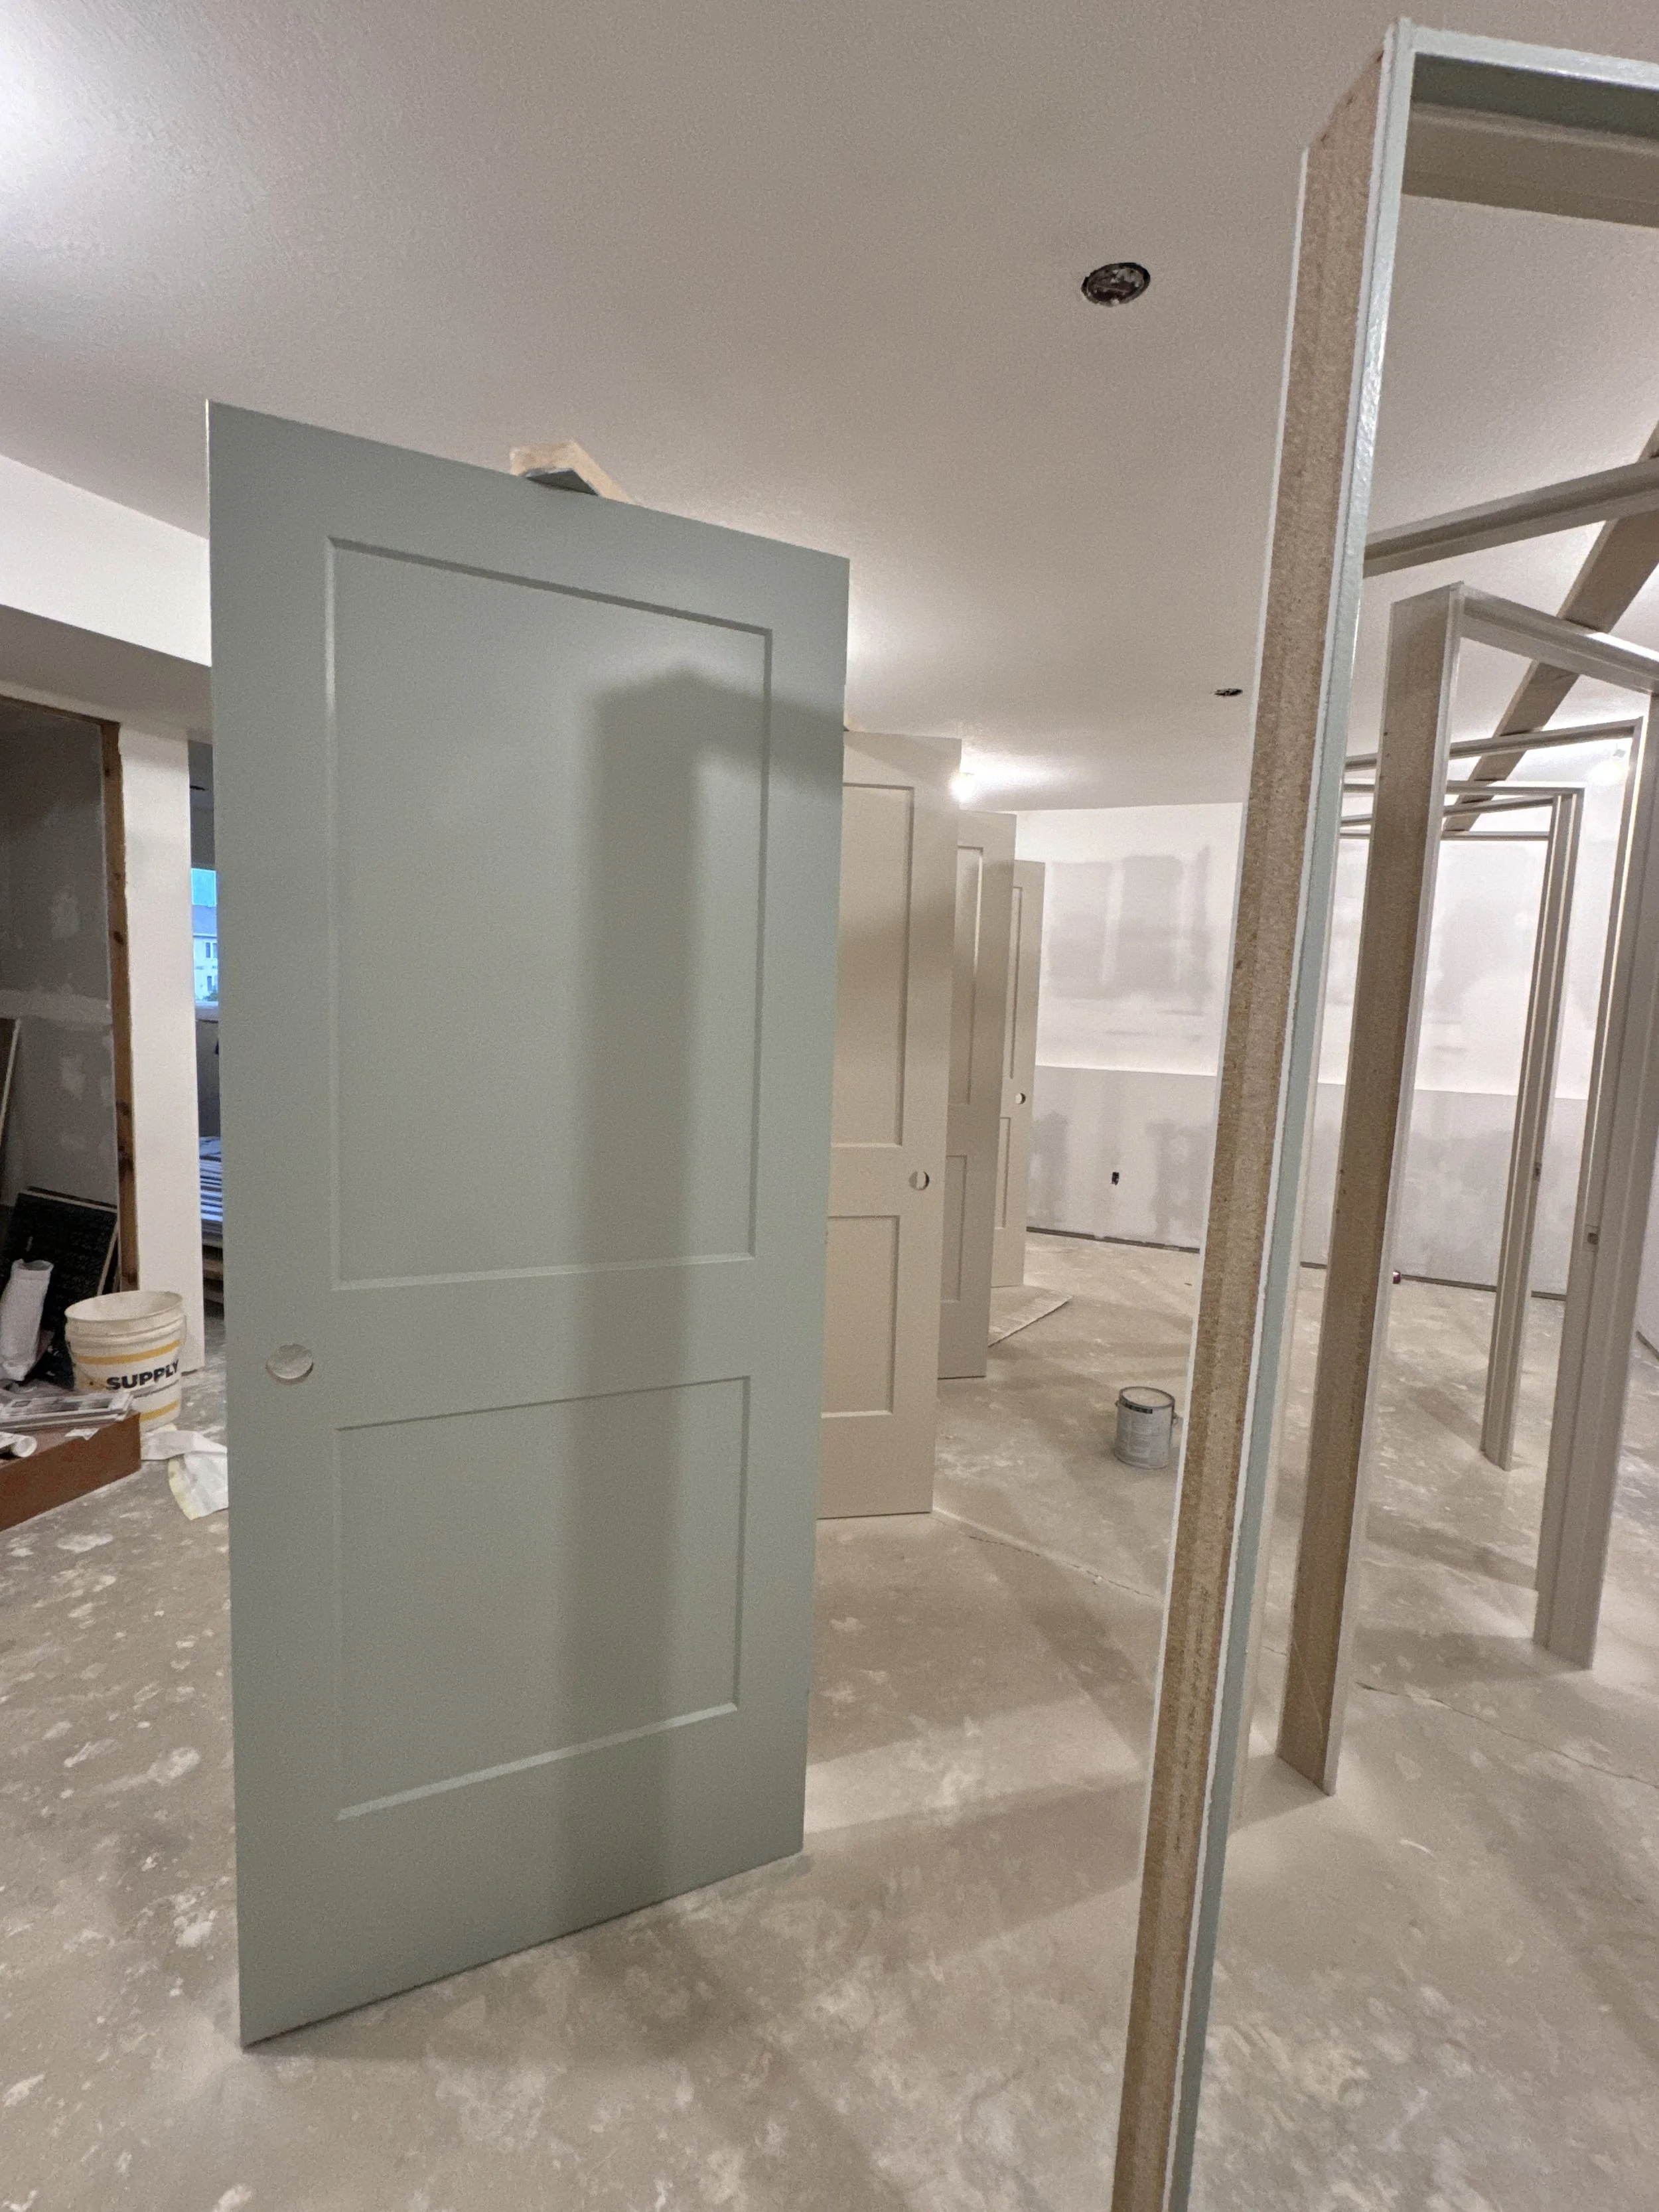
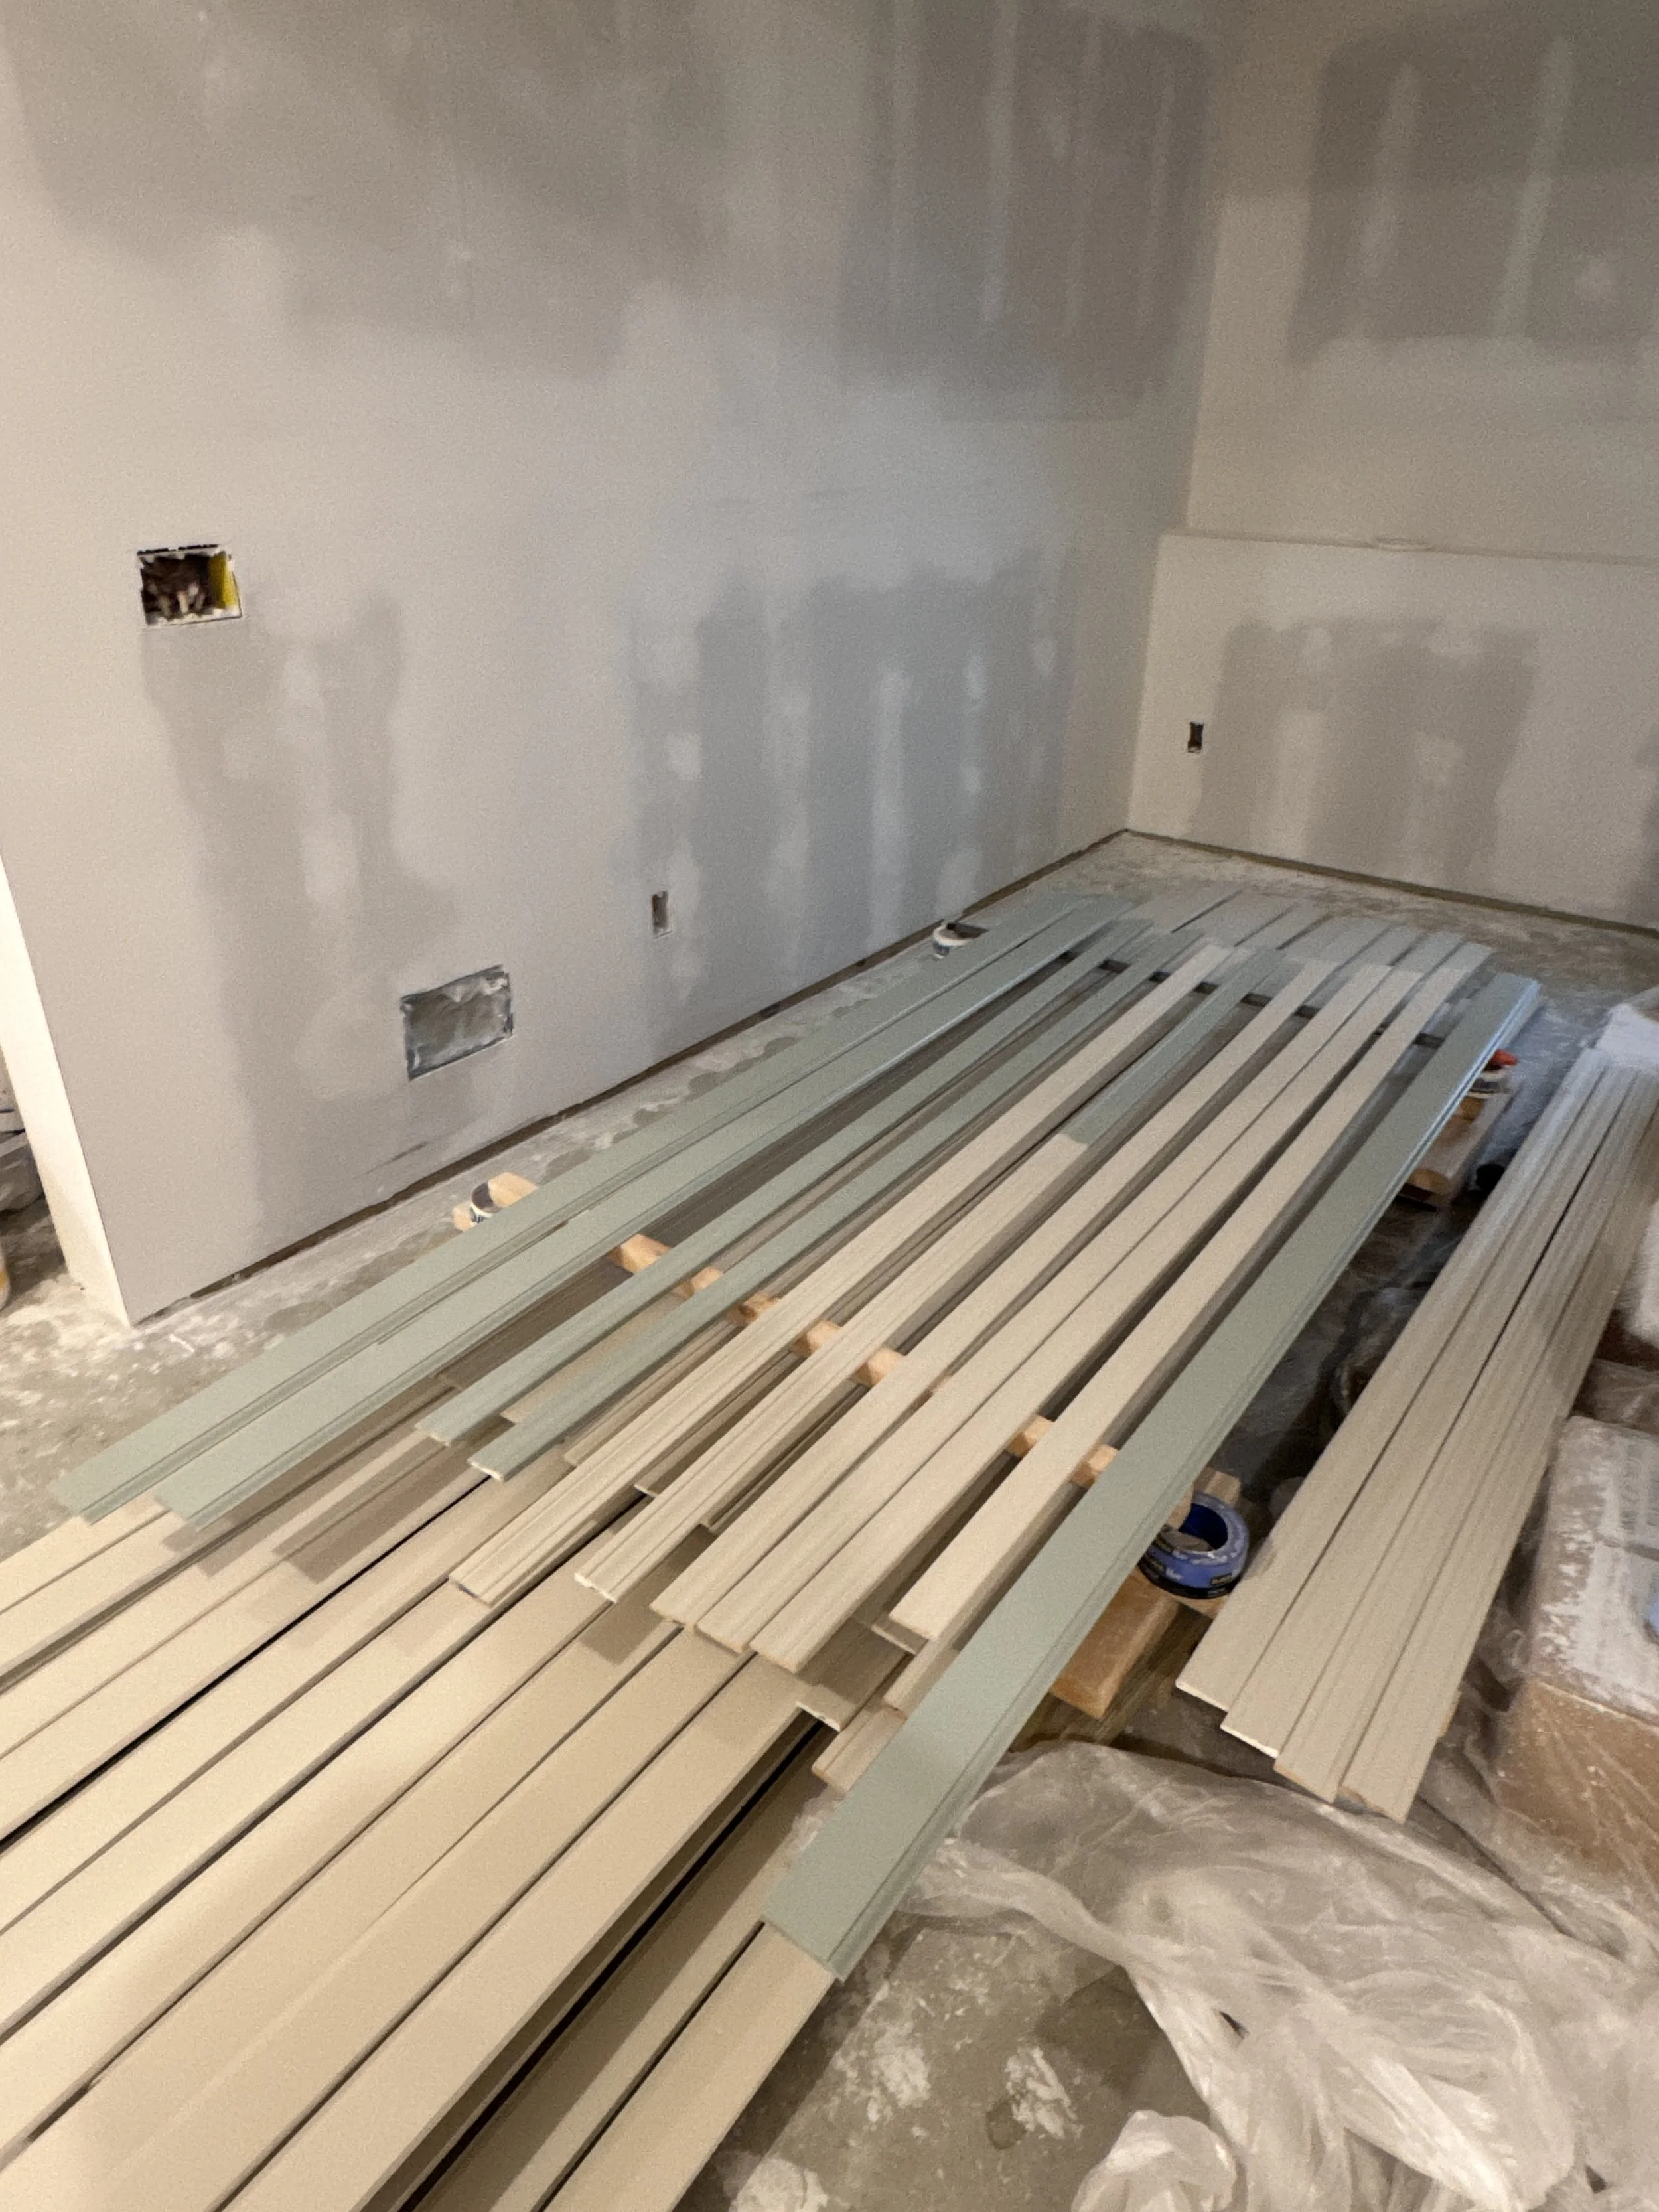
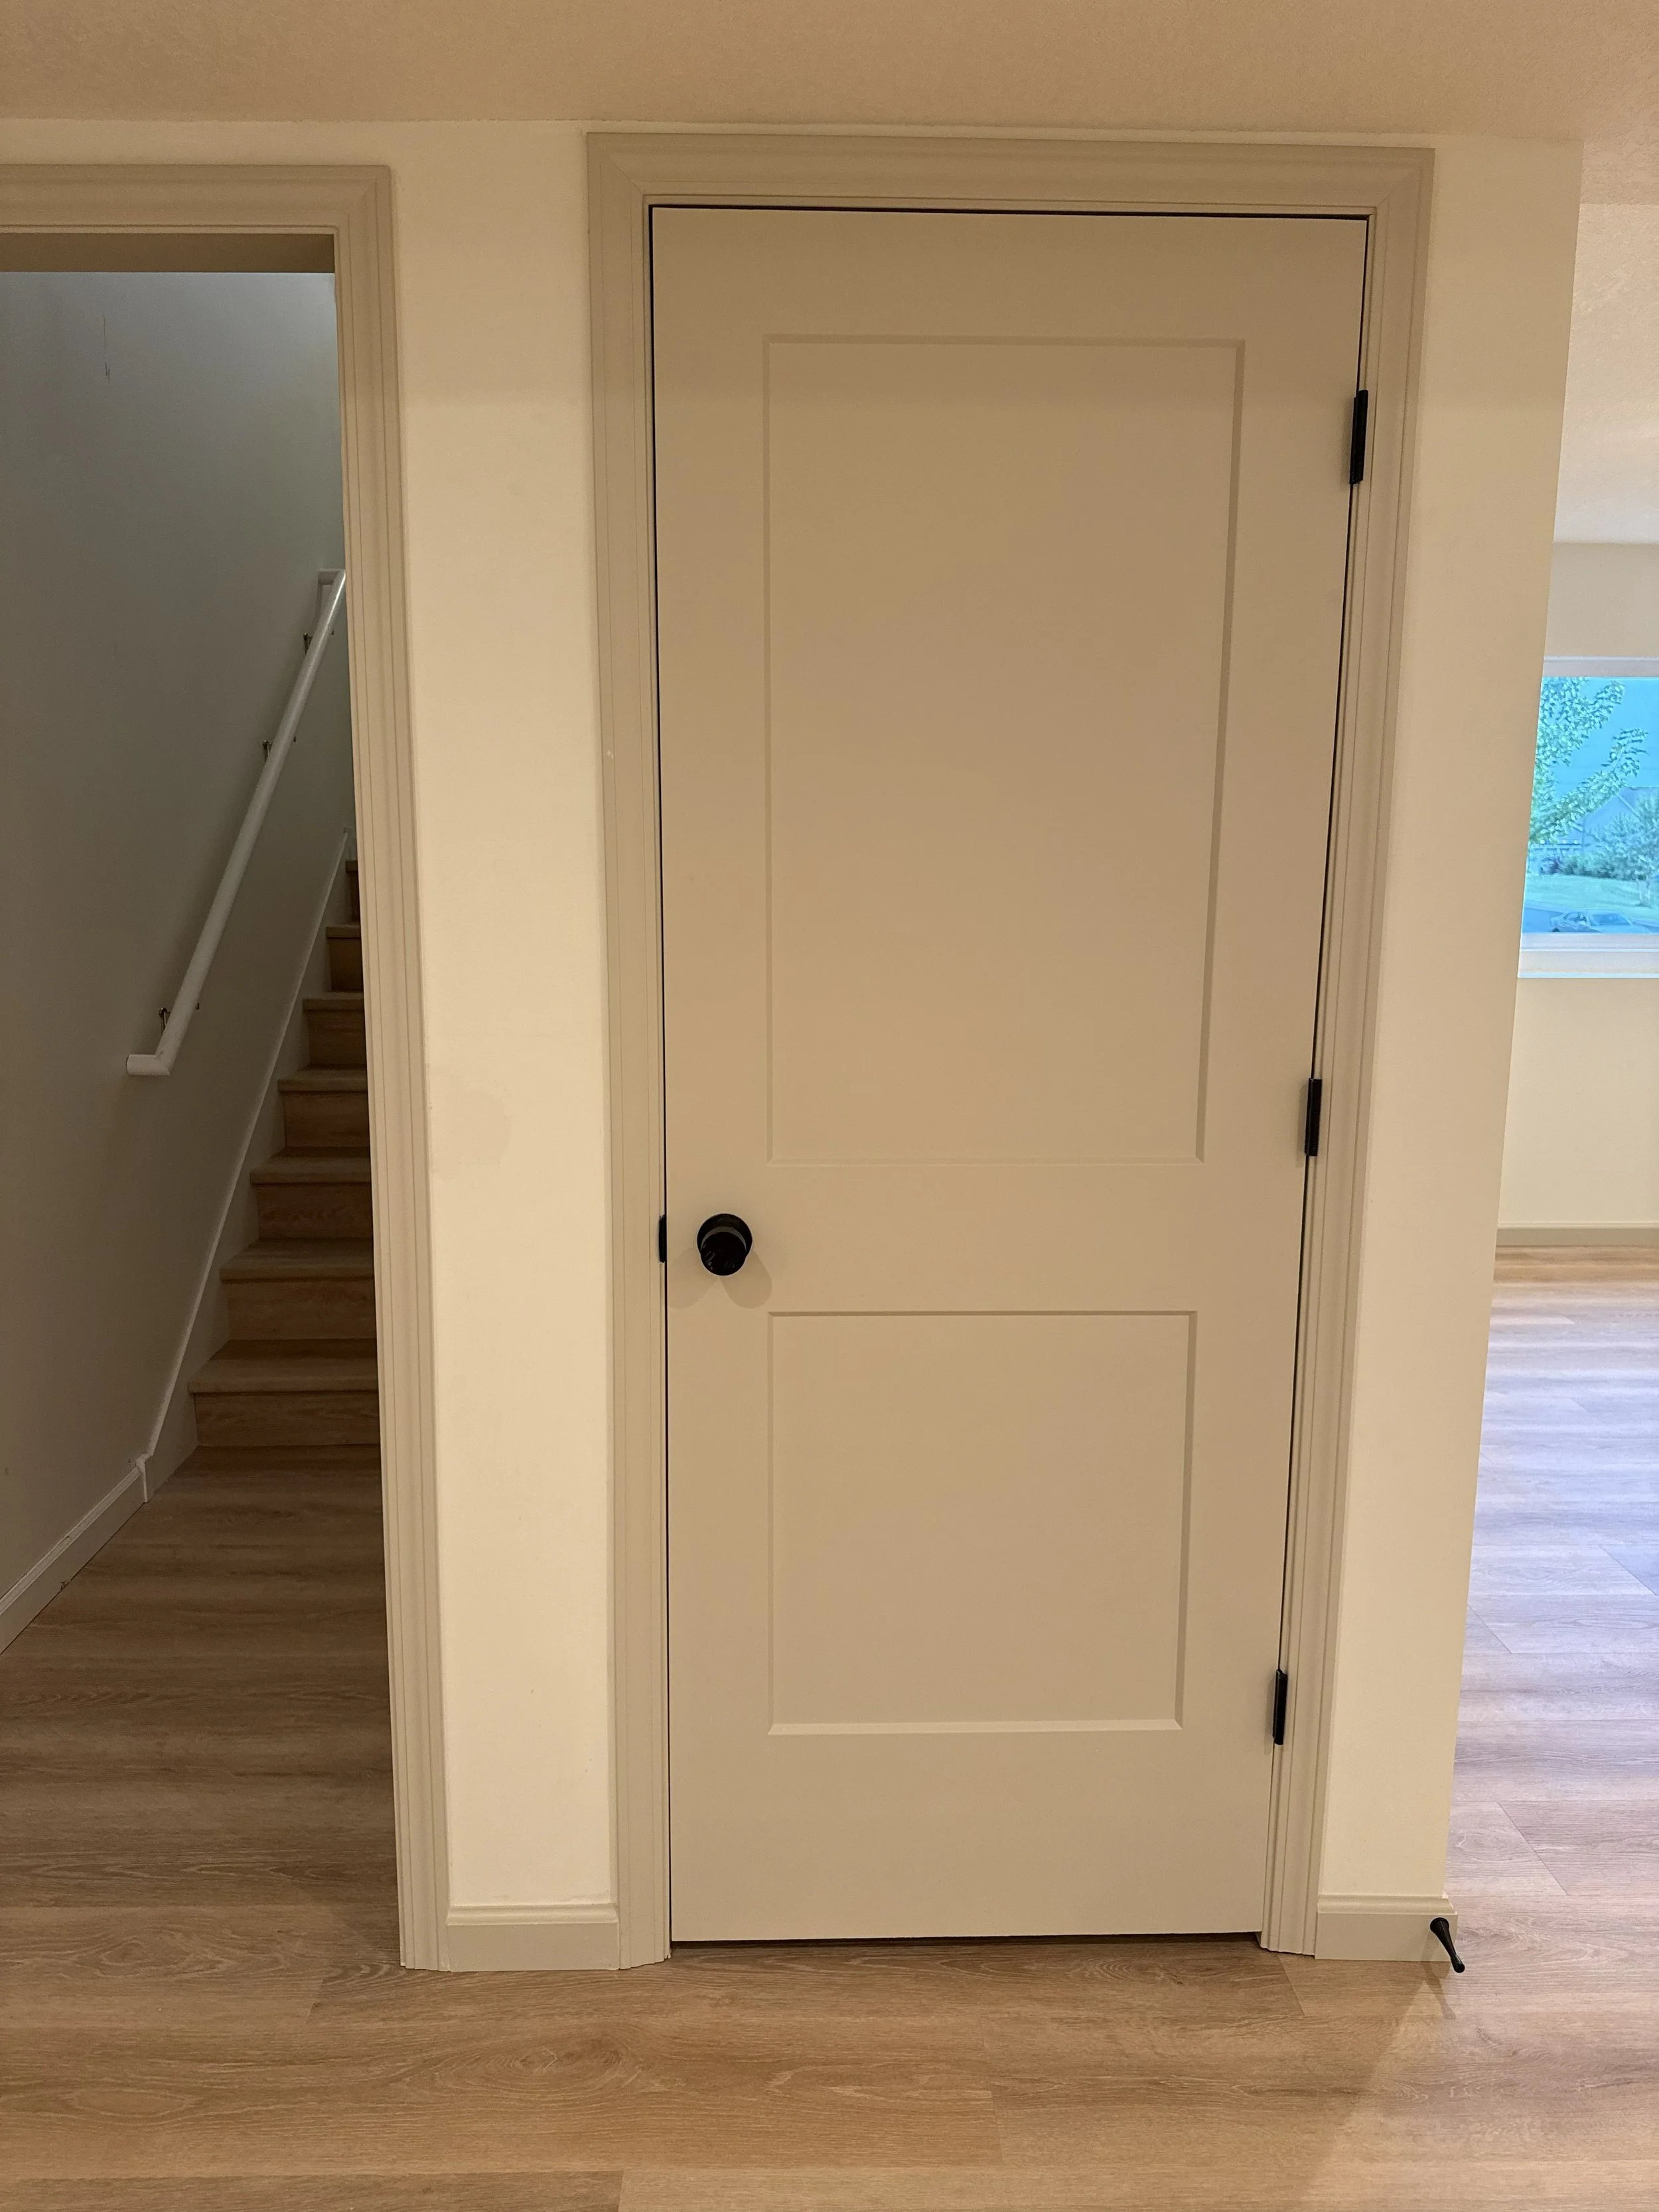
These painted doors and trim ended up being one of our favorite design features of the entire project, we love how they turned out! Especially once we added the matte black door knobs! What a gorgeous contrast!
Our main takeaways from the painted doors and trim are these:
Paint colors and hardware finishes are these easiest places to bring contrast, warmth and visual interest to your space
Paint samples are ESSENTIAL before making final decisions. Look at your paint colors on all walls and at all times of day. Check them against your other finishes and material choices to make sure the undertones align and it all feels cohesive.
The Bathroom Finish: Design Features that Pop
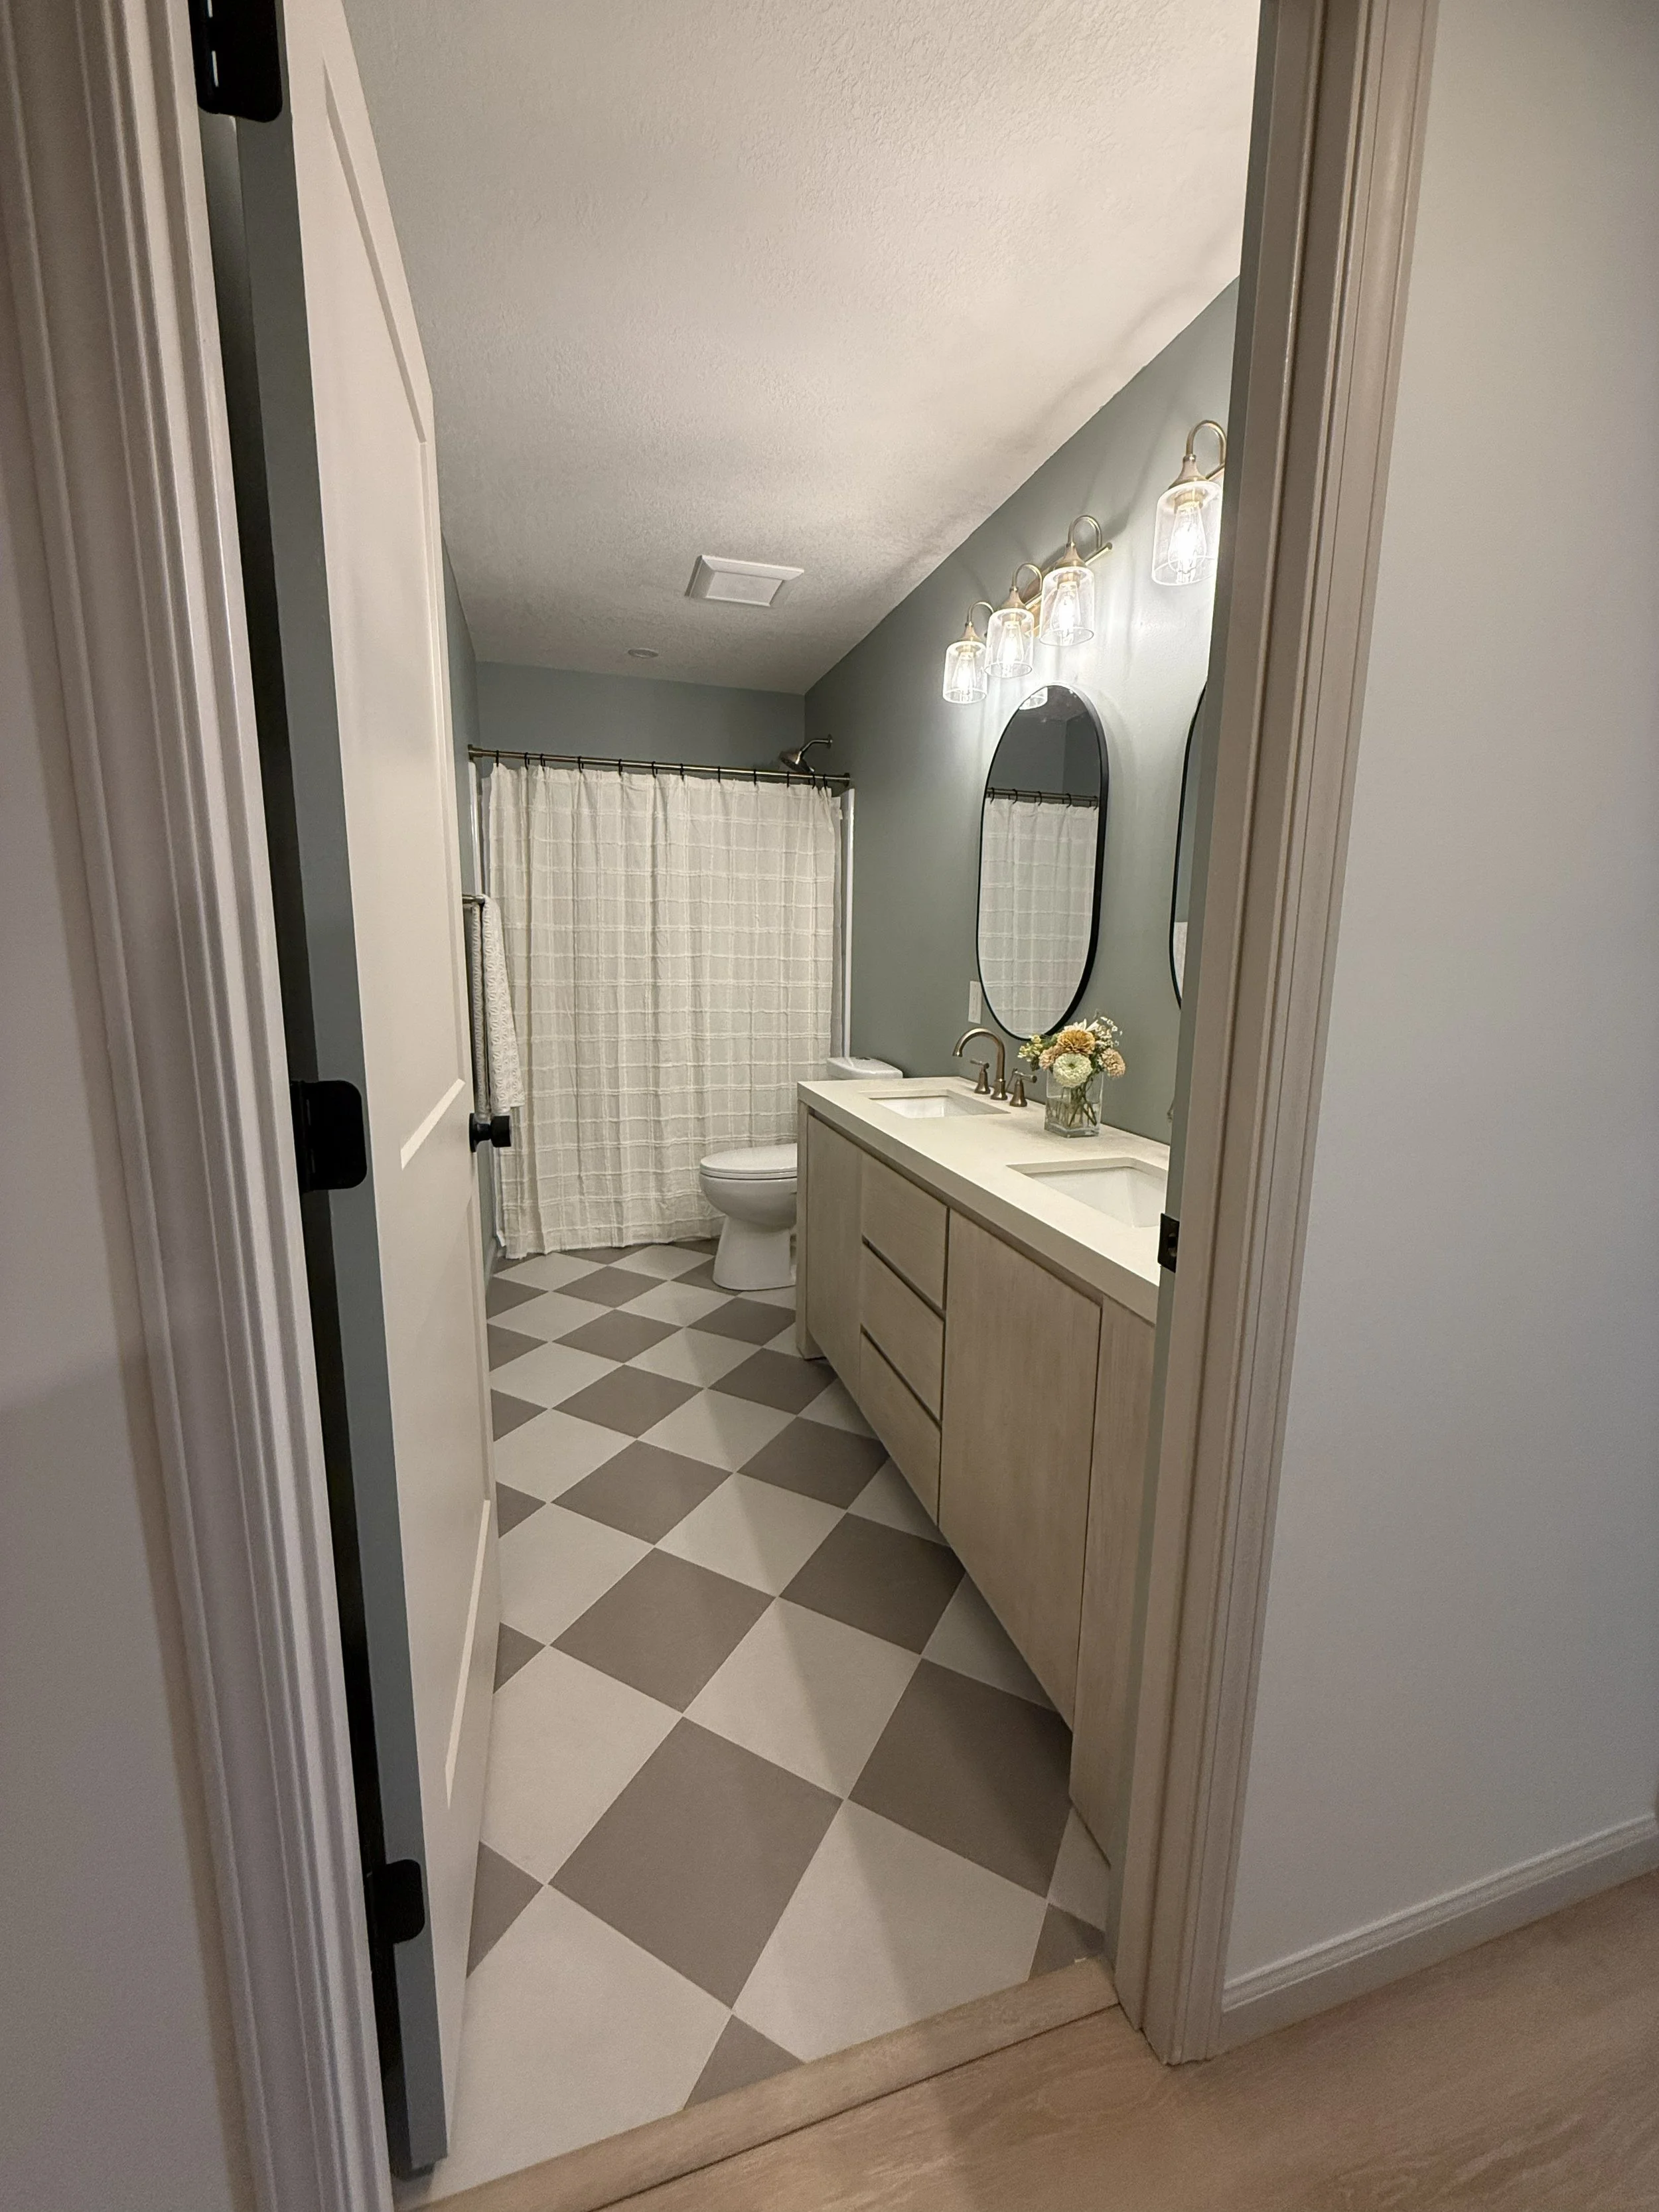
Perhaps one of the biggest and most important pieces to this full basement puzzle was the fully finished bathroom. From the vanity, to the mirrors to the shower to the plumbing to the tile, each piece was fully considered and discussed at length and we are so happy with how it turned out!
The Pottery Barn Laguna vanity brought so much of those natural, organic vibes that the client was initially drawn to, and the double sinks were essential for the two brothers who’d eventually be sharing the space.
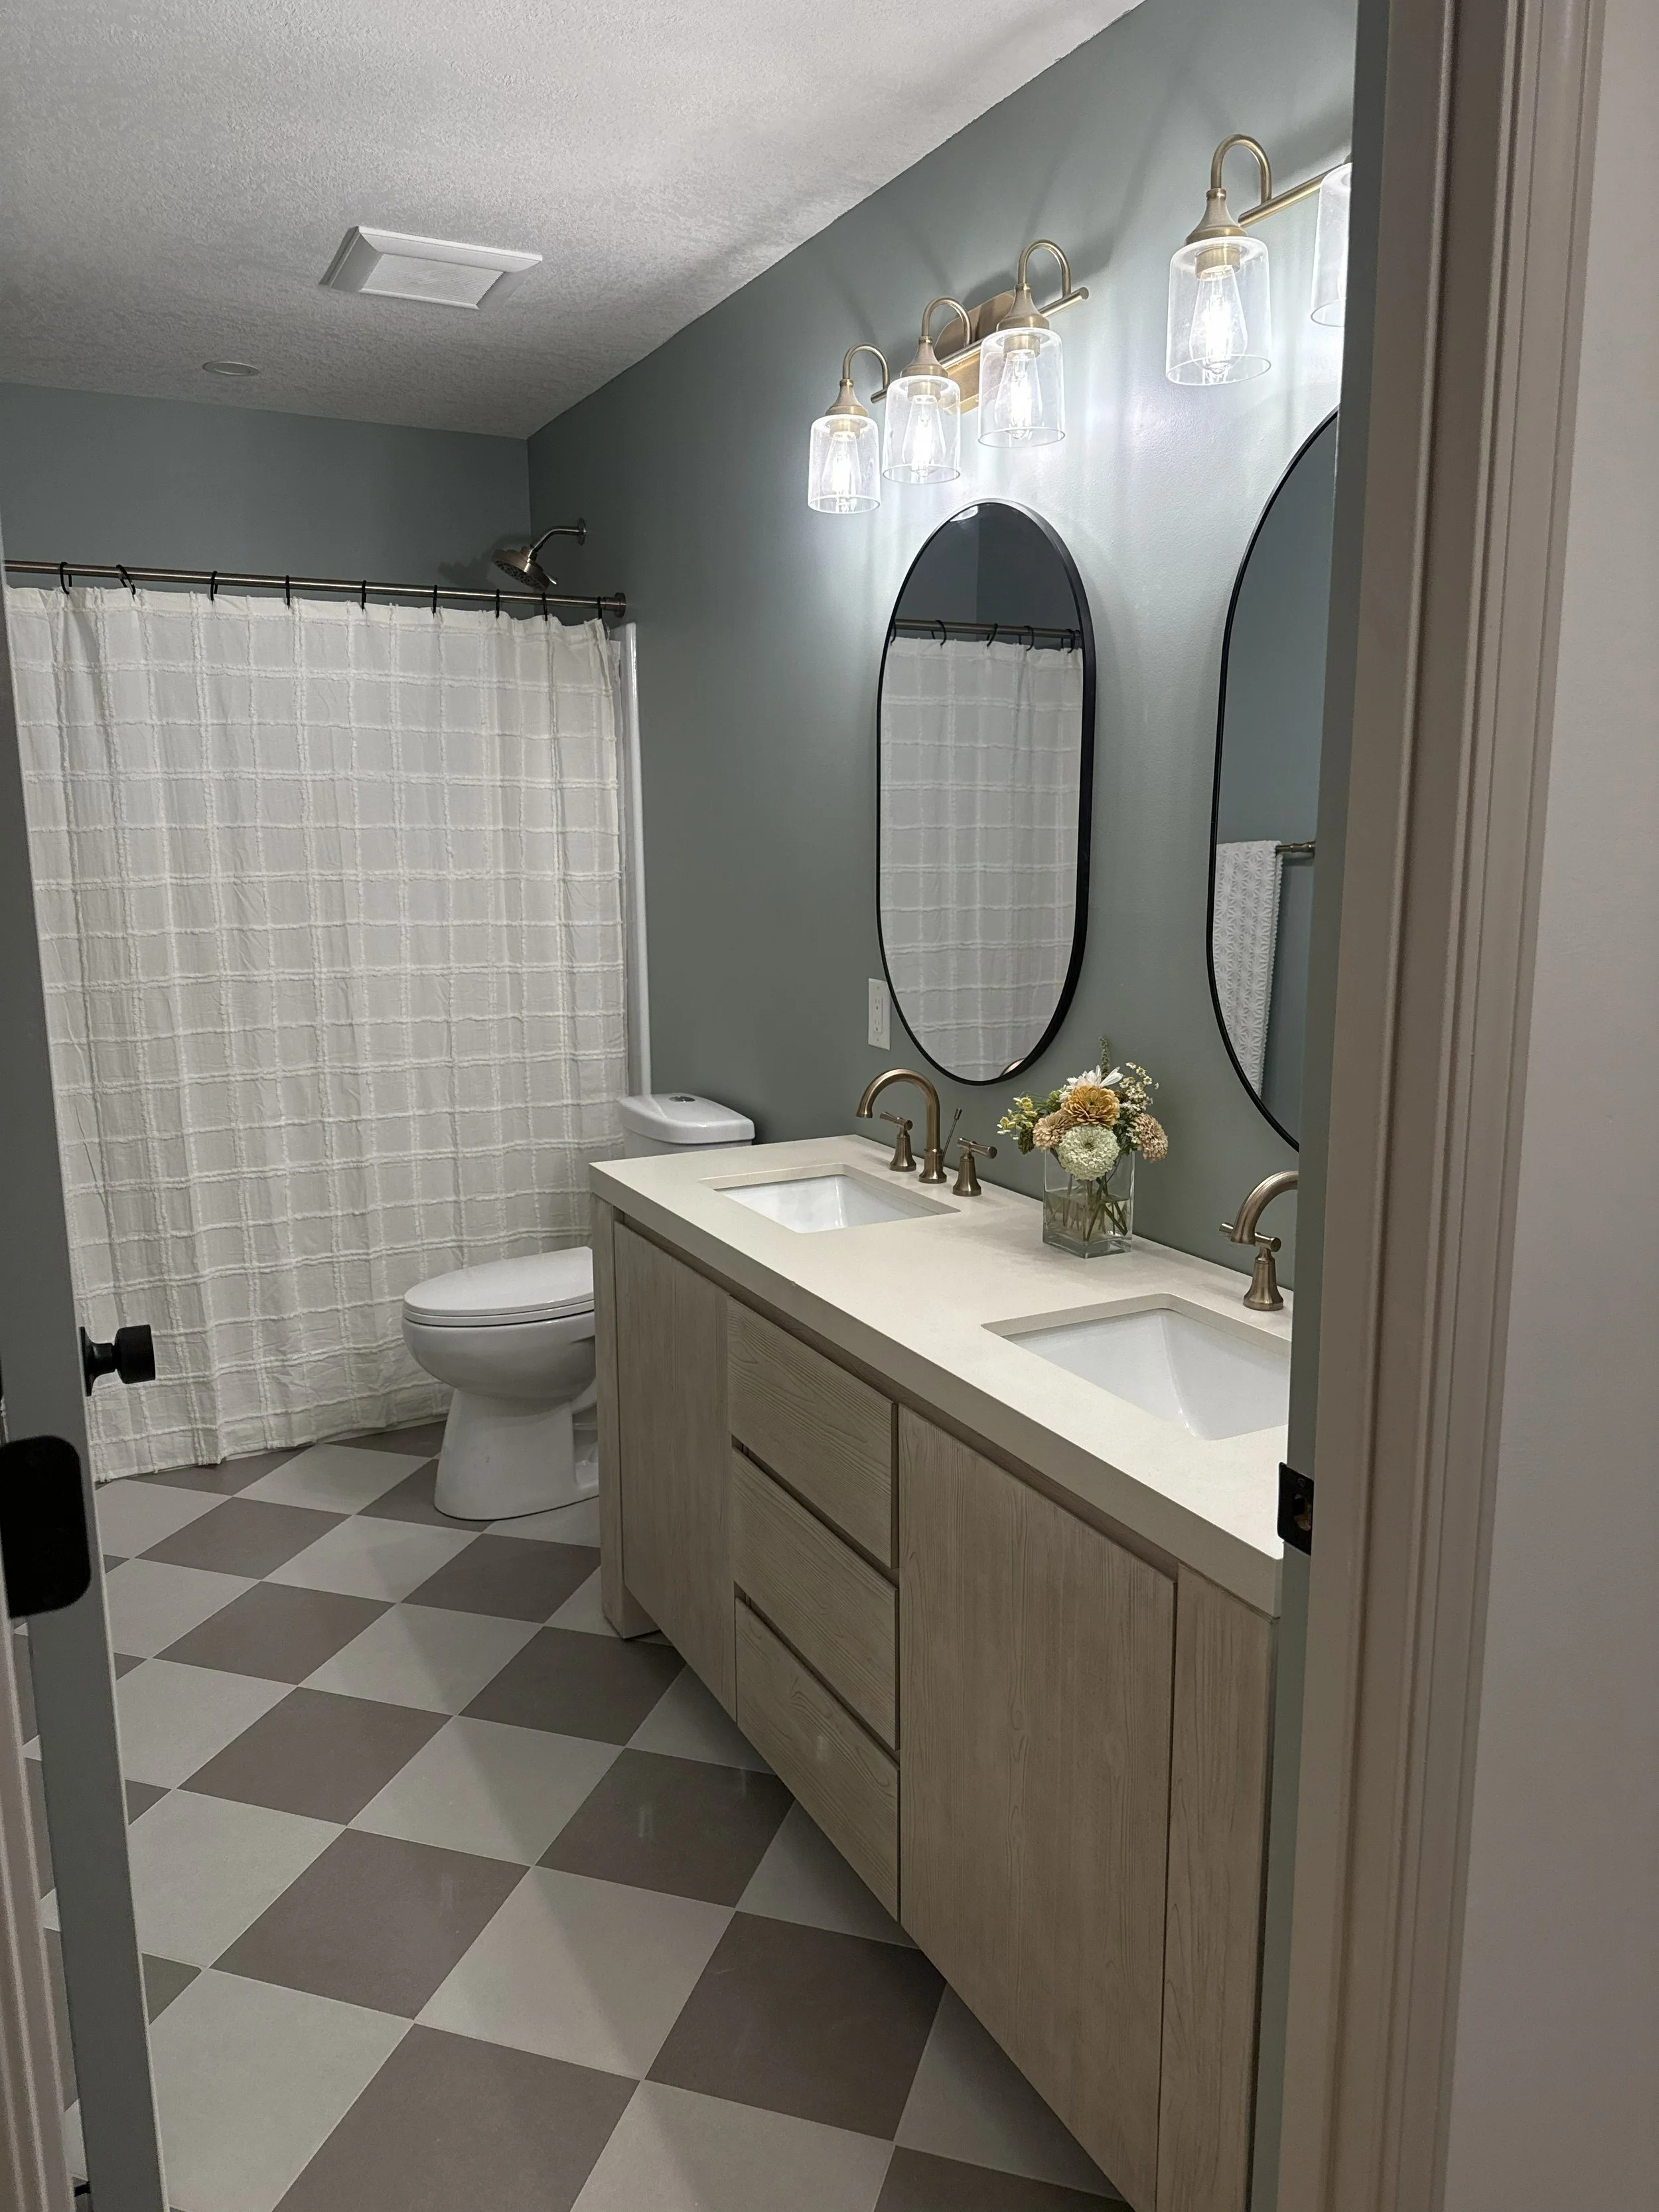
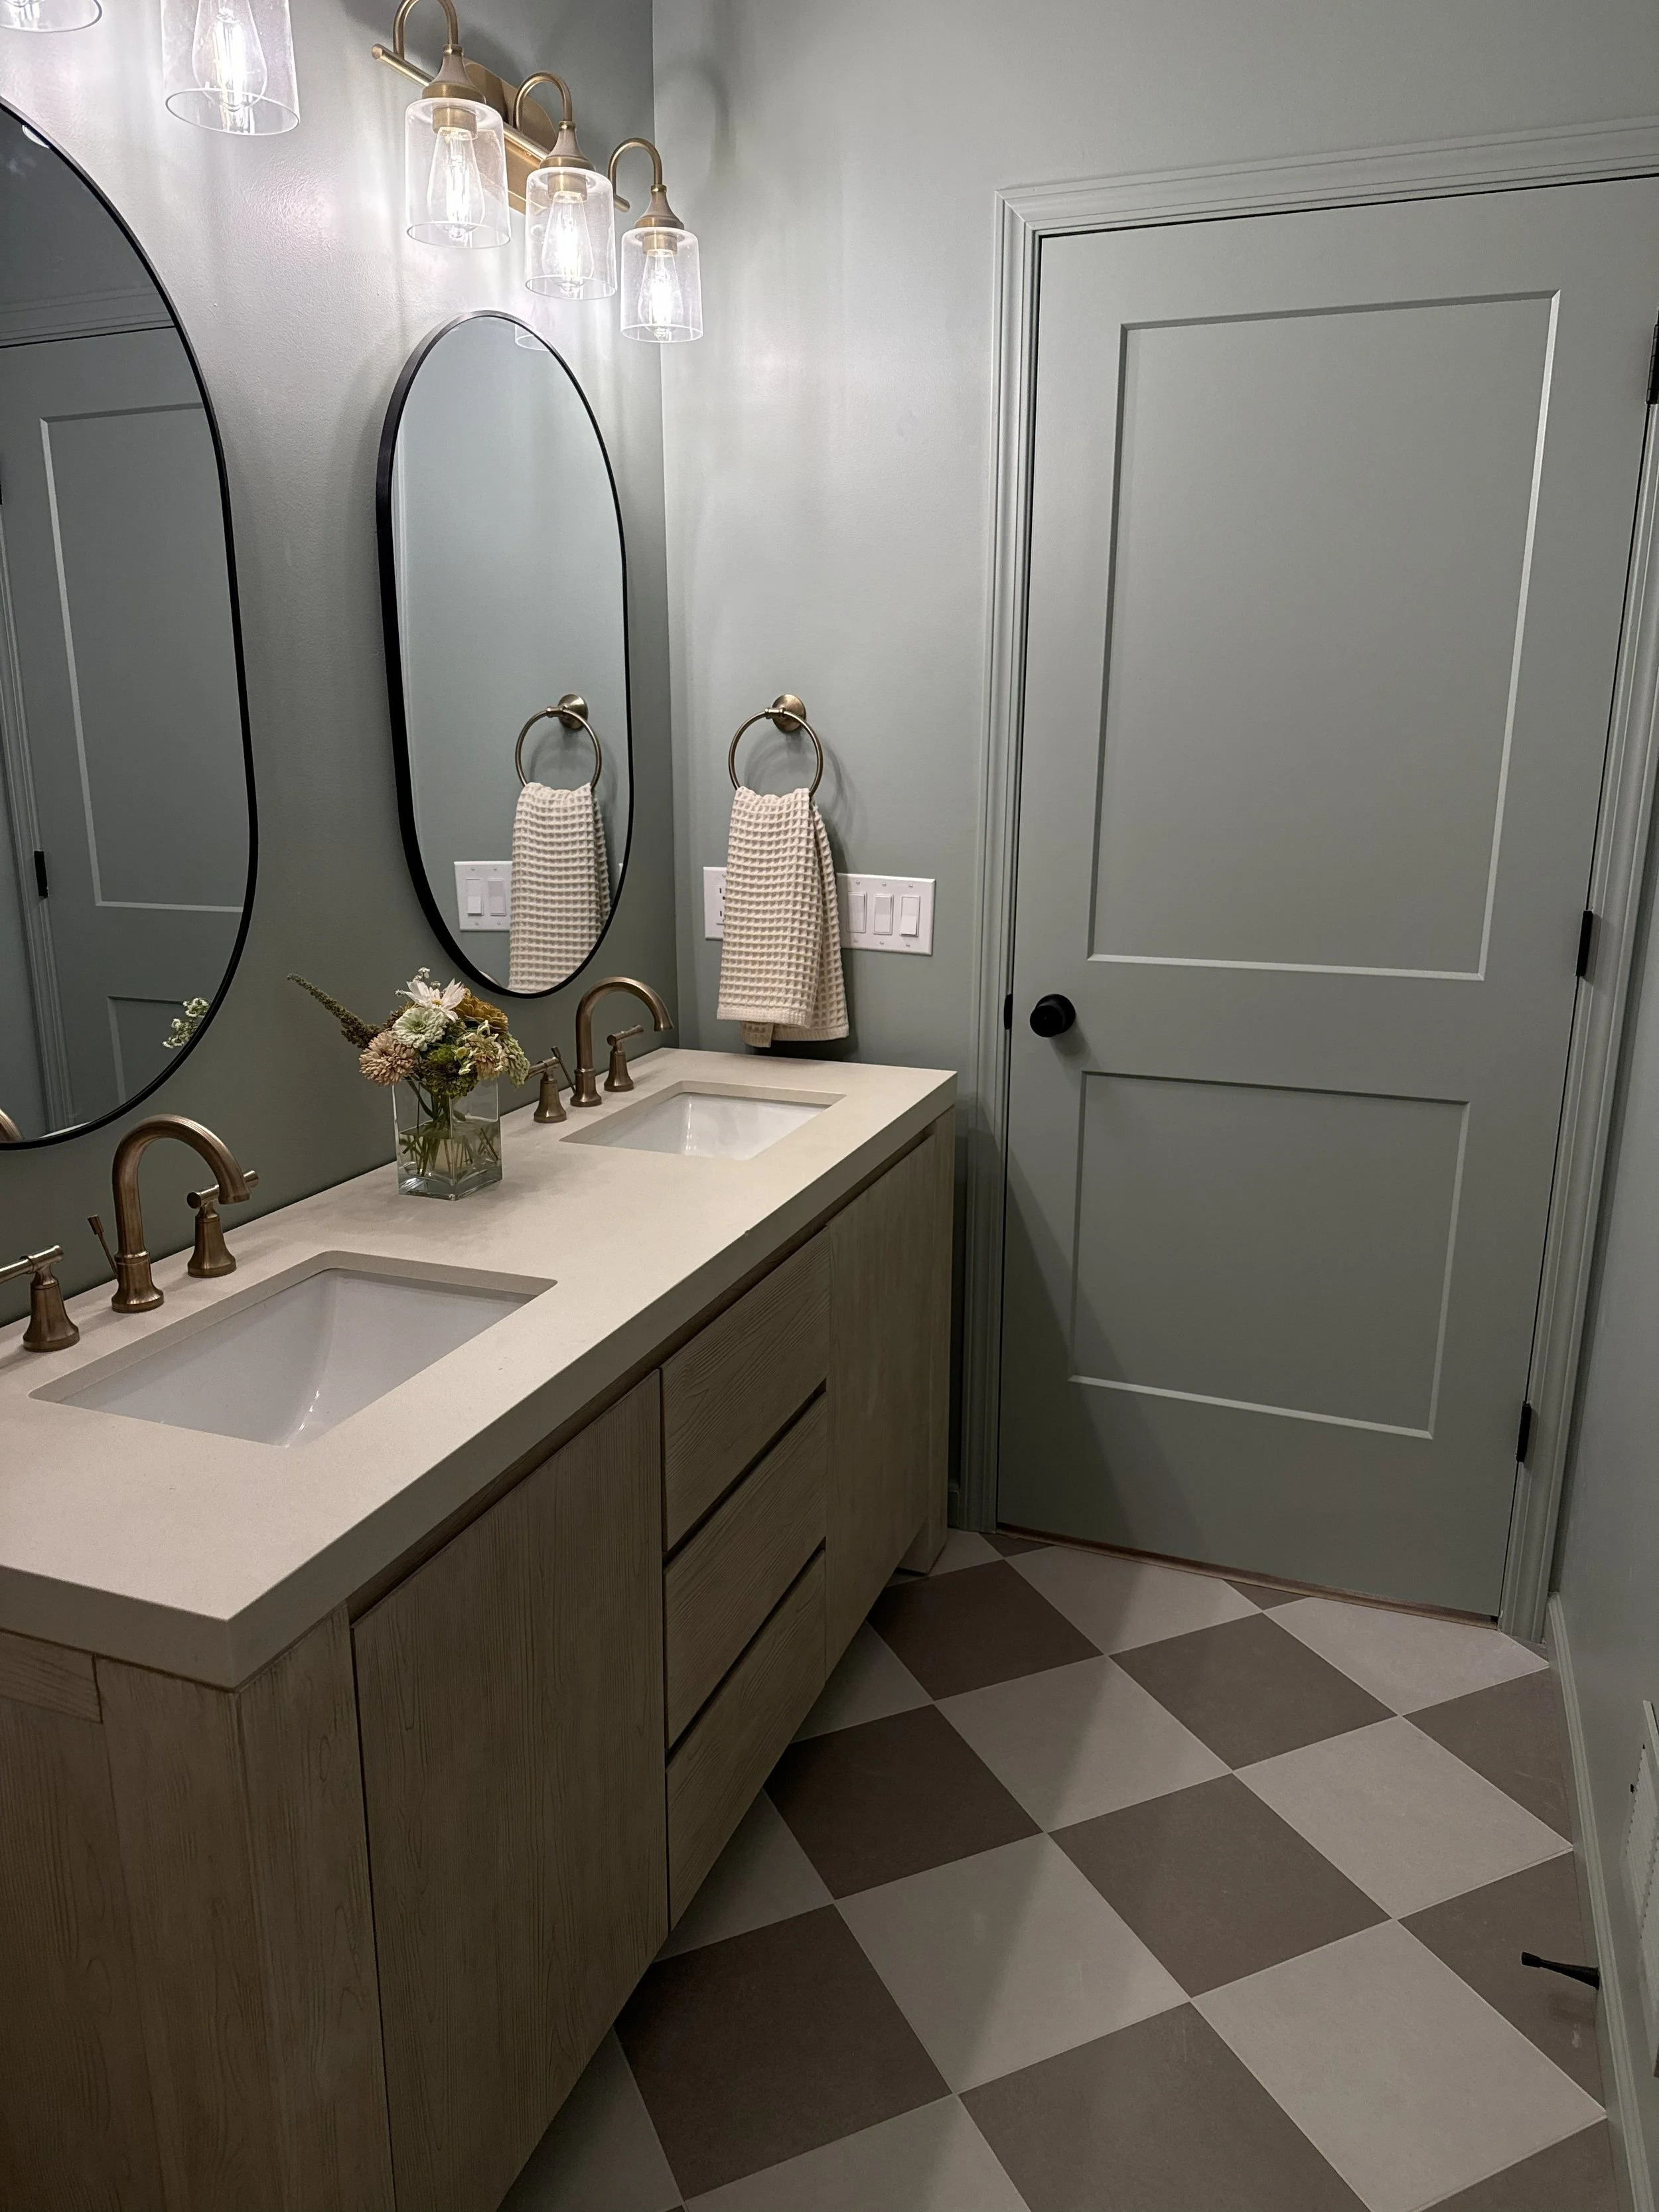
For the shower we went with a simple, white insert. This will be easy to clean, versatile and easy to style (if the client wants to change paint color and shower curtain down the road, it’ll still look good!) and it keeps everything feeling bright and airy.
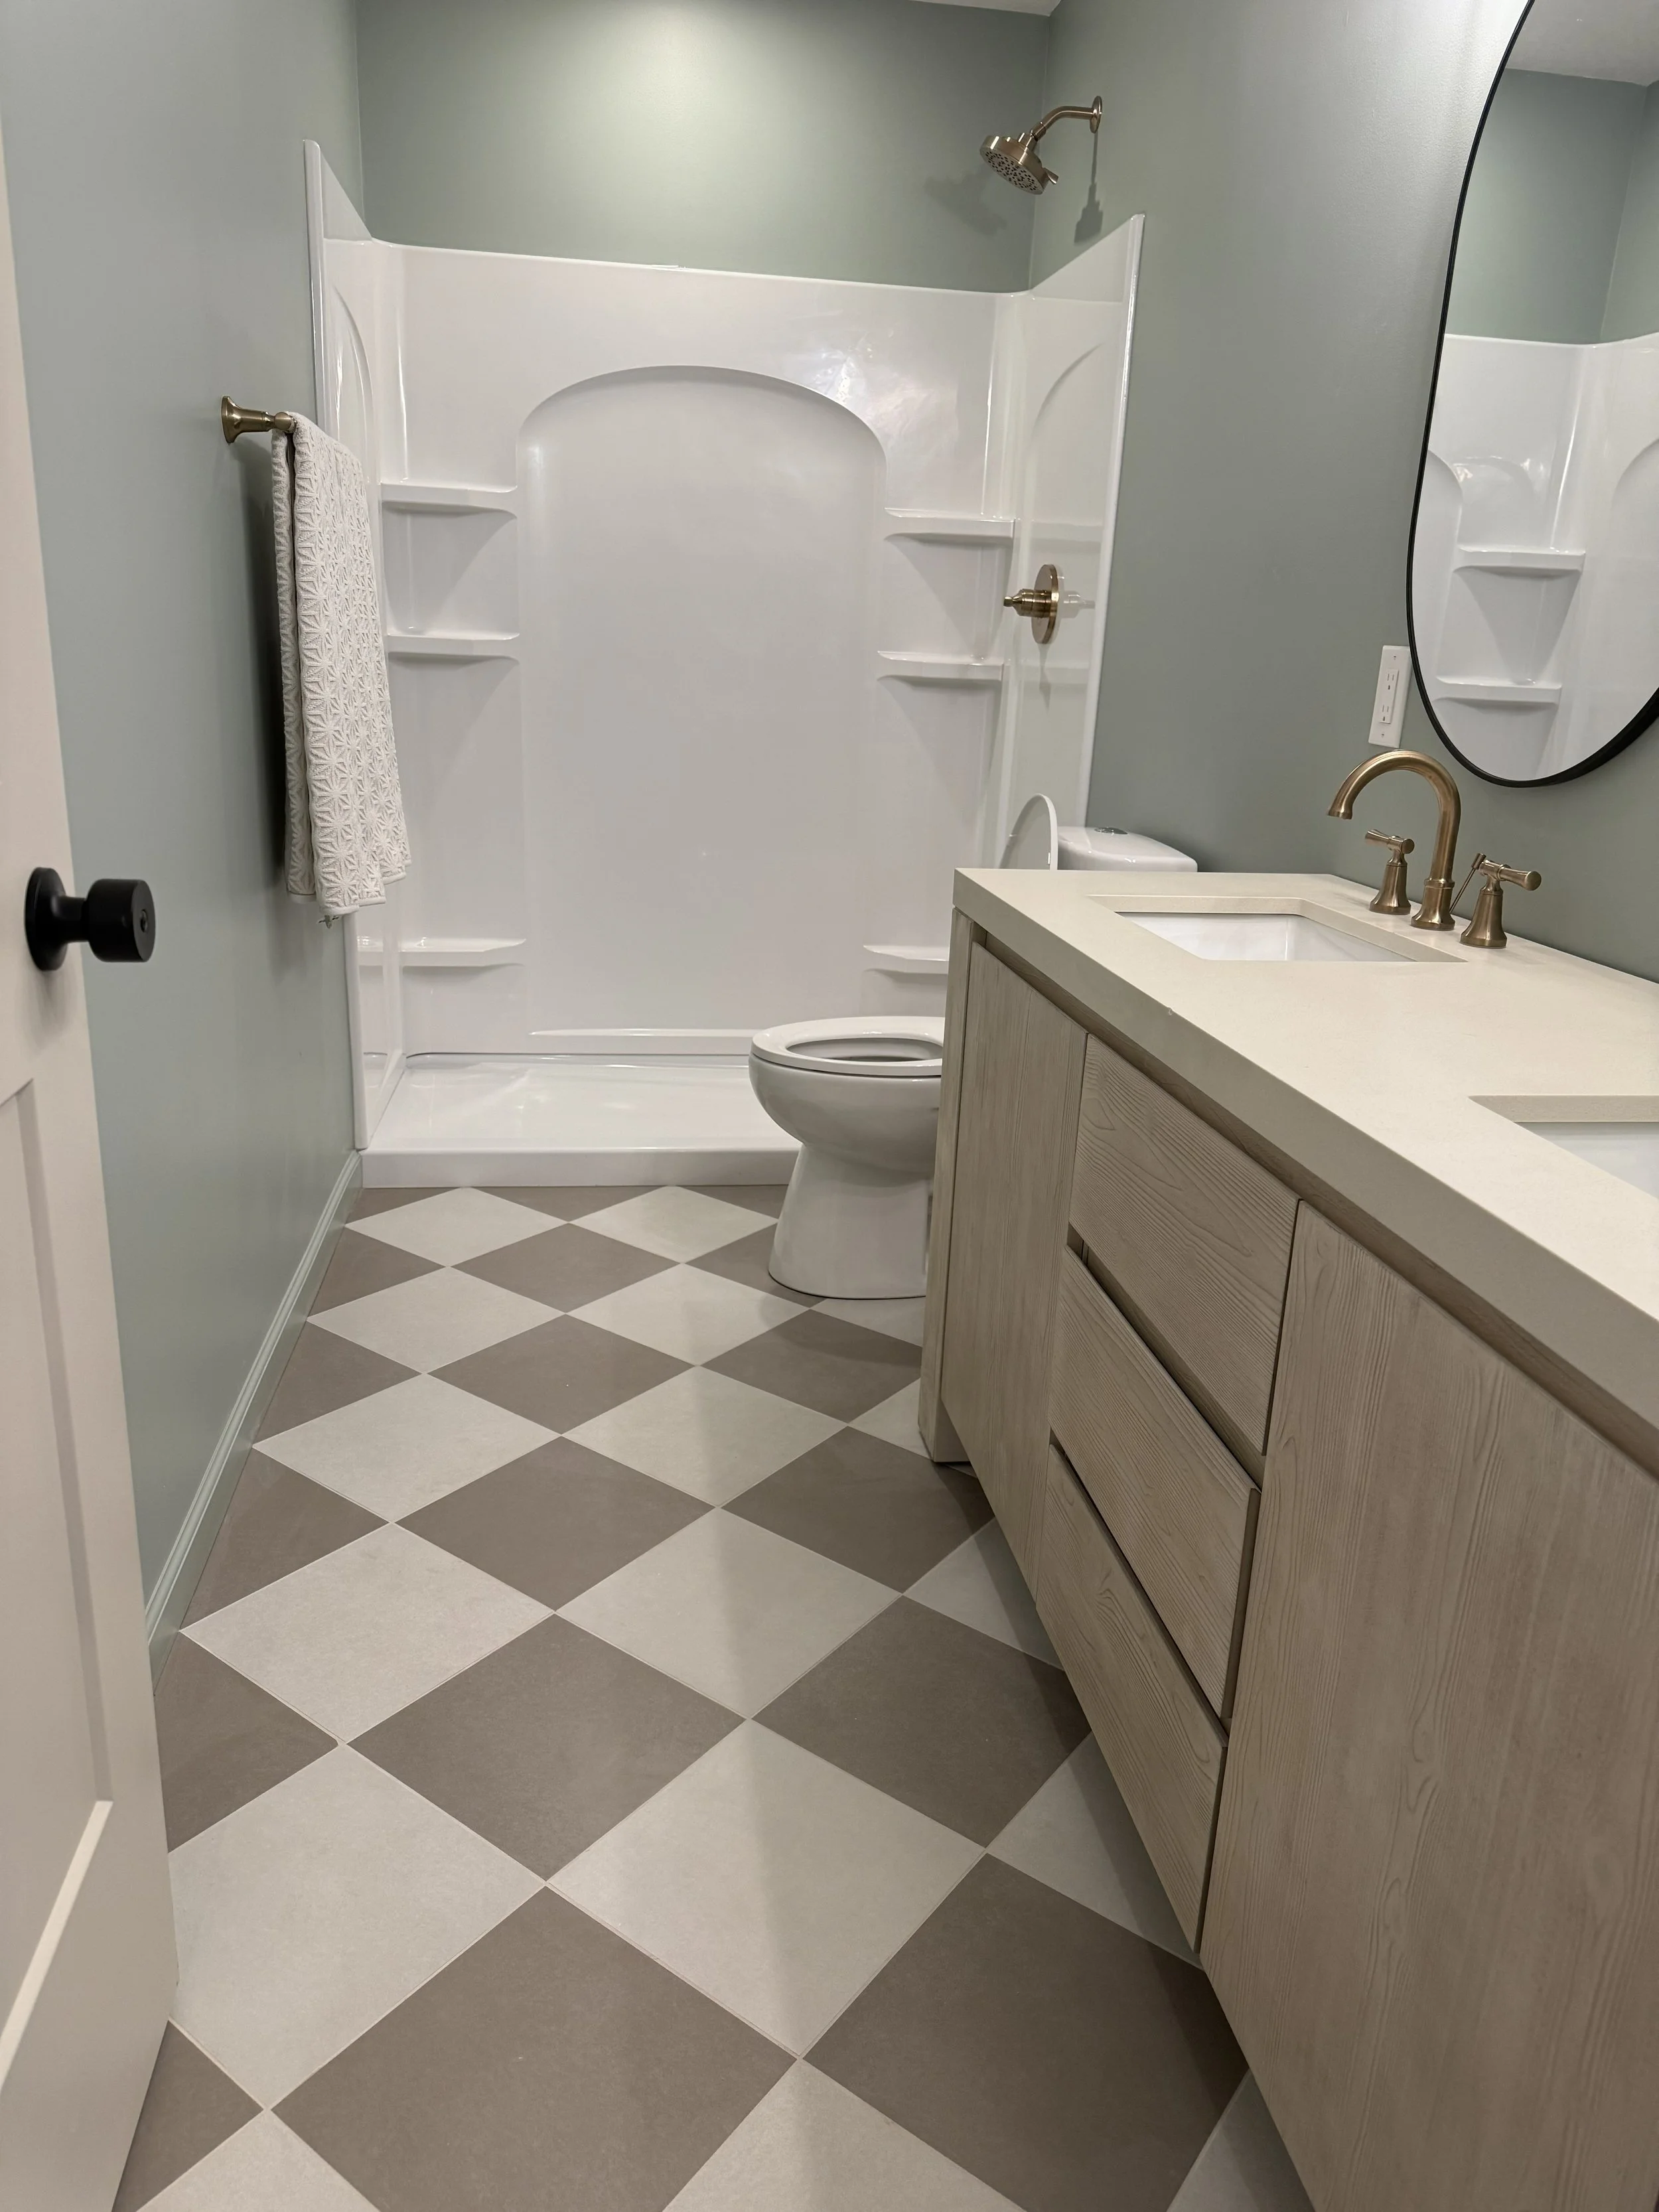
But the checkerboard tile floor is the show stopper in this bathroom, and perhaps in the whole basement. Tile is the place where you get to be playful and bring in so much texture and character, and you don’t even have to tile the entire space to get this effect. 46 square feet of flooring tile was all we needed here! Although we went through many, many different tile options, the checkerboard is what our client kept coming back to and we were beyond excited when we found an affordable option at Floor & Décor. Luxe Fog and Luxe Sand 12×12” porcelain tiles were the final picks.
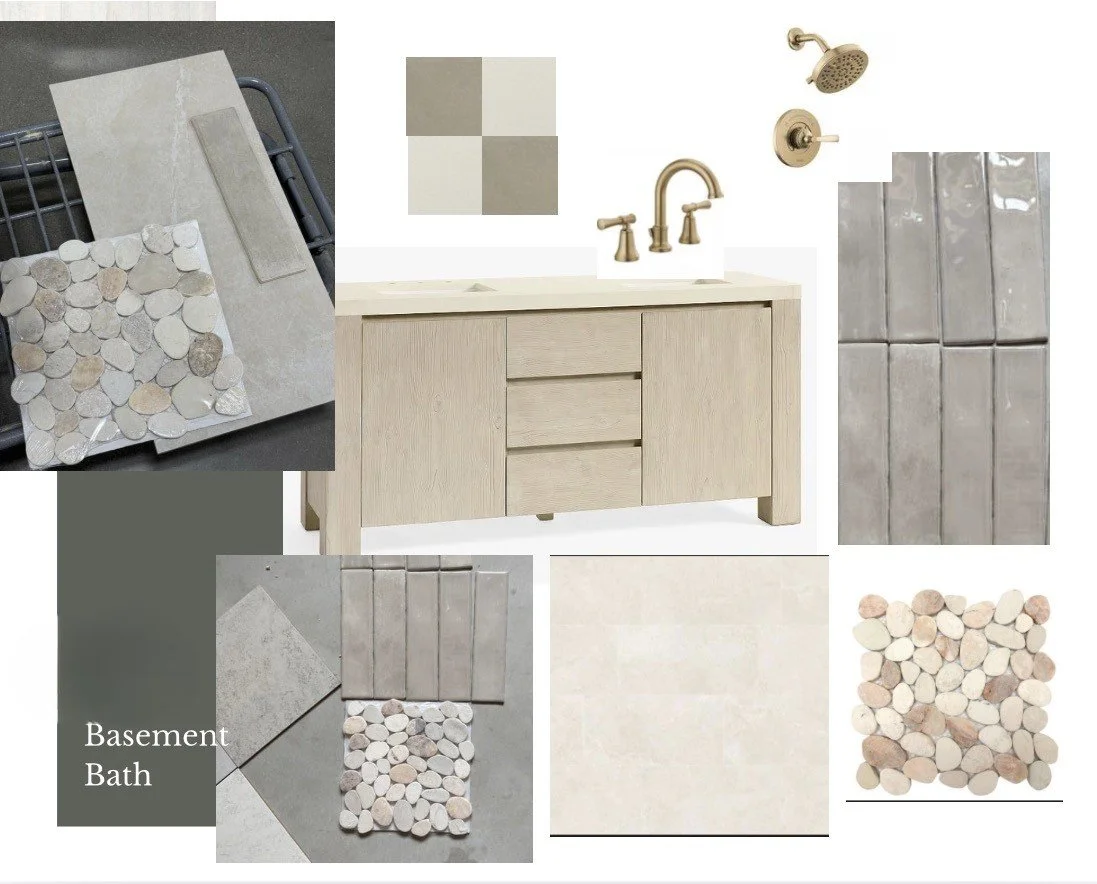
An early mood board for the bathroom
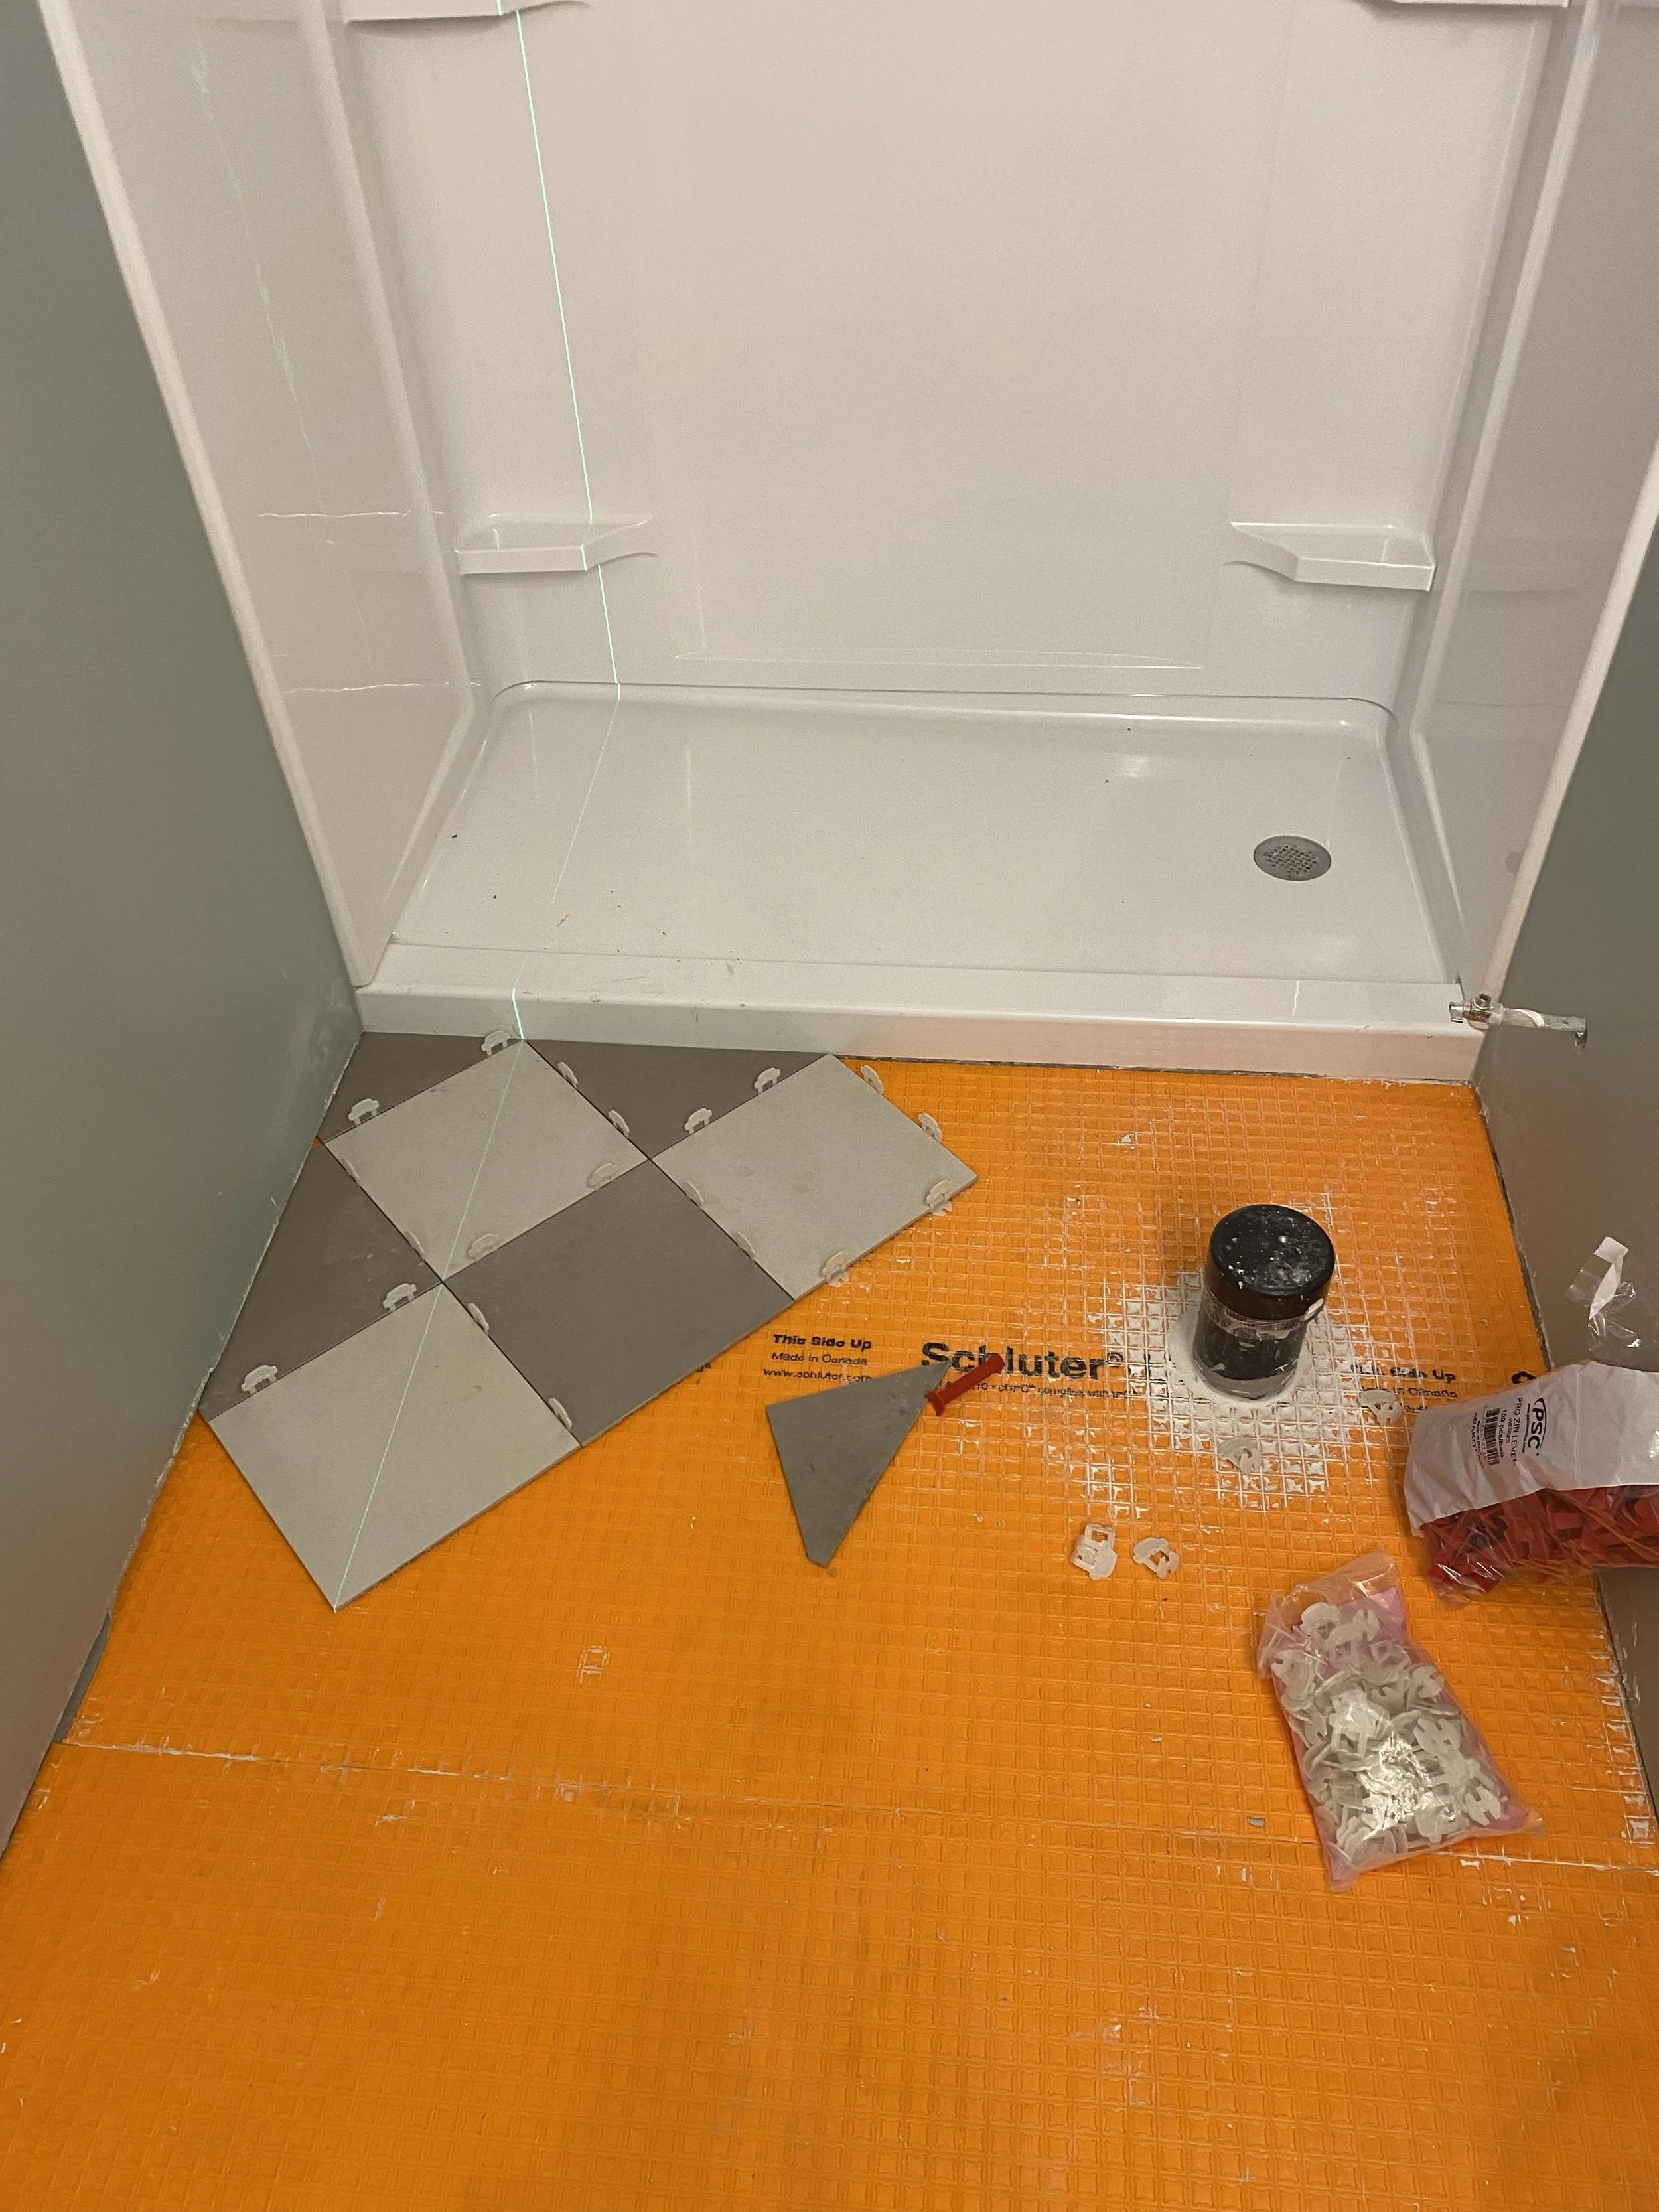
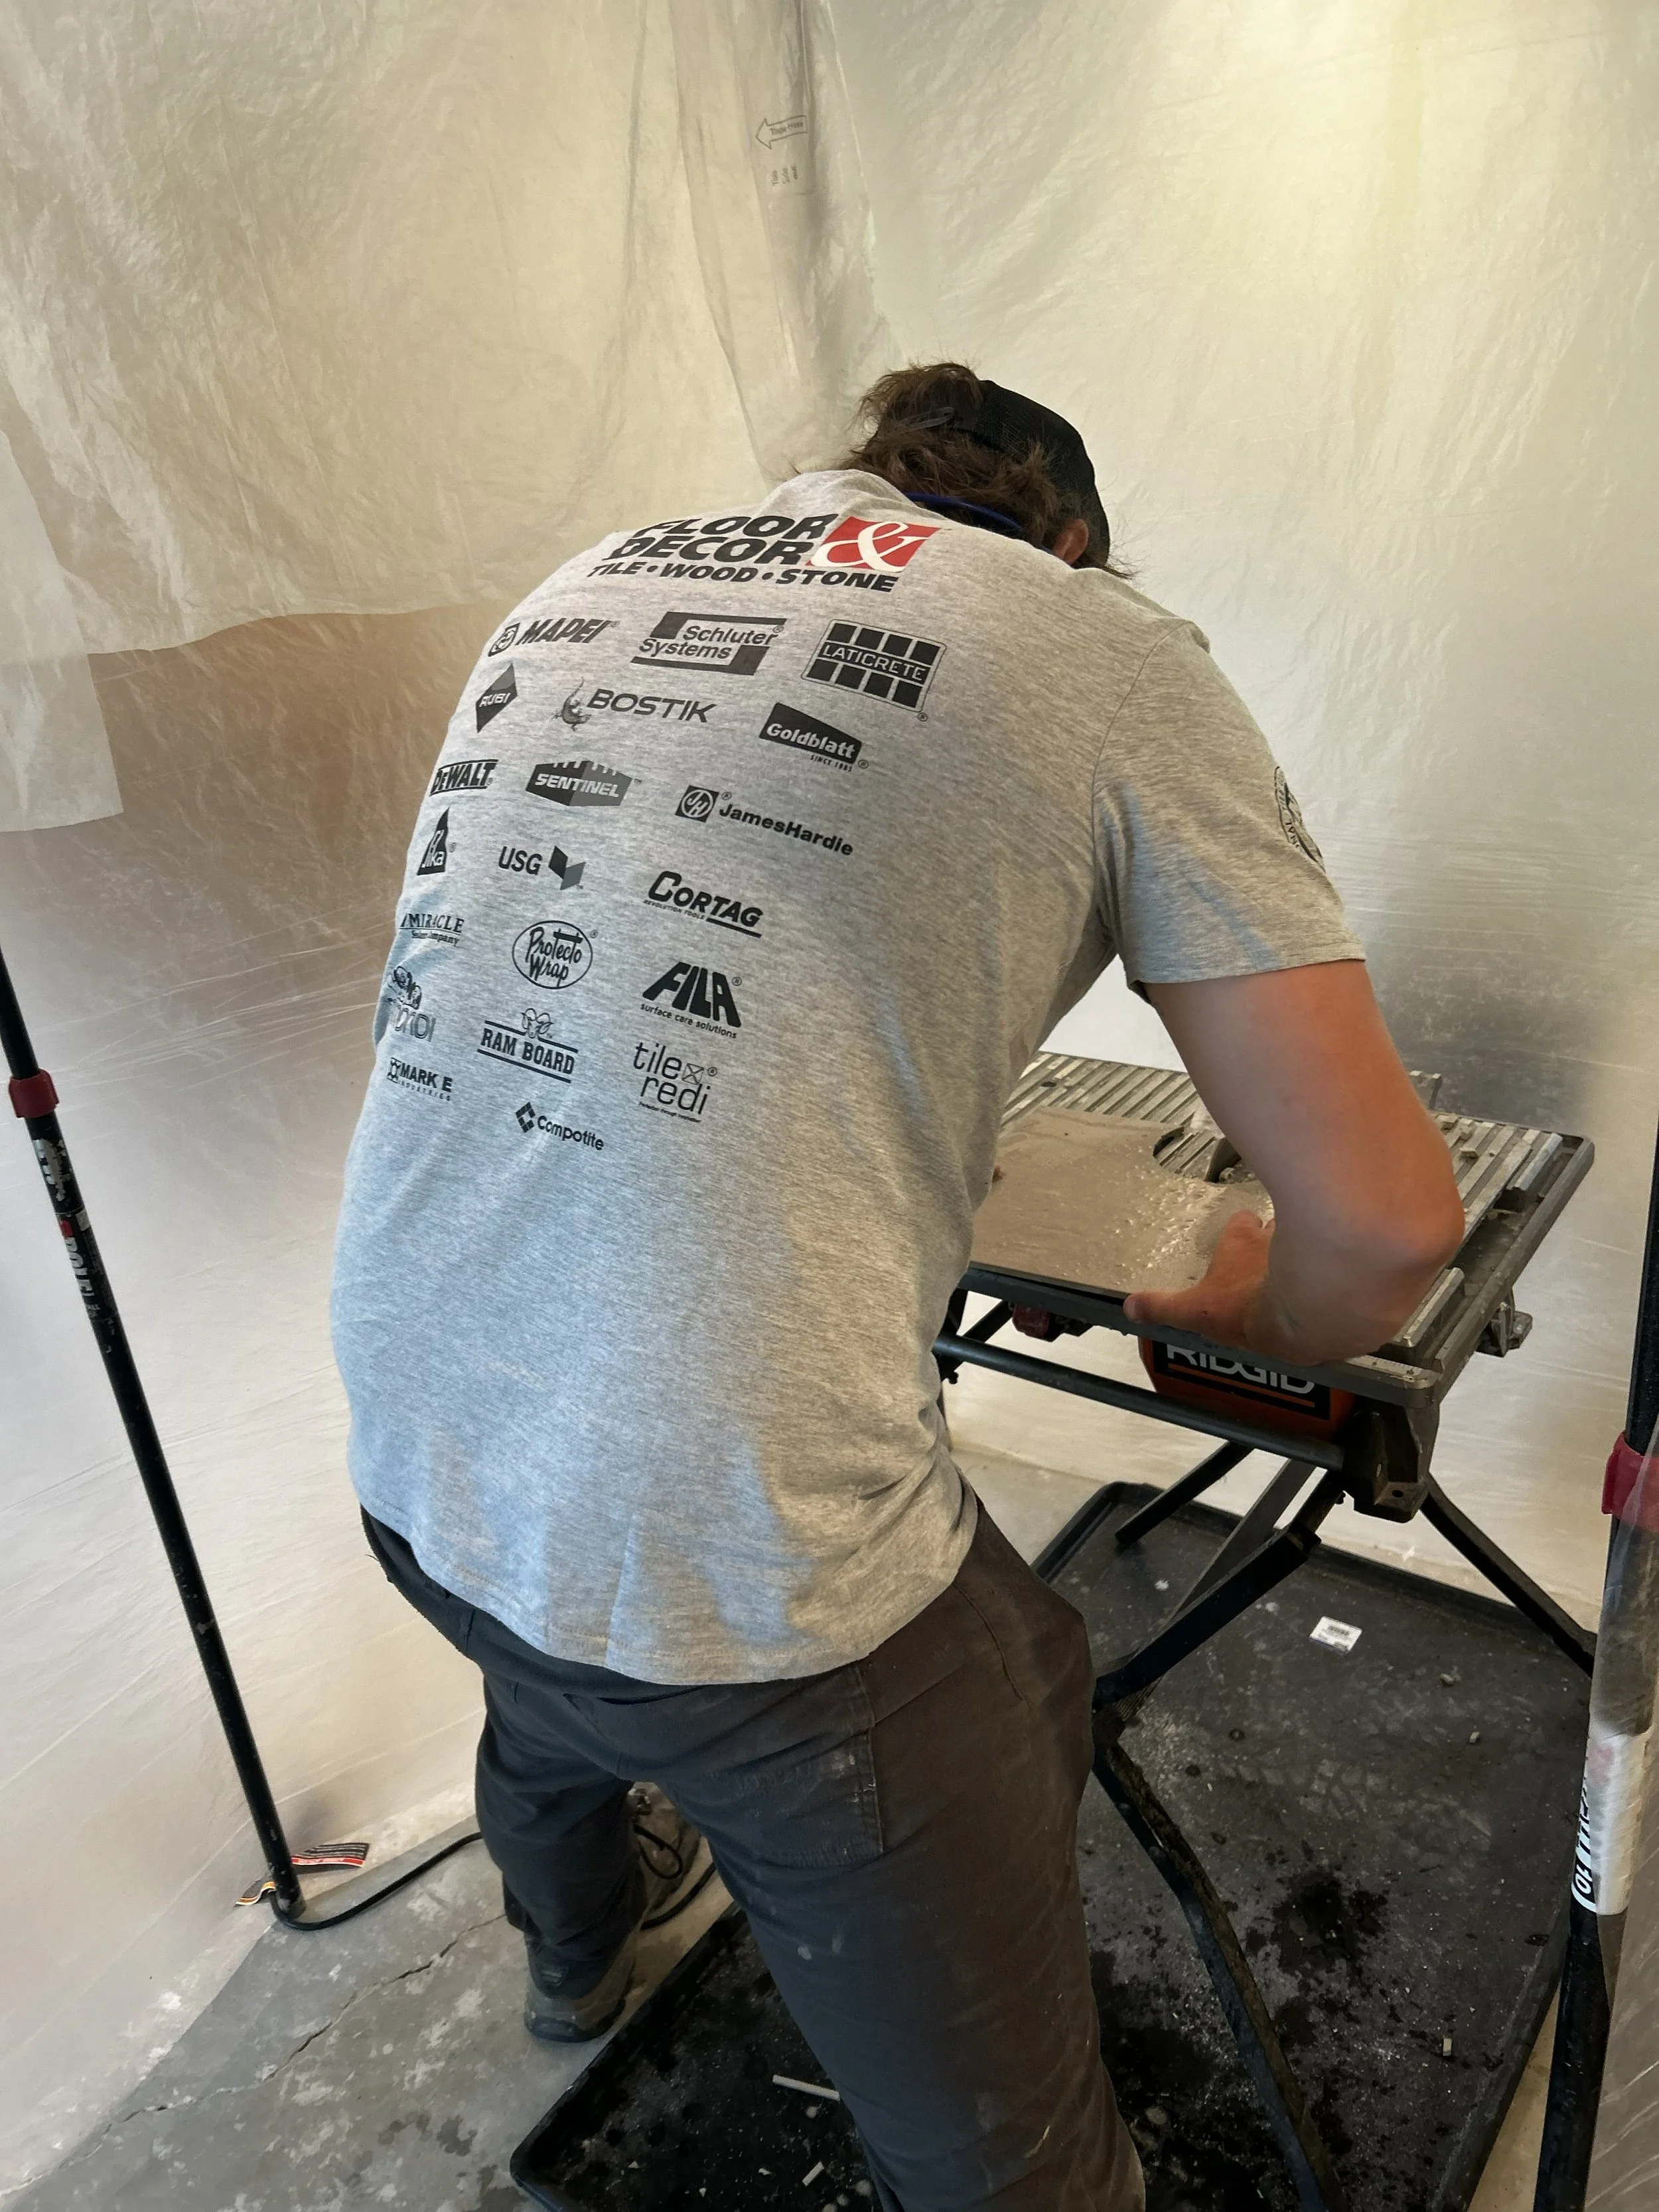
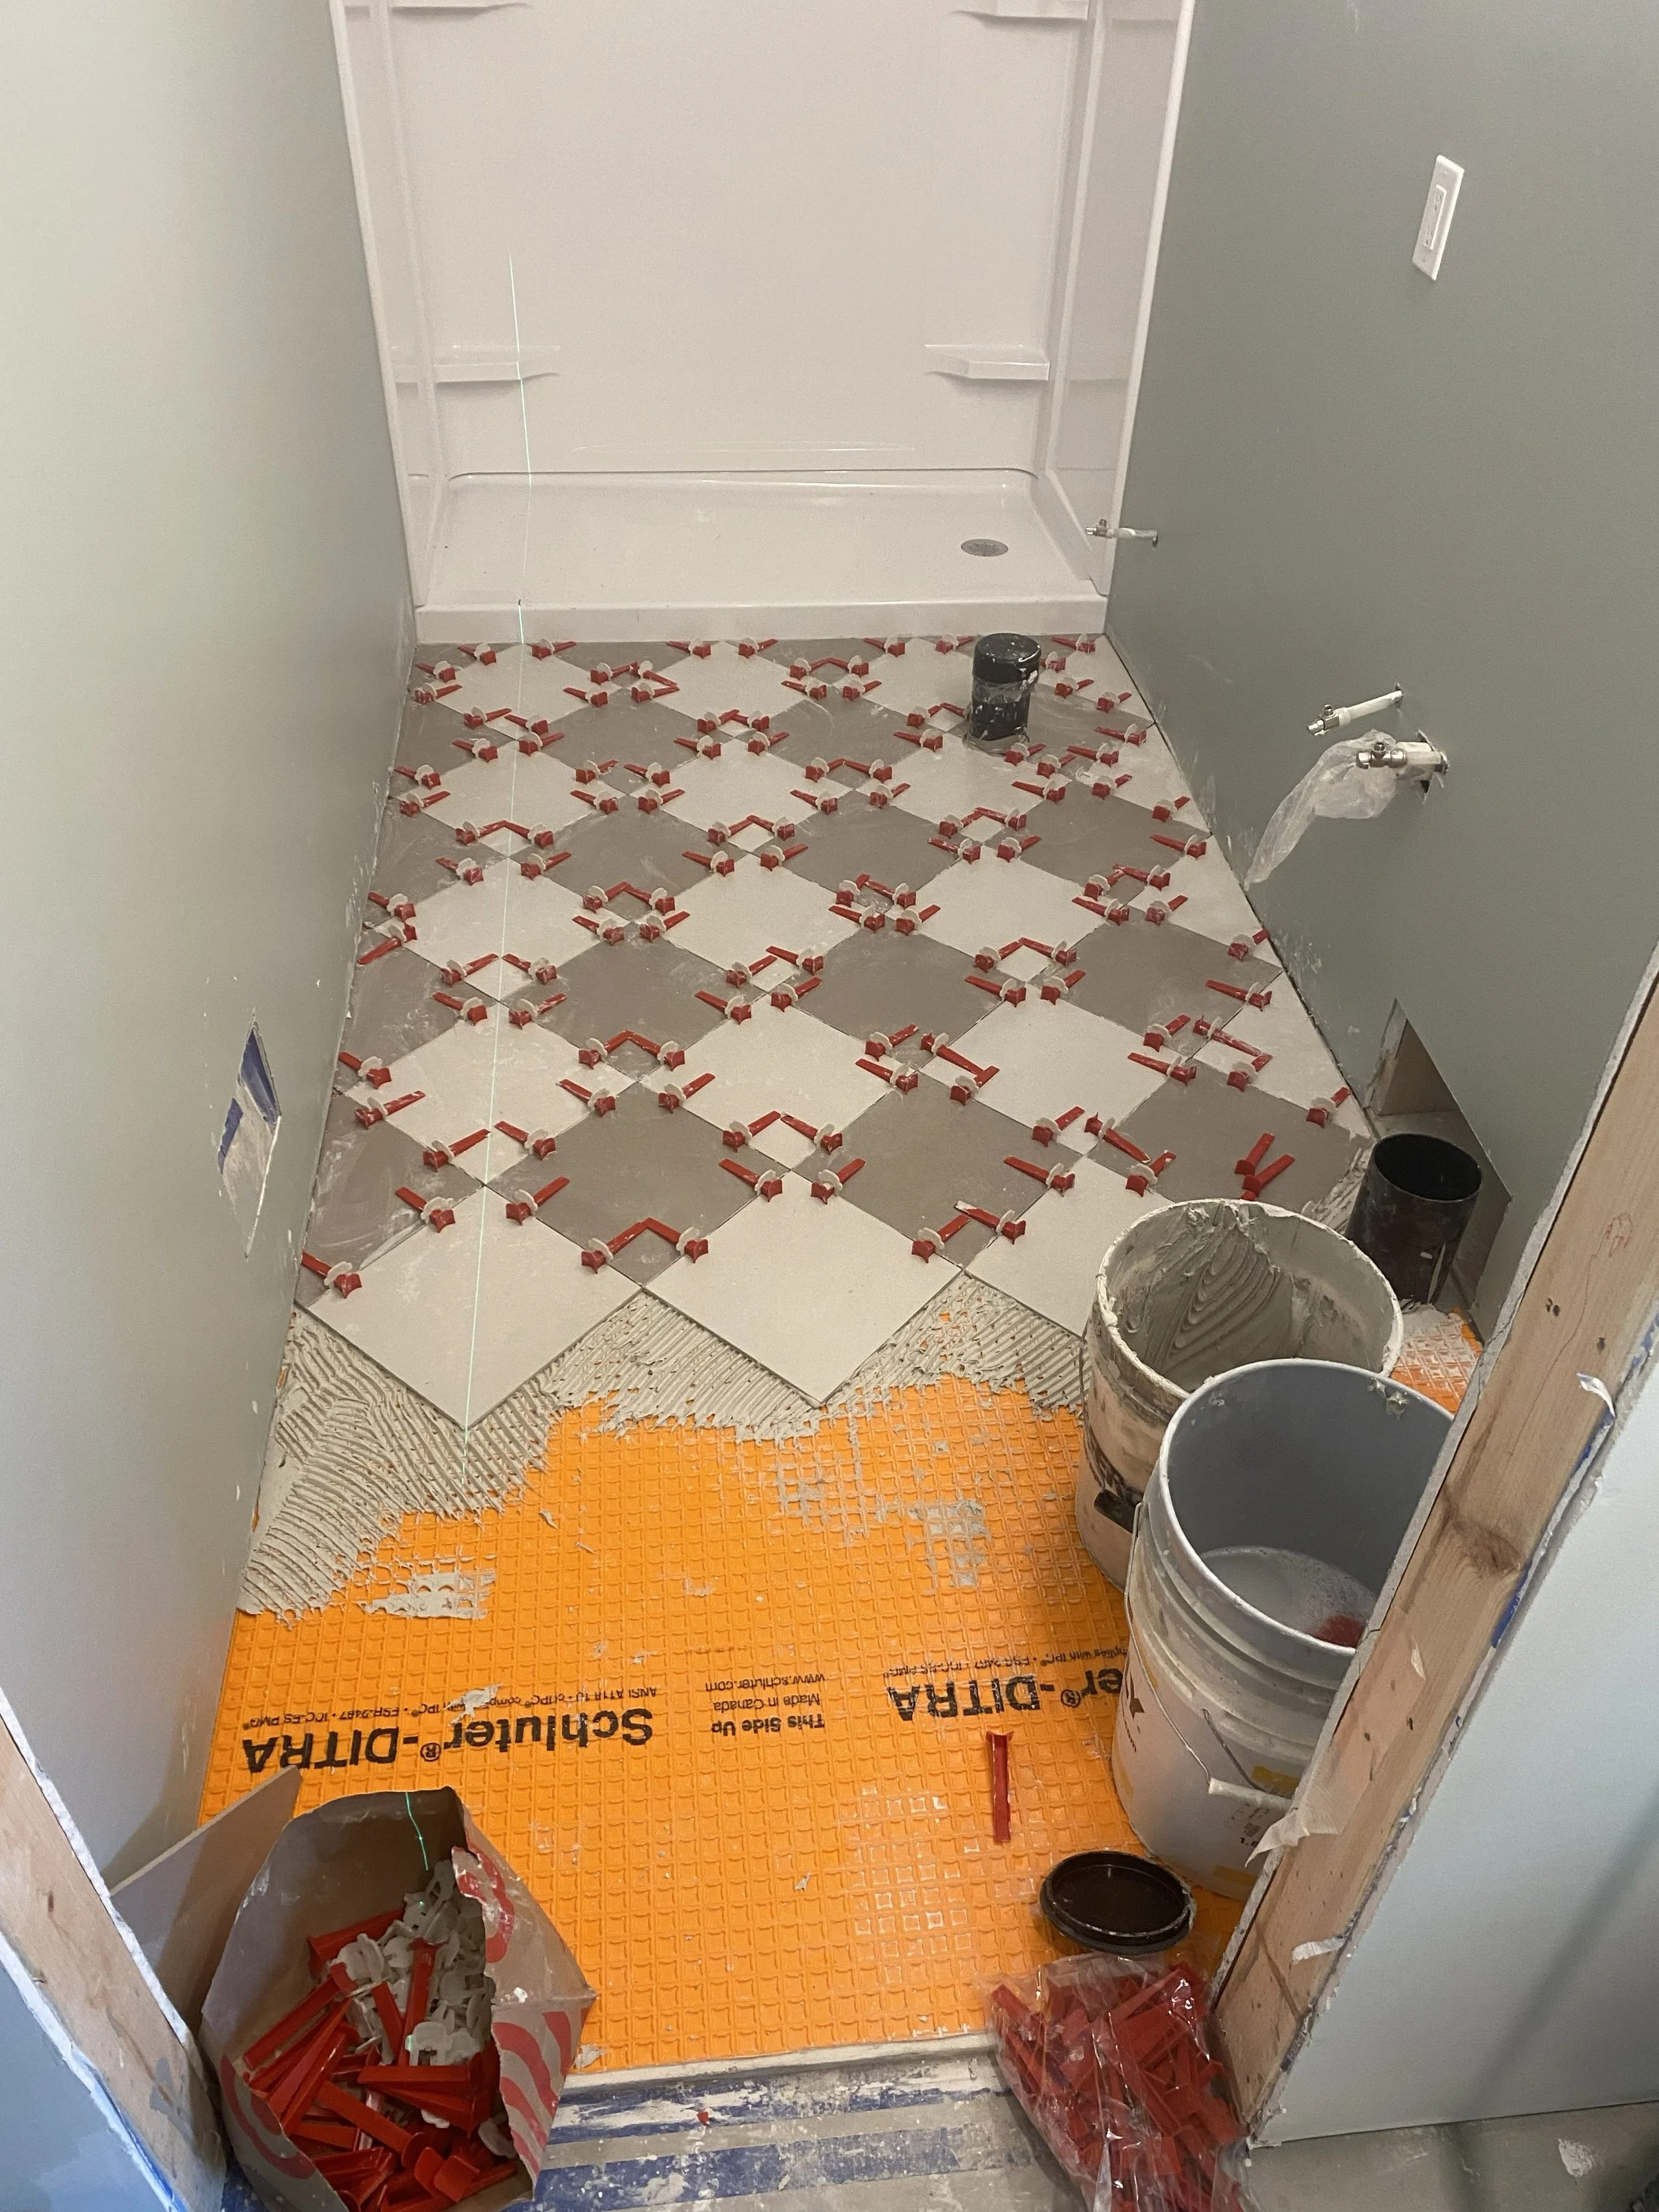
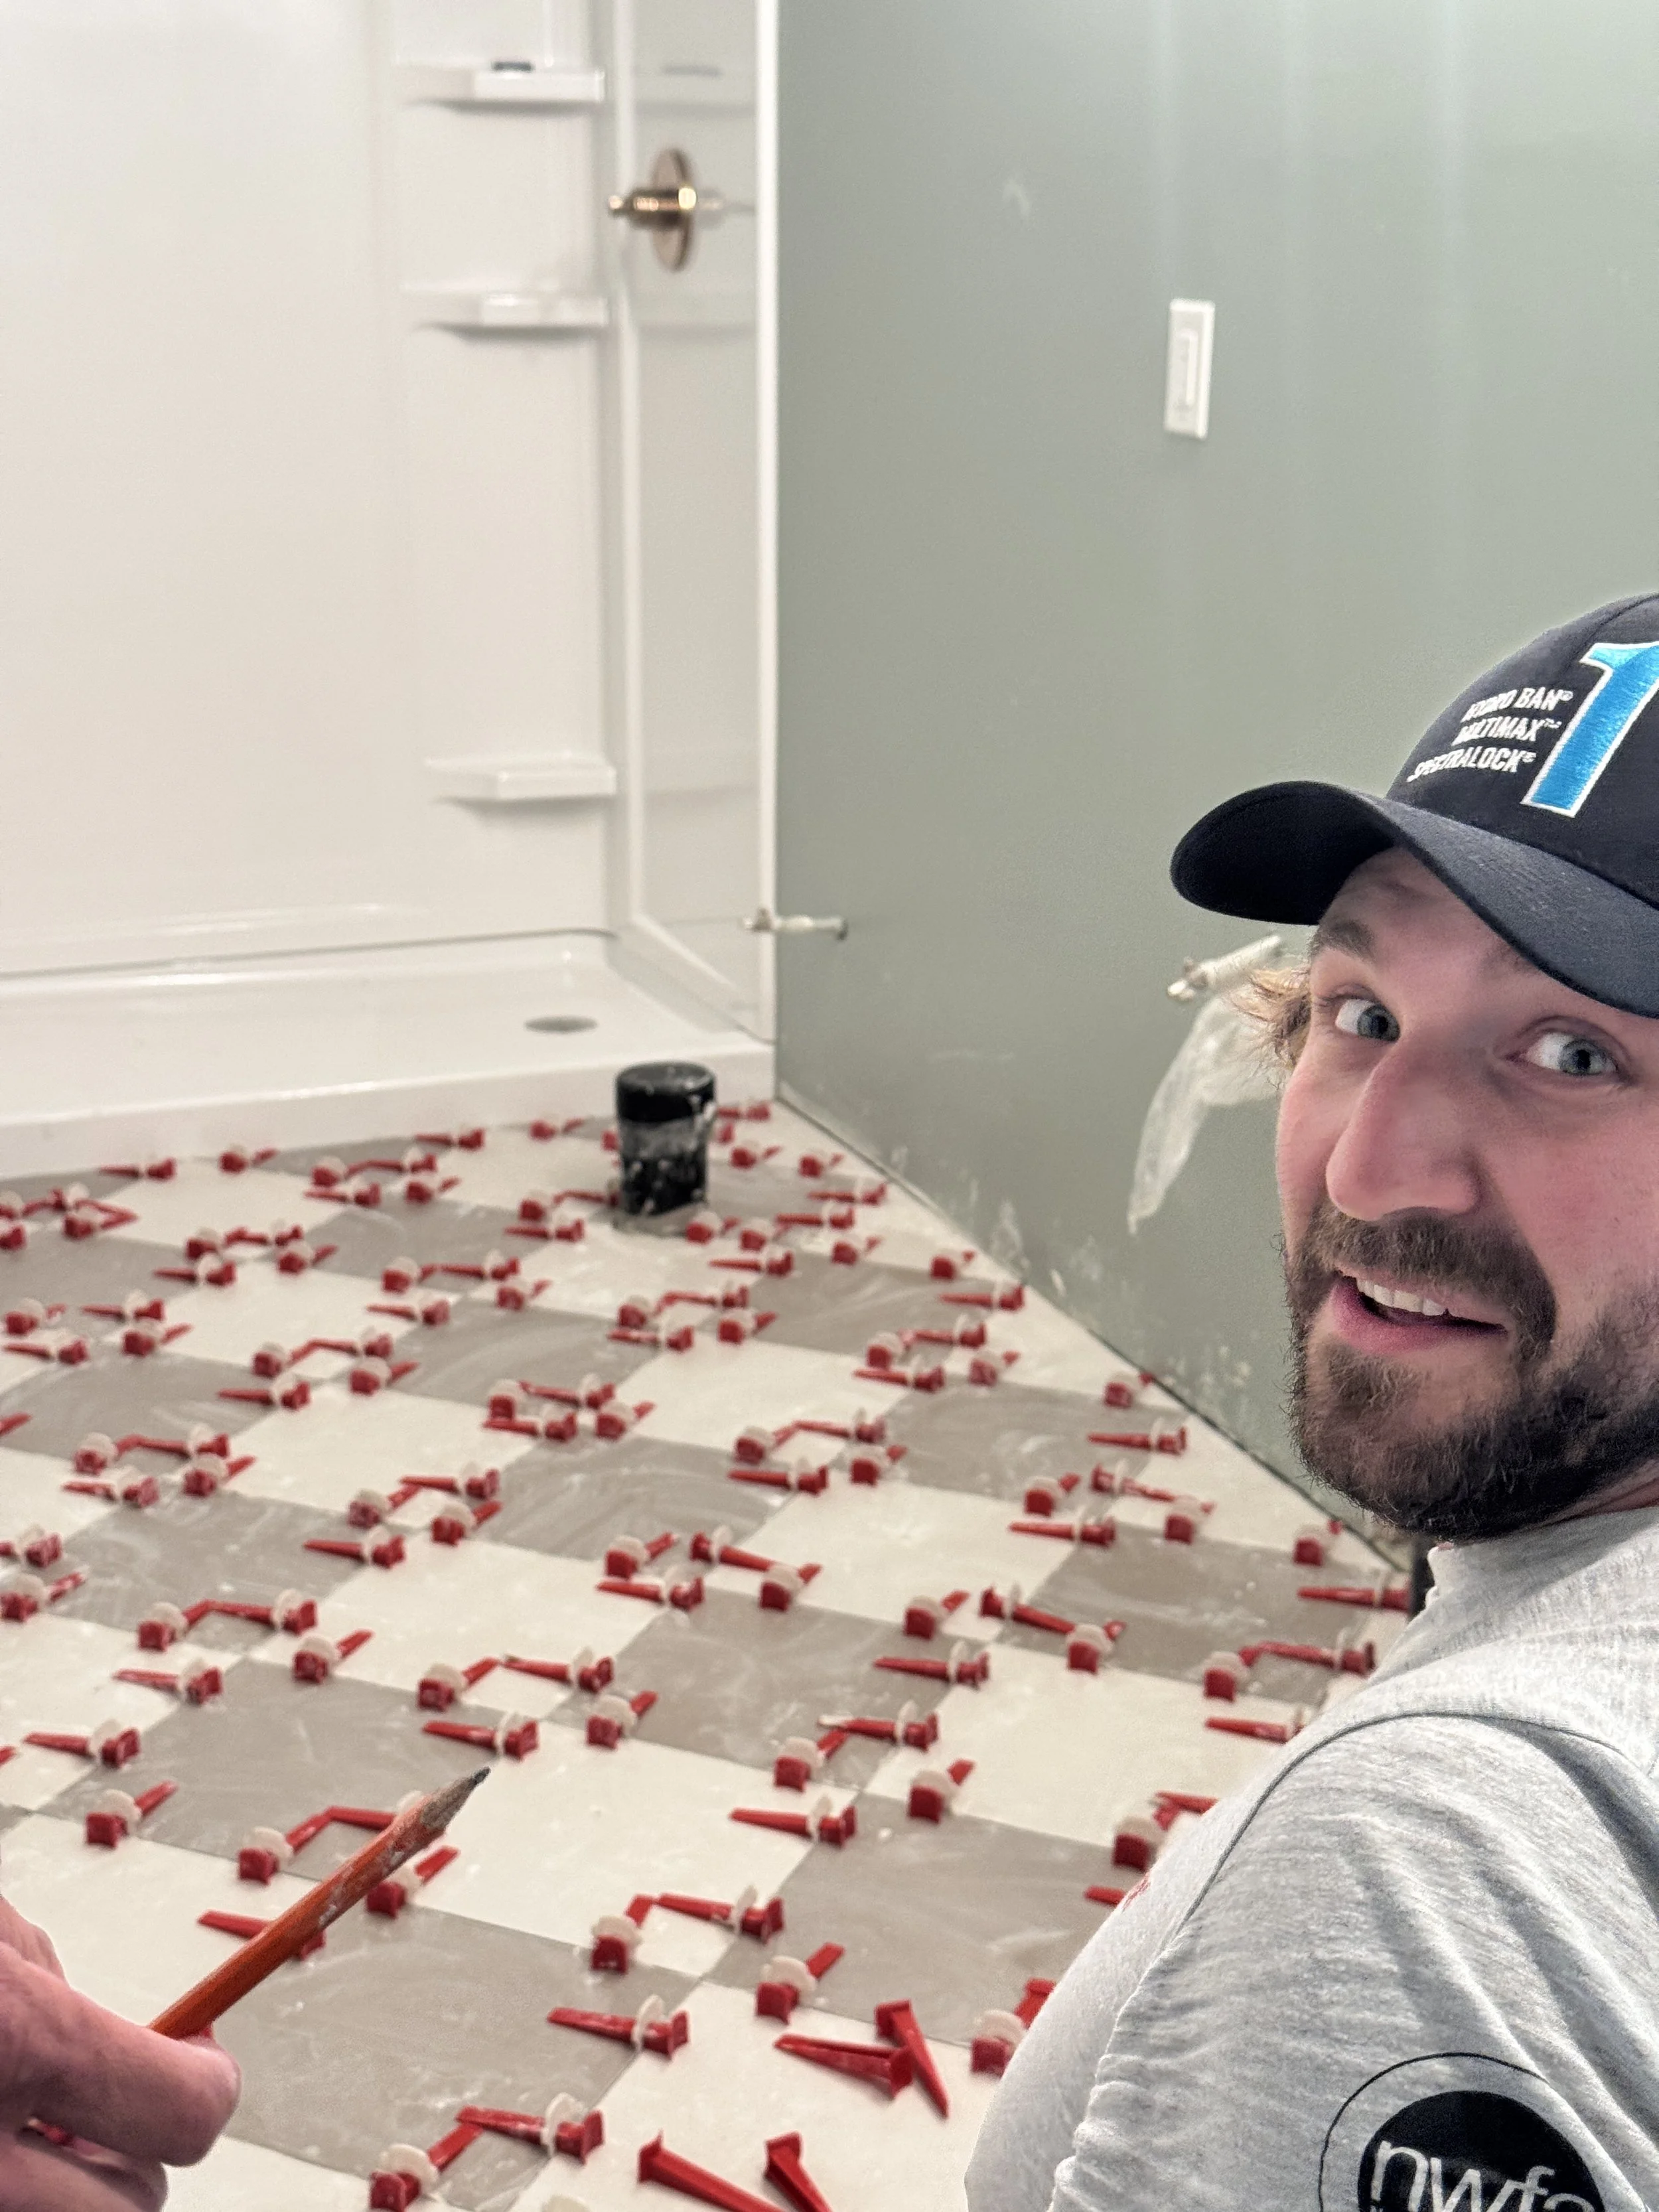
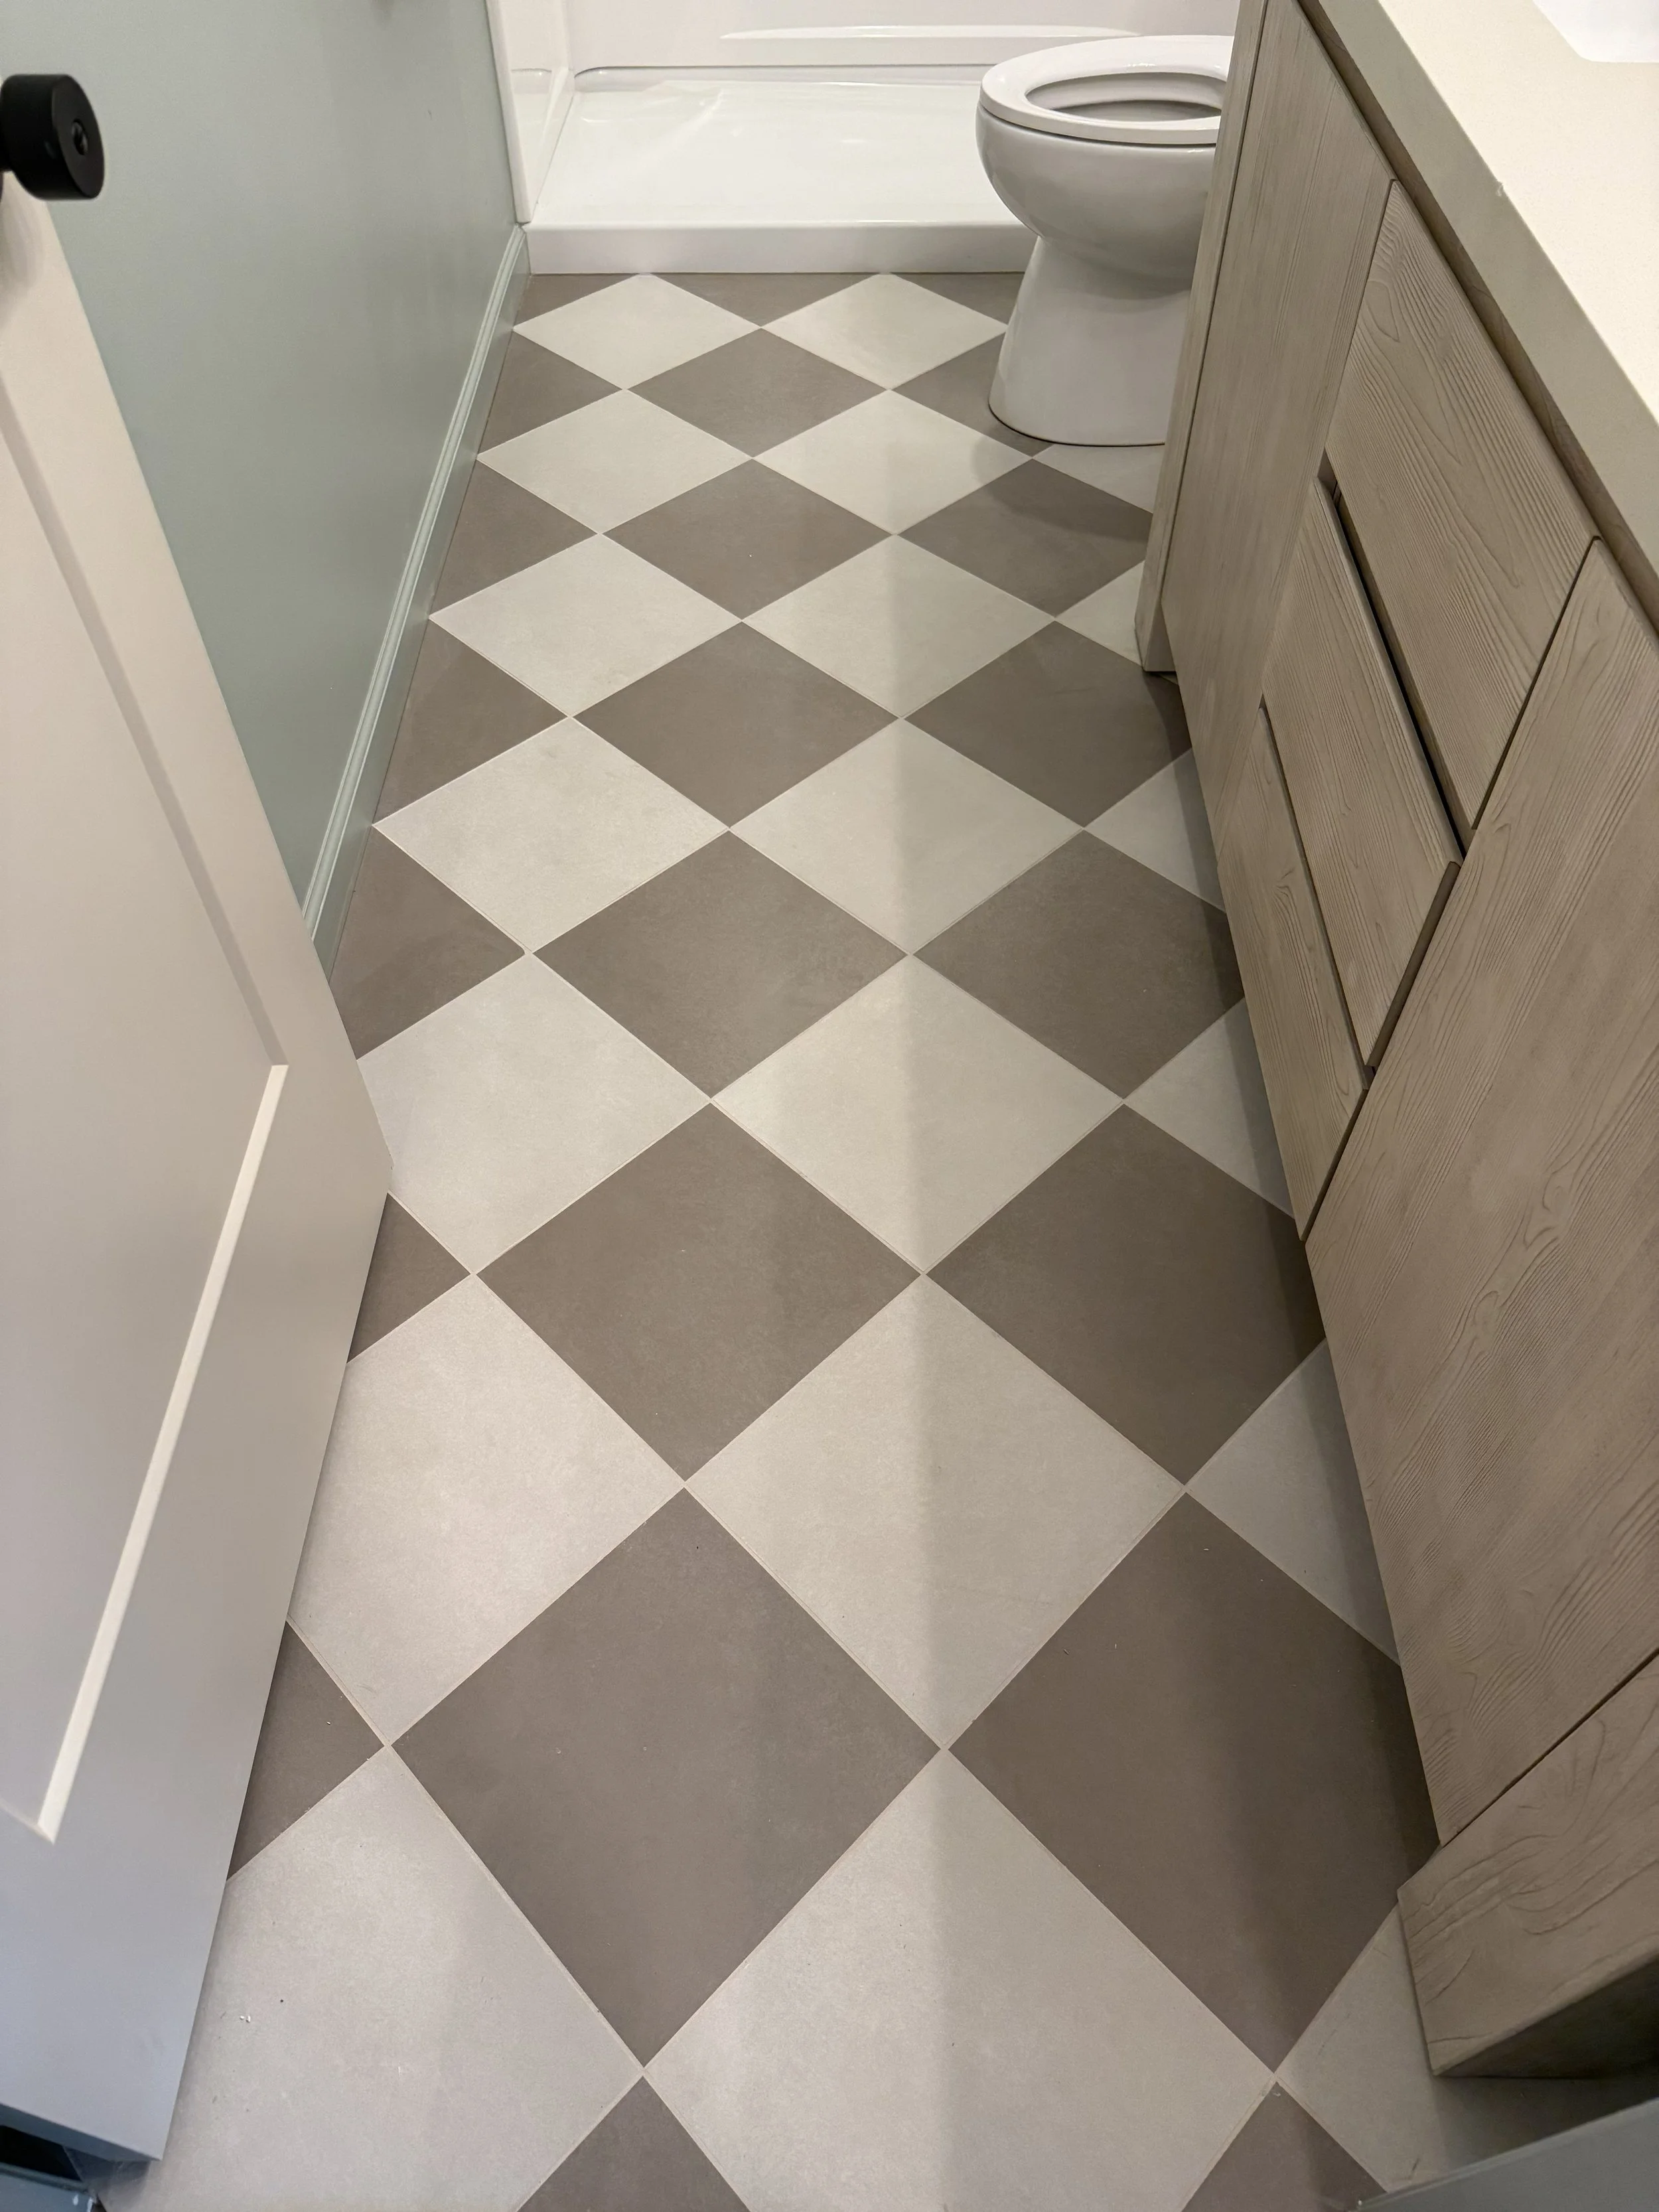
Our main takeaways from the bathroom finish are these:
Don’t be afraid to be playful with tile!
Bathrooms are often the best place to convey your overall aesthetic through your design choices
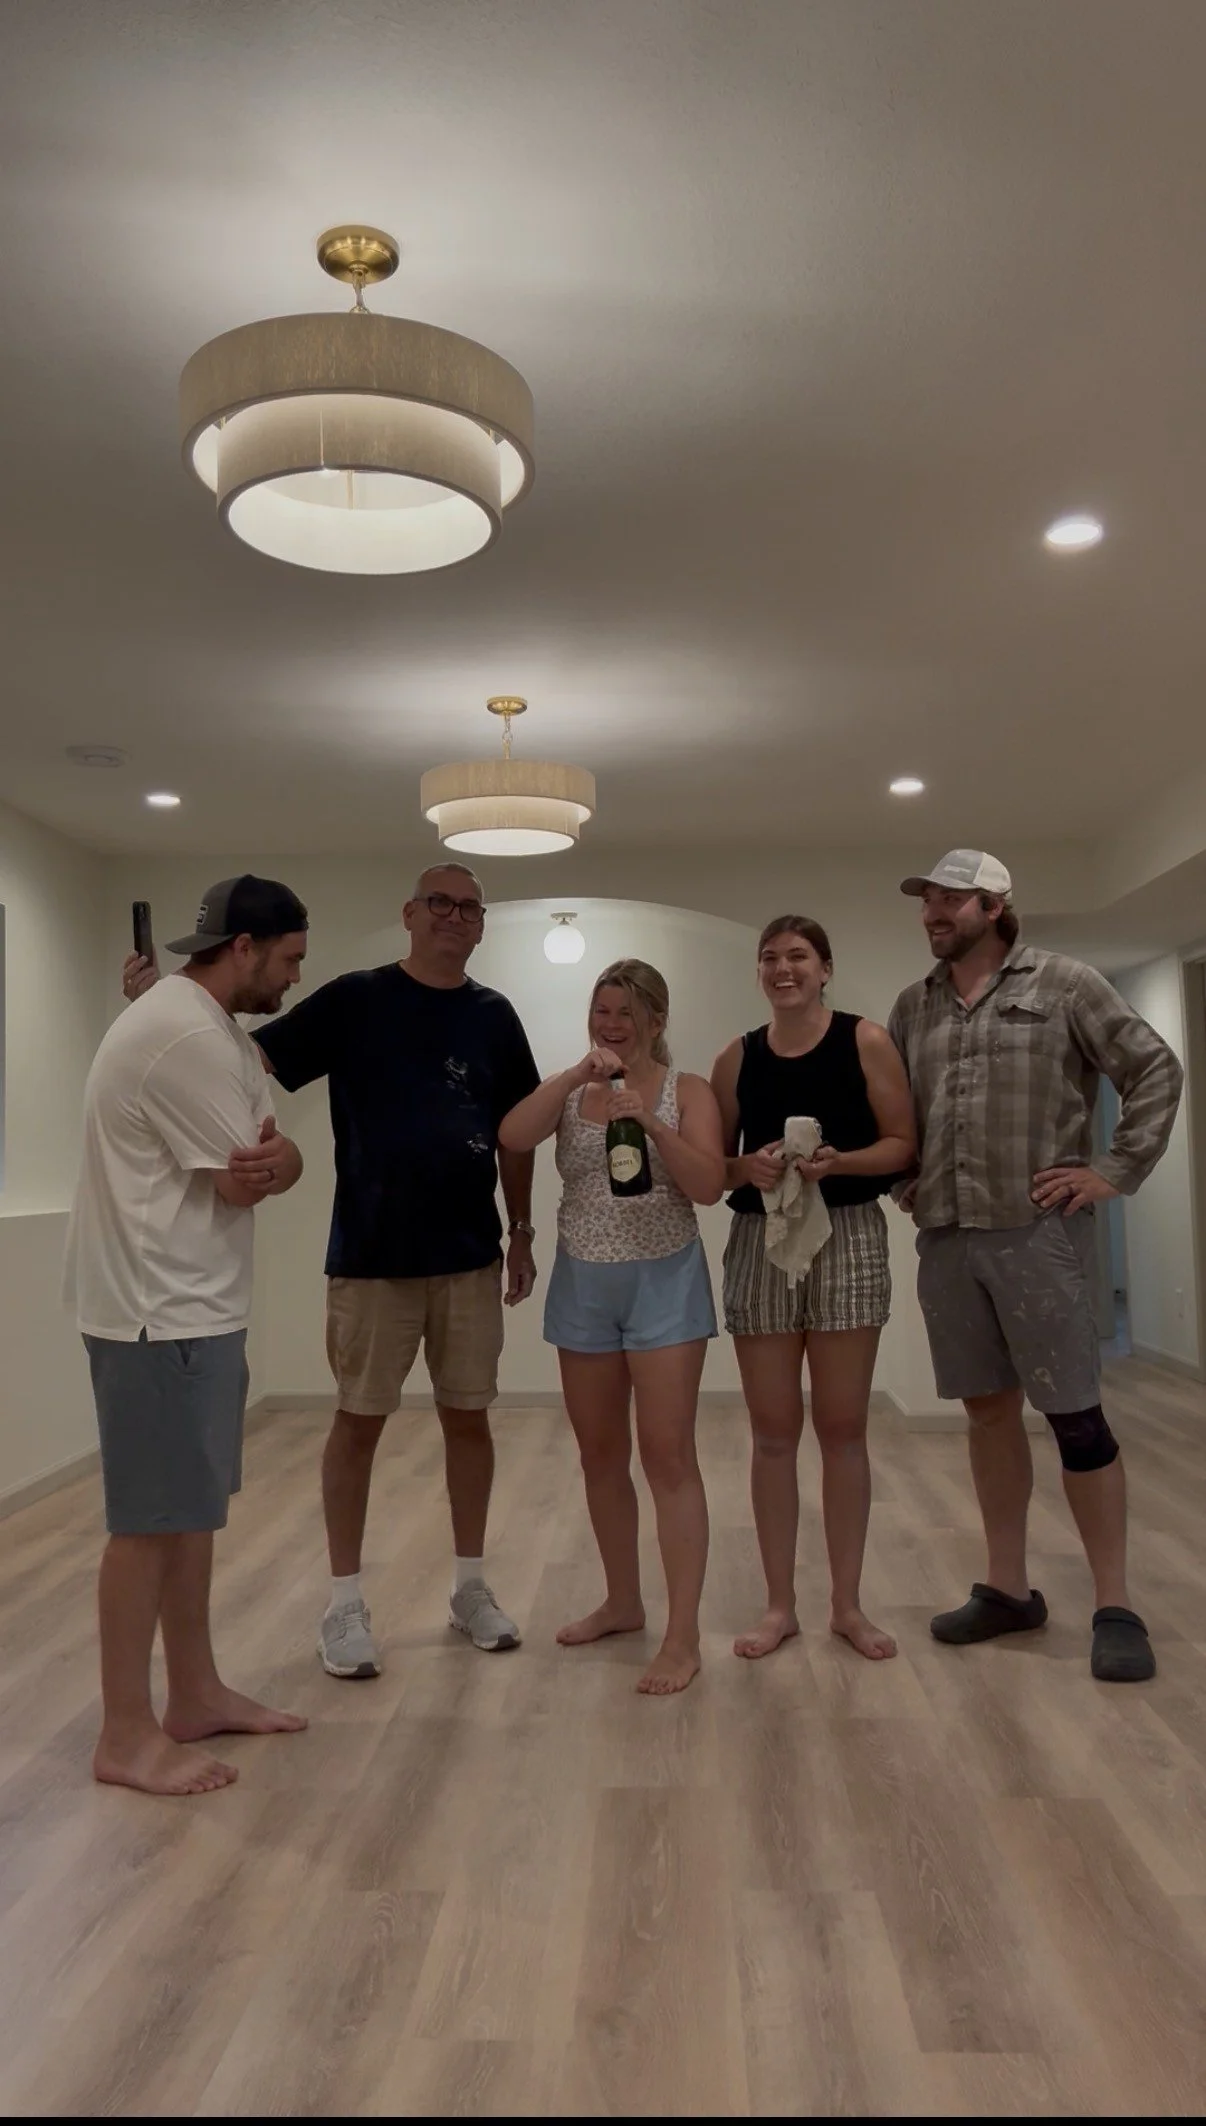
This basement project was truly special to us and we poured our hearts and souls into this year of designing, dreaming and building alongside our clients. We’re so happy with the result, and mostly just filled with joy that this family can start living in this space that’s functional, beautiful and almost doubles their square footage! Take a look at more photos of the final product!
Feel inspired by this project? Be sure to follow IDIA on Instagram for more behind the scenes looks at projects like this, inspiring finished products and tips and tricks for making the most out of your home and your space.
And don’t forget to reach out and see if IDIA can help turn your own home reno dreams into reality!