
Primary Bedroom Inspiration: How a Board and Batten Wall Instantly Transformed our Space
Chapter 1: The Idea
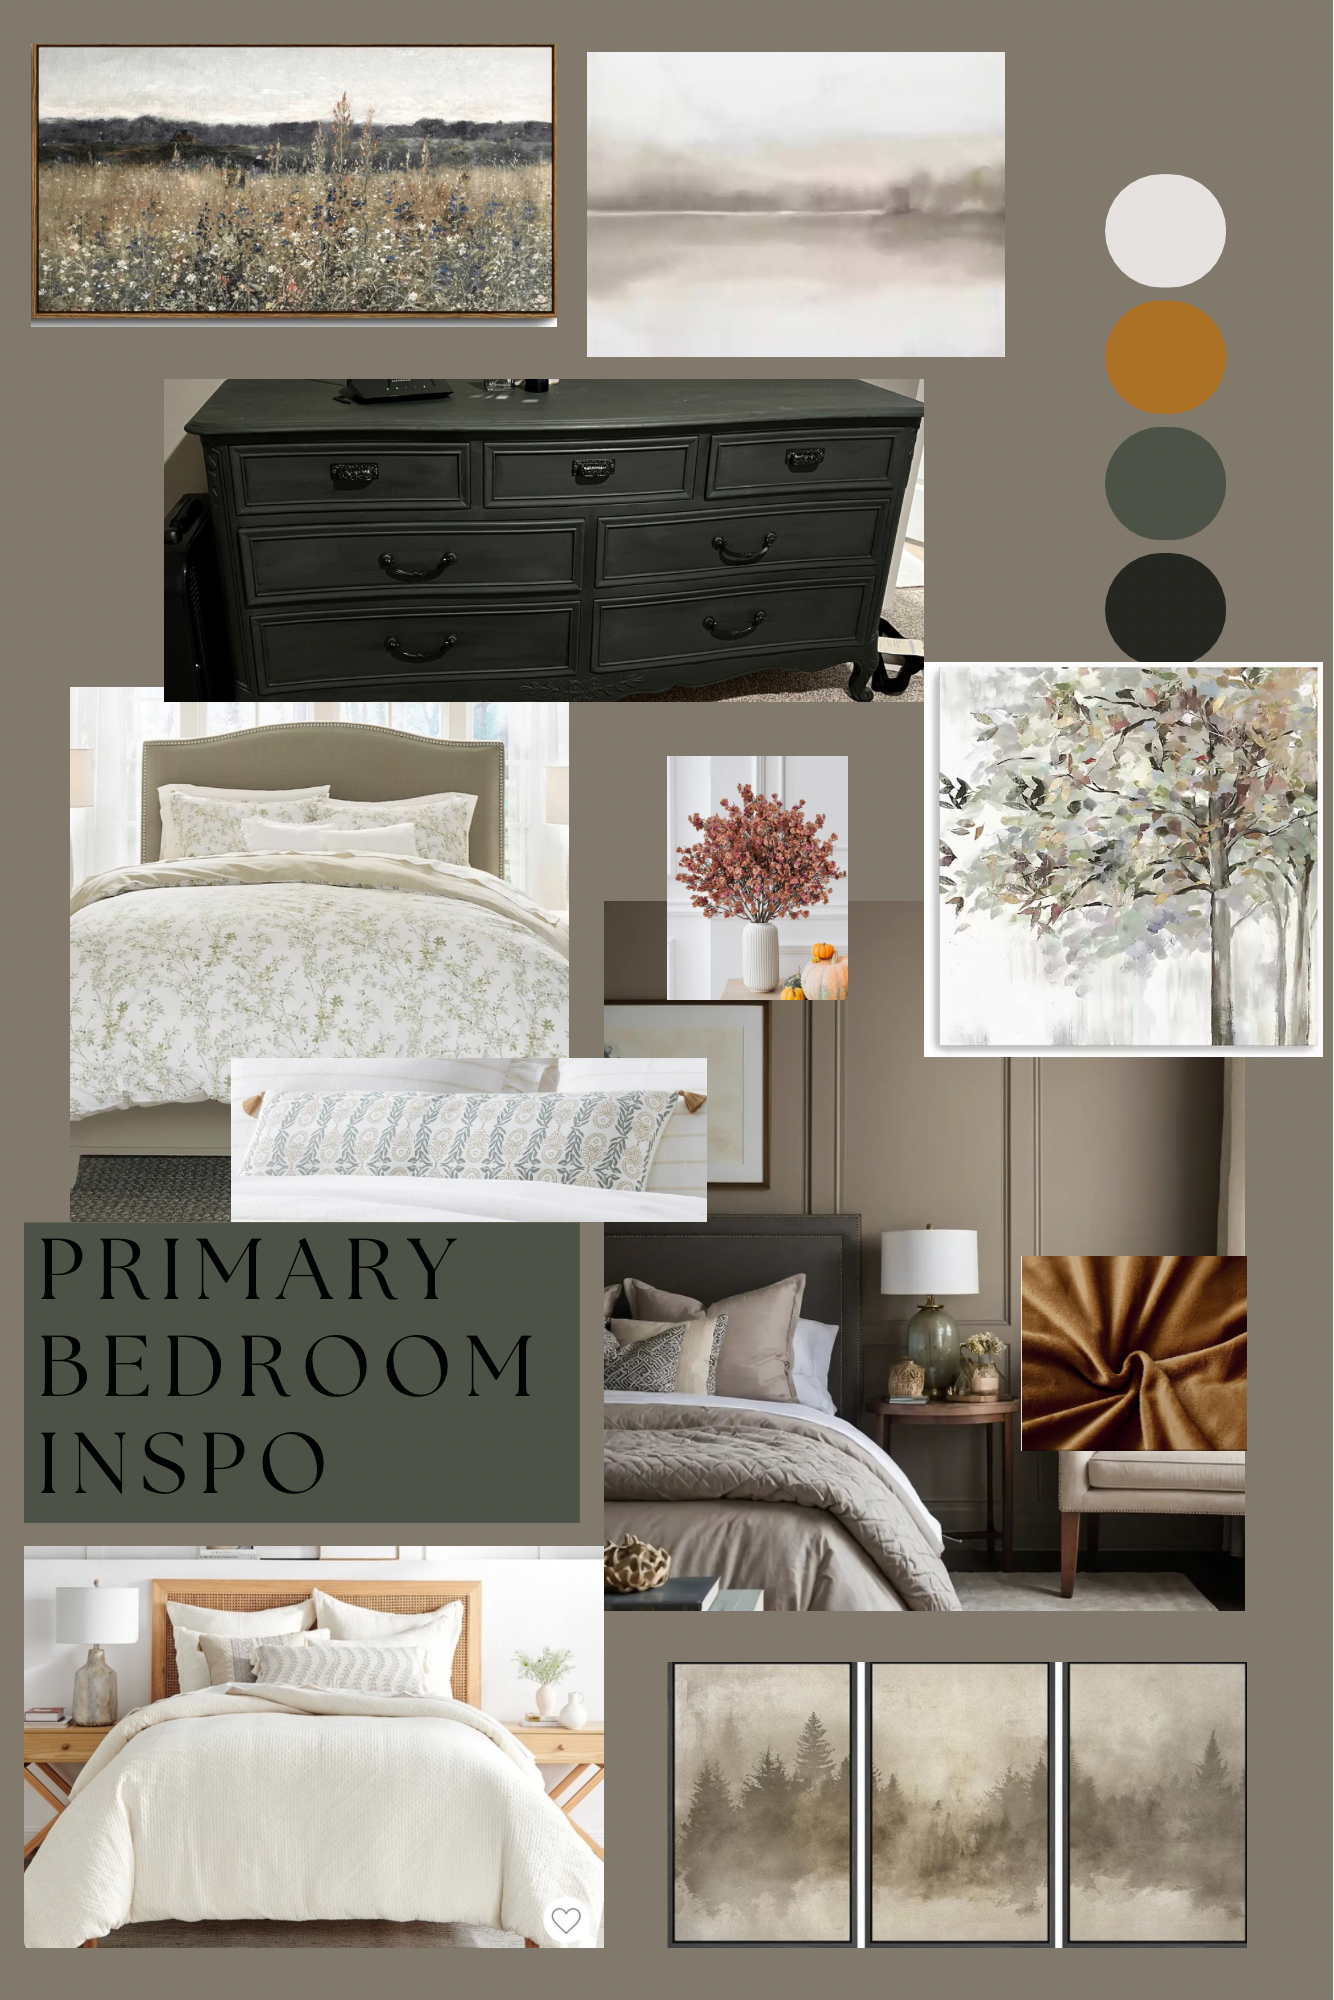
It started as a simple board and batten wall installation. We’ve been pinning primary bedroom inspiration on our Pinterest board since we moved into this builder grade home, and always have been drawn to the board and batten walls. They really seem to be trending at the moment, and there’s a good reason why! It is such an easy way to add character, depth and texture to something so flat and basic as a wall. And, fun little design insight here, by drawing the eye upward vertical lines can create the illusion of height, making a small space feel taller.
But as we started sketching and planning this project, the ideas started snowballing, as they usually do! We knew we wanted to get some great before and after photos of this renovation (shoutout to Brianna Lynne Photography), and as we stared at our bed and visualized a beautiful new wall behind it, we knew we had to do a little bedding update as well. And if we were going to do that, why not give the whole room a design refresh?! It was about time that my bedroom mood board got to move from the screen to real life!
And so, this primary bedroom renovation project ended up having the following goals:
Update our builder grade primary bedroom with simple changes that would make a big impact
Use the project as a showcase for Henry’s carpentry and my design
Build strong relationships and collaborate with other folks in the home design industry
Enter Kelsey Stommel Homes
Chapter 2: The Team
We’ve known Kelsey for almost 10 years now. We met when Henry and I and she and her husband were all performing in a community theater production of ‘Into the Woods’. Of course, Henry played a handsome prince and me? An ugly stepsister! To Kelsey’s Cinderella, nonetheless!


A decade after our community theater days, we’ve found ourselves living 10 minutes apart, experiencing parallel parenting journeys and now both branching out into new business ventures! While Kelsey has worked in real estate for many years (and is dang good at it, she was SO much fun to work with when we bought our home), she was now looking to expand into the interior decorating and design world. And of course, with IDIA, so were we! So I reached out to Kelsey to collaborate with Henry and I on this project and help us bring our decorating vision to life, and thus our team was formed:
Henry- Builder
Myself, Ali-Project Manger/Decorator
Kelsey- Decorator
Chapter 3: The Board and Batten
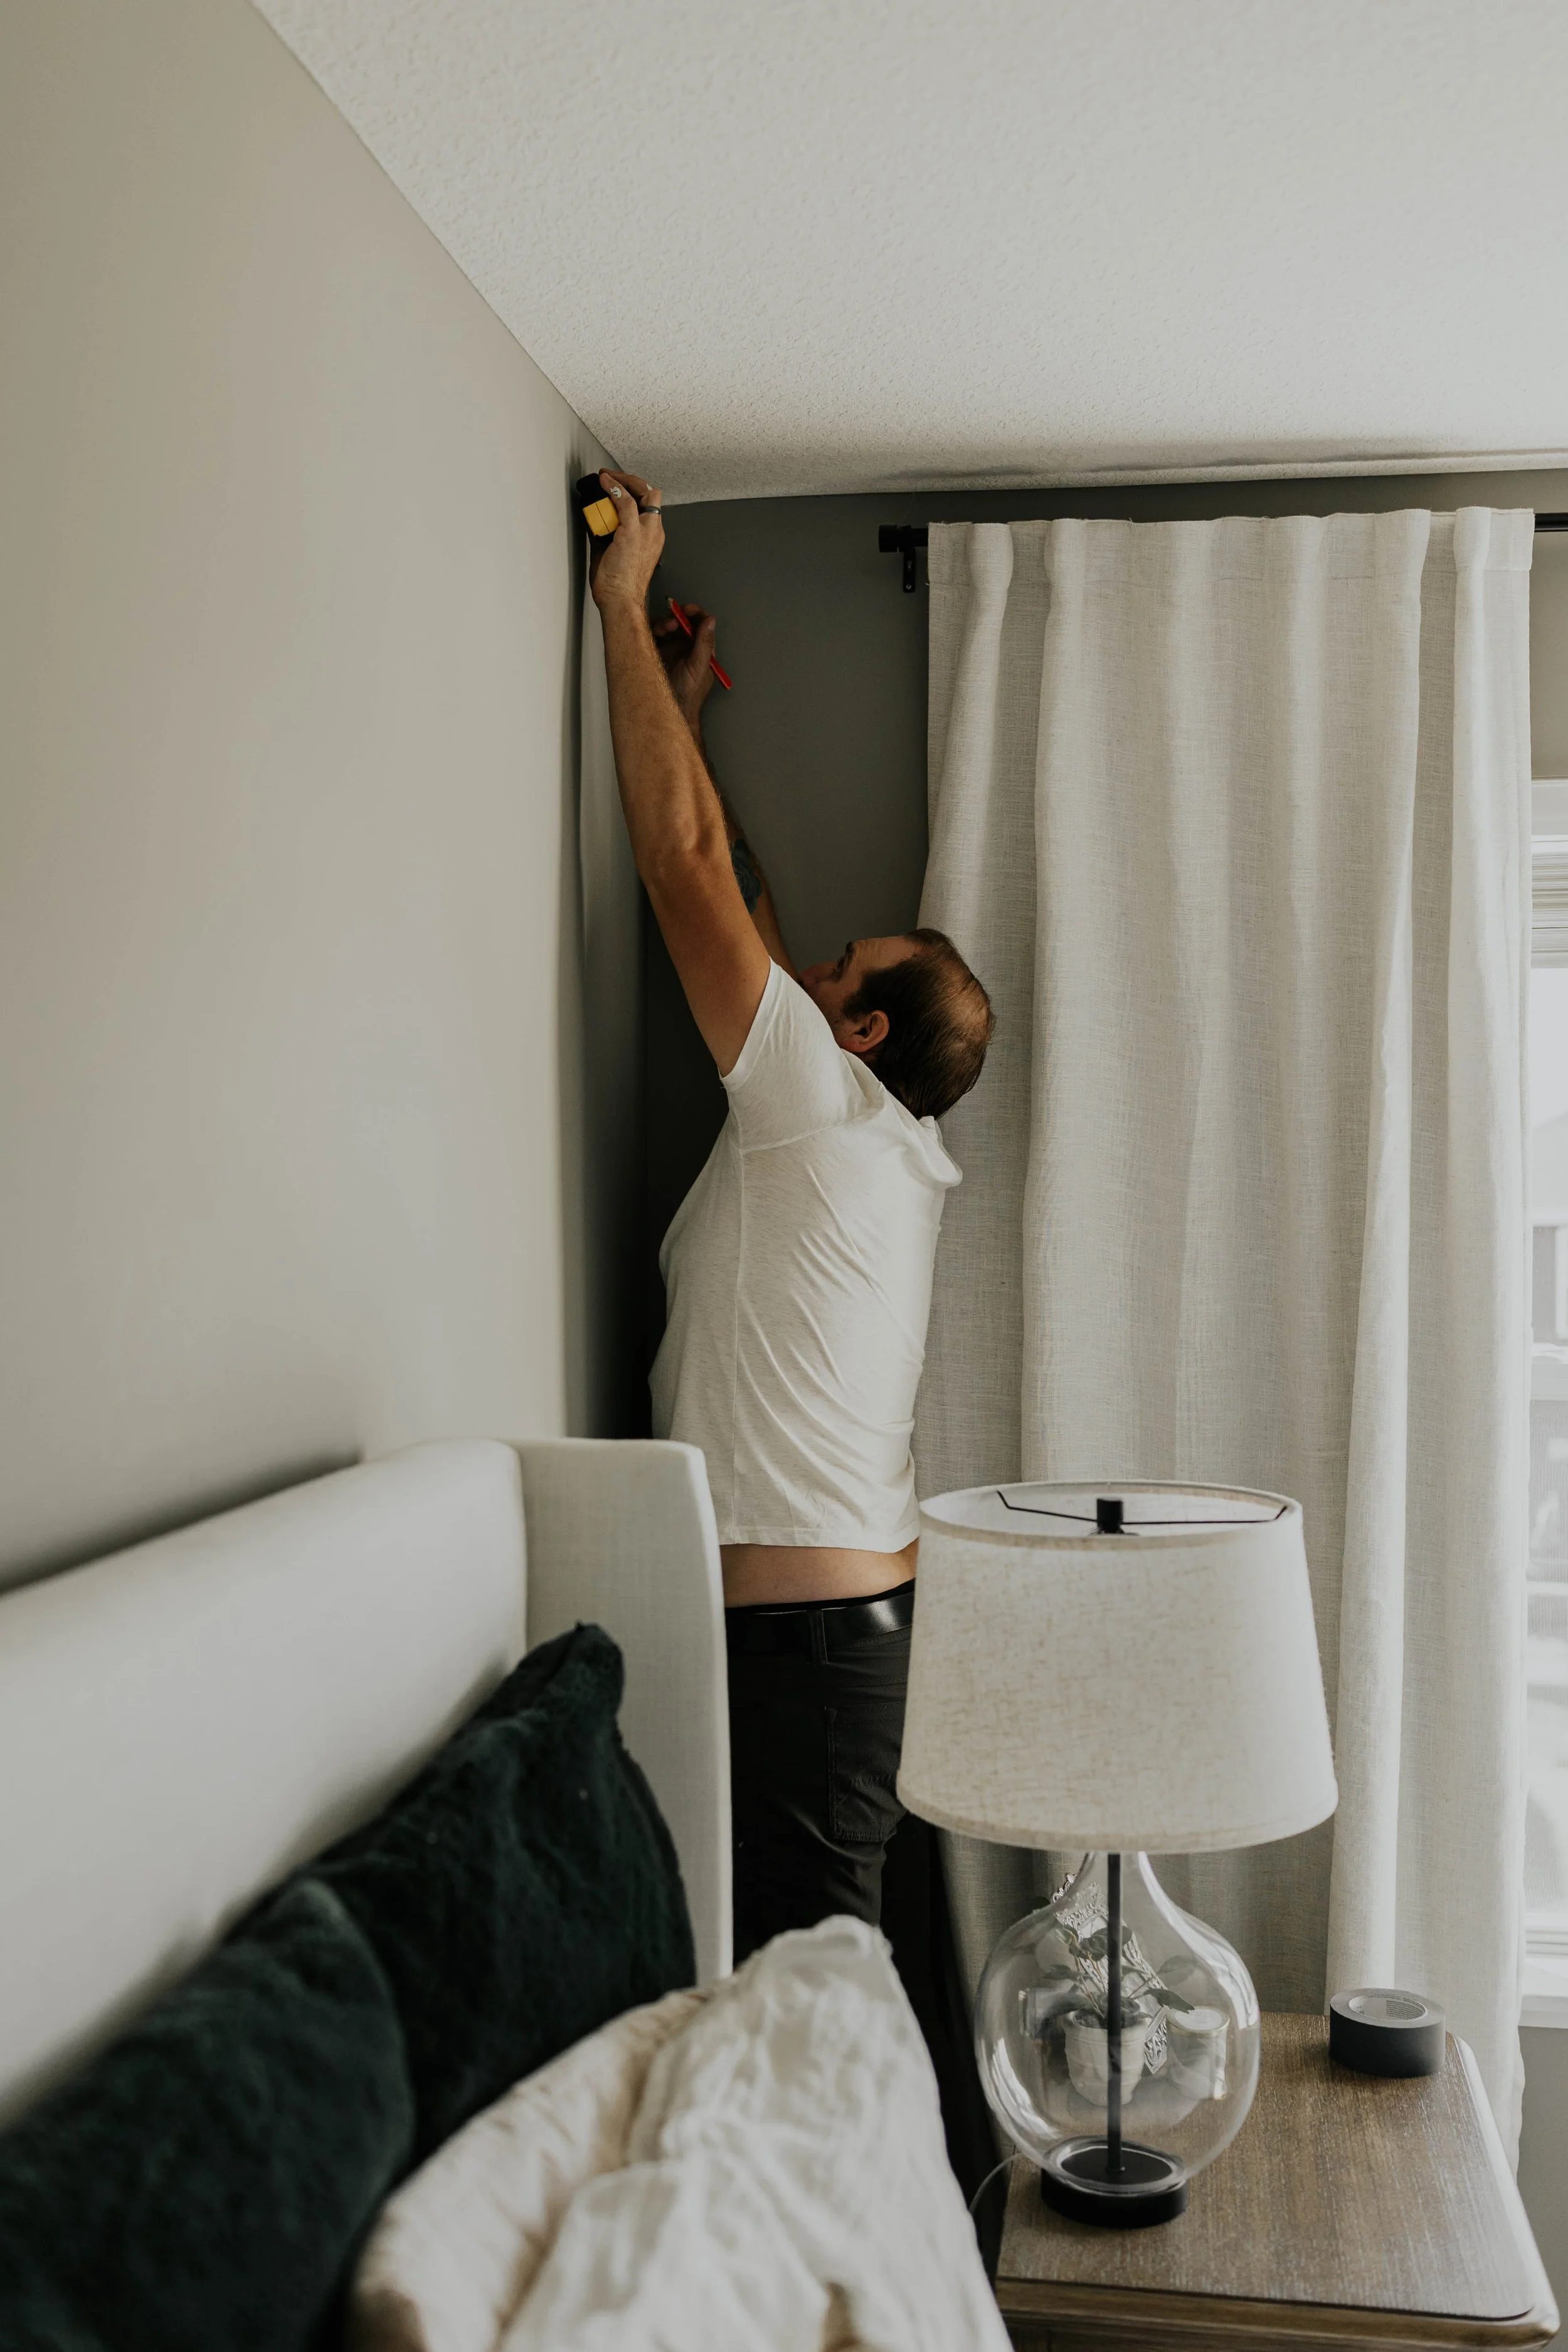
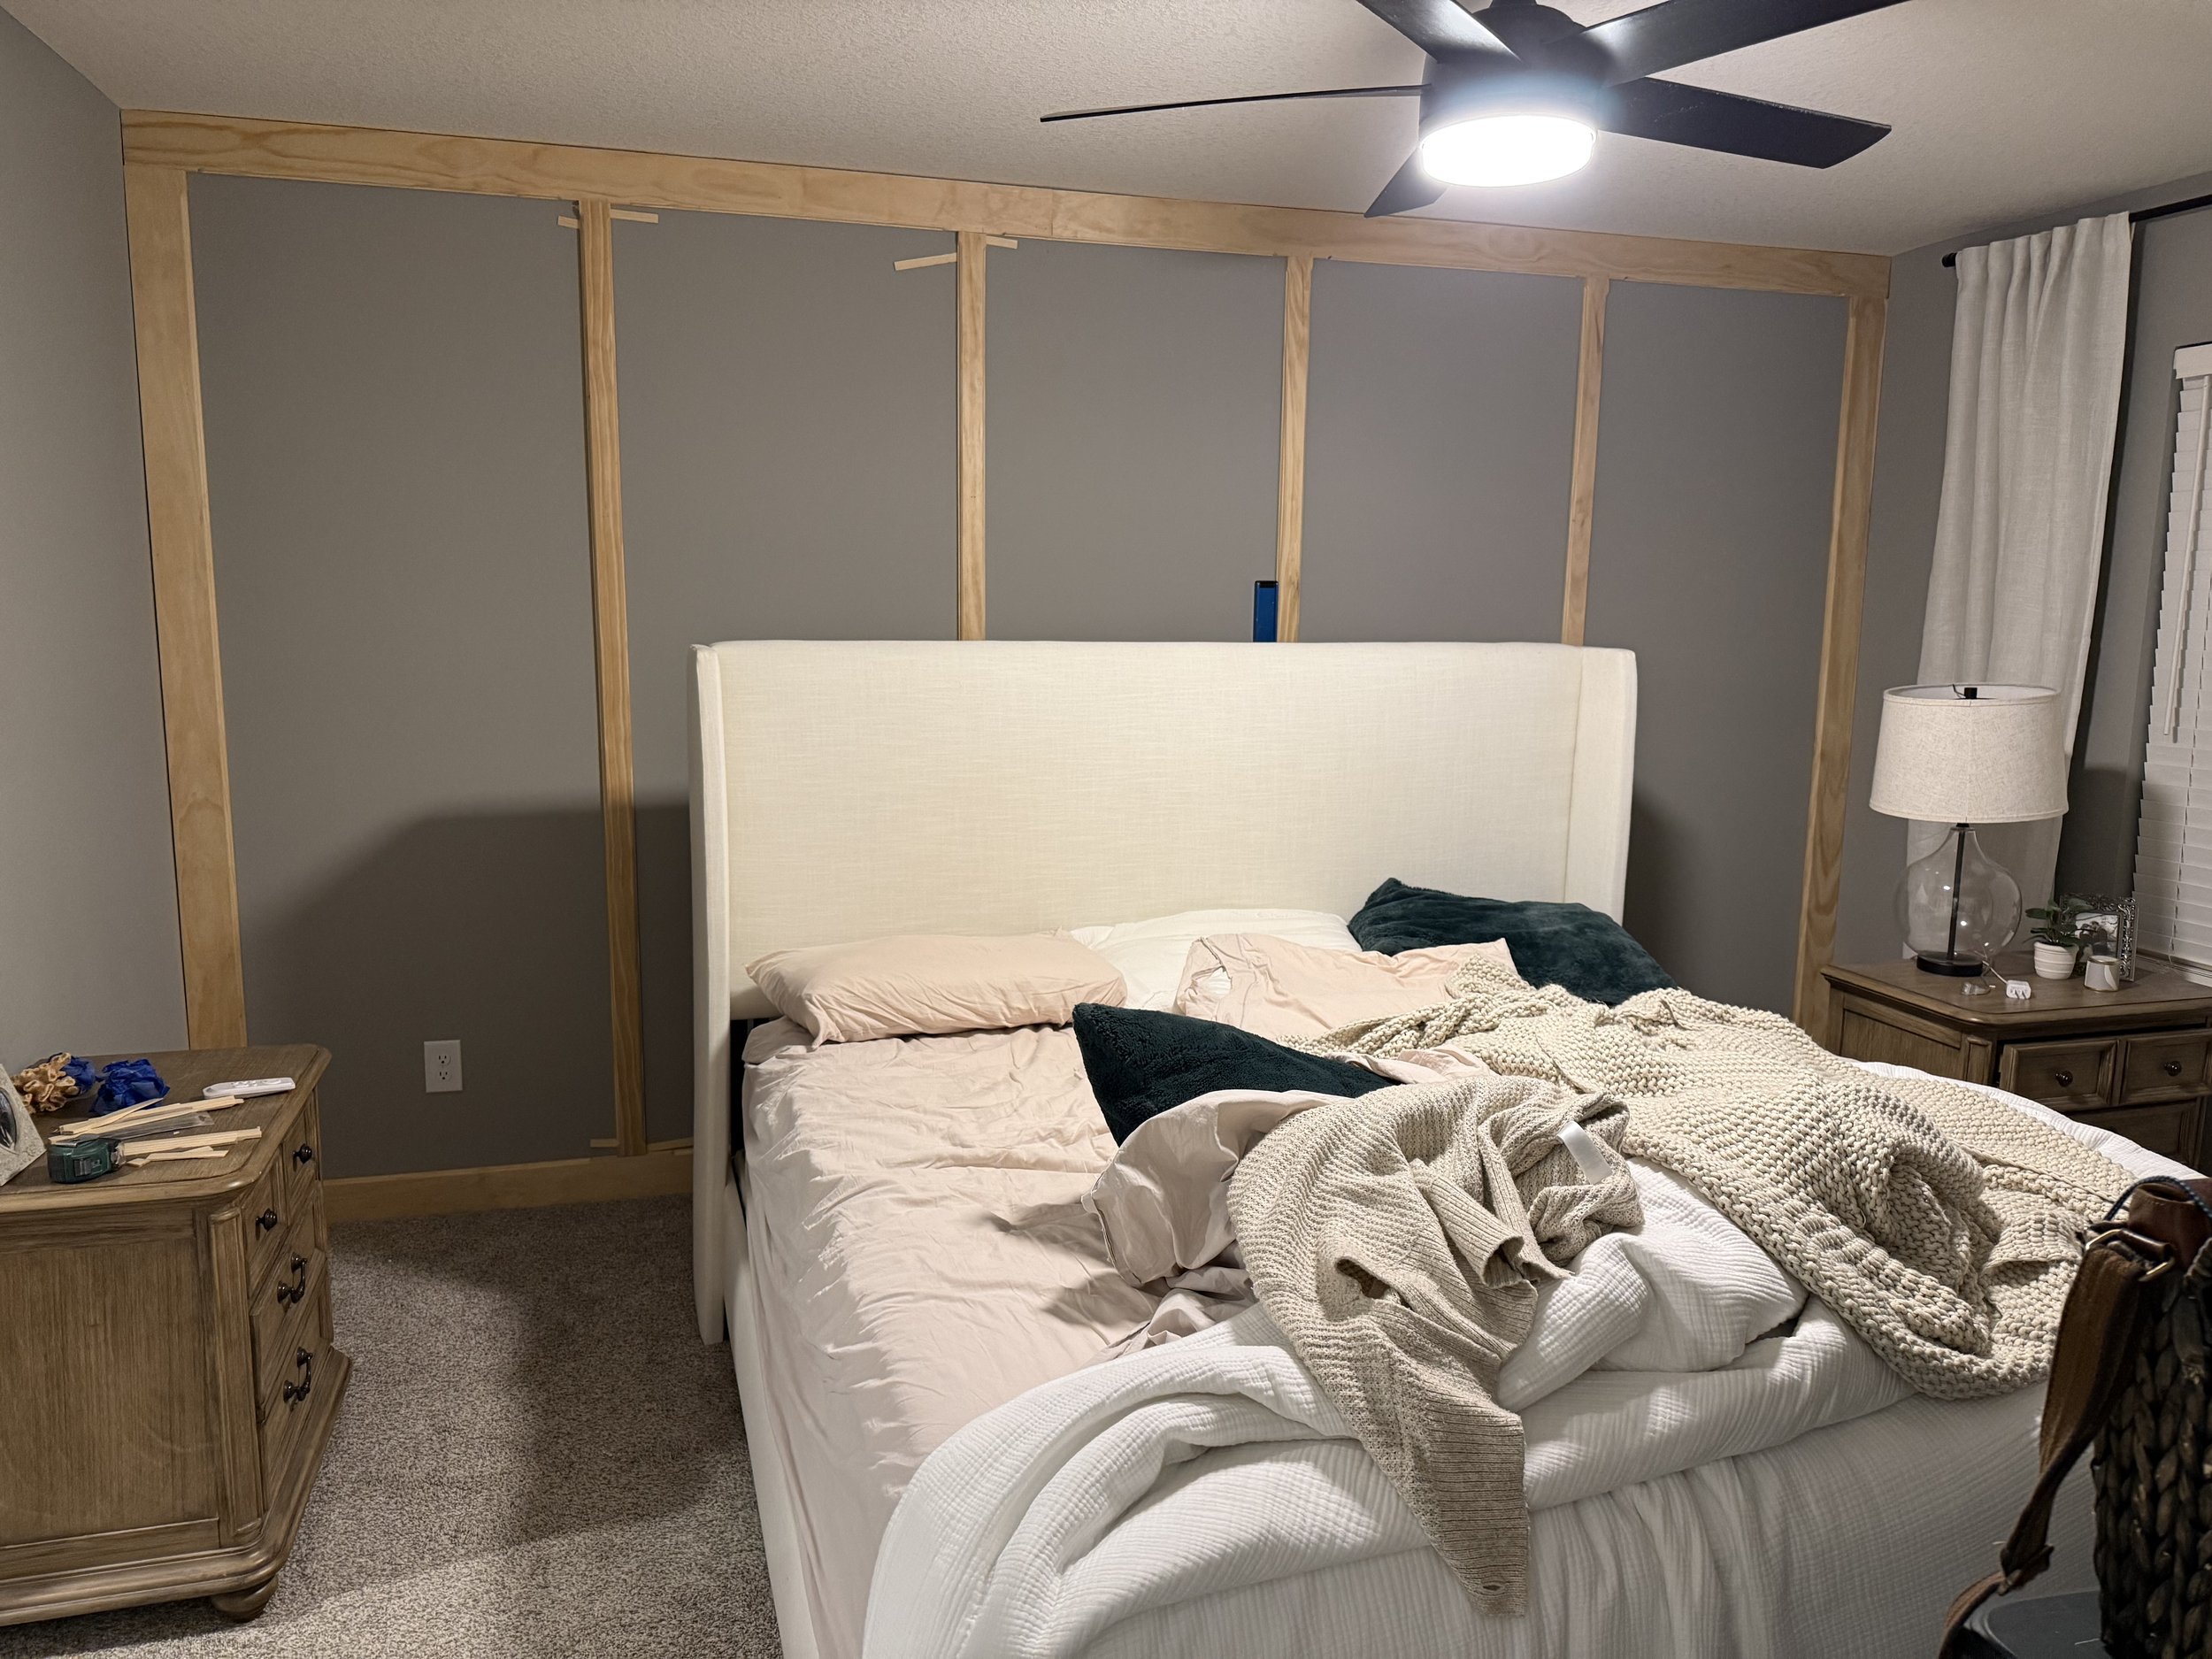
The design of the space began with our walls. Henry and I knew we wanted simple, vertical, floor to ceiling board and batten accent wall behind our bed. We decided to start with a 4 in border all the way around the wall, so we could be sure to tie in to the existing base molding in the rest of the room, which was also 4 in high. We then decided to add 4 more vertical strips equally distanced at a smaller 2.5 in wide. This would tie in with the size of the trim around our doors.
Design tip here: ALWAYS consider the rest of your space when adding something new. What does your current trim size or color look like? Do you have crown molding that you can match to? Making choices based on your existing space helps make your reno look intentional and cohesive.
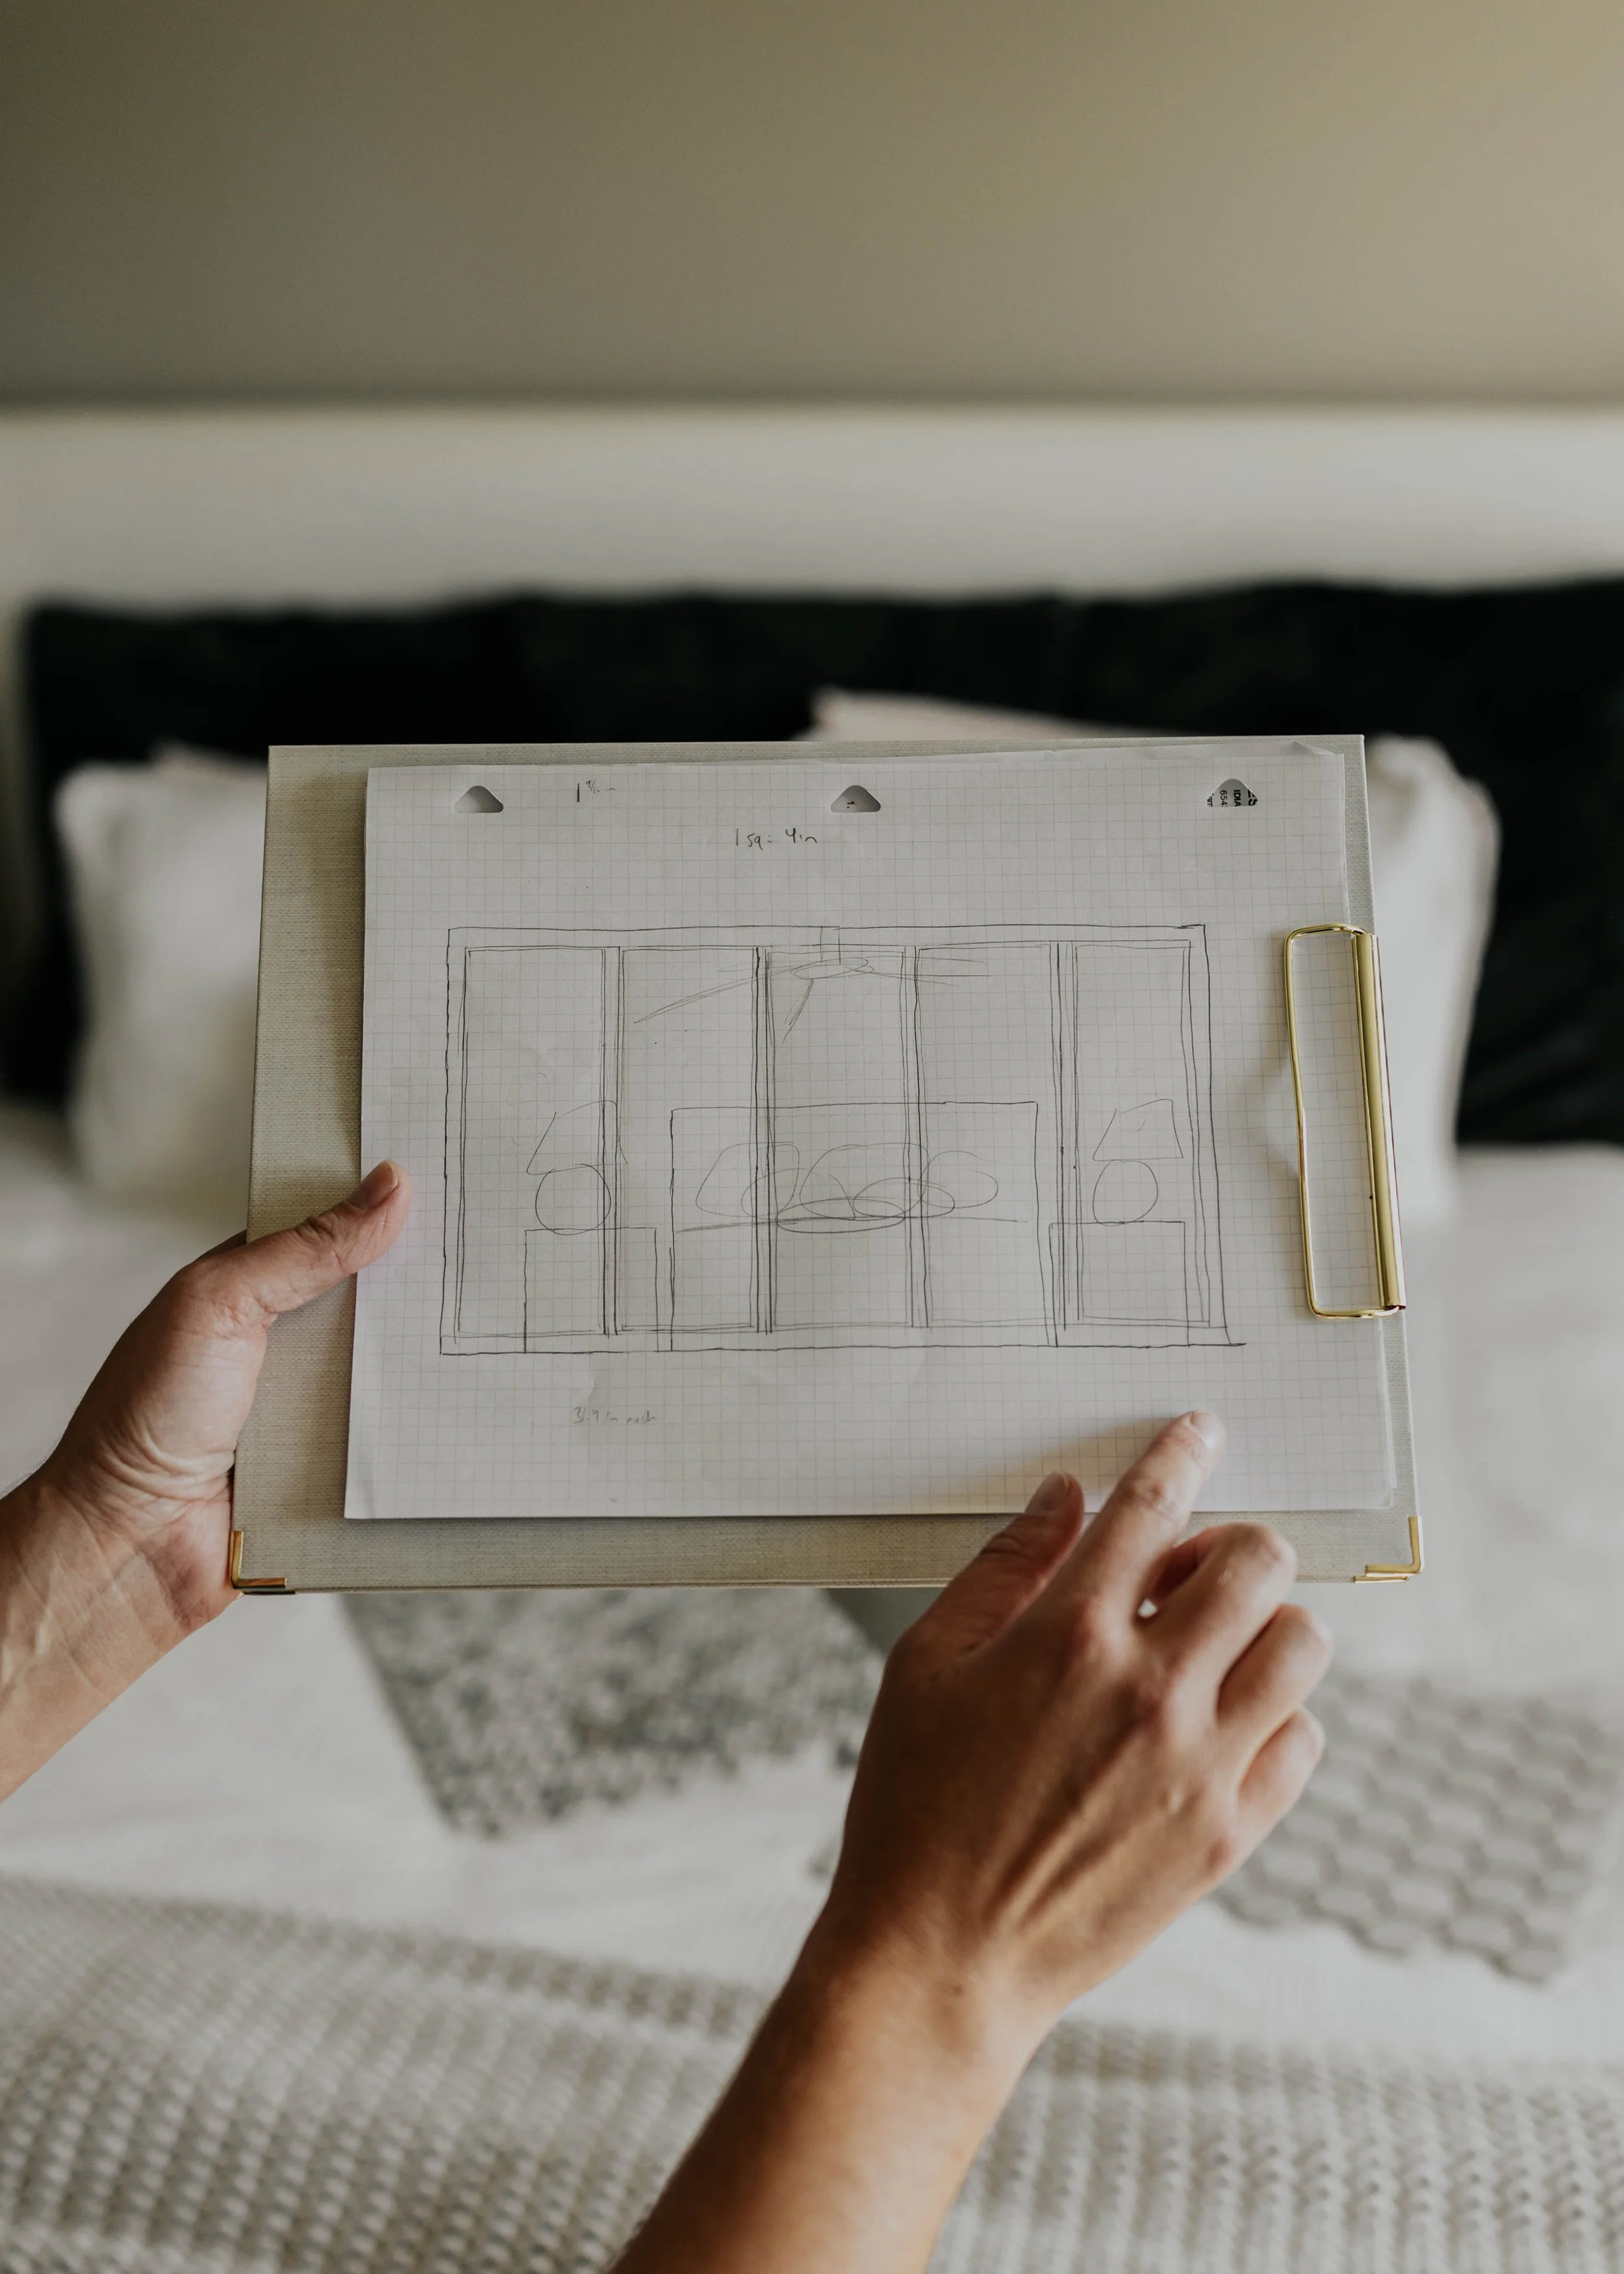
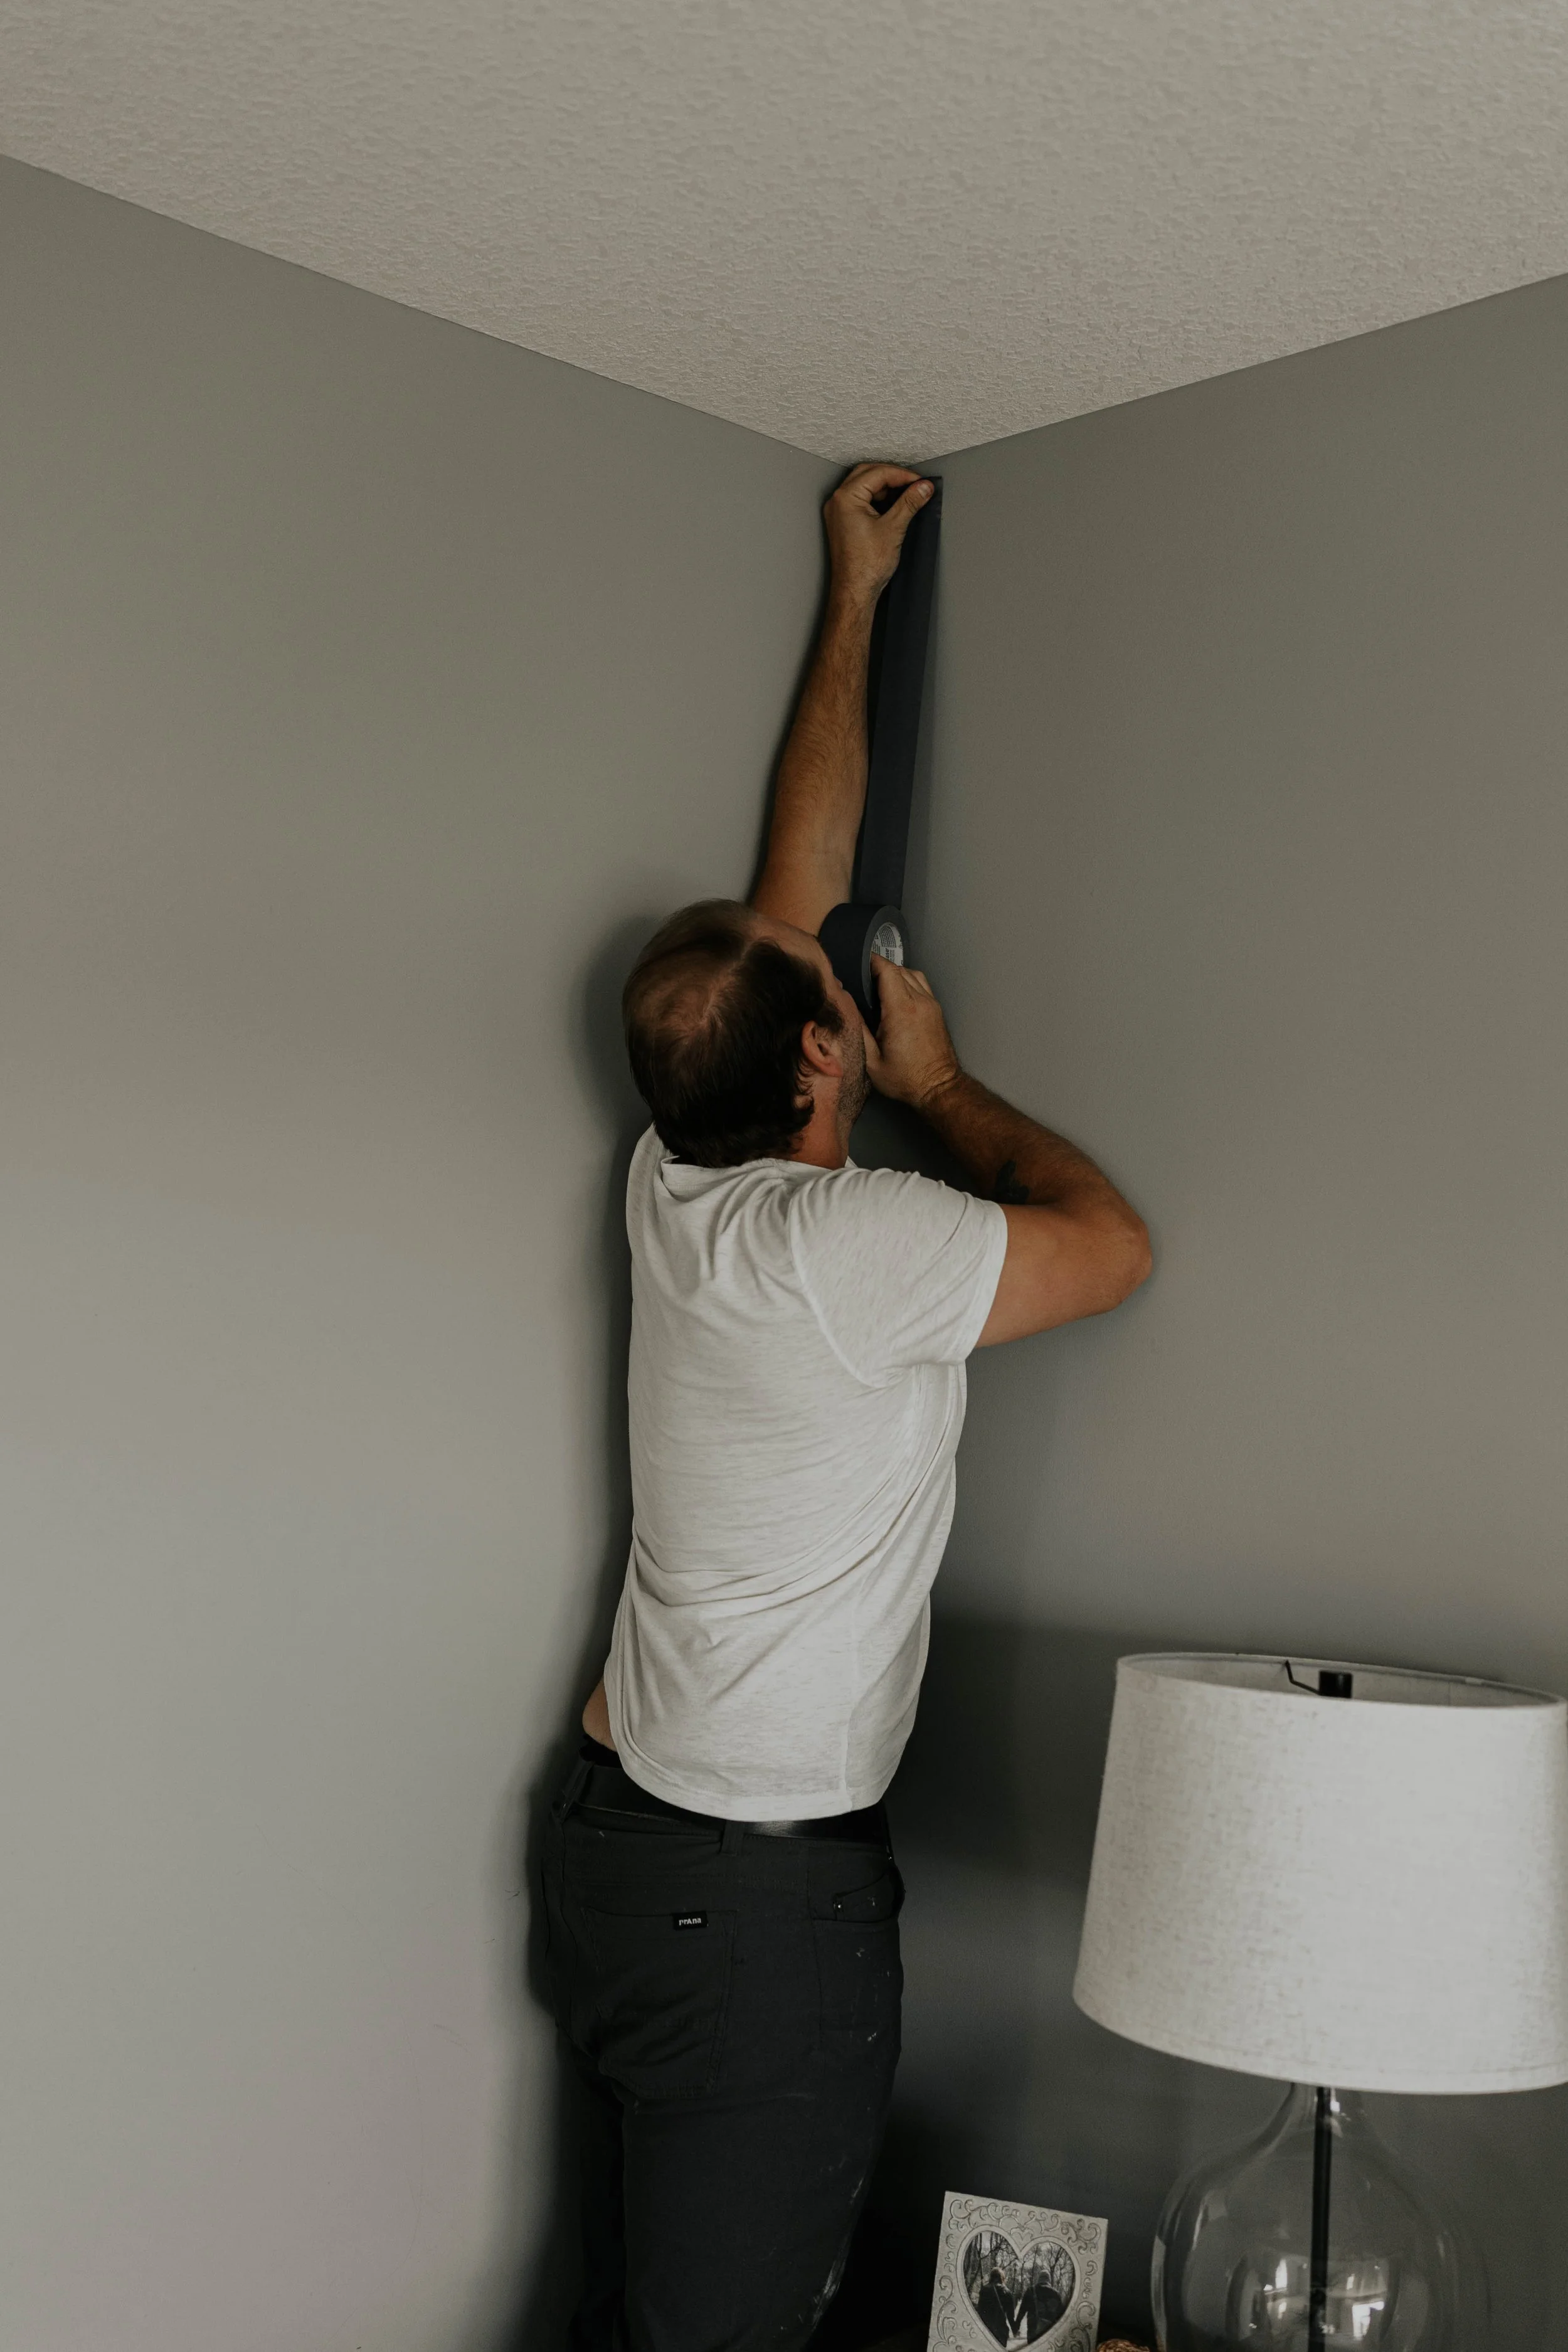
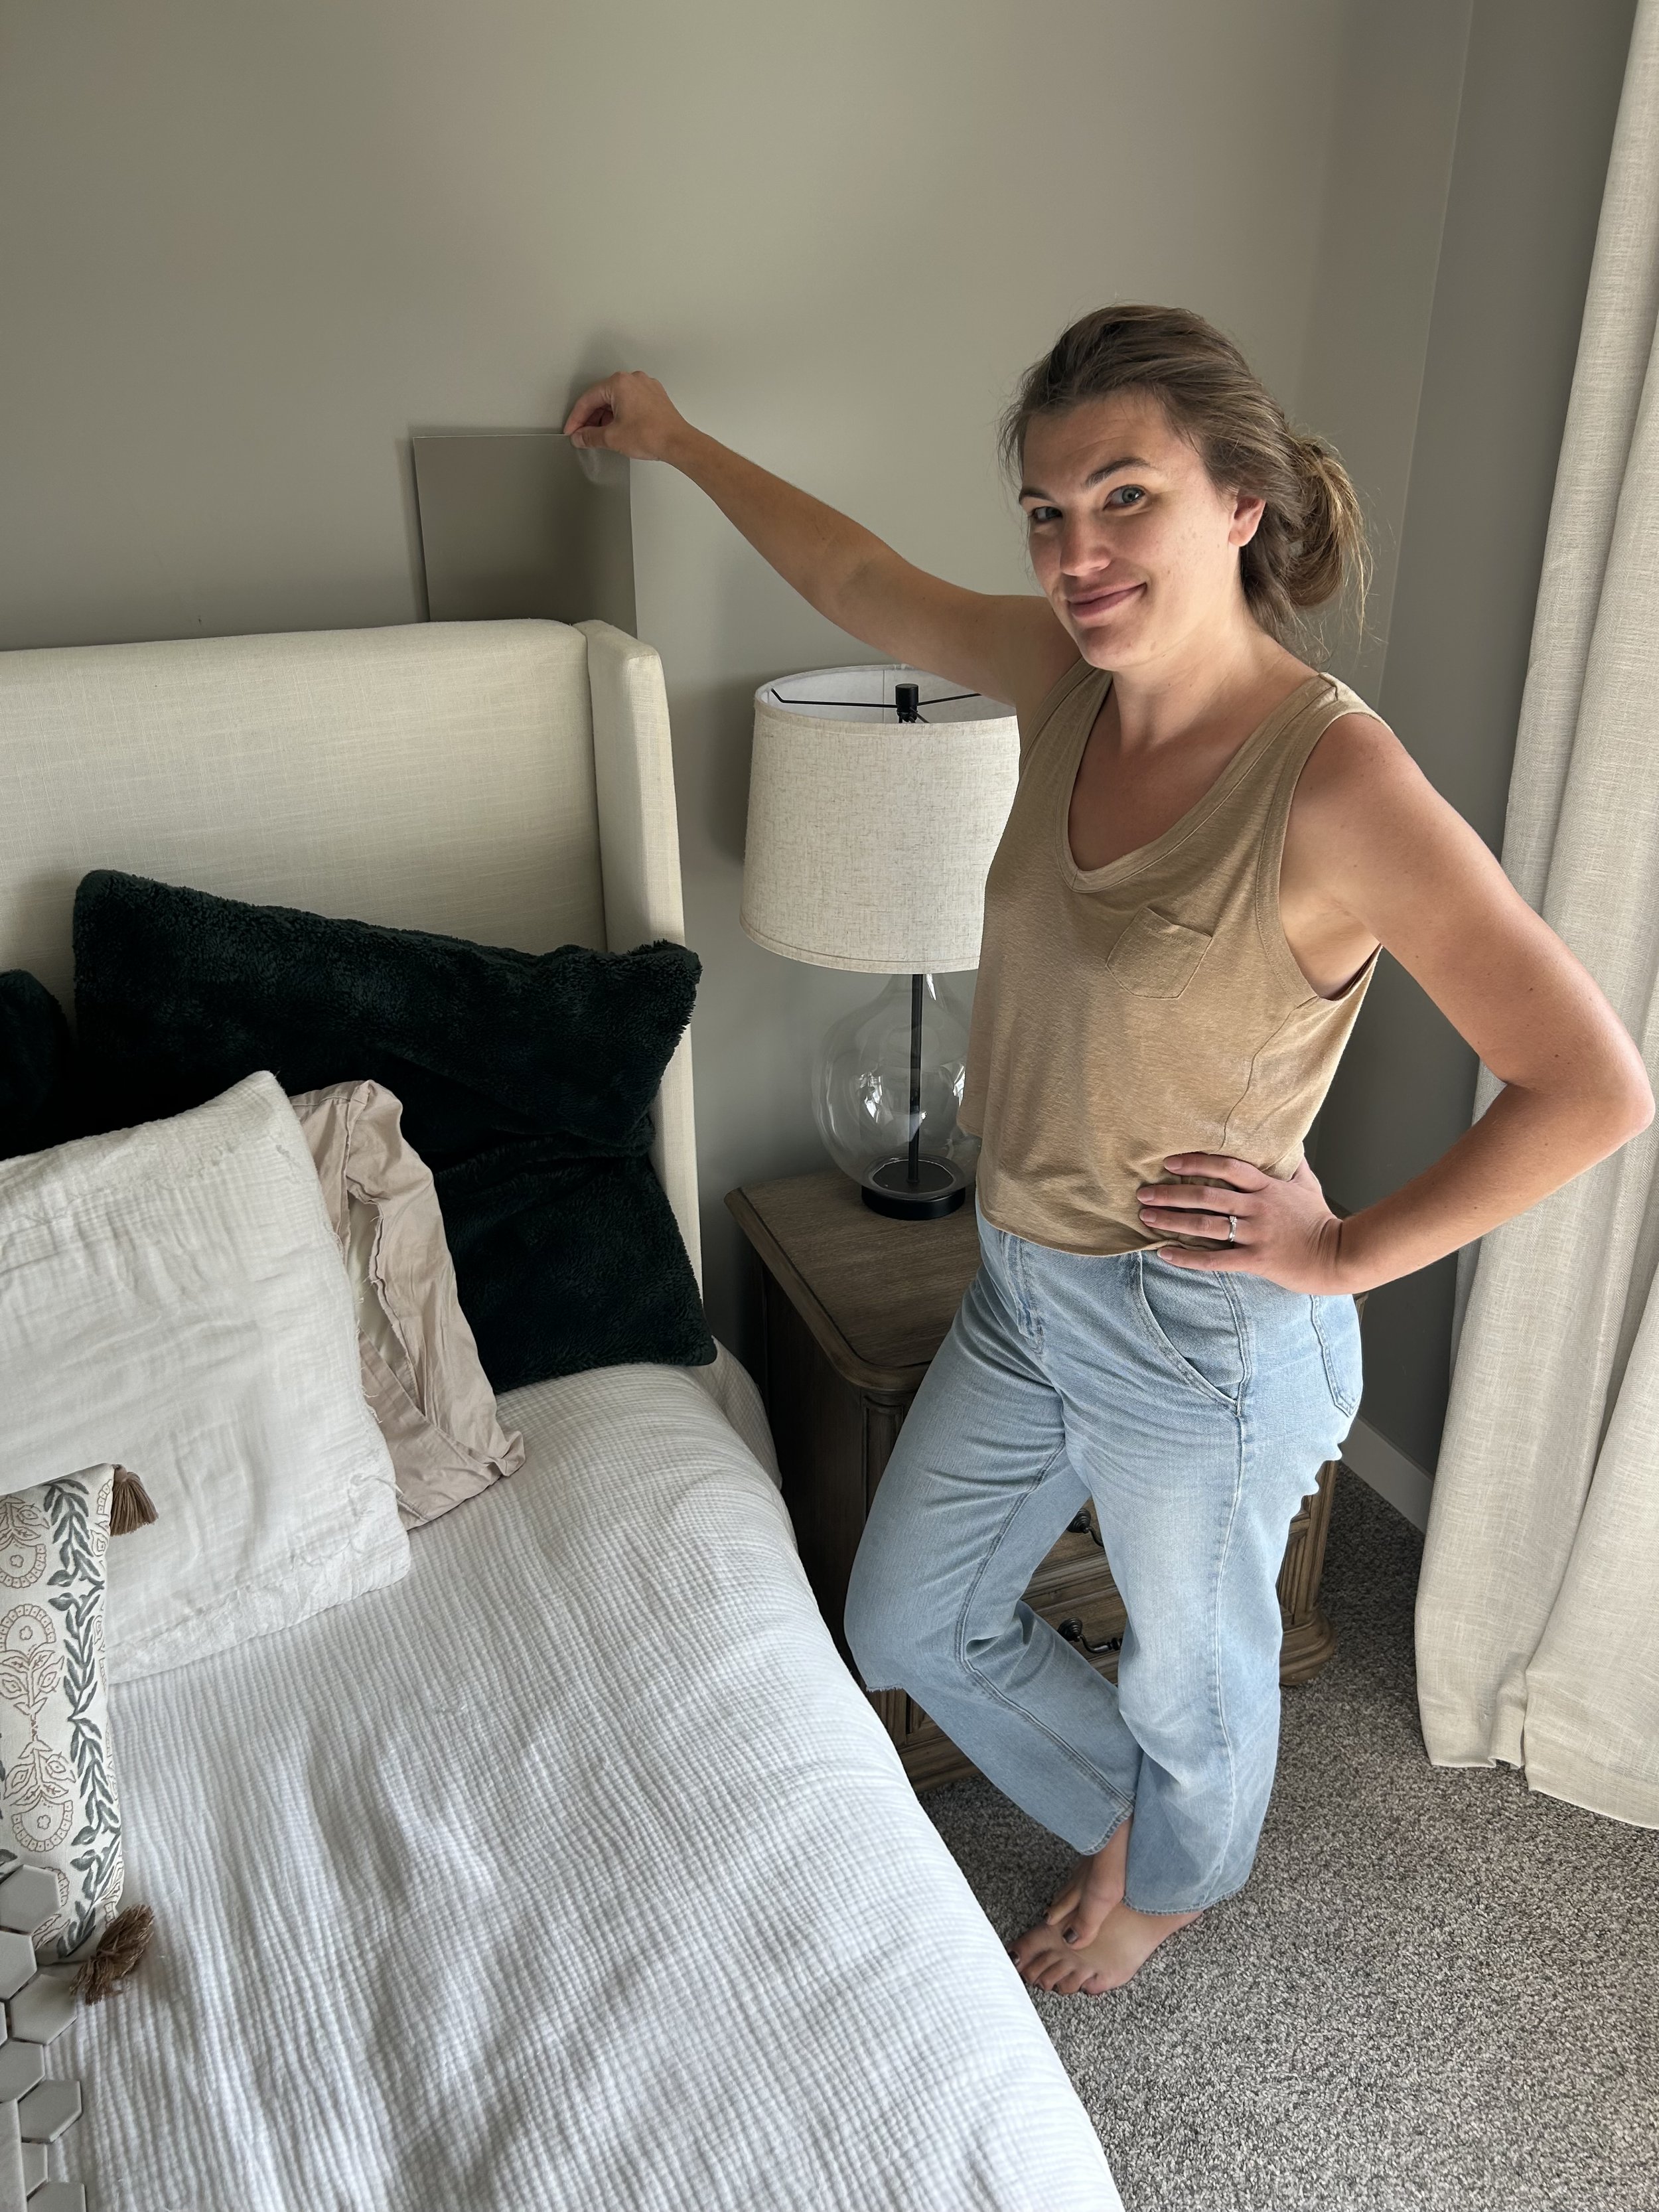
Once we had our wall sketched out, we went to the next exciting step: painter’s tape! While Henry doesn’t often use painter’s tape for actual painting (see our reel on how to cut in like a pro!), it does come in handy to be able to visualize a change in the space before making any real marks!
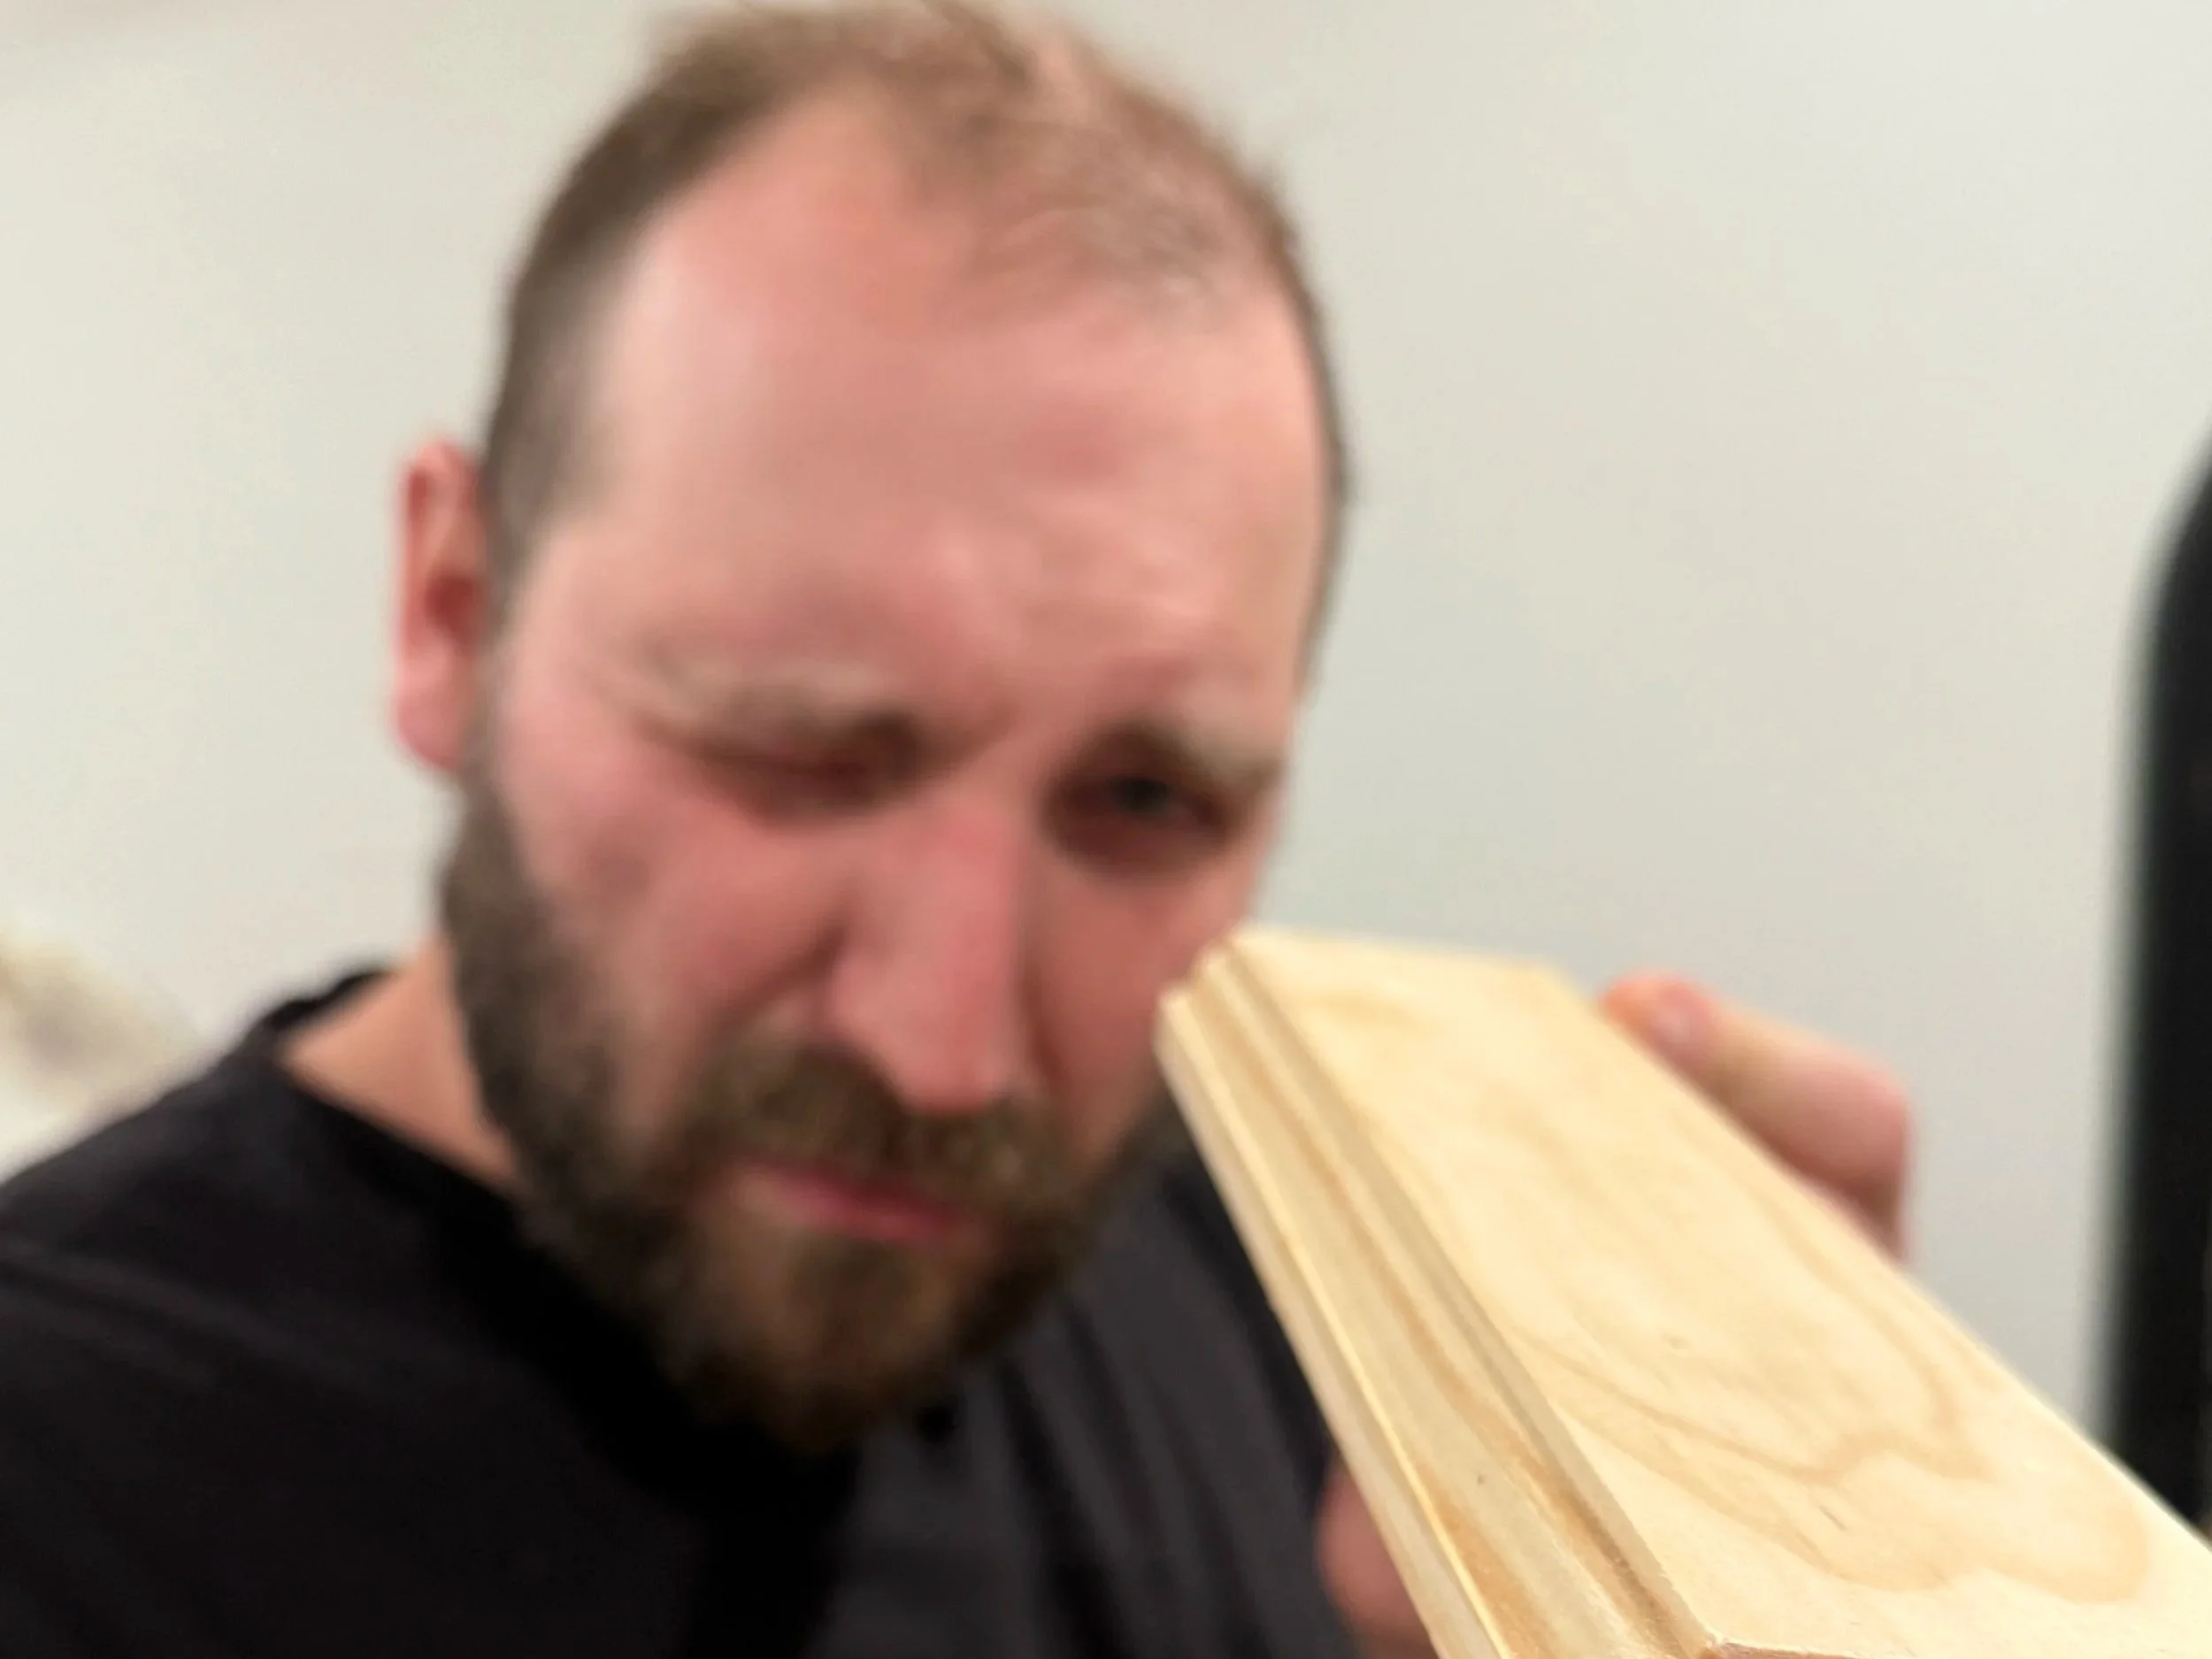
Then it was time to get to work! For our board and batten, we used Select Pine from Menards. Menards has three tiers of pine boards: standard, quality and select. The highest quality is the select. It was the right choice for this project because higher quality wood tends to have less imperfections and be straighter/flatter/less twisted. This wood comes pre-sanded and as a soft wood it’s easy to work with.
To create the look we wanted, Henry used a router bit to create a decorative edge along all of the boards. There are, of course, kits and instructions out there for DIYing your own board and batten wall, and while there are certainly ways to do this, if you are looking for something that looks a bit more intricate, detailed and higher end, hiring a professional carpenter like IDIA is the way to go!
Chapter 4: The Paint & the Colors
Once we had our board and batten plan figured out, we knew the next step was choosing a paint color for our space, and we leaned heavily on advice from our decorator! A lover of color and pattern, Kelsey truly has an eye for what colors will “go” in a space, can quickly spot undertones and gets the same giddy high as I do when she finds the perfect color match!
Together Kelsey and I talked about the following:
What colors I loved (green is my favorite!)
Paint I’ve used in the rest of my home (I’m really trying to have a consistent whole home color palette!)
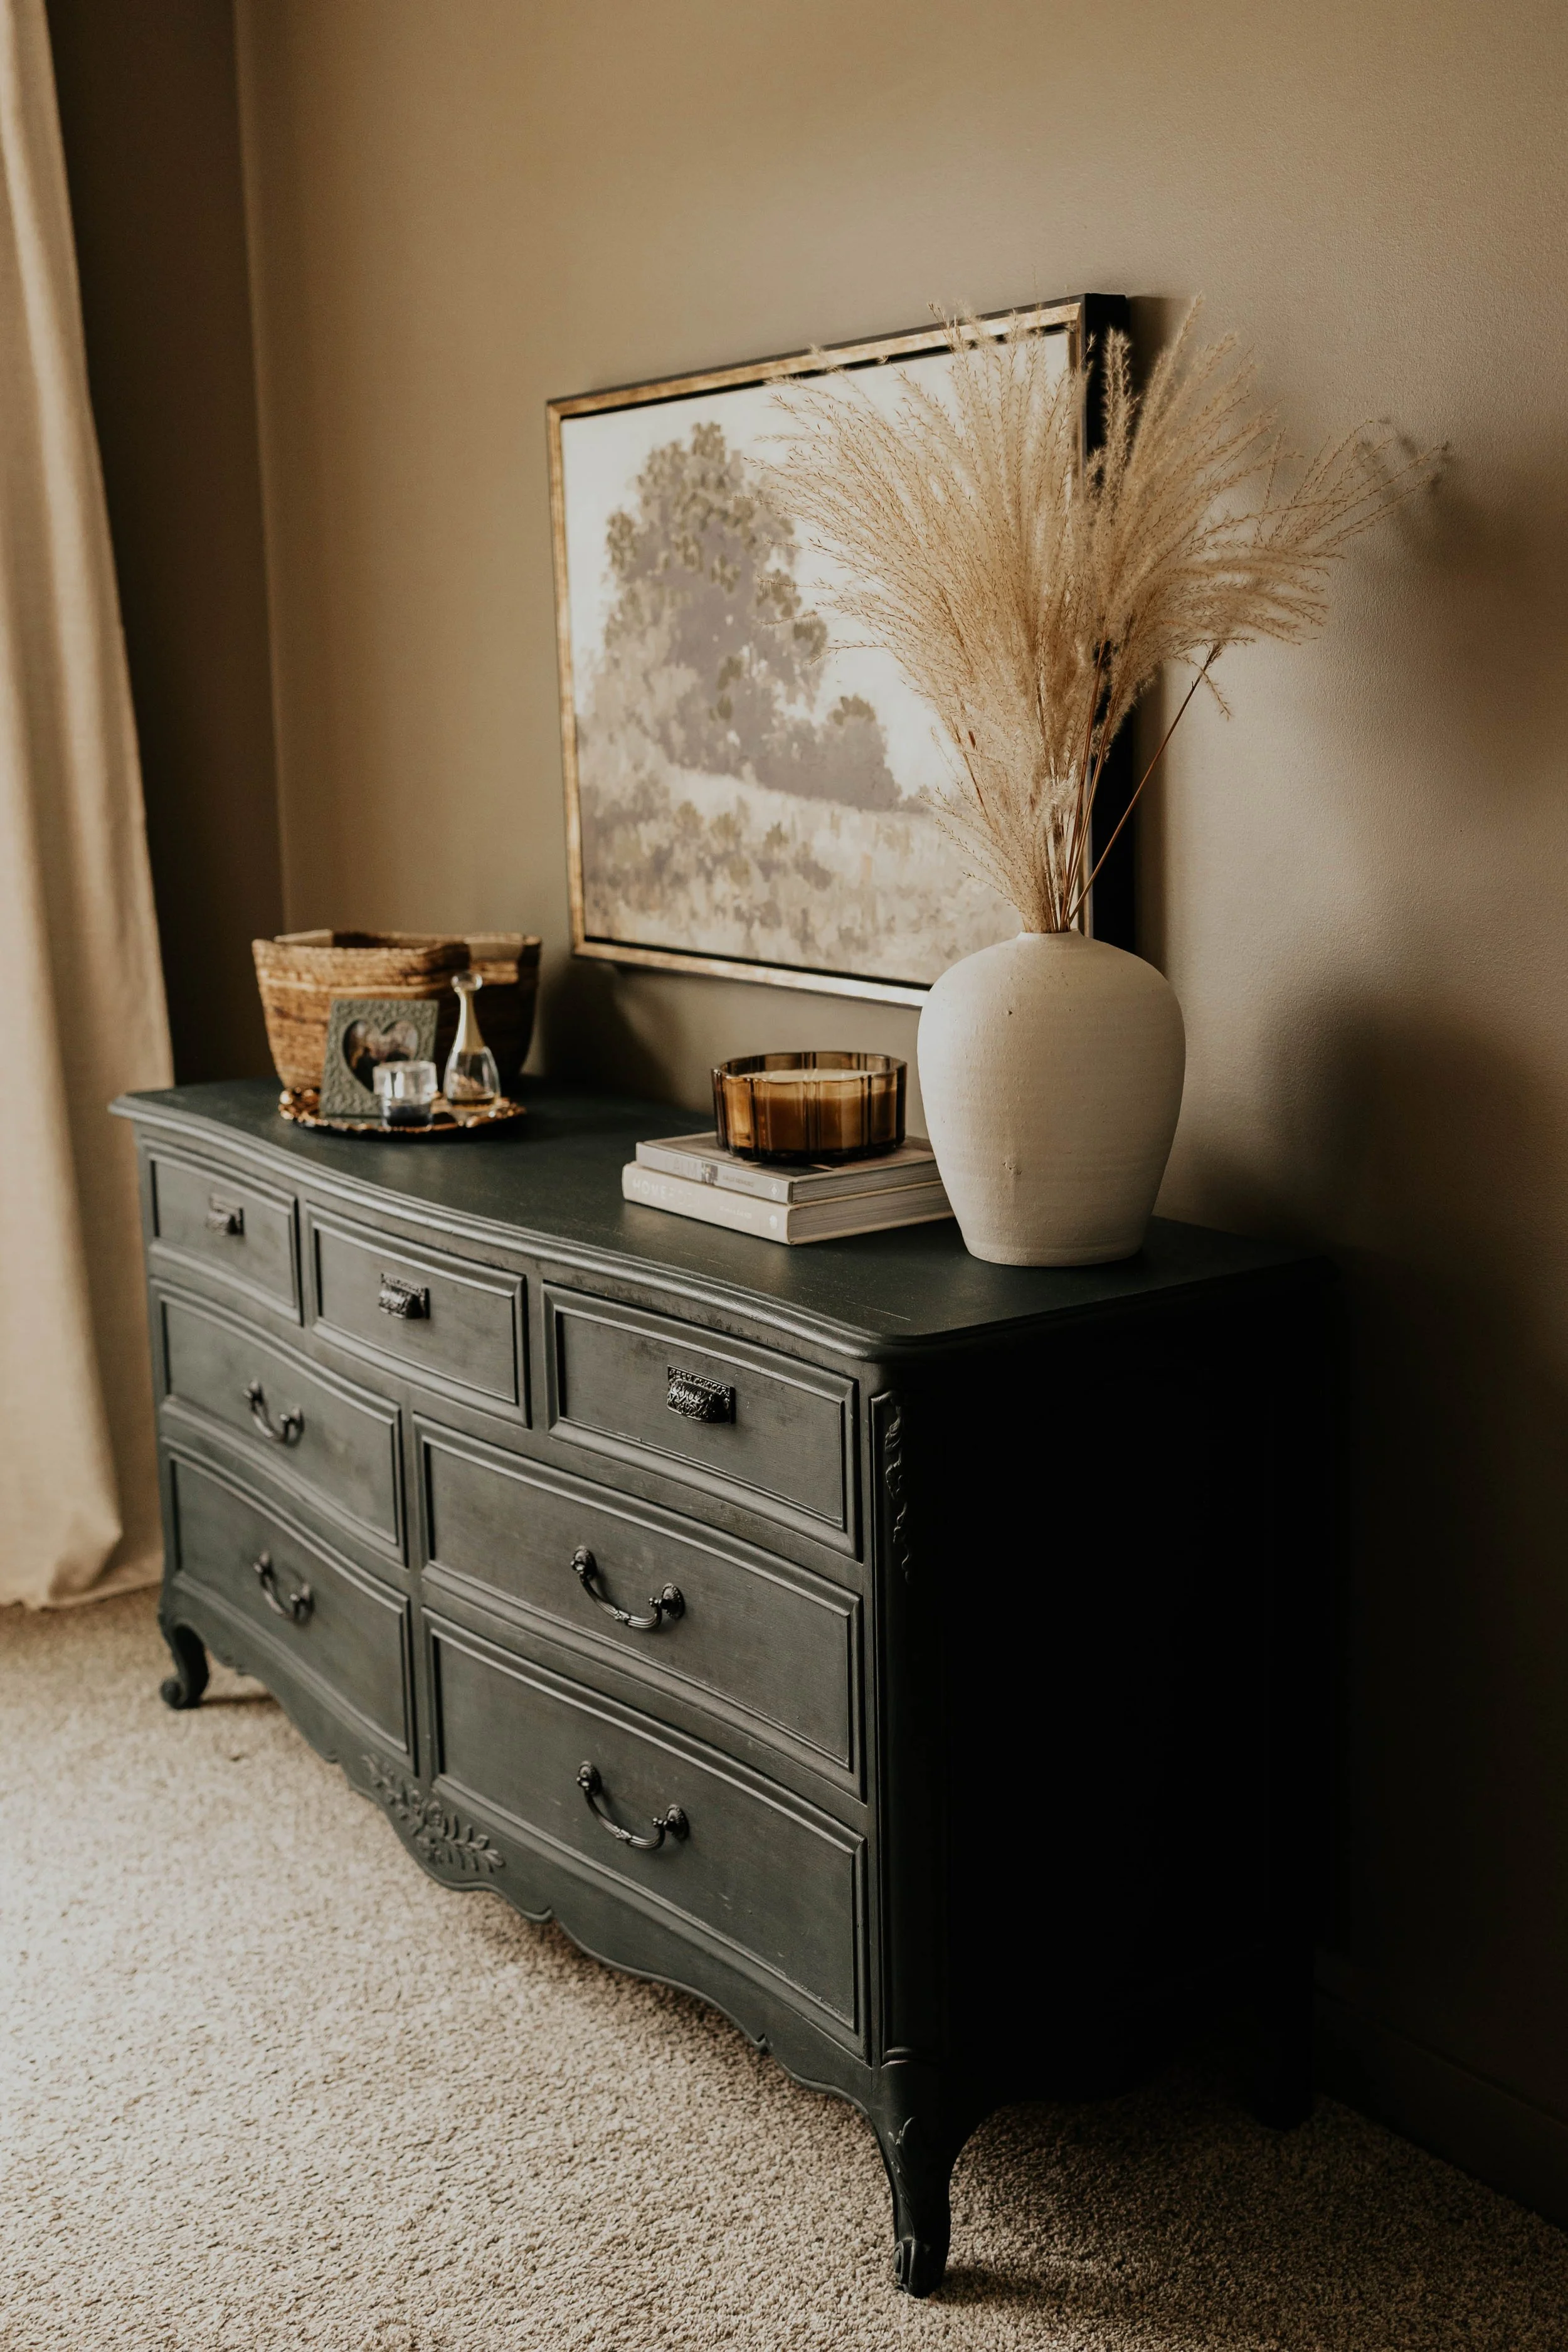
Which pieces I planned to keep when renovating the space, like my gorgeous deep green dresser
Color brainstorming session in action!
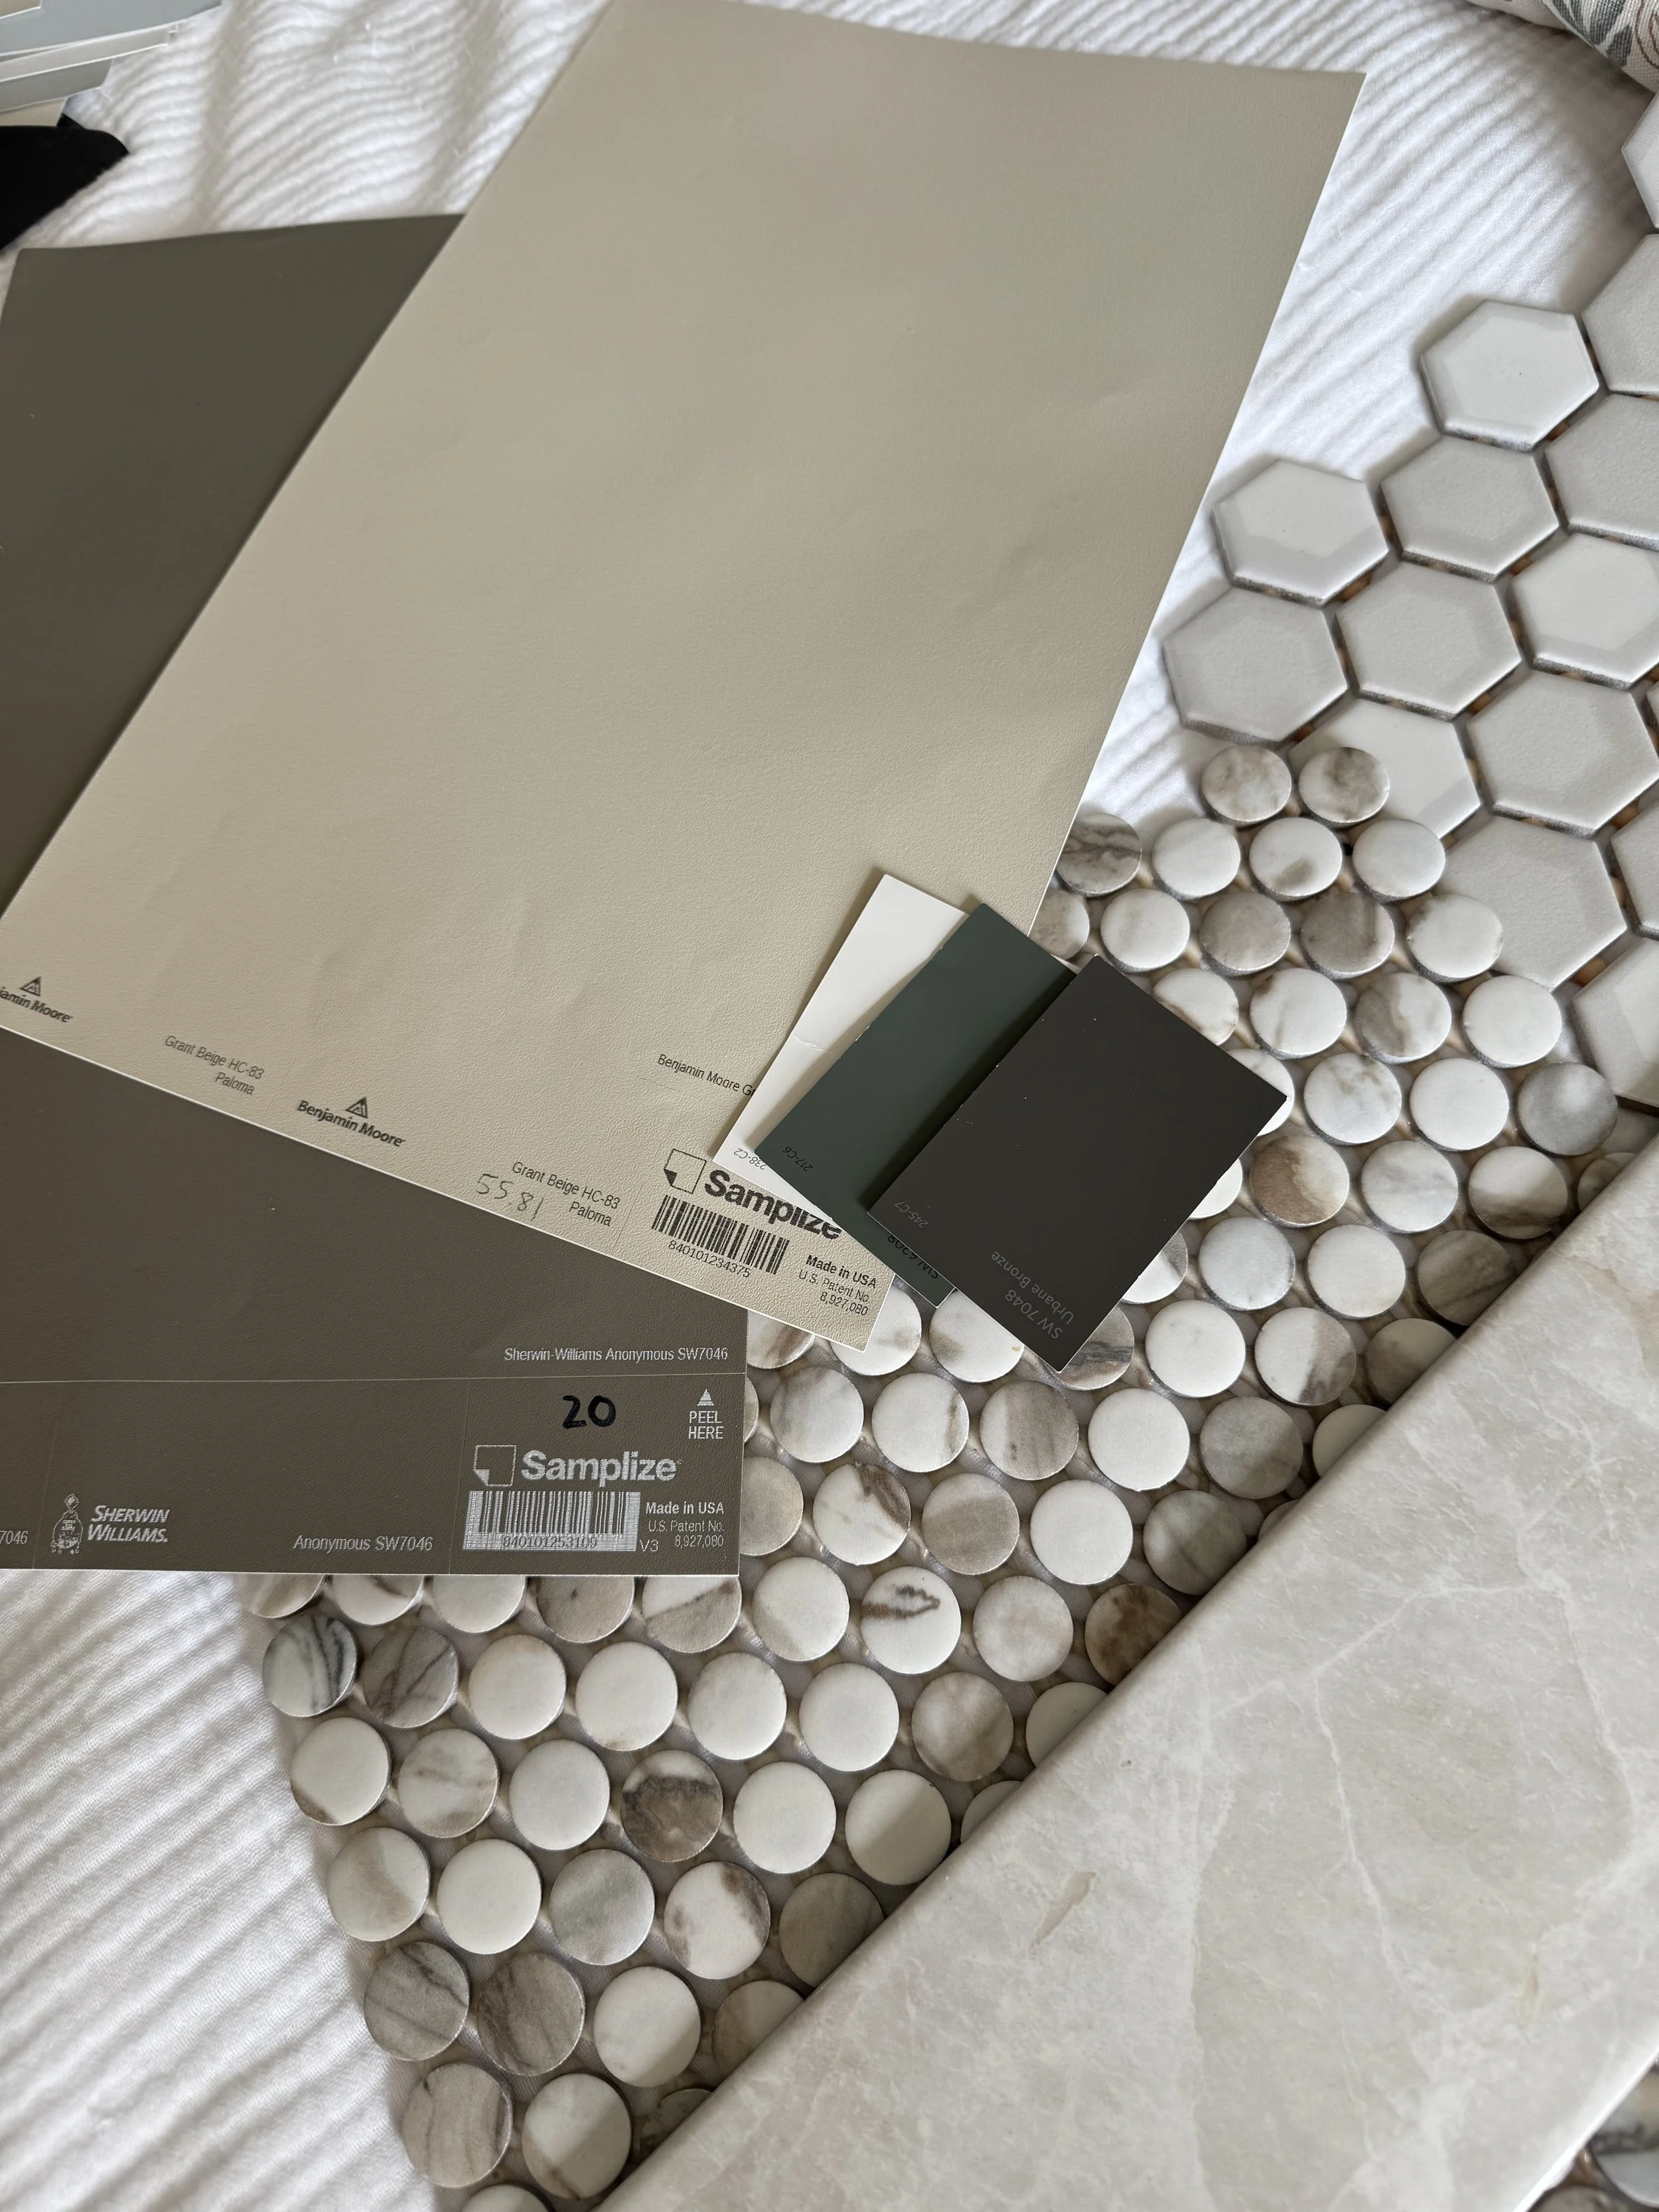
For the primary bedroom I wanted to find a neutral color that was bold and warm. My goal for the space was to have it feel like a cozy retreat, but also be a bit moody and sexy. It is a bedroom after all, and may or may not have had a role in the creation of our children 😉Using Kelsey’s paint samples from Samplize, (Which are incredible by the way! They are made with two coats of real paint, so unlike smaller paint chips from the store they reflect light more accurately. They are also gigantic and give a much better feel for what the color will actually look like in the space) we finally found our color. Drumroll please…. Sherwin Williams Anonymous!
When painting a space, there are other factors you need to consider other than just the color.
Sheen
For spaces like a primary bedroom I’d always suggest eggshell. It’s fairly easy to clean and wipe up without too much of a shine.
Trim & Doors
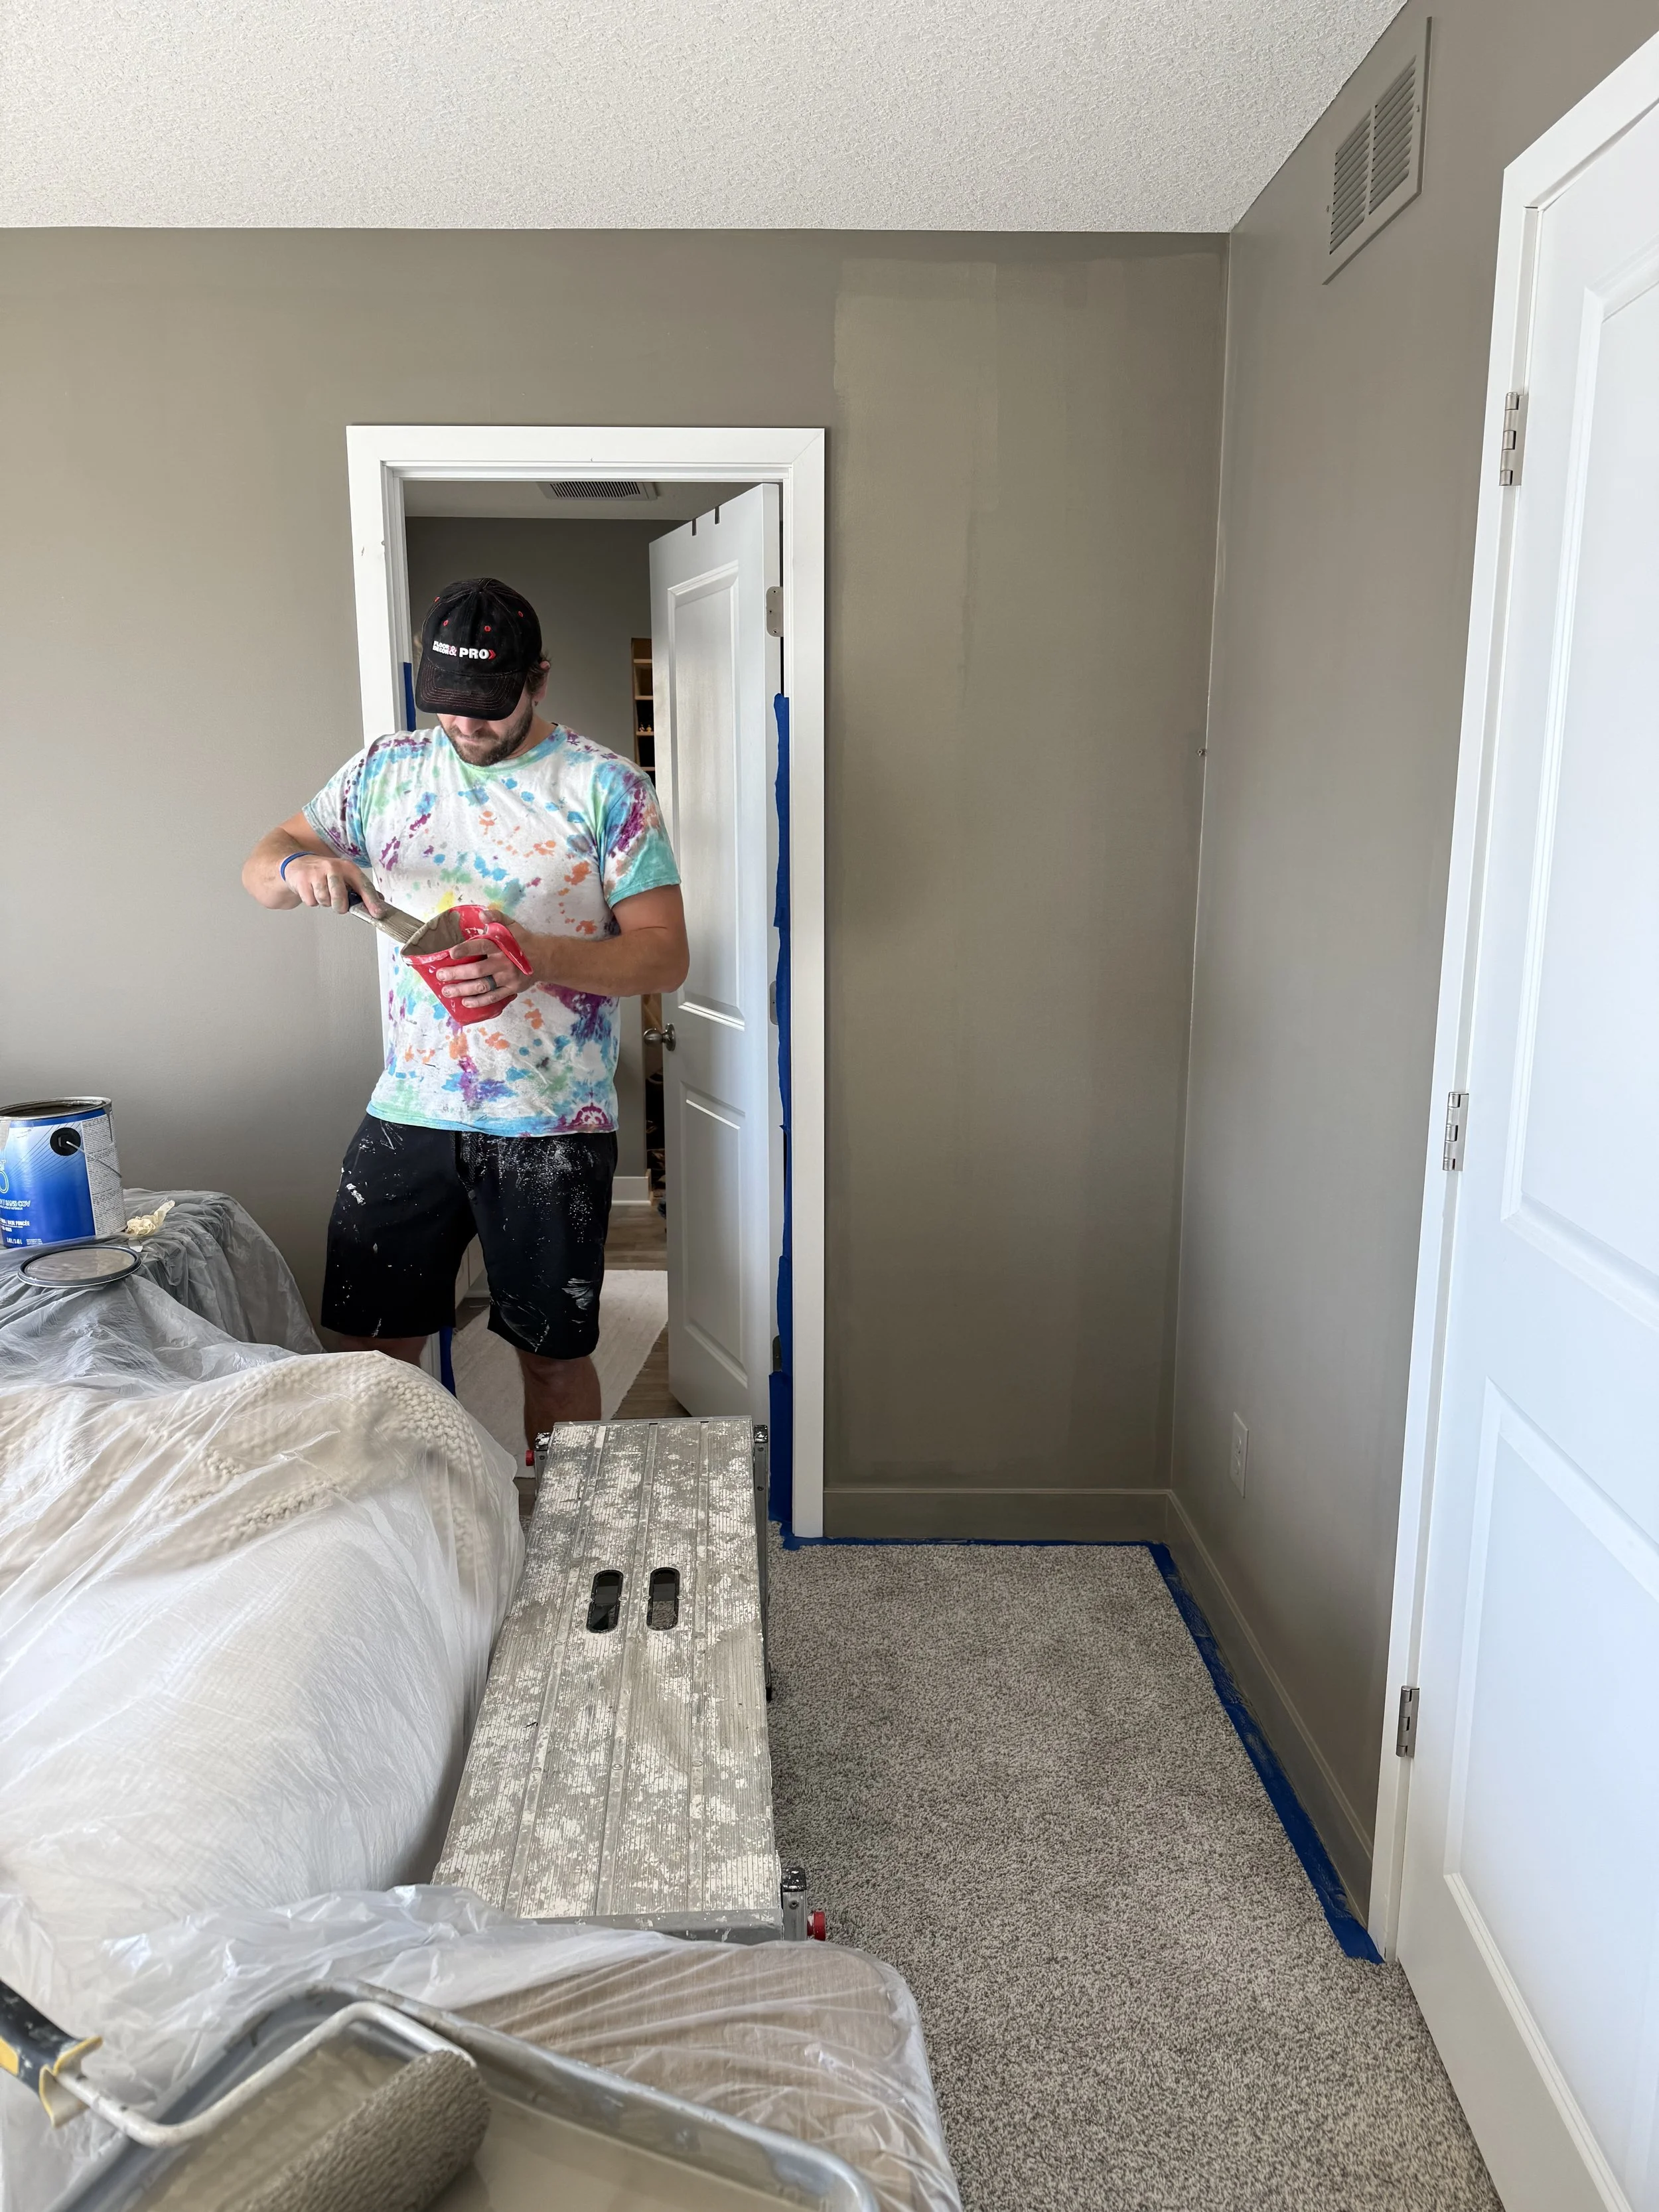
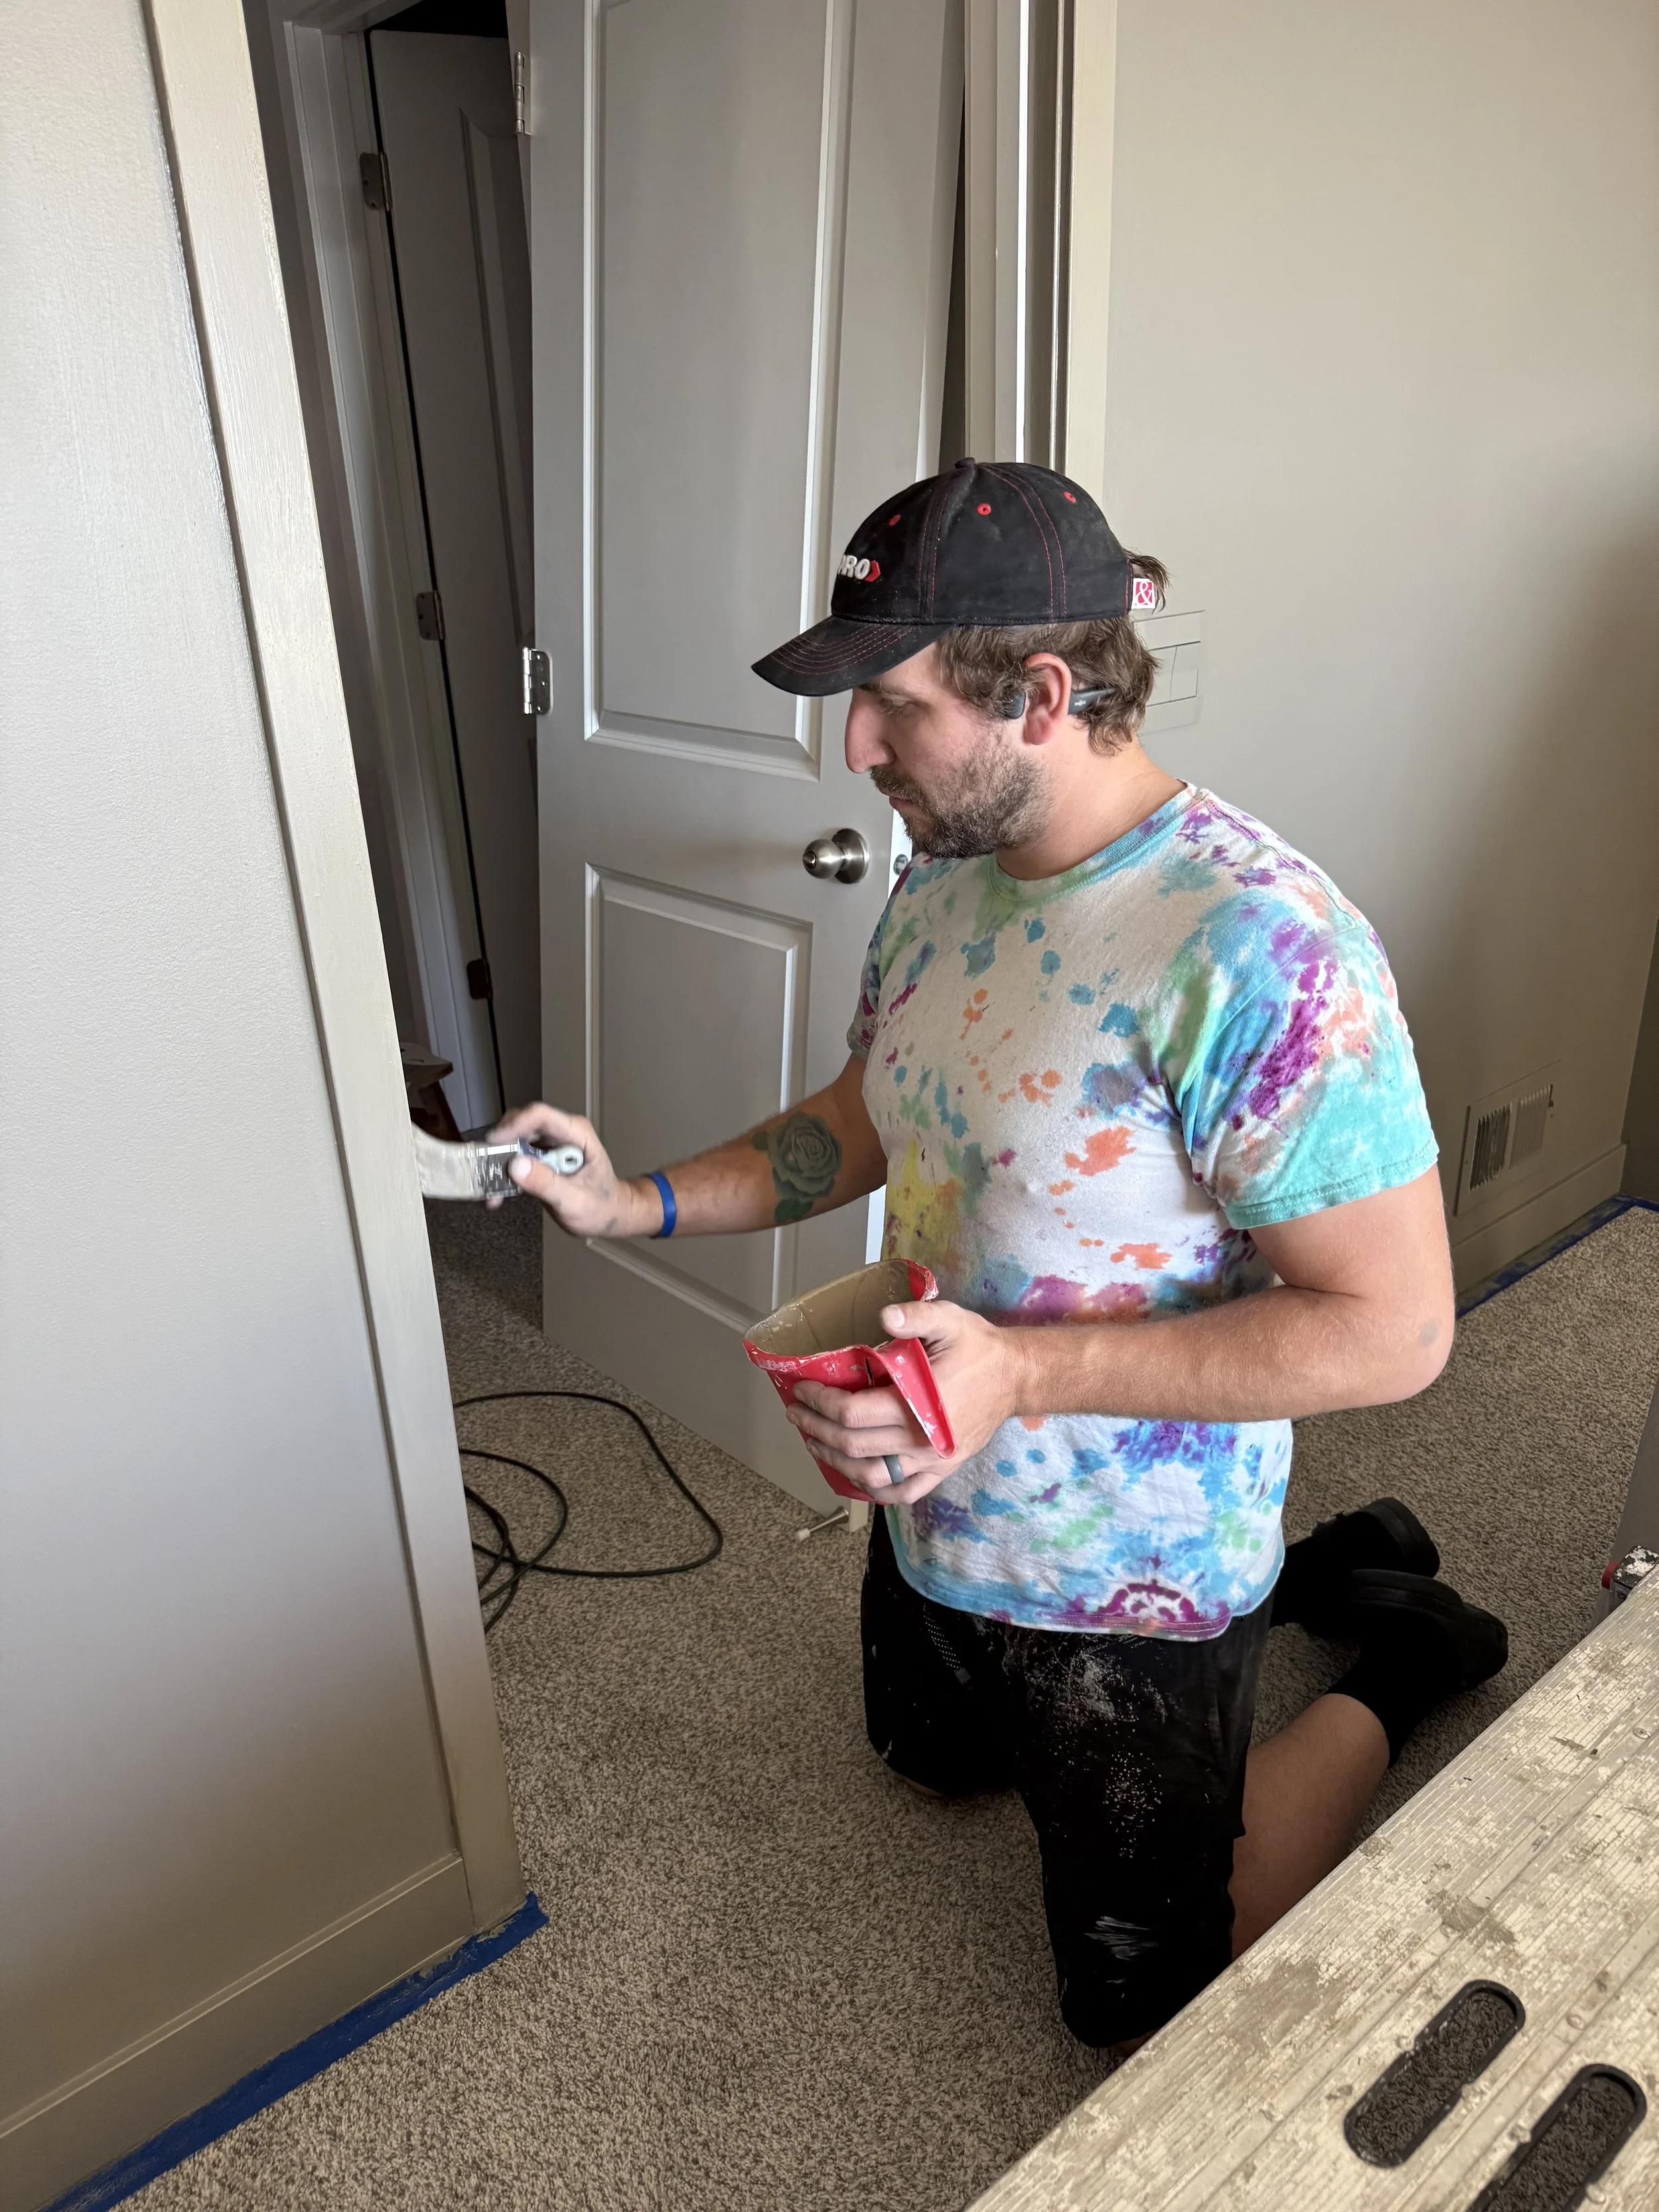
Since our accent wall was to be floor to ceiling in one color, Kelsey suggested we paint all of our trim in the rest of the room as well. We decided to leave our doors and window trim white, as this would tie in to the color of the bed and bedding. It would also help to bring a bit of brightness and balance to the space in juxtaposition to the dark, moody color of the walls.
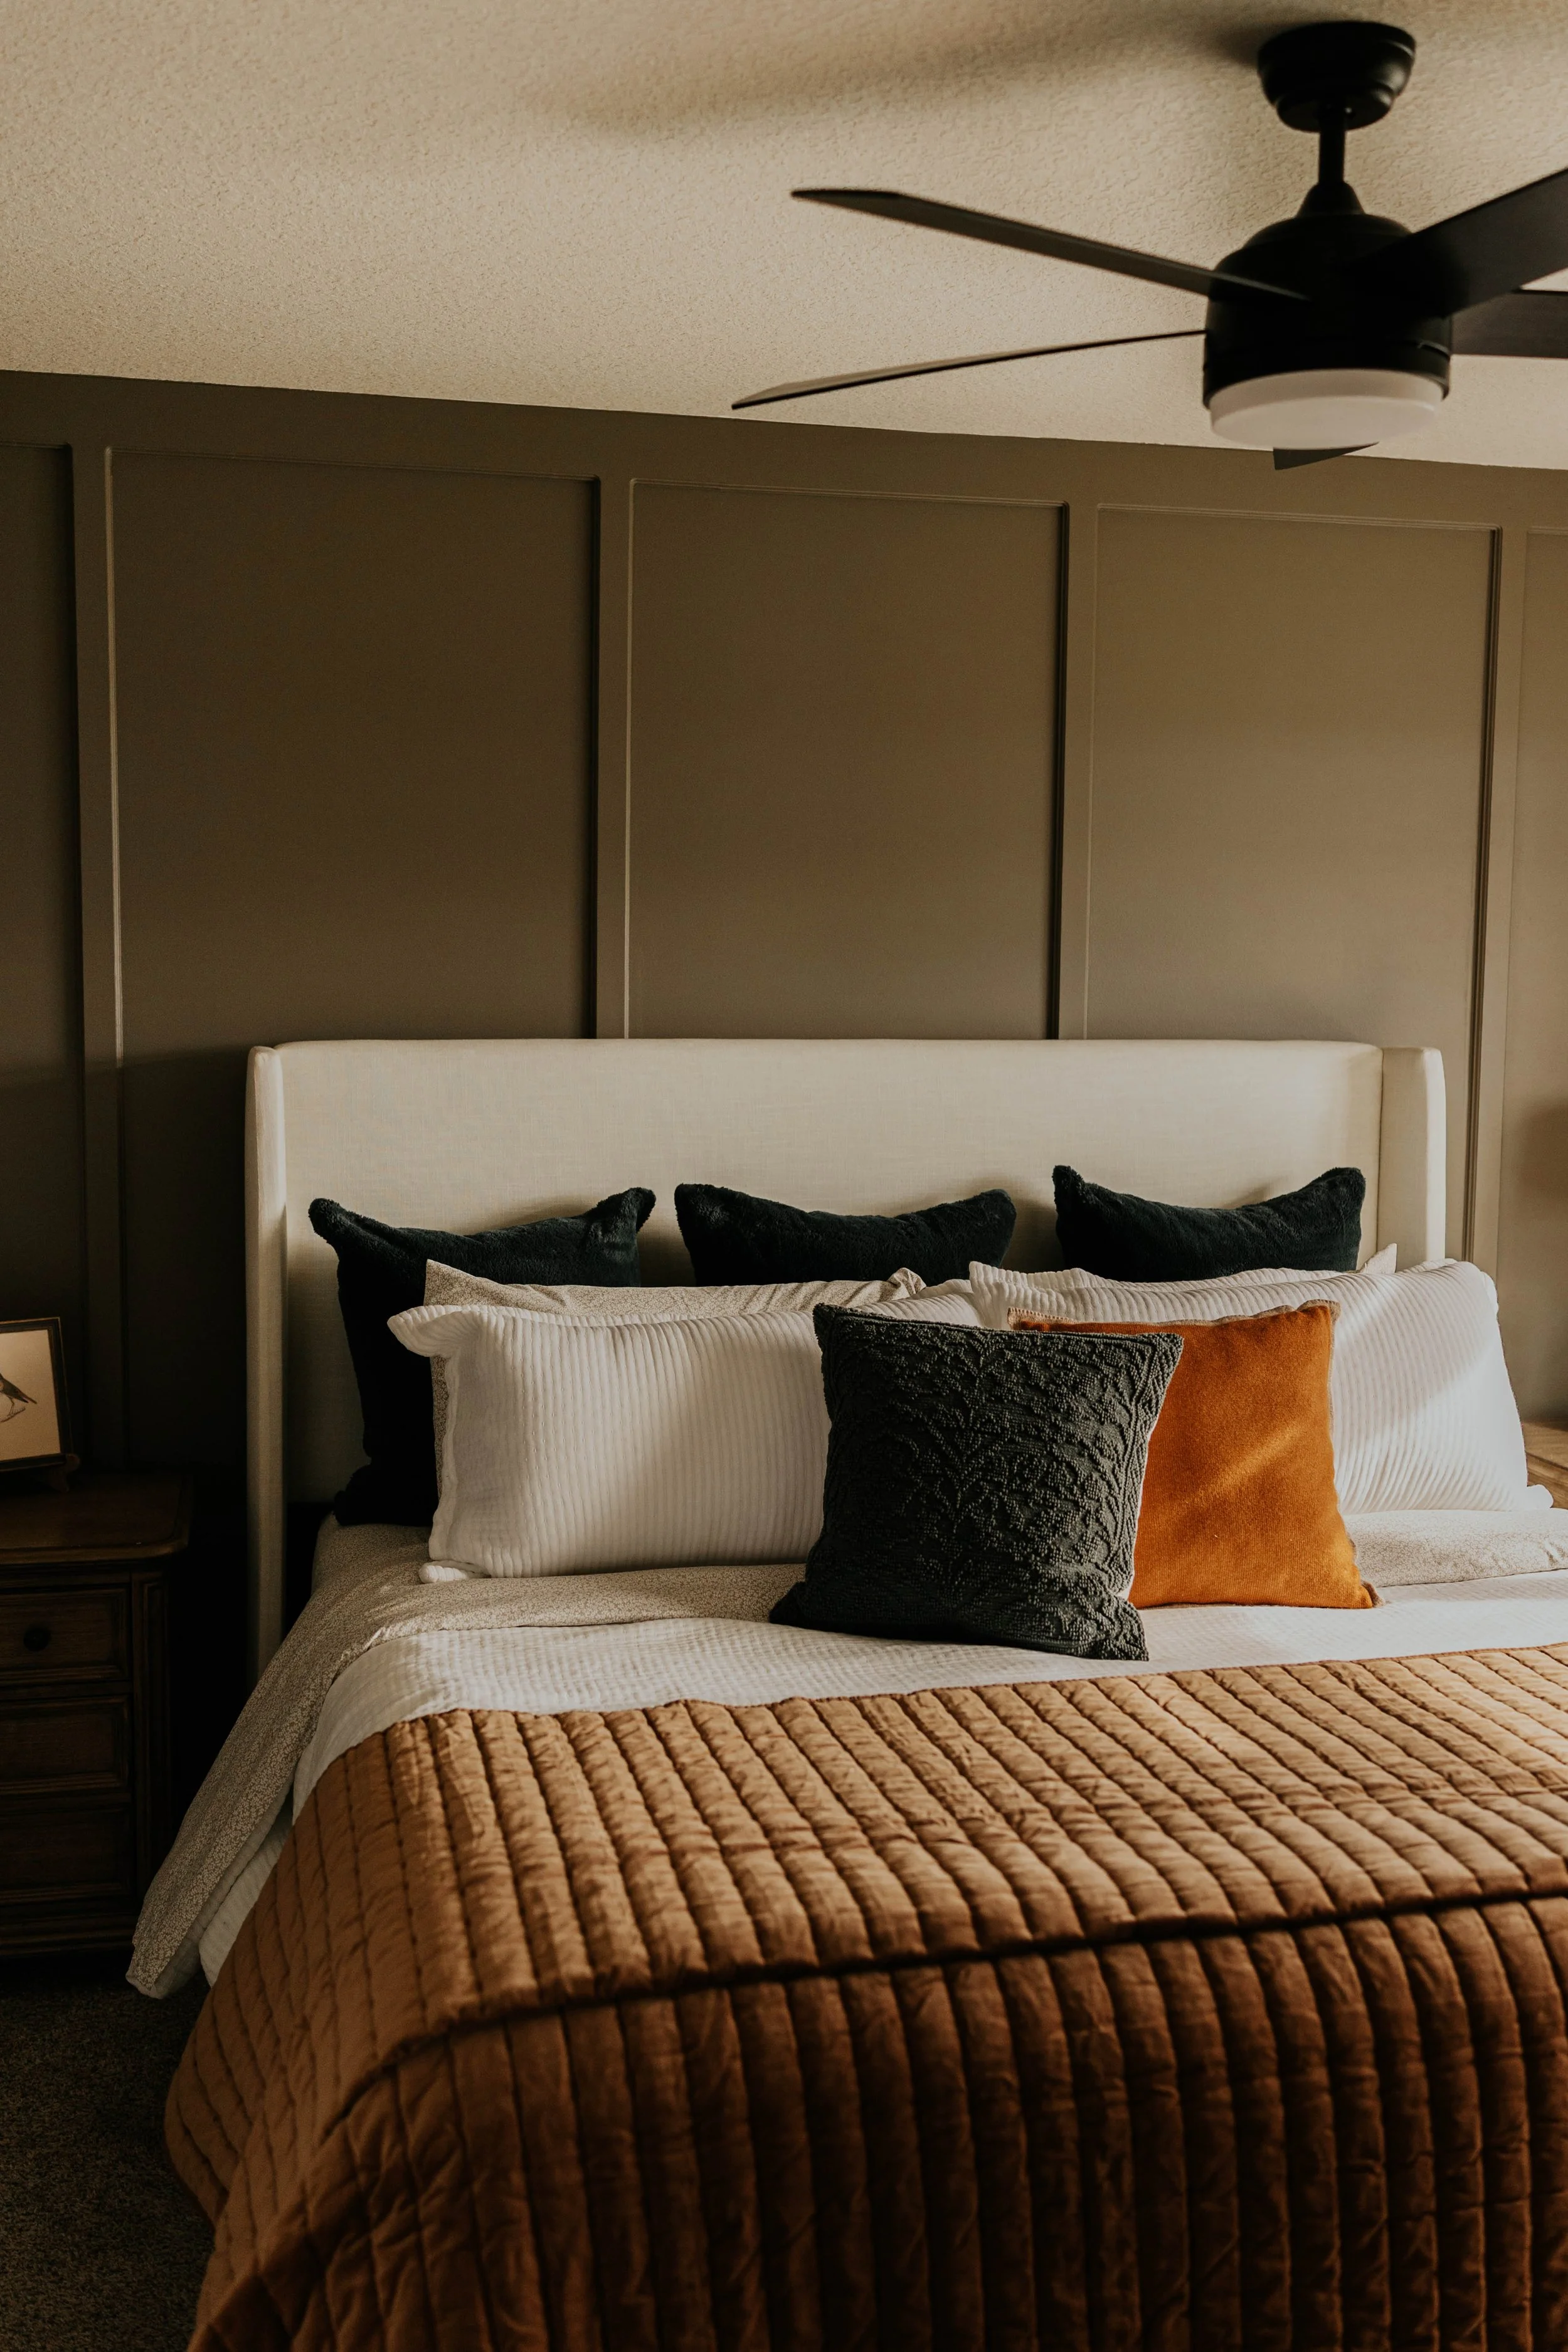
Chapter 5: The Bedding
Now on to the hardest part of the project…. Choosing the bedding. As I mentioned before, this truly was meant to be just a board and batten project, but our bedding was piling, our pillows were droopy and there was no way we could have beautiful walls with a giant frumpy bed in the middle!
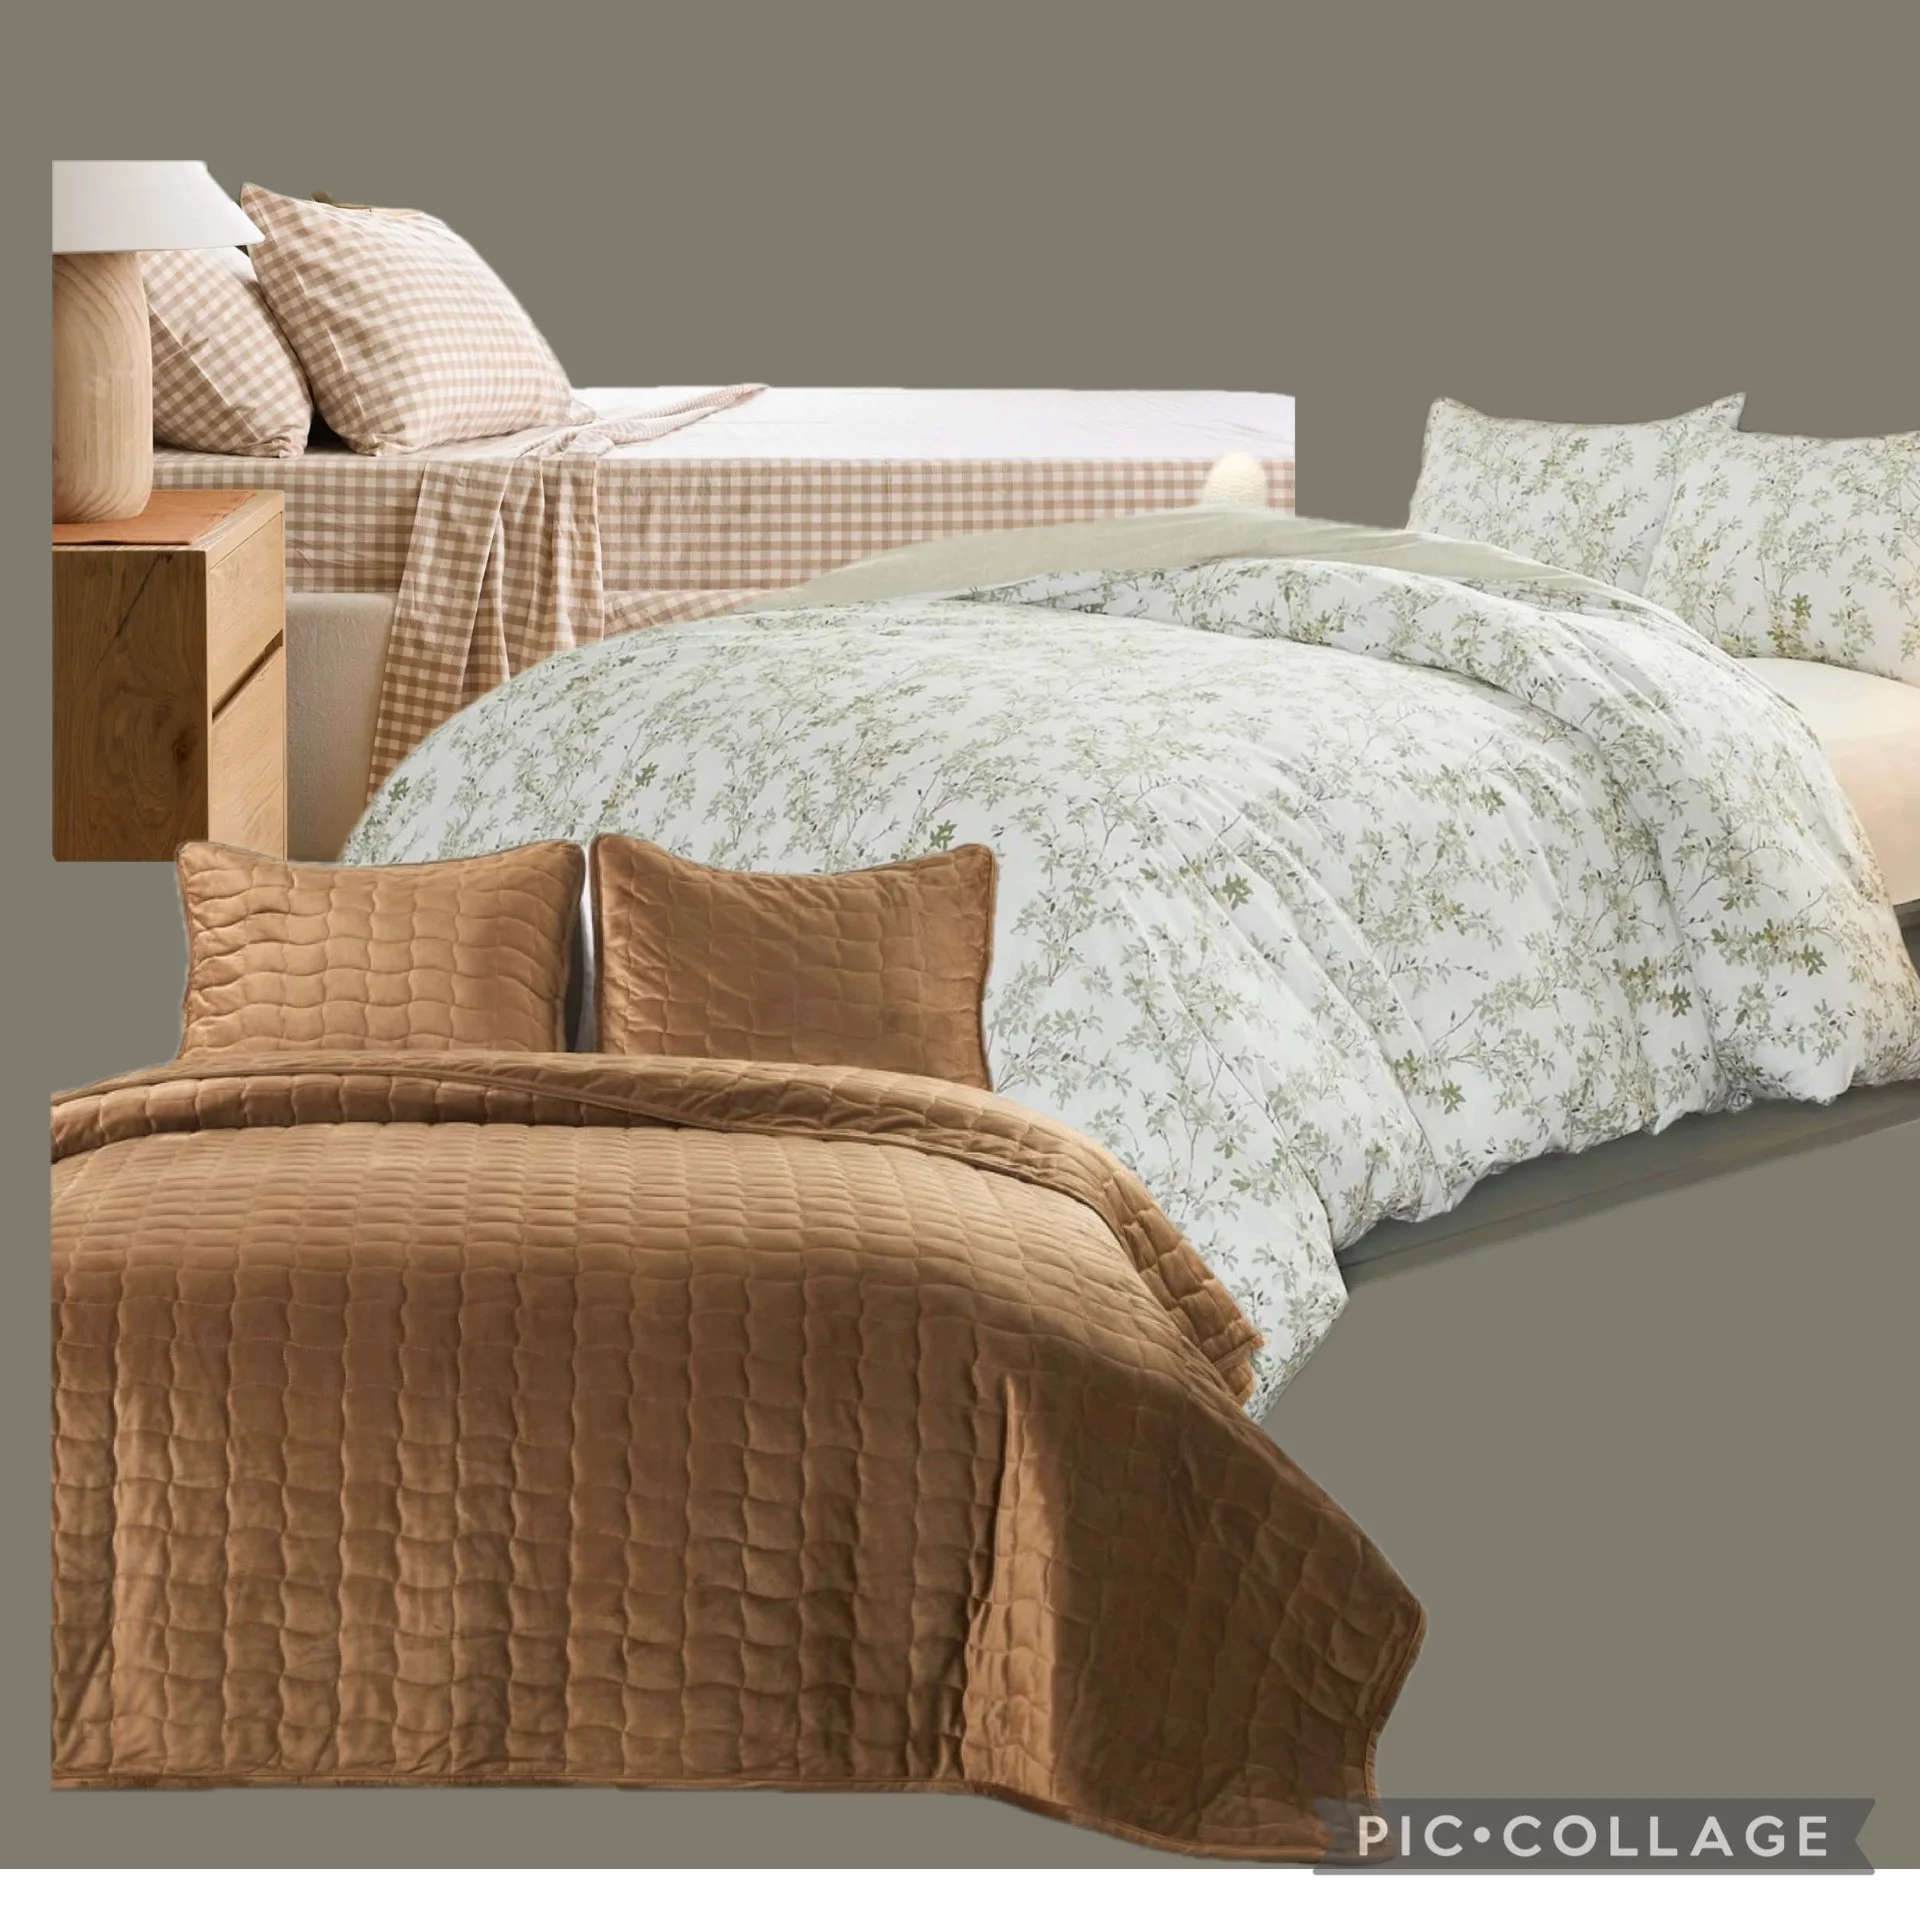
With Kelsey’s help, we figured out that we liked our light and bright duvet cover, we just needed an upgrade. She also helped us pull out an accent color from one of my existing pillows: a gorgeous camel brown! After nights on end of searching, we found a handful of good bedding options to order and try out. What followed was many, many boxes on my porch and over an hour of laying out different combinations of pillows, duvets and sheets.
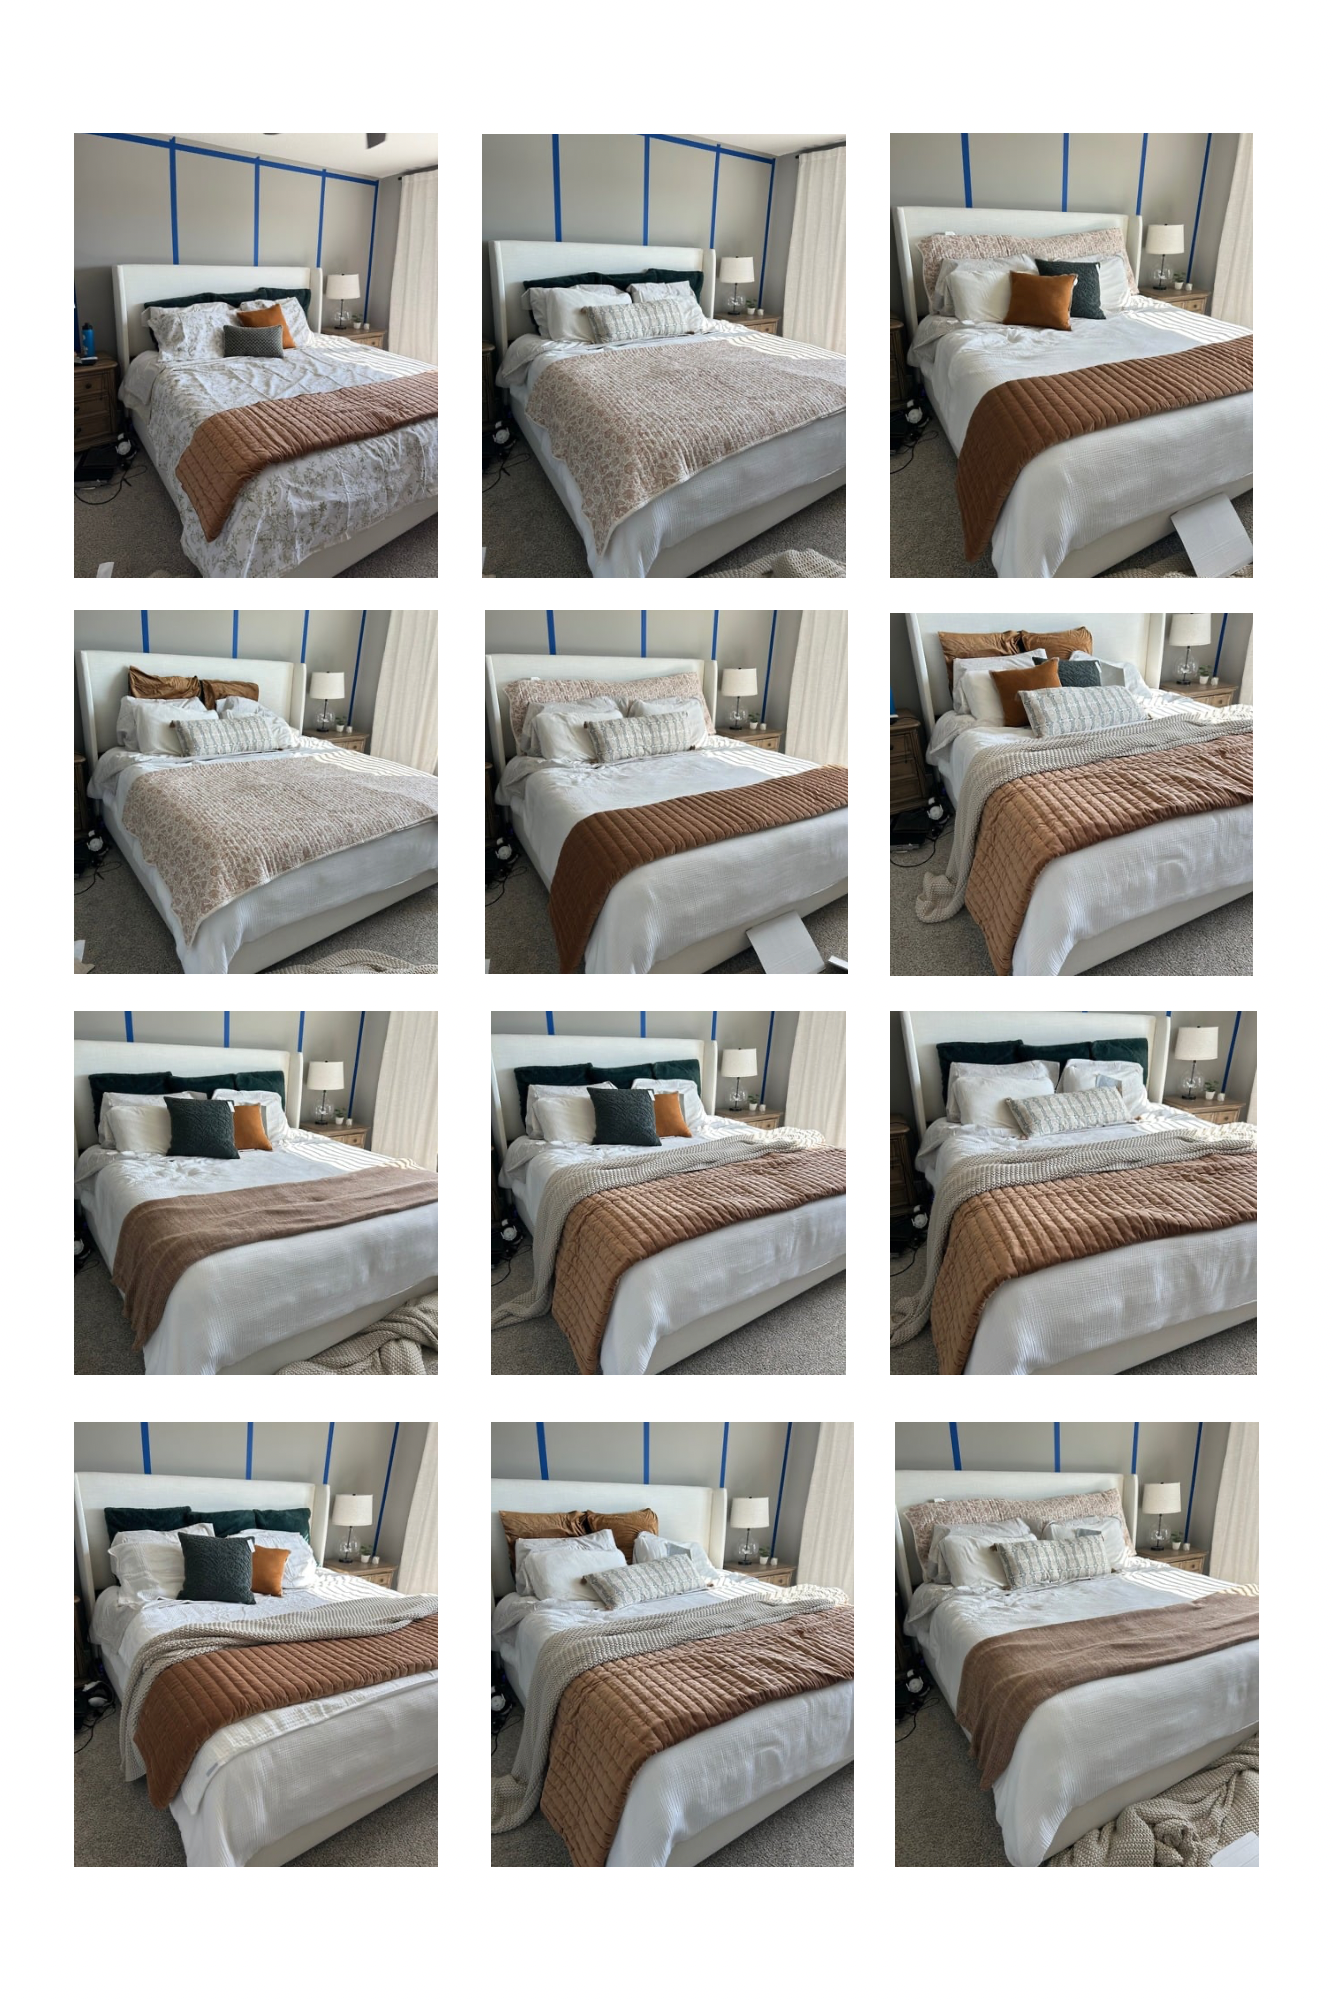
There were a few key things we considered that helped us make our final decision.
Functionality
I knew I wanted a duvet, because I’d so much rather wash a duvet cover than a heavy comforter. I also love the texture and look of a quilt, but prefer having the duvet as my main sleeping blanket, so we knew the quilt would sit at the end of the bed.
Balance
I found a couple beautiful camel floral quilted euro shams that I absolutely loved, but when we lay them at the back of the bed something felt off! It was the balance! The overall color we chose for bedding was bright and white, but we needed a dark bold color both at the back of the bed in the euro pillows and at the foot in the quilt to anchor the whole look.
Overall mood
Once we narrowed down to two favorite bedding looks, Kelsey helped me see that one look leaned very bright, airy and feminine while the other was more sexy and moody. Once I clarified that sexy and moody was the vibe, it was a no brainer what to pick!
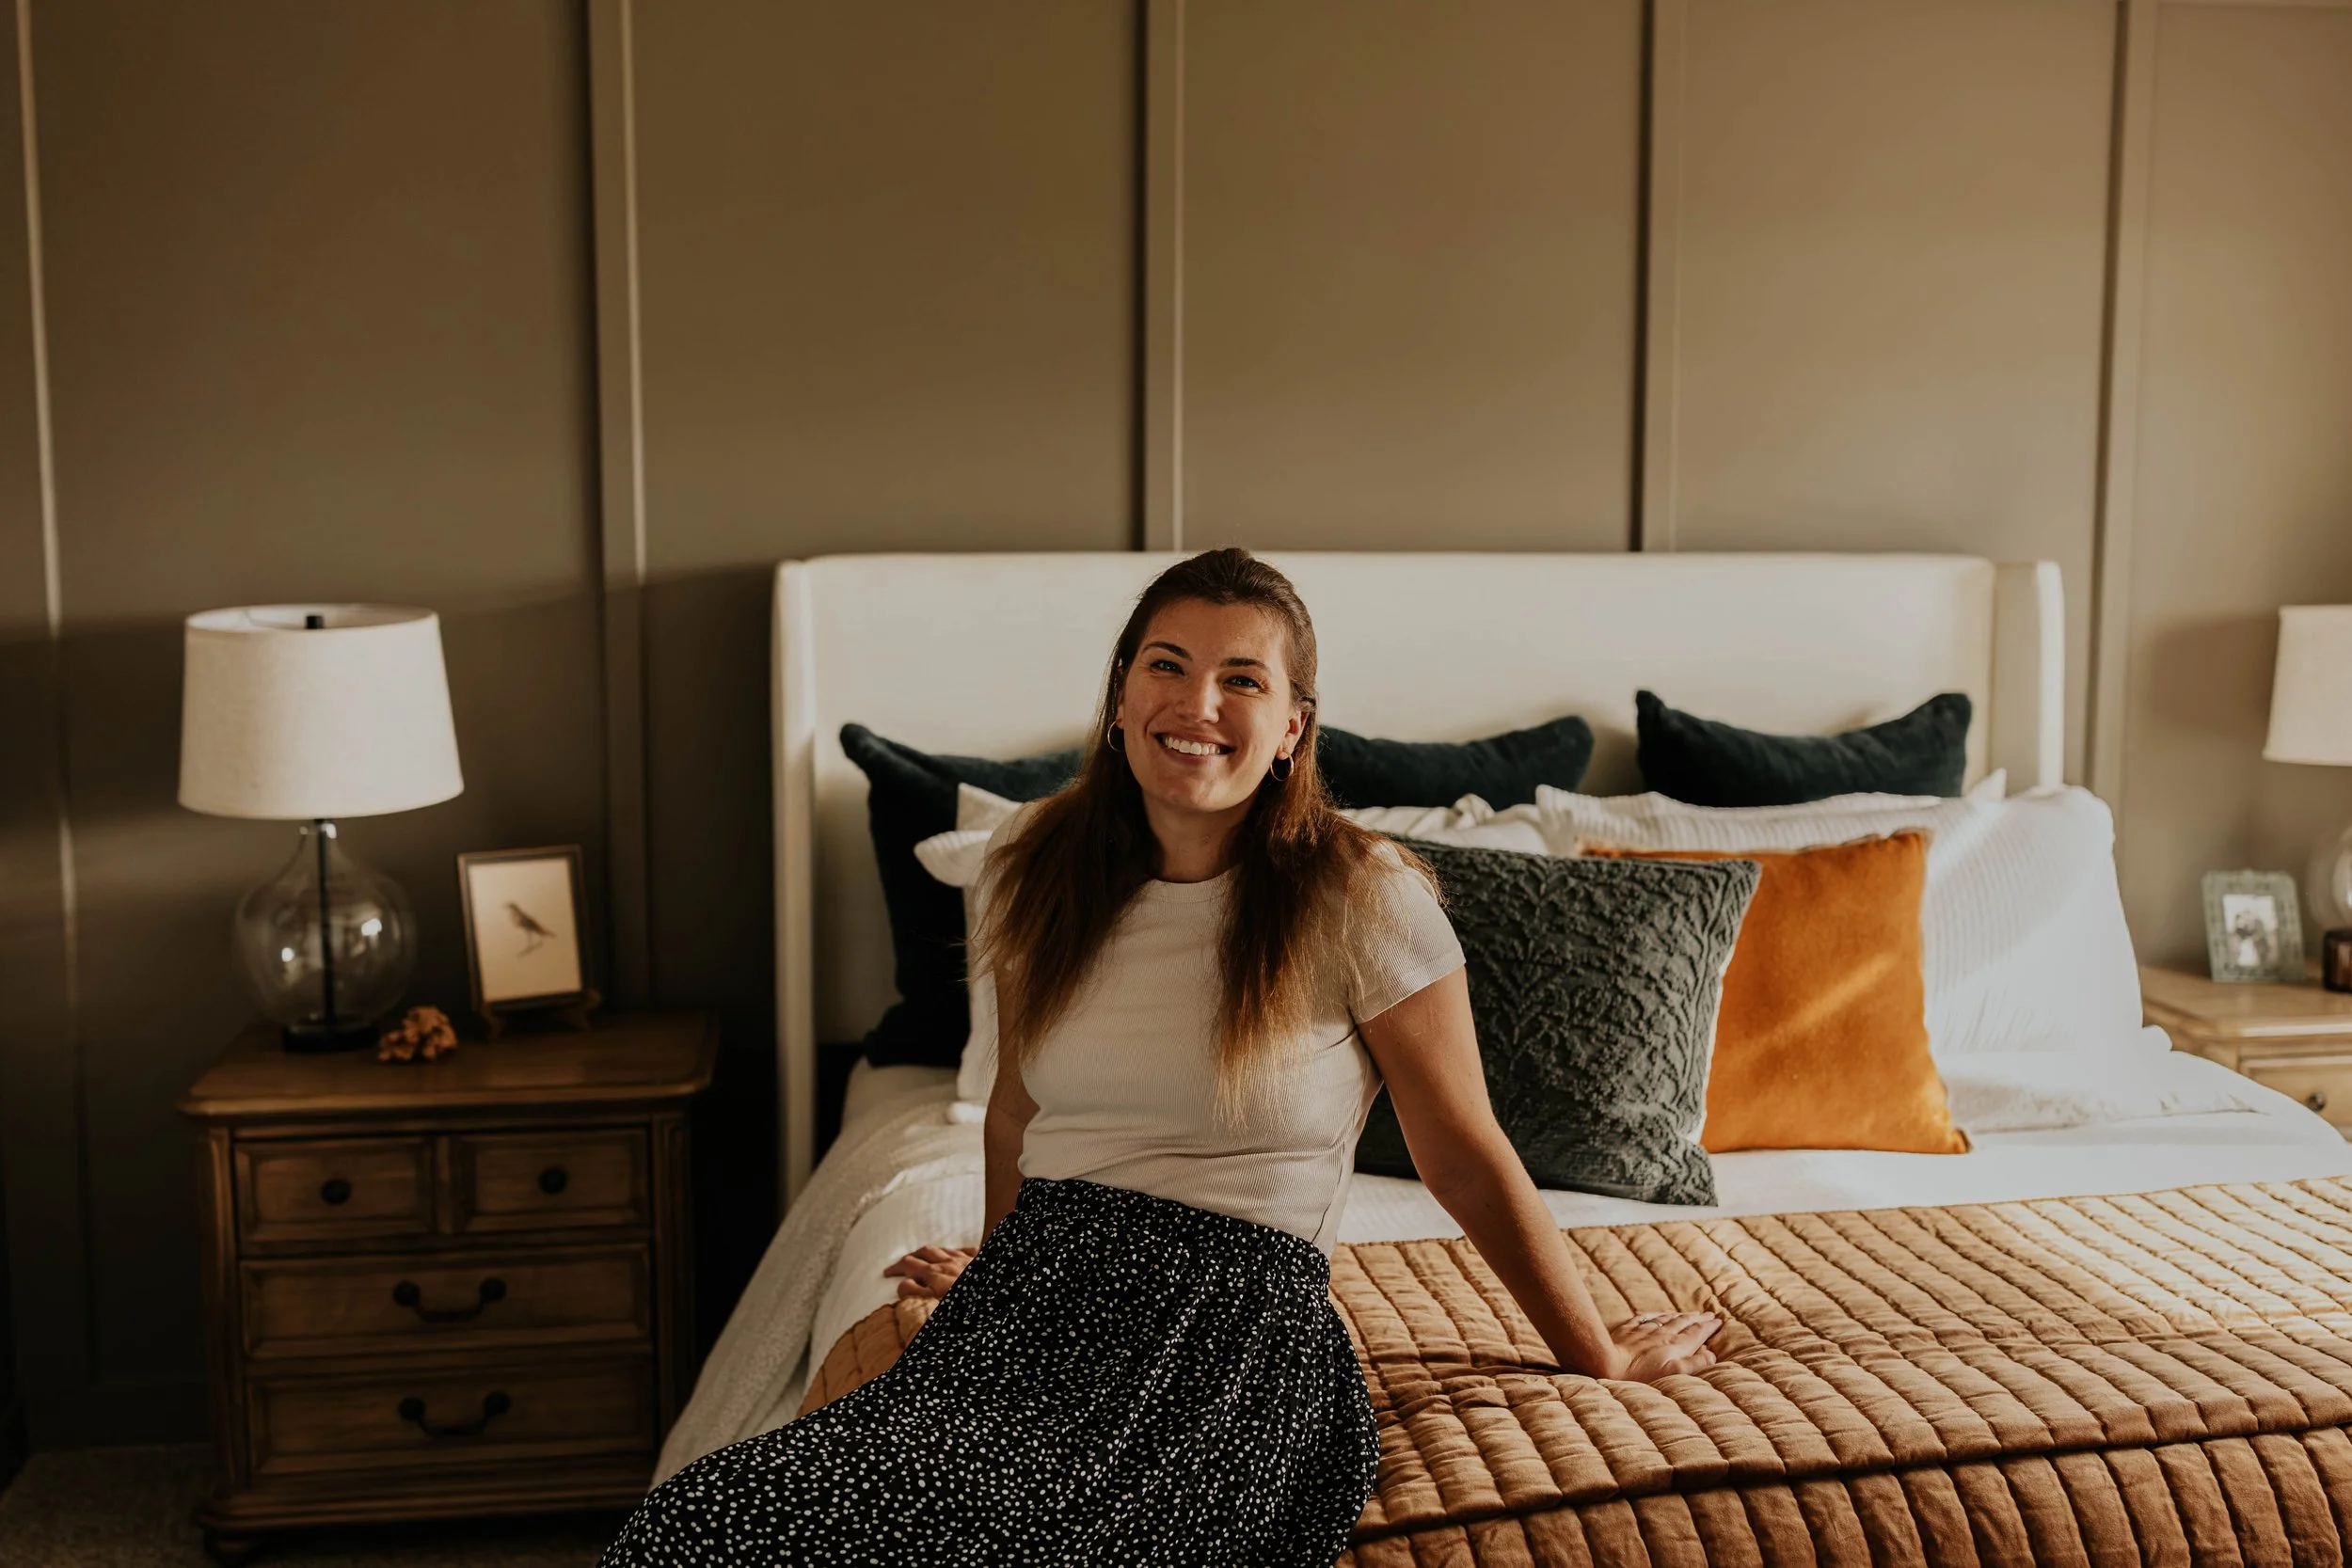
The final look included beige, floral sheets, a bright, white textured duvet, and quilted camel quilt. We kept our original dark green euro shams, but got all new pillows to fill our shams. It’s amazing how much of a difference new pillows can make to bring your bedding back to life!
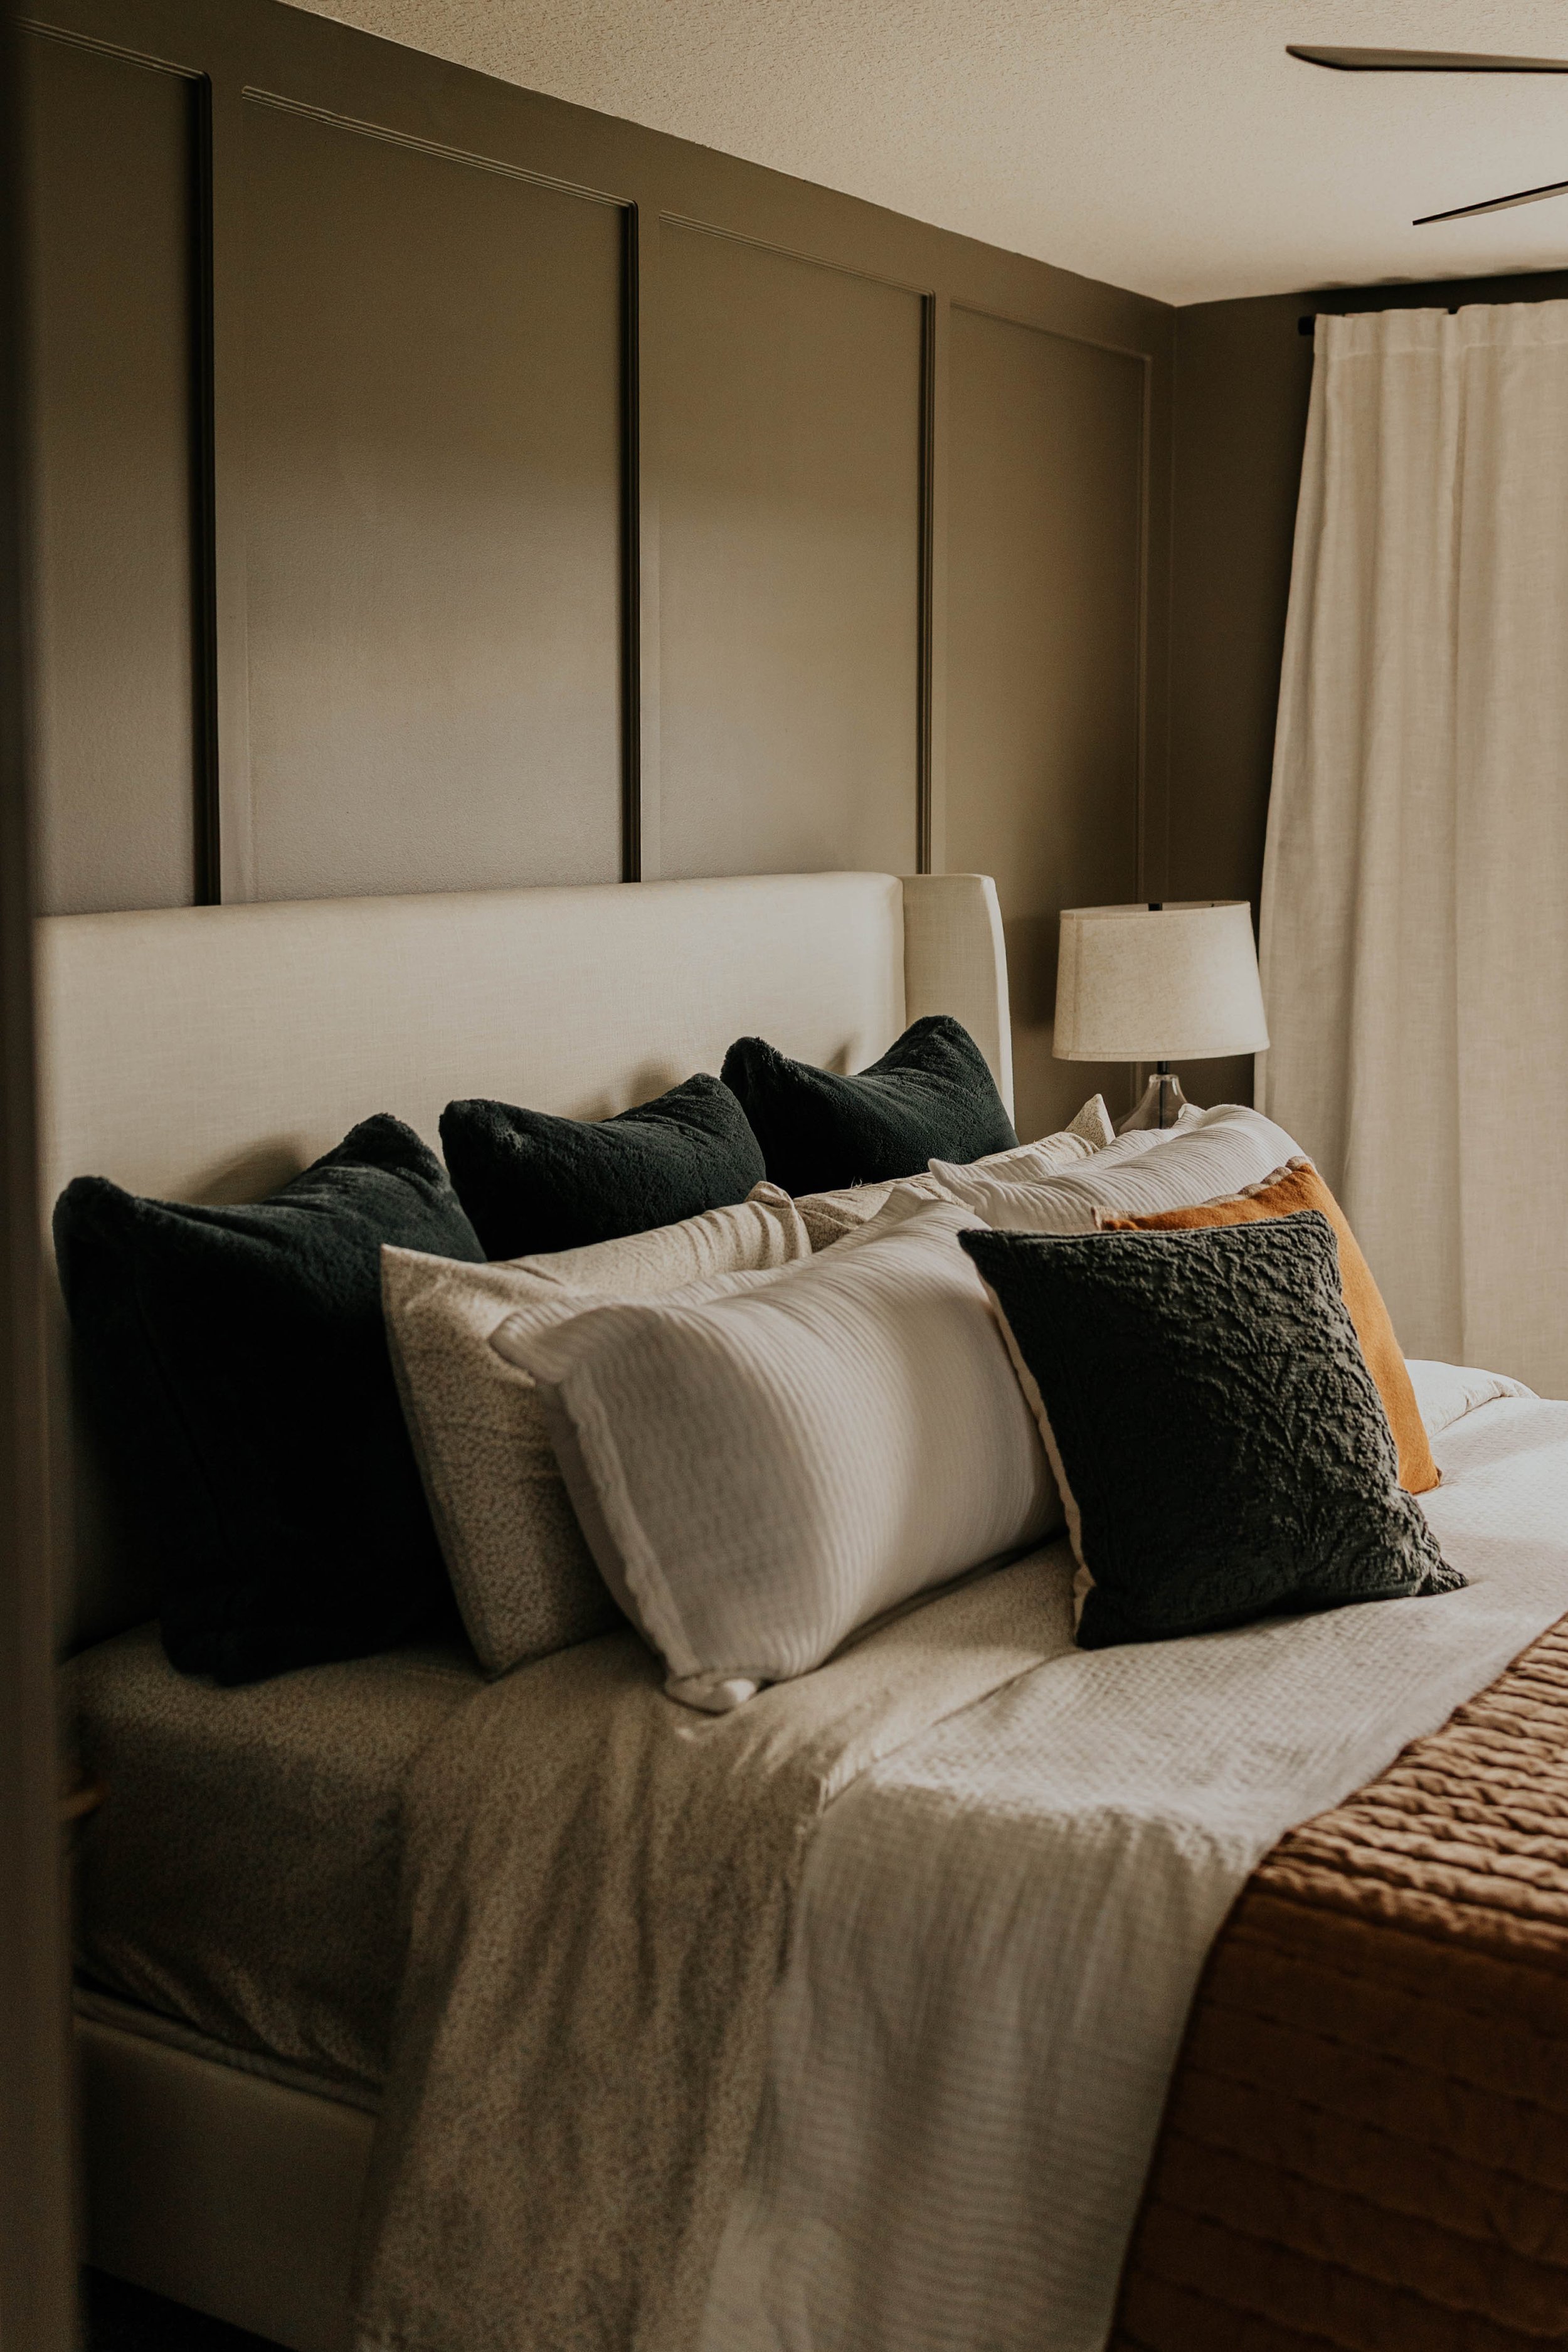
Final Bedding Choices
Sheets Set | Duvet Set | Quilt | Green Throw Pillow | Camel Throw Pillow
Chapter 6: The Final Details
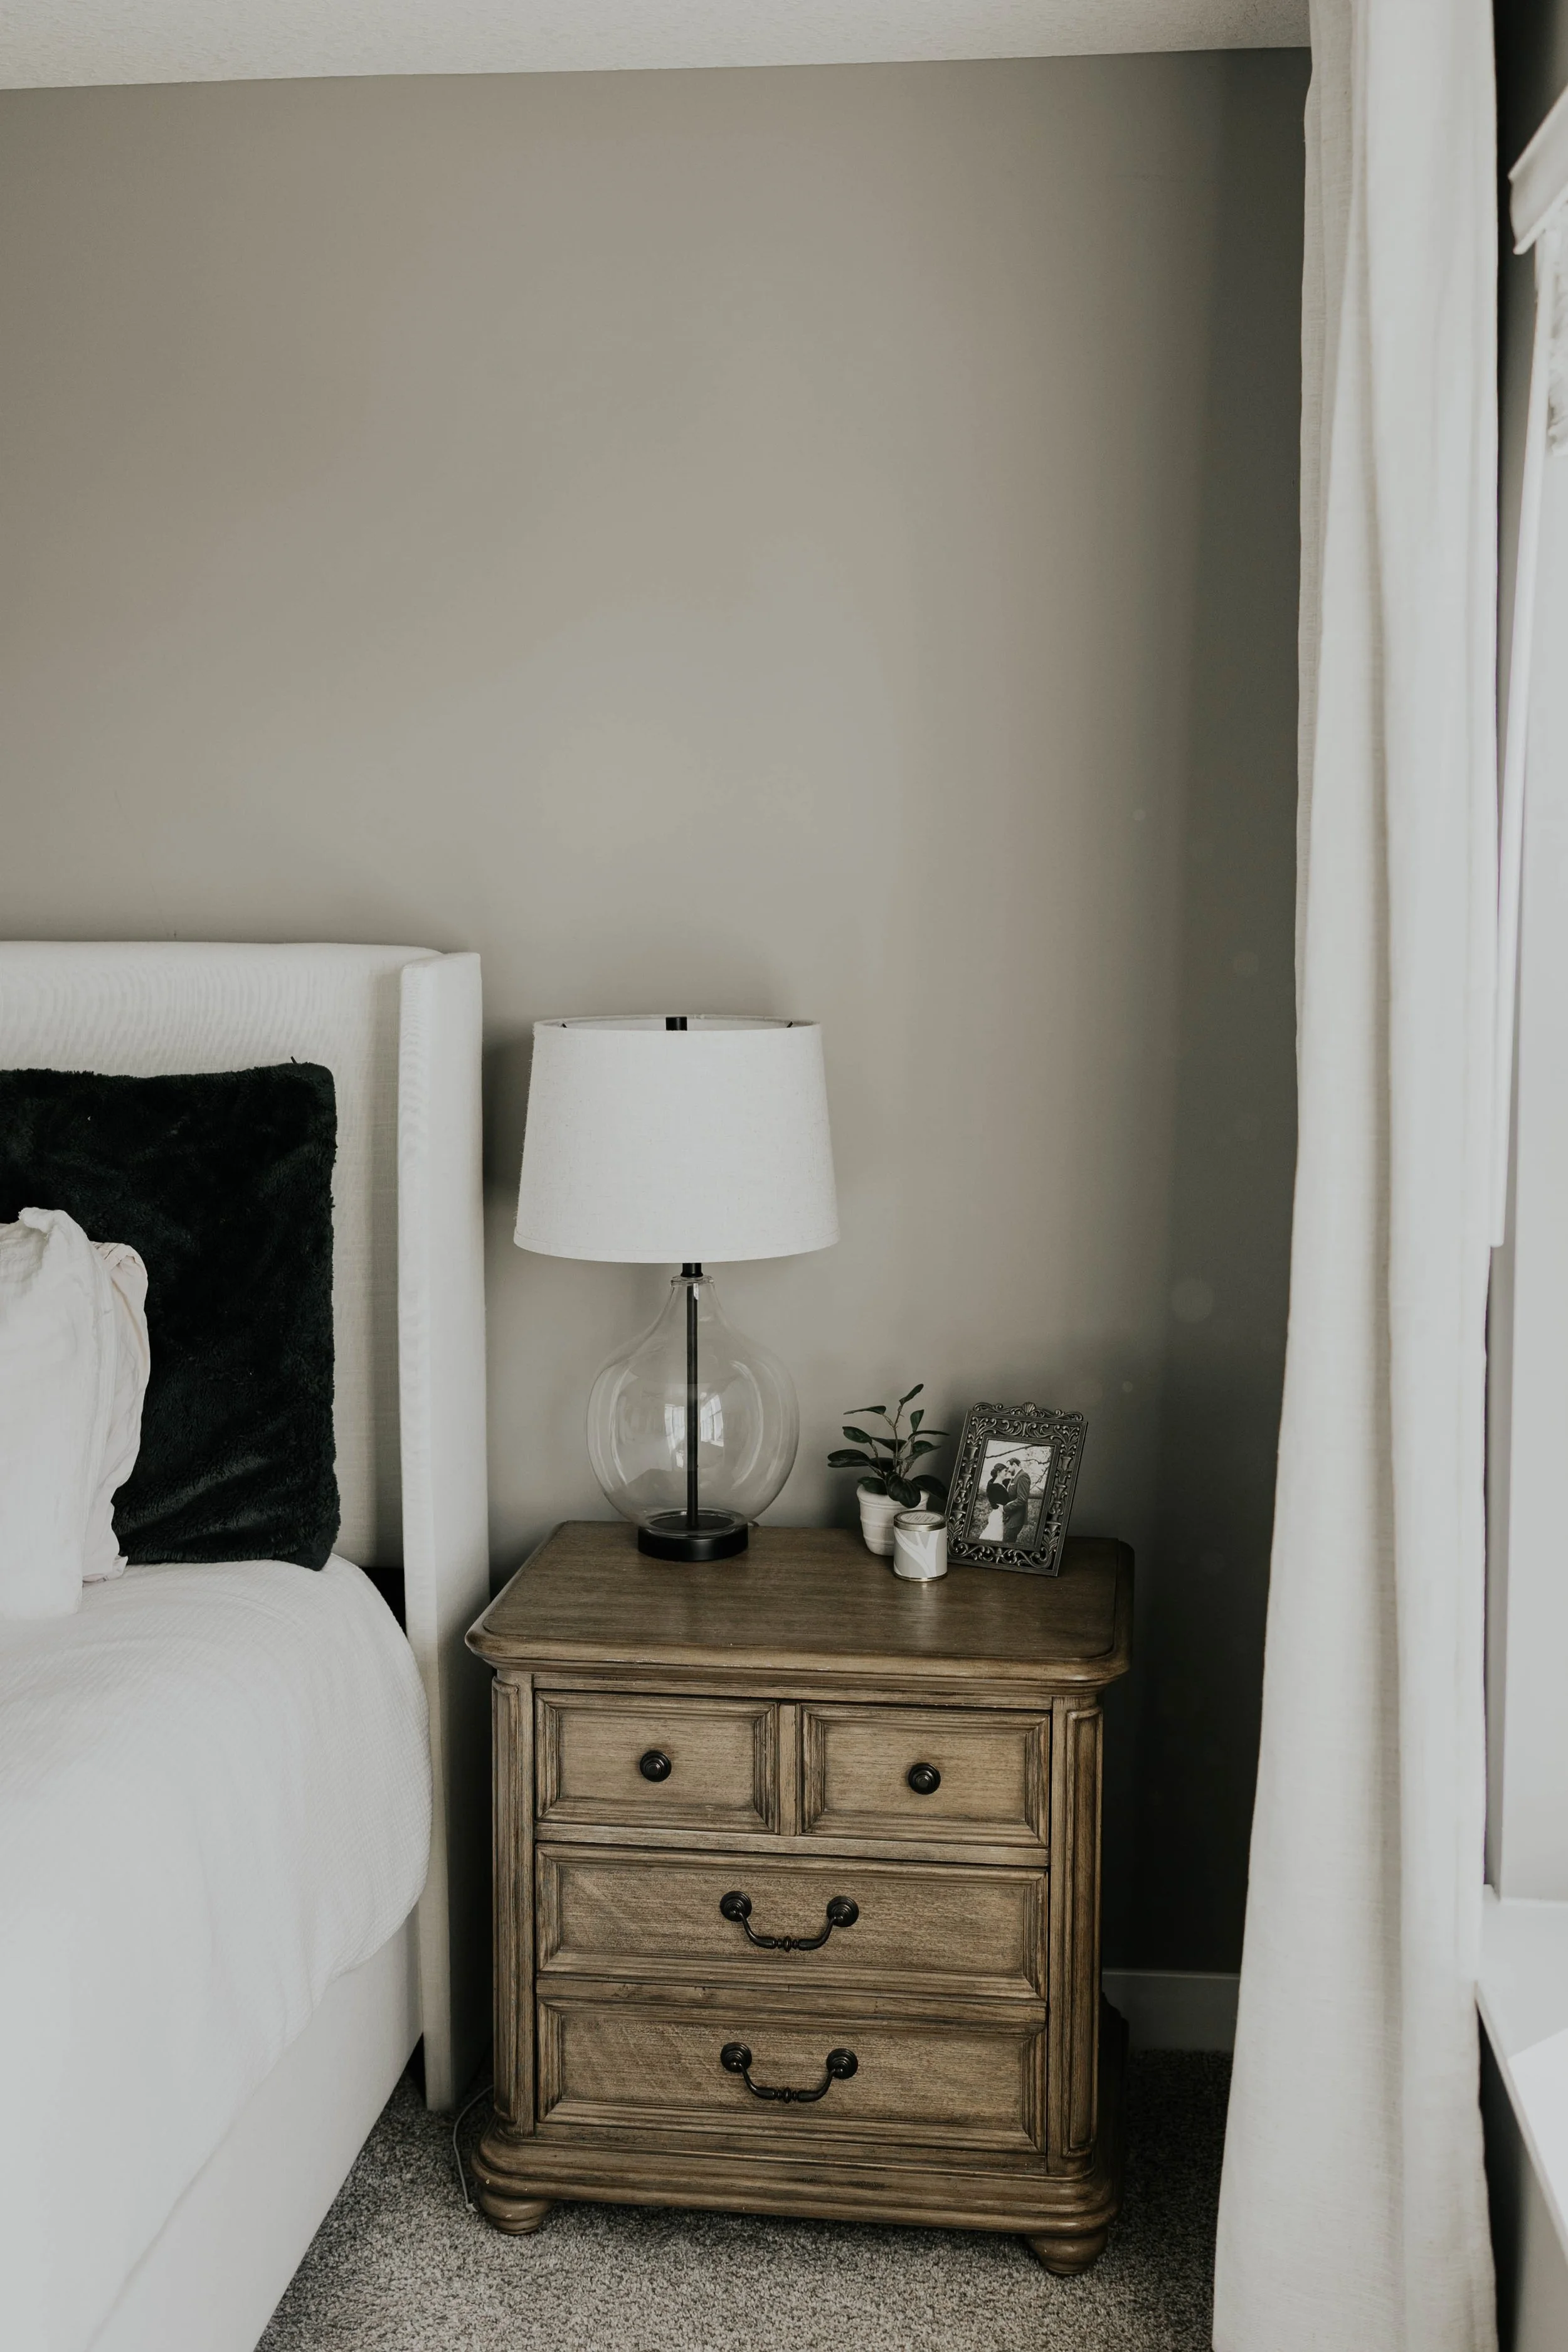
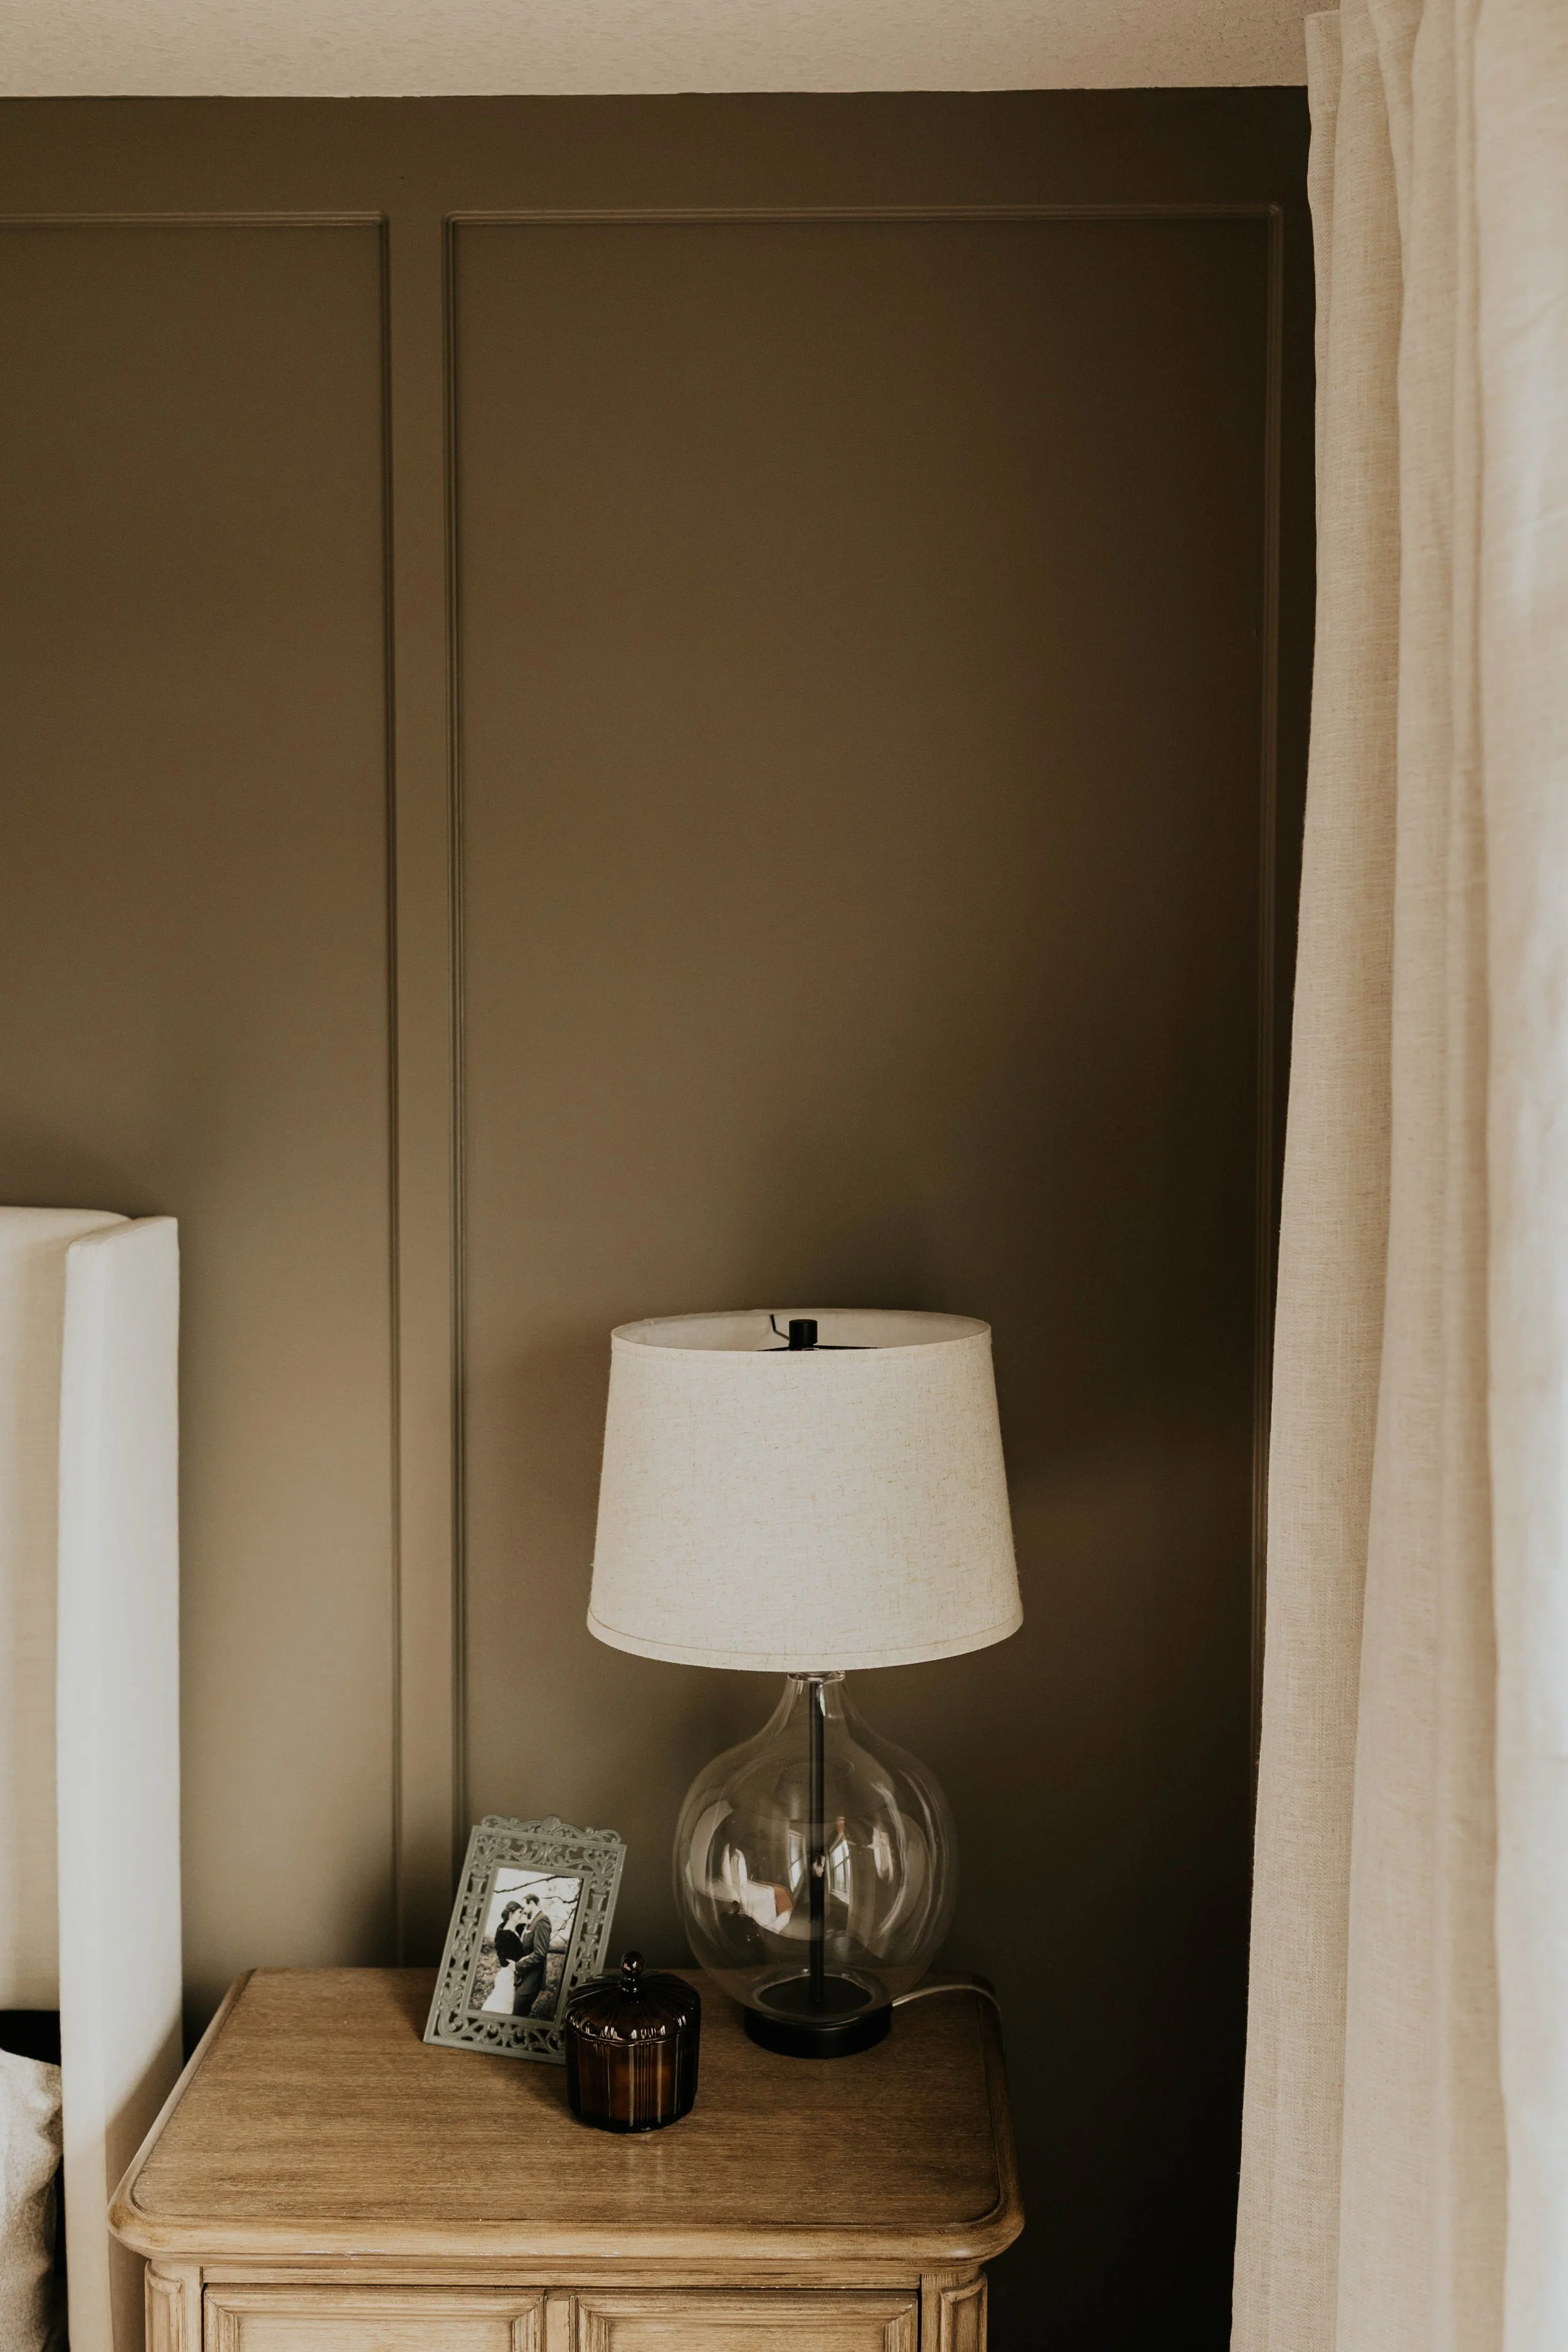
Once we picked our bedding it was time for the final details. Artwork and décor!
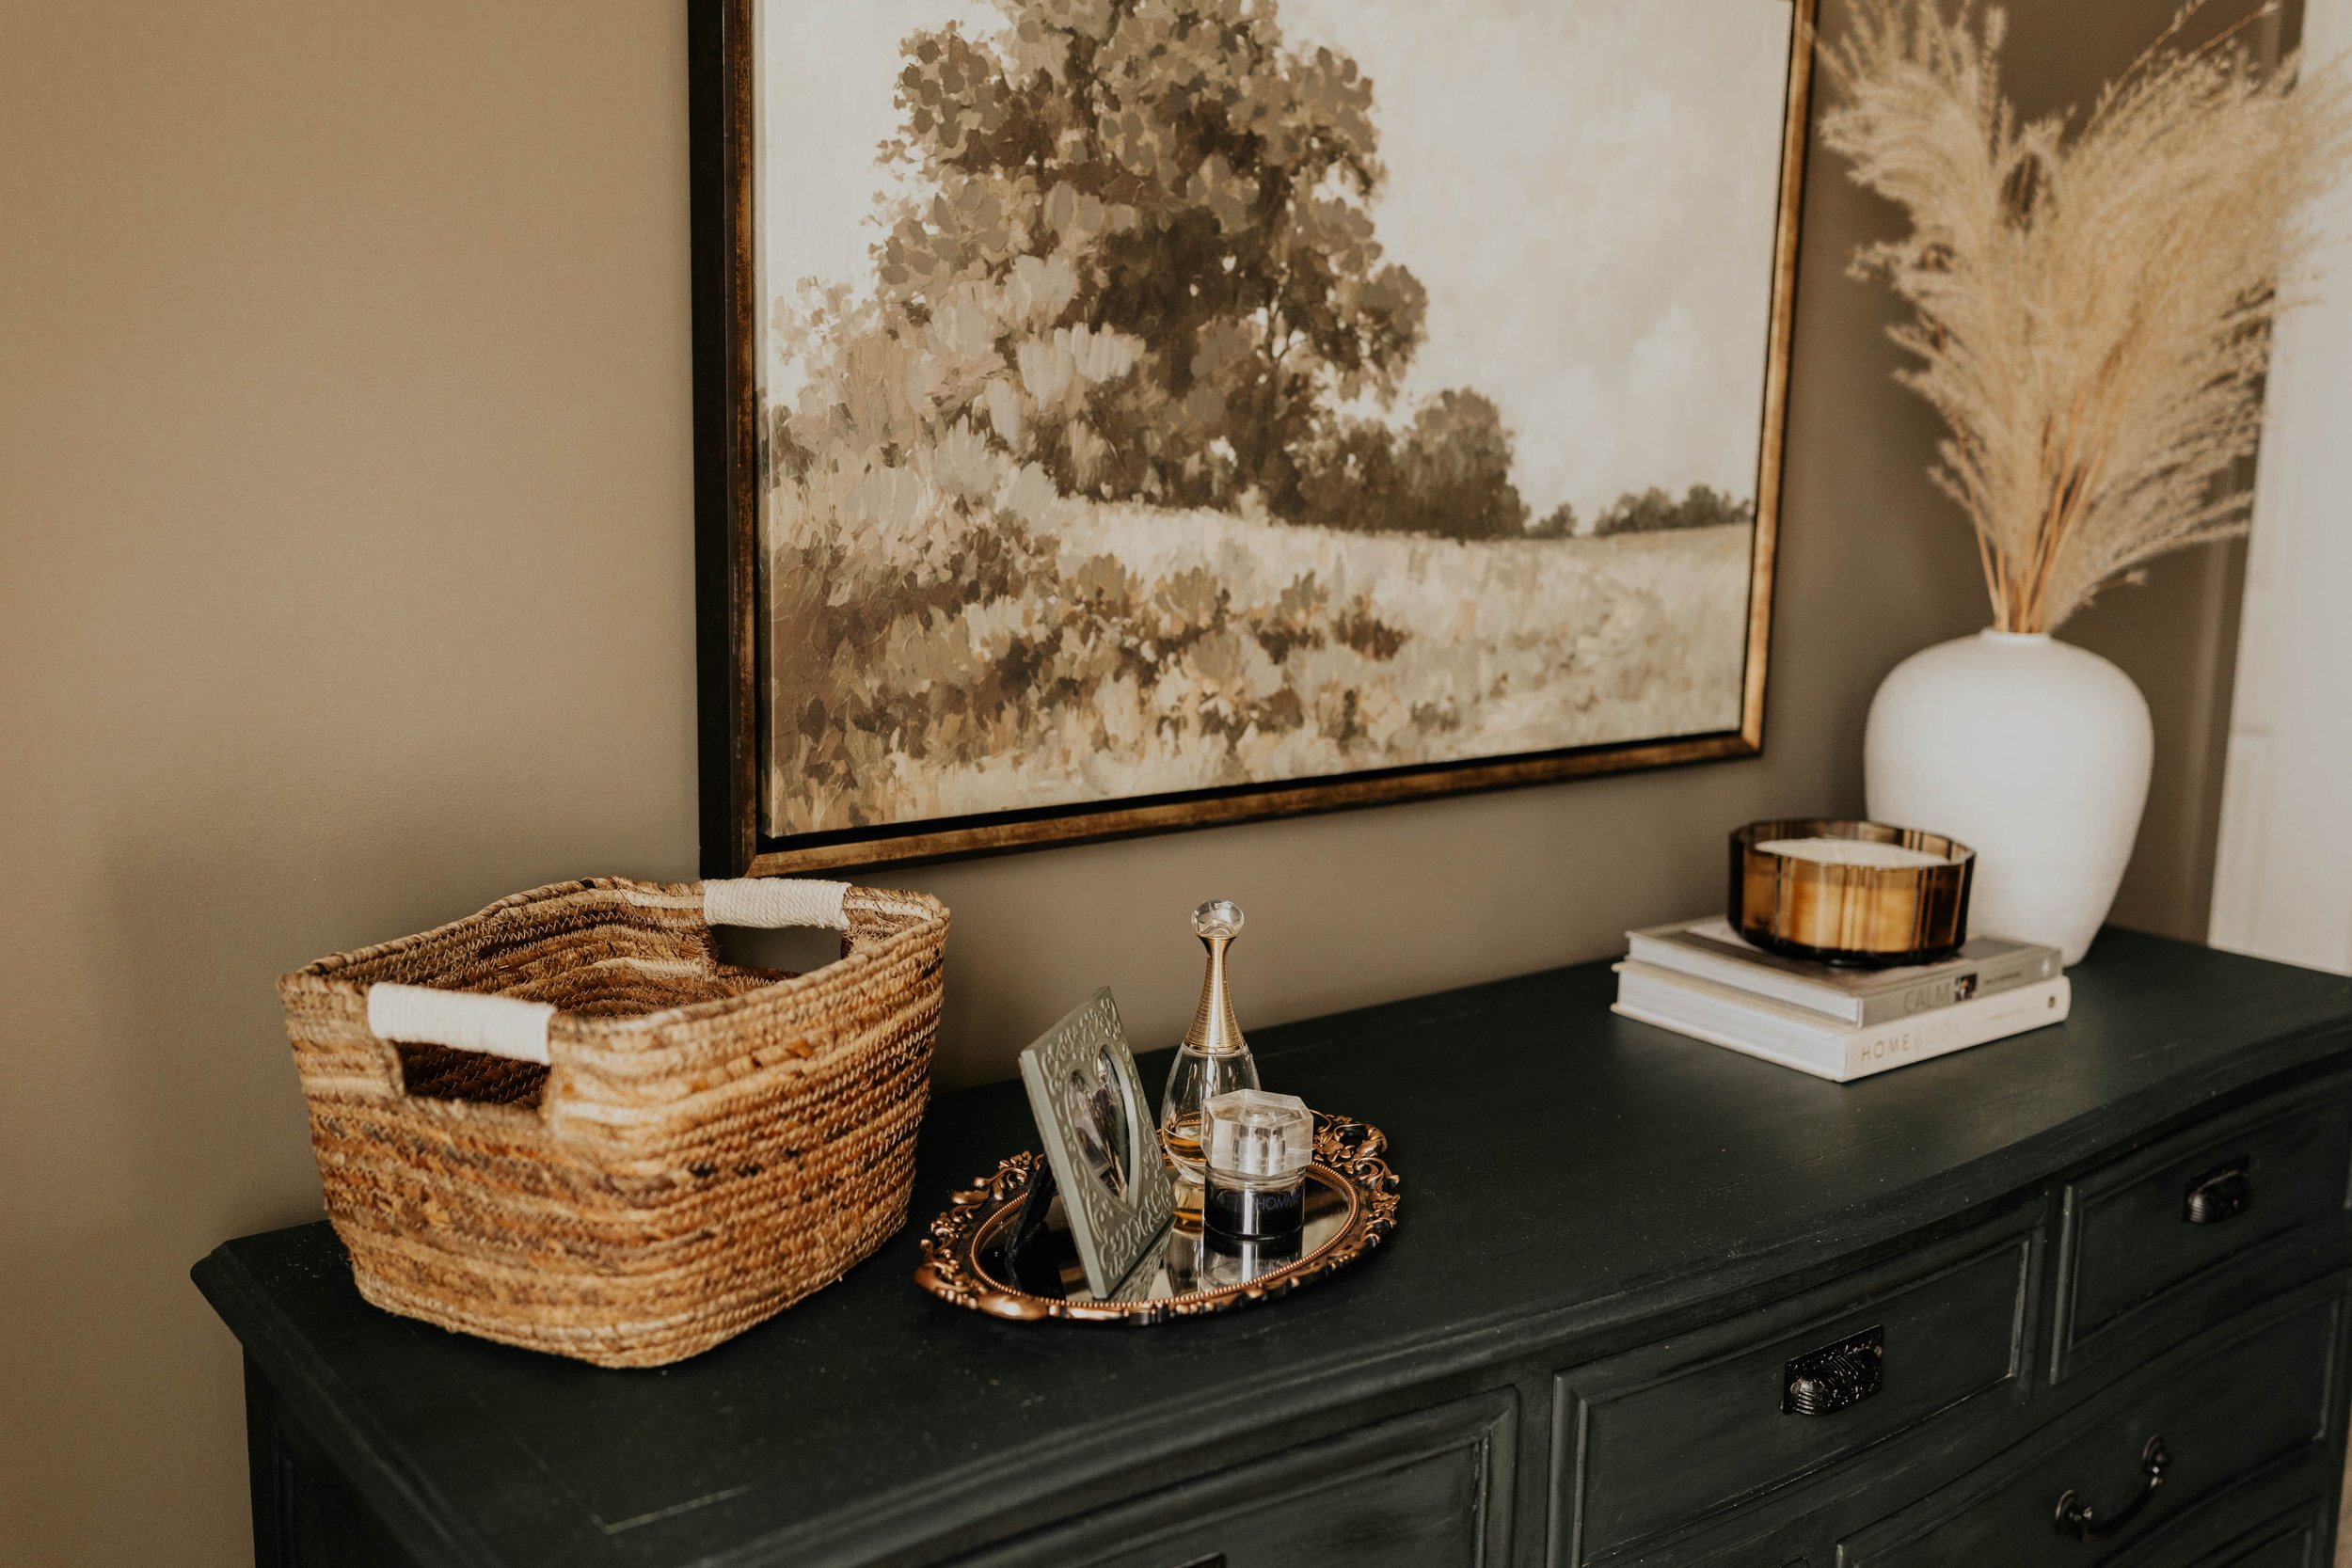
Artwork is a really fantastic way to bring your space together, with color, texture and overall mood! In our primary bedroom, we chose the wall behind our dresser as the perfect large, blank space to fill with a piece of art. While we went back and forth between sets of 2 or 3, Kelsey and I ultimately decided that one larger piece felt more luxe.
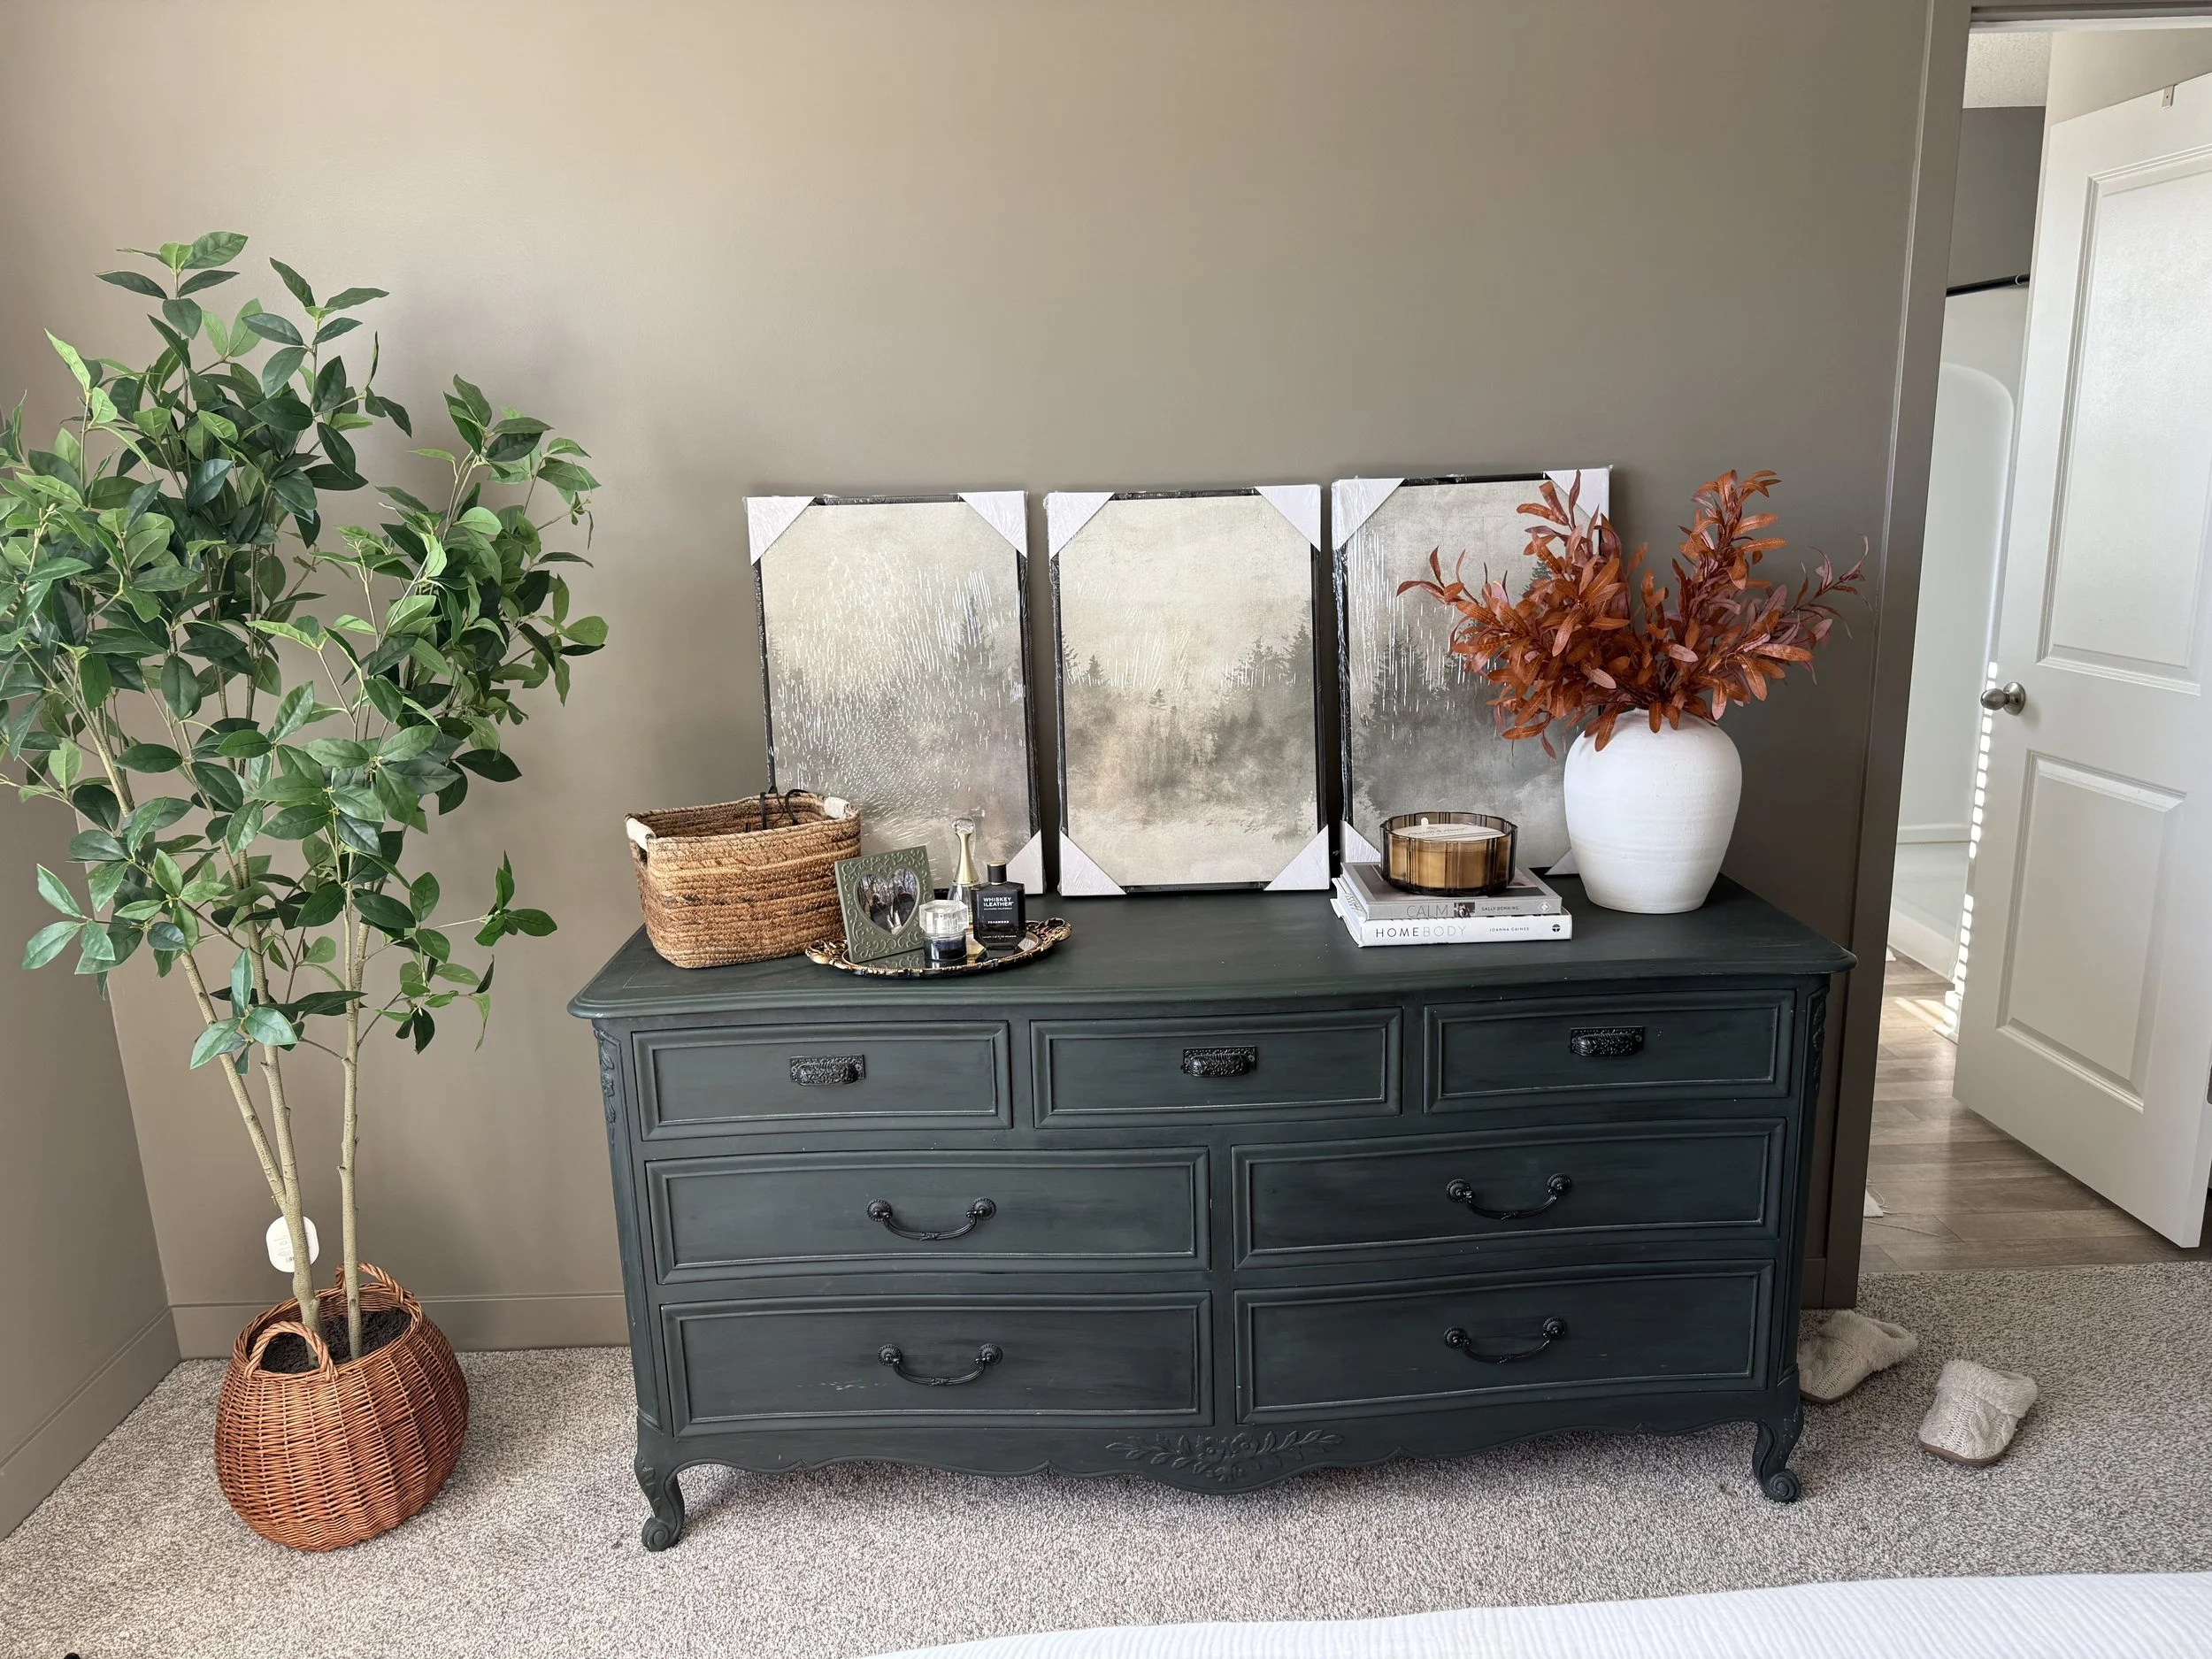
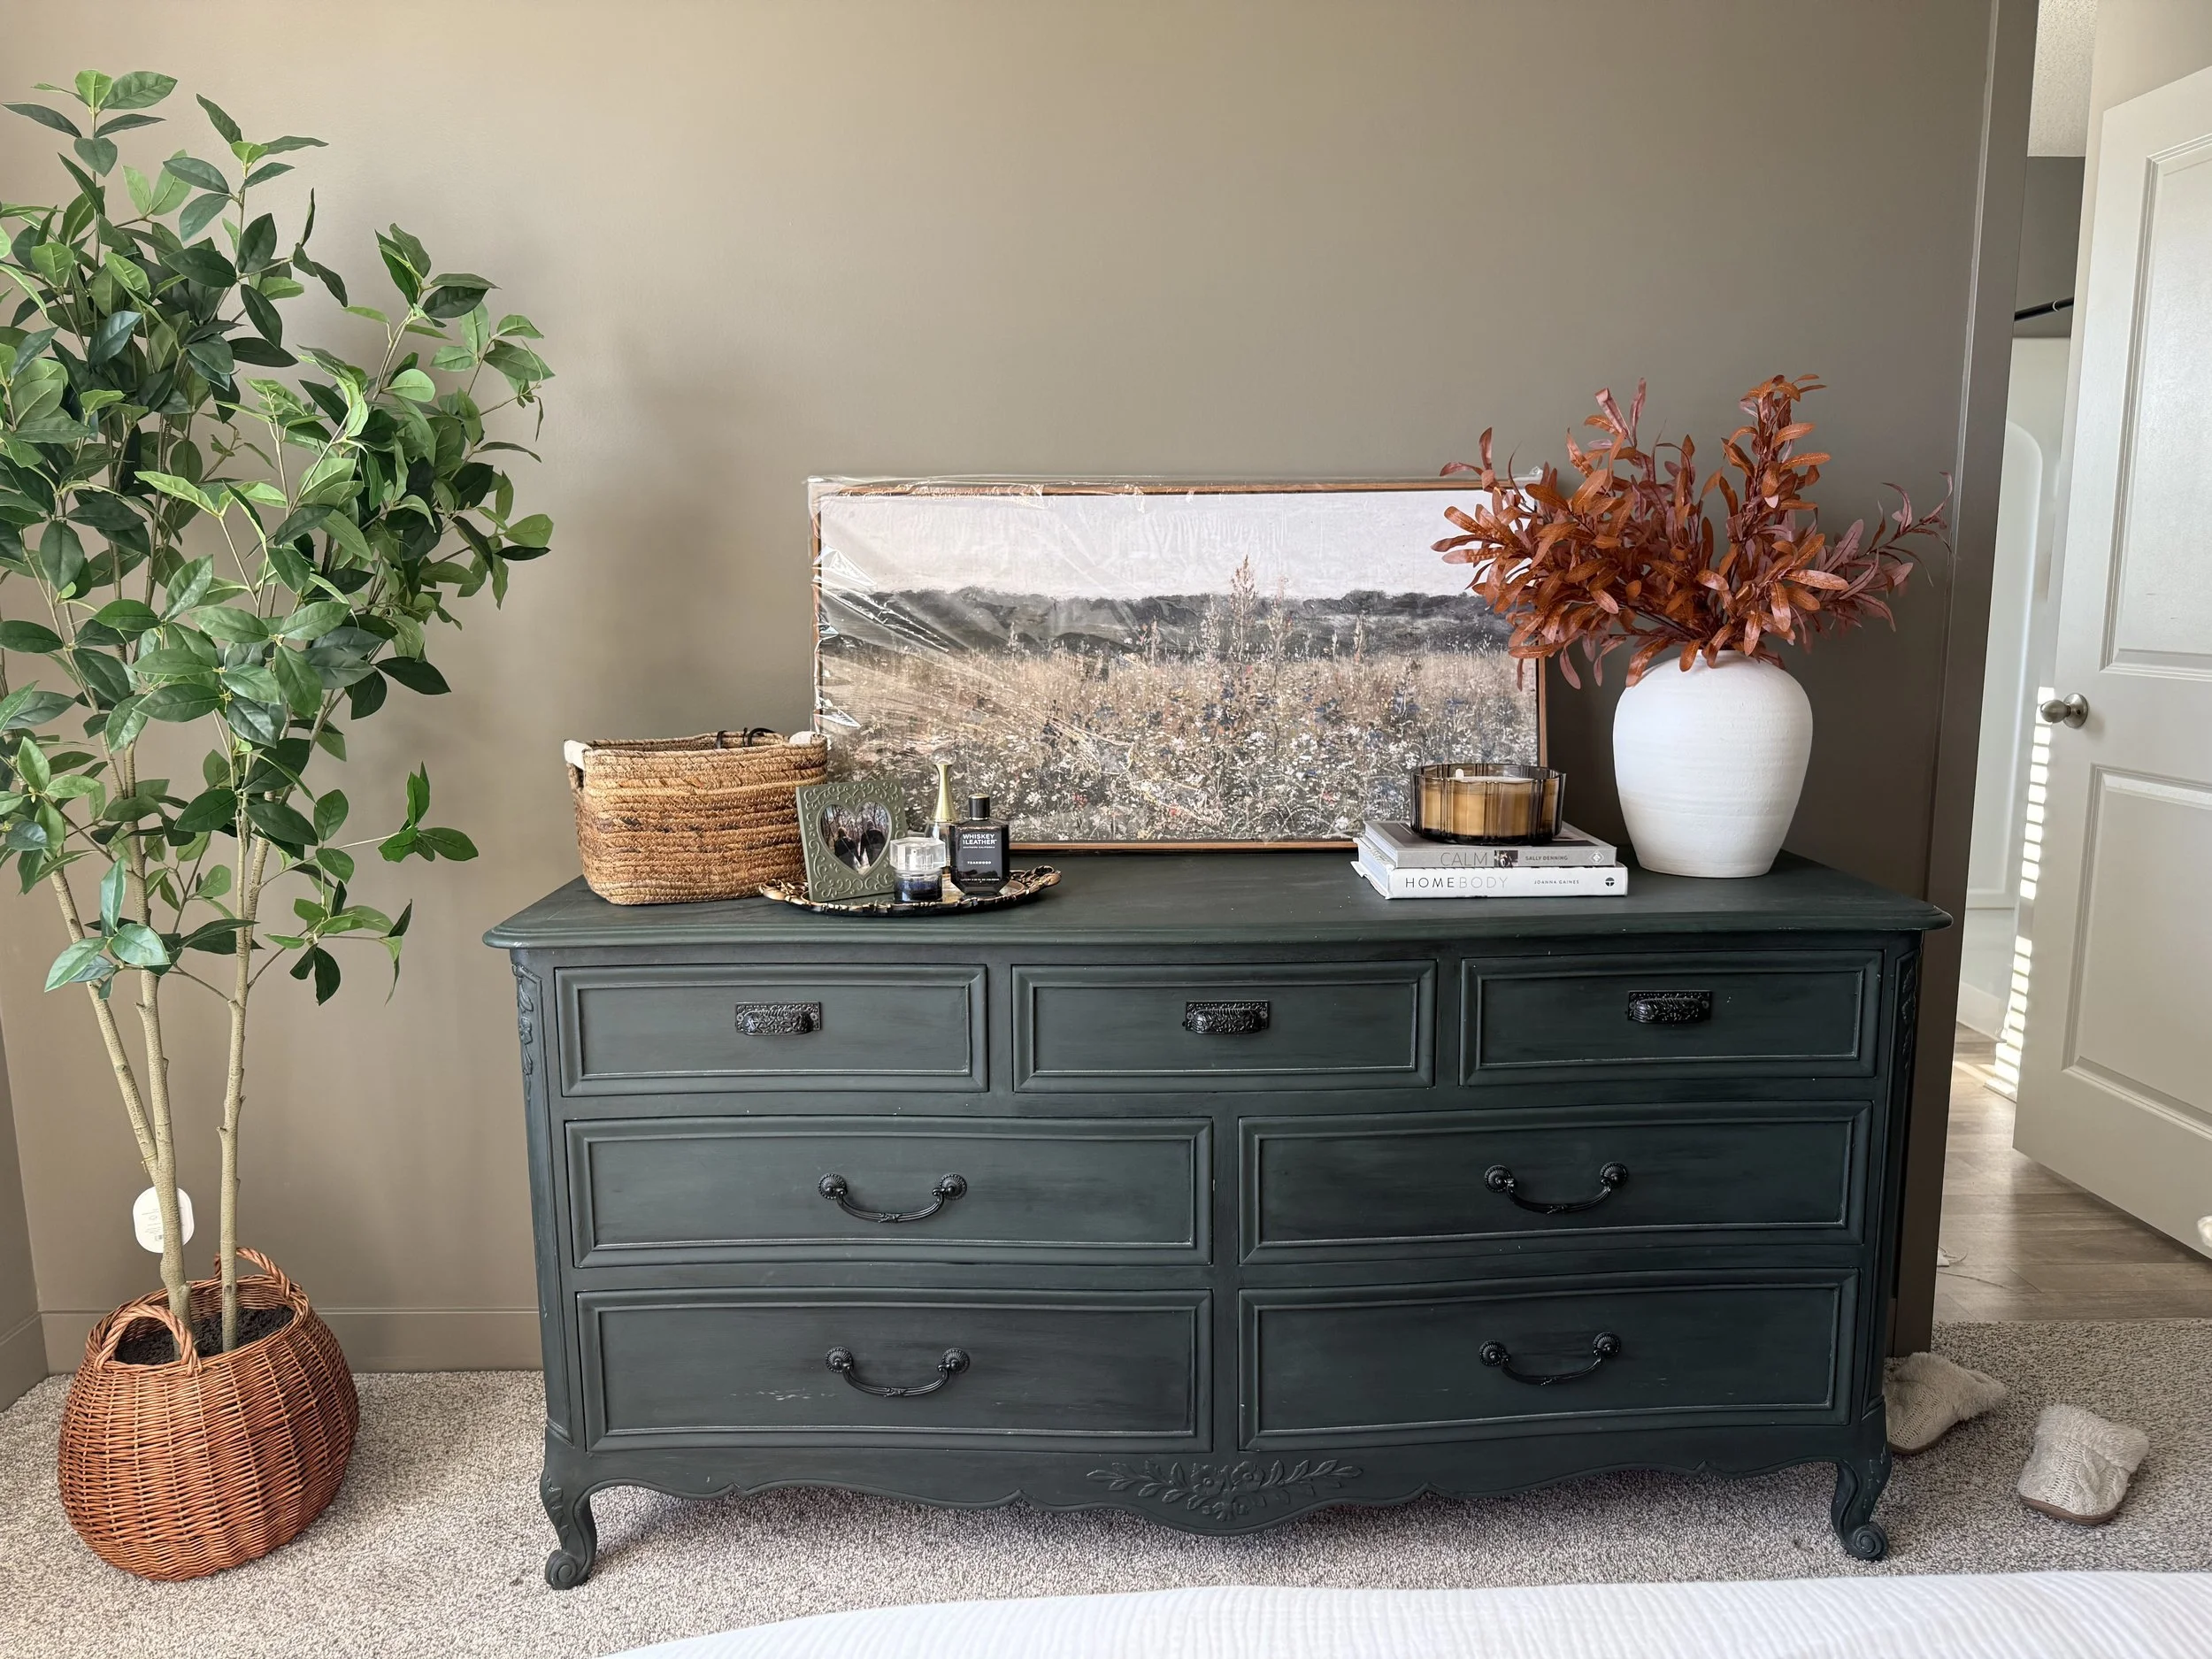
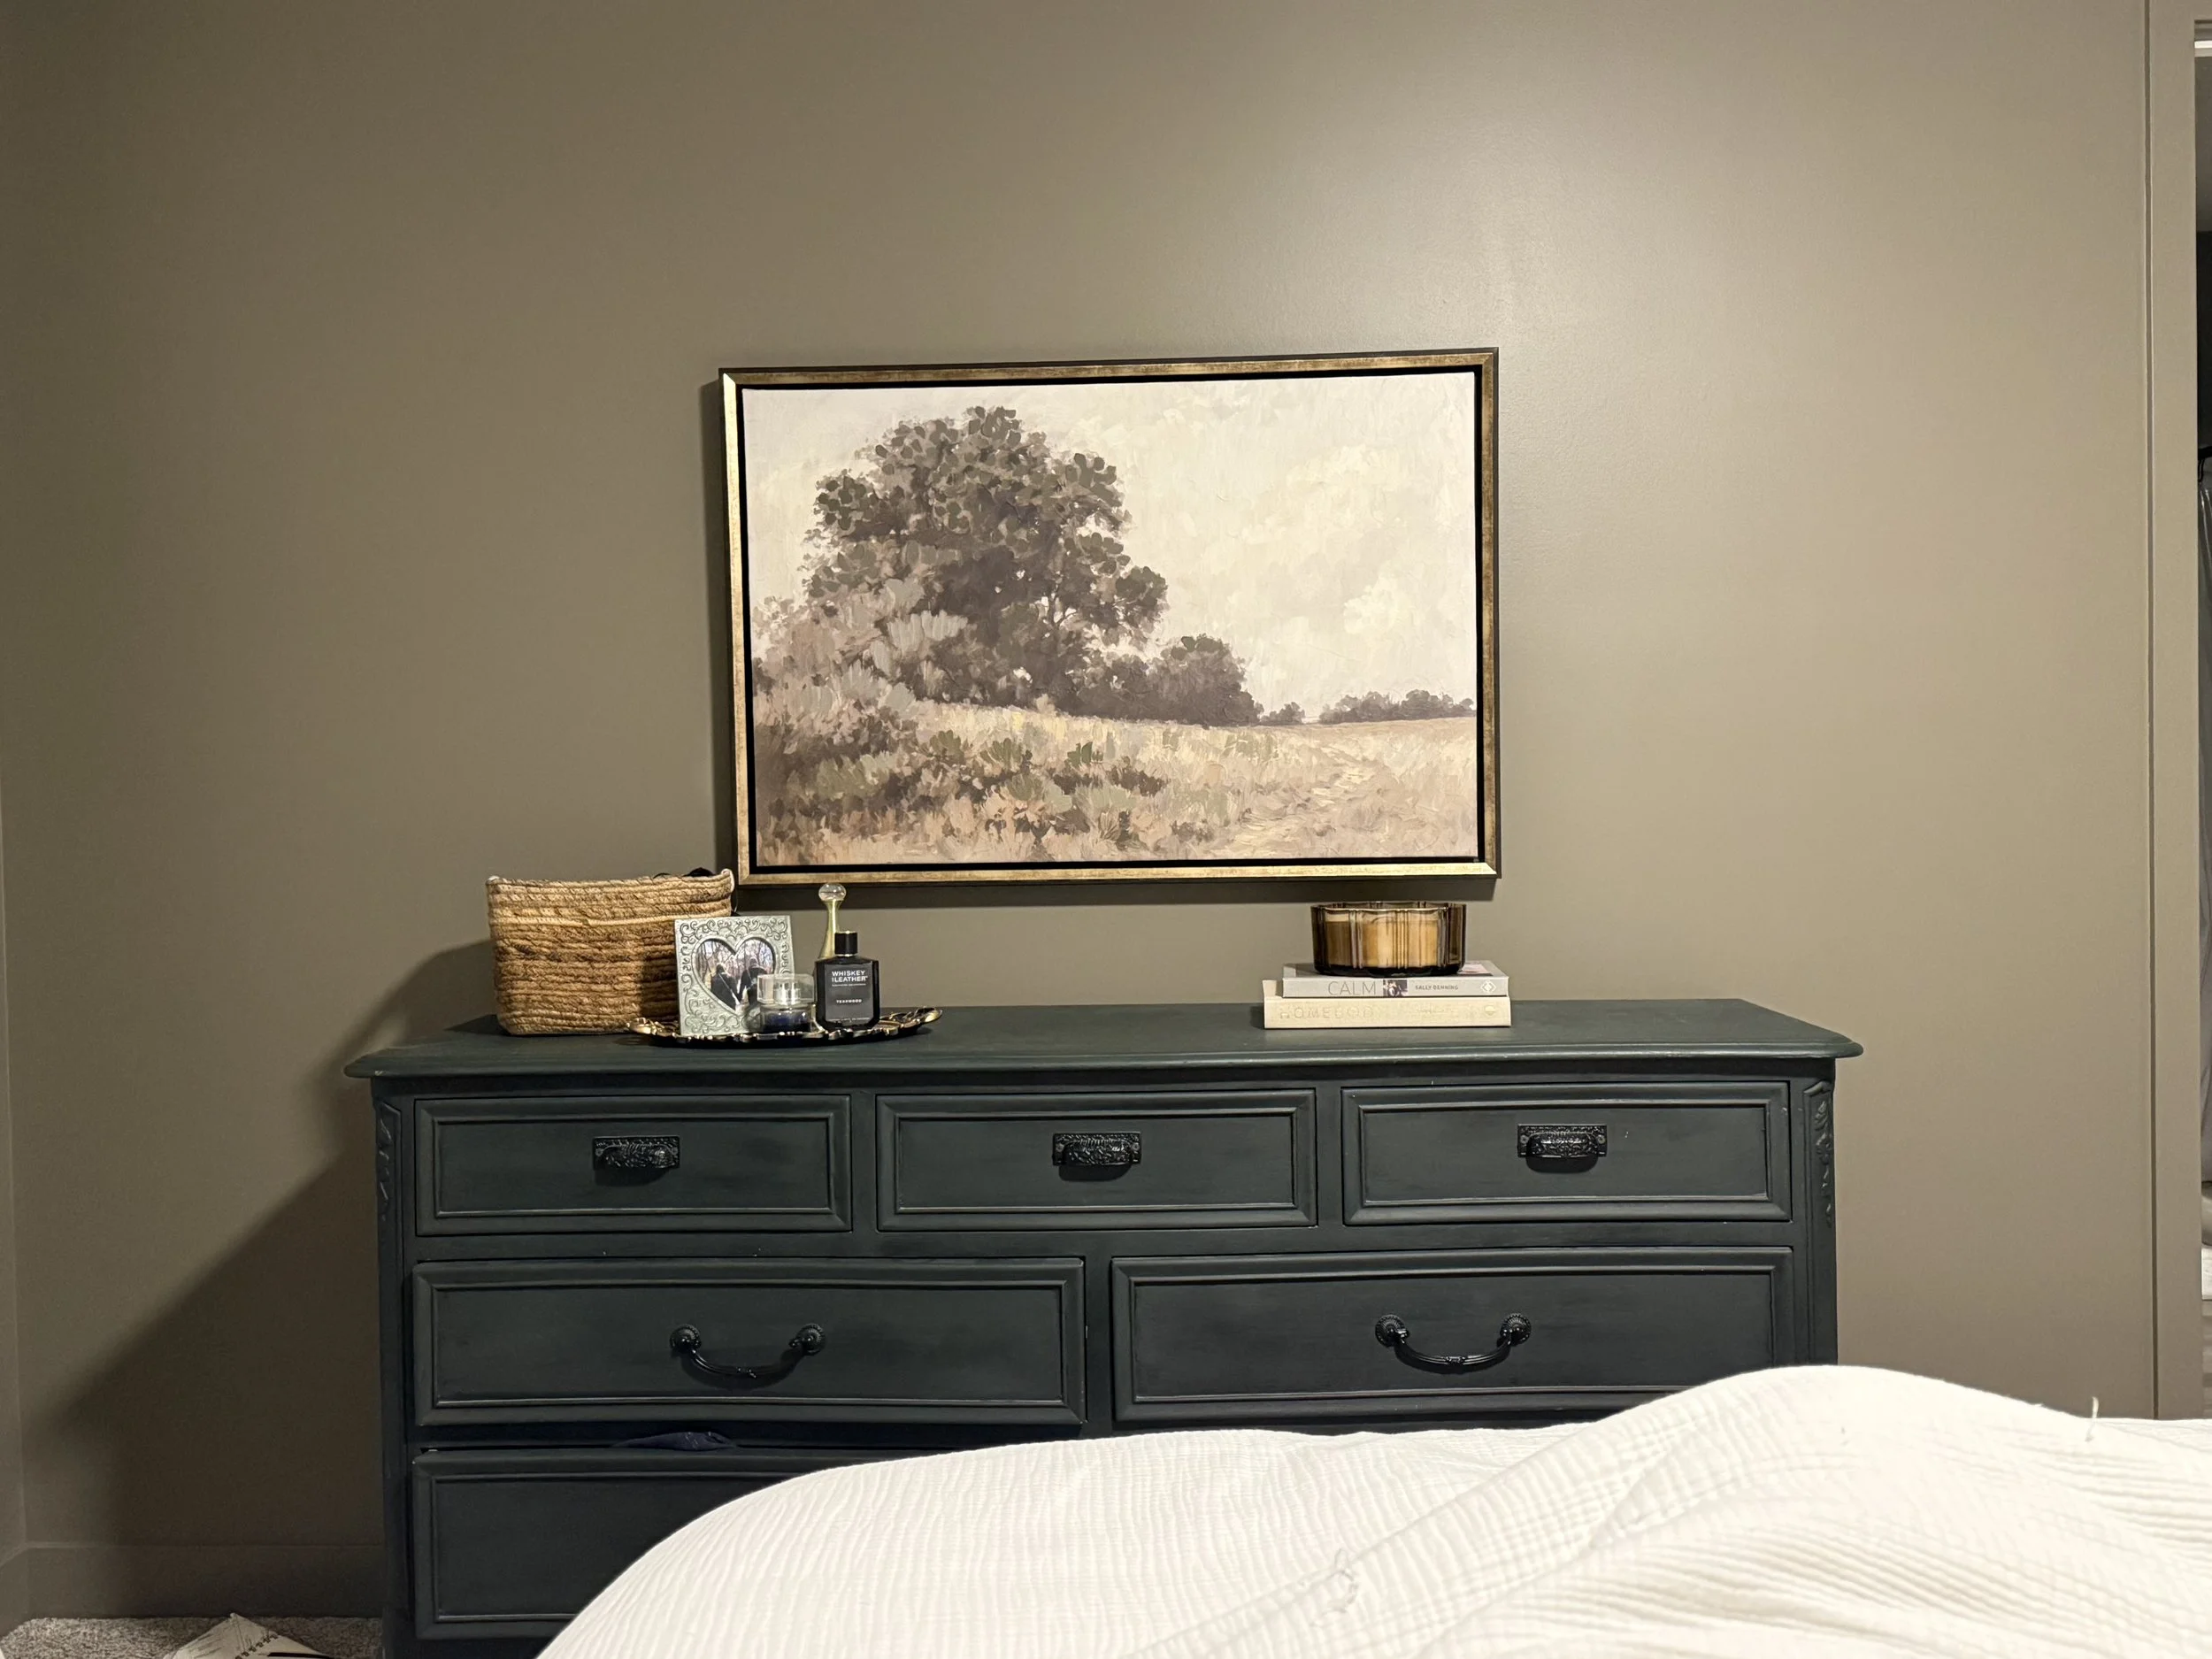
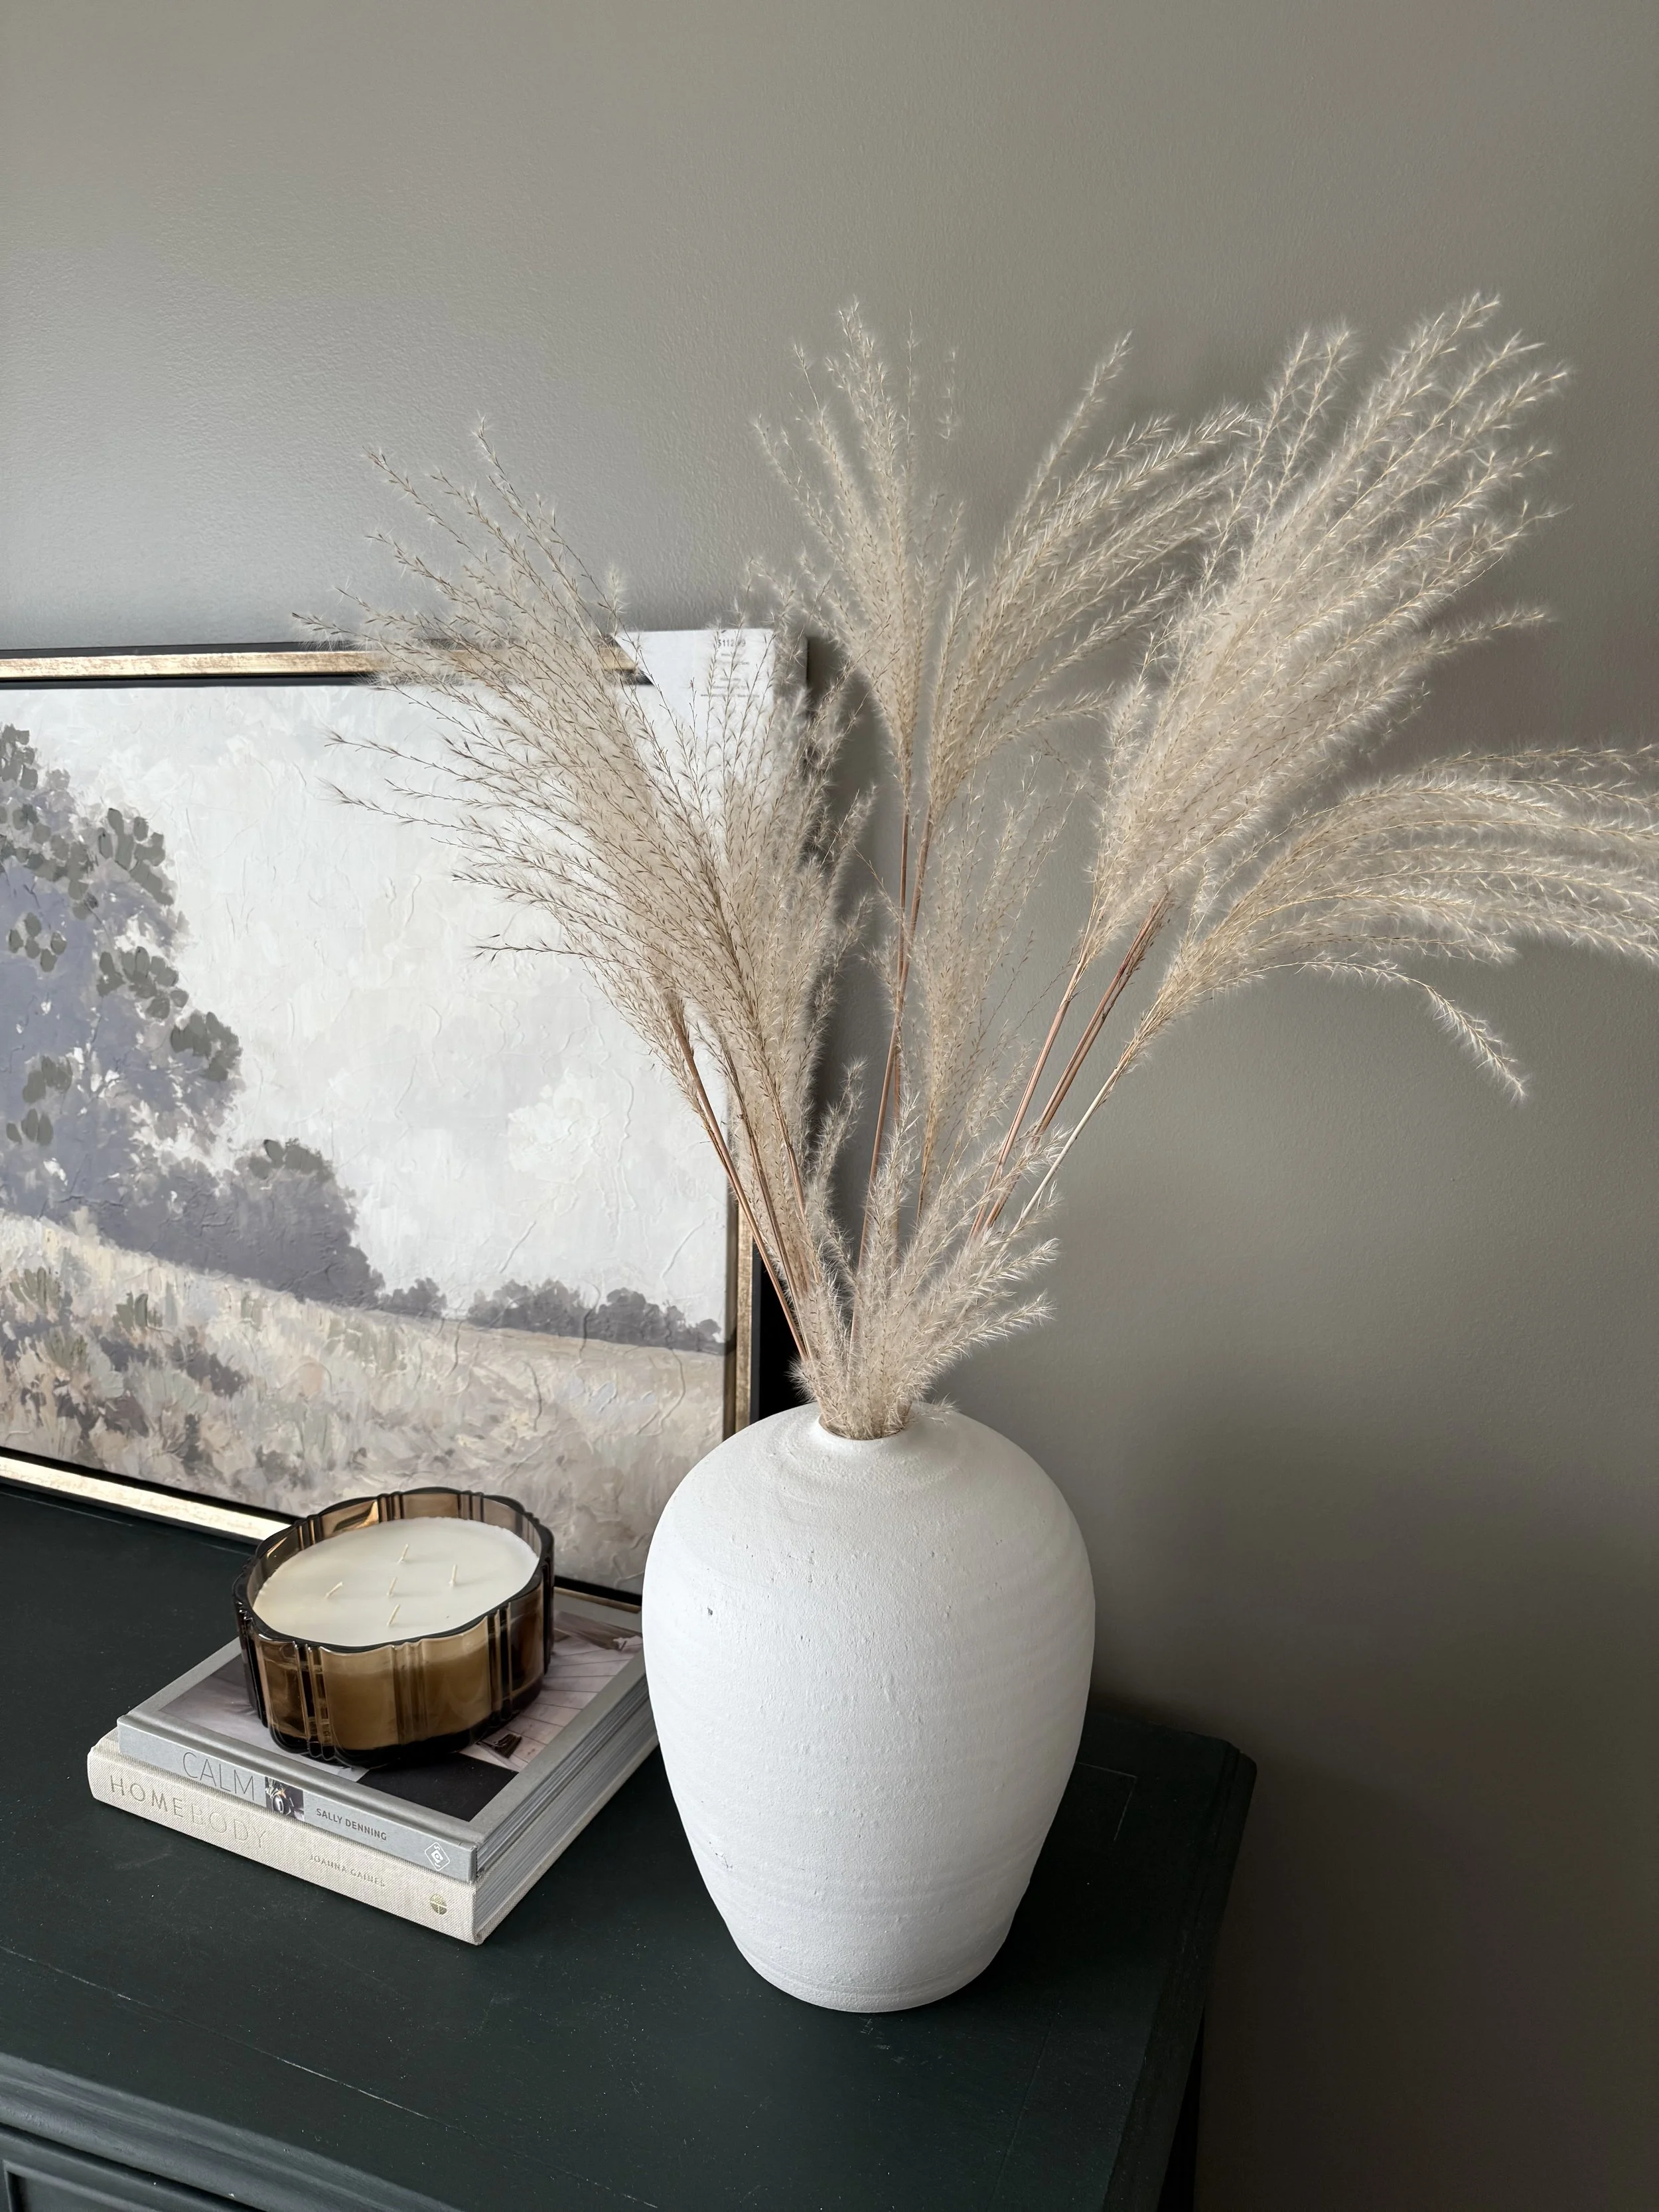
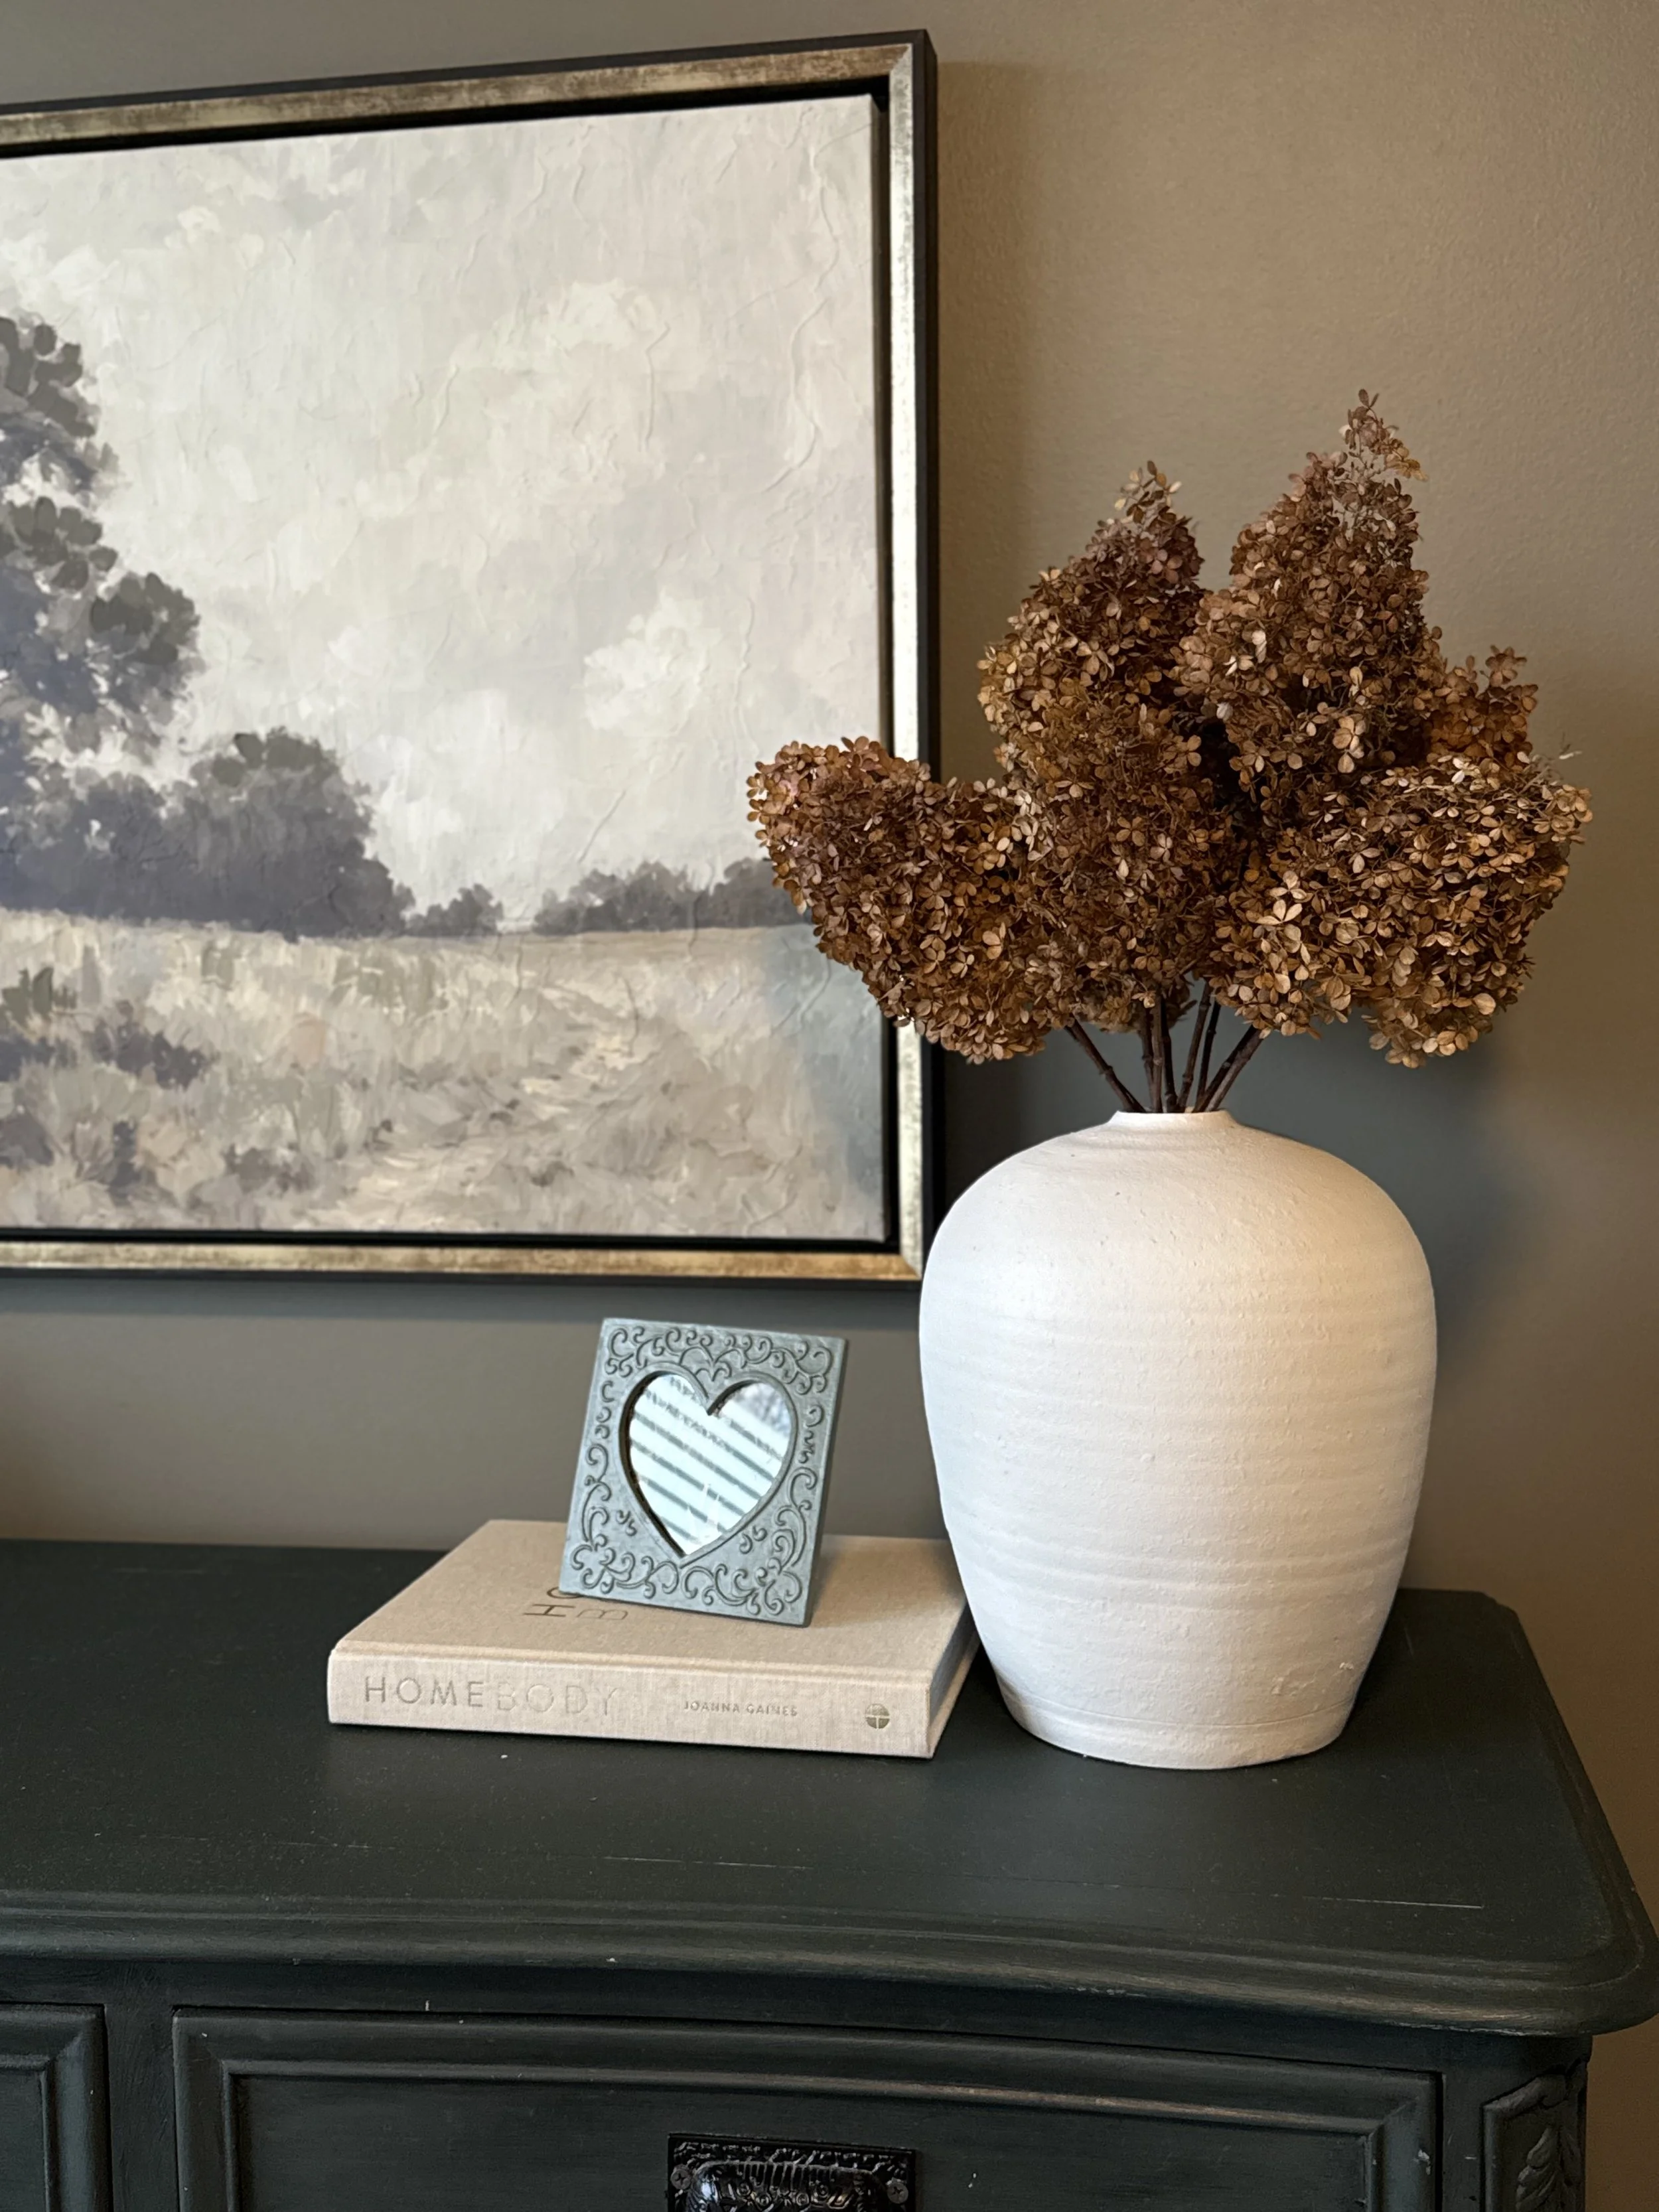
A couple other pieces we brought in to finish the space included a few different candles, coffee table books, a mirror tray for perfume and a basket to hide our router! We also painted a couple of our preexisting picture frames green and I cut up my hands foraging for some gorgeous grasses to fill a large, white vase.
We learned the hard way that it is hard to find real grass filler that does not mess with allergies or asthma. After testing out two different grasses that were beautiful, but made me itchy, I realized I had gorgeous, camel-colored, dried hydrangea right in my front yard! Note to self, and to you readers, it’s always a good idea to look around for what you might already have!
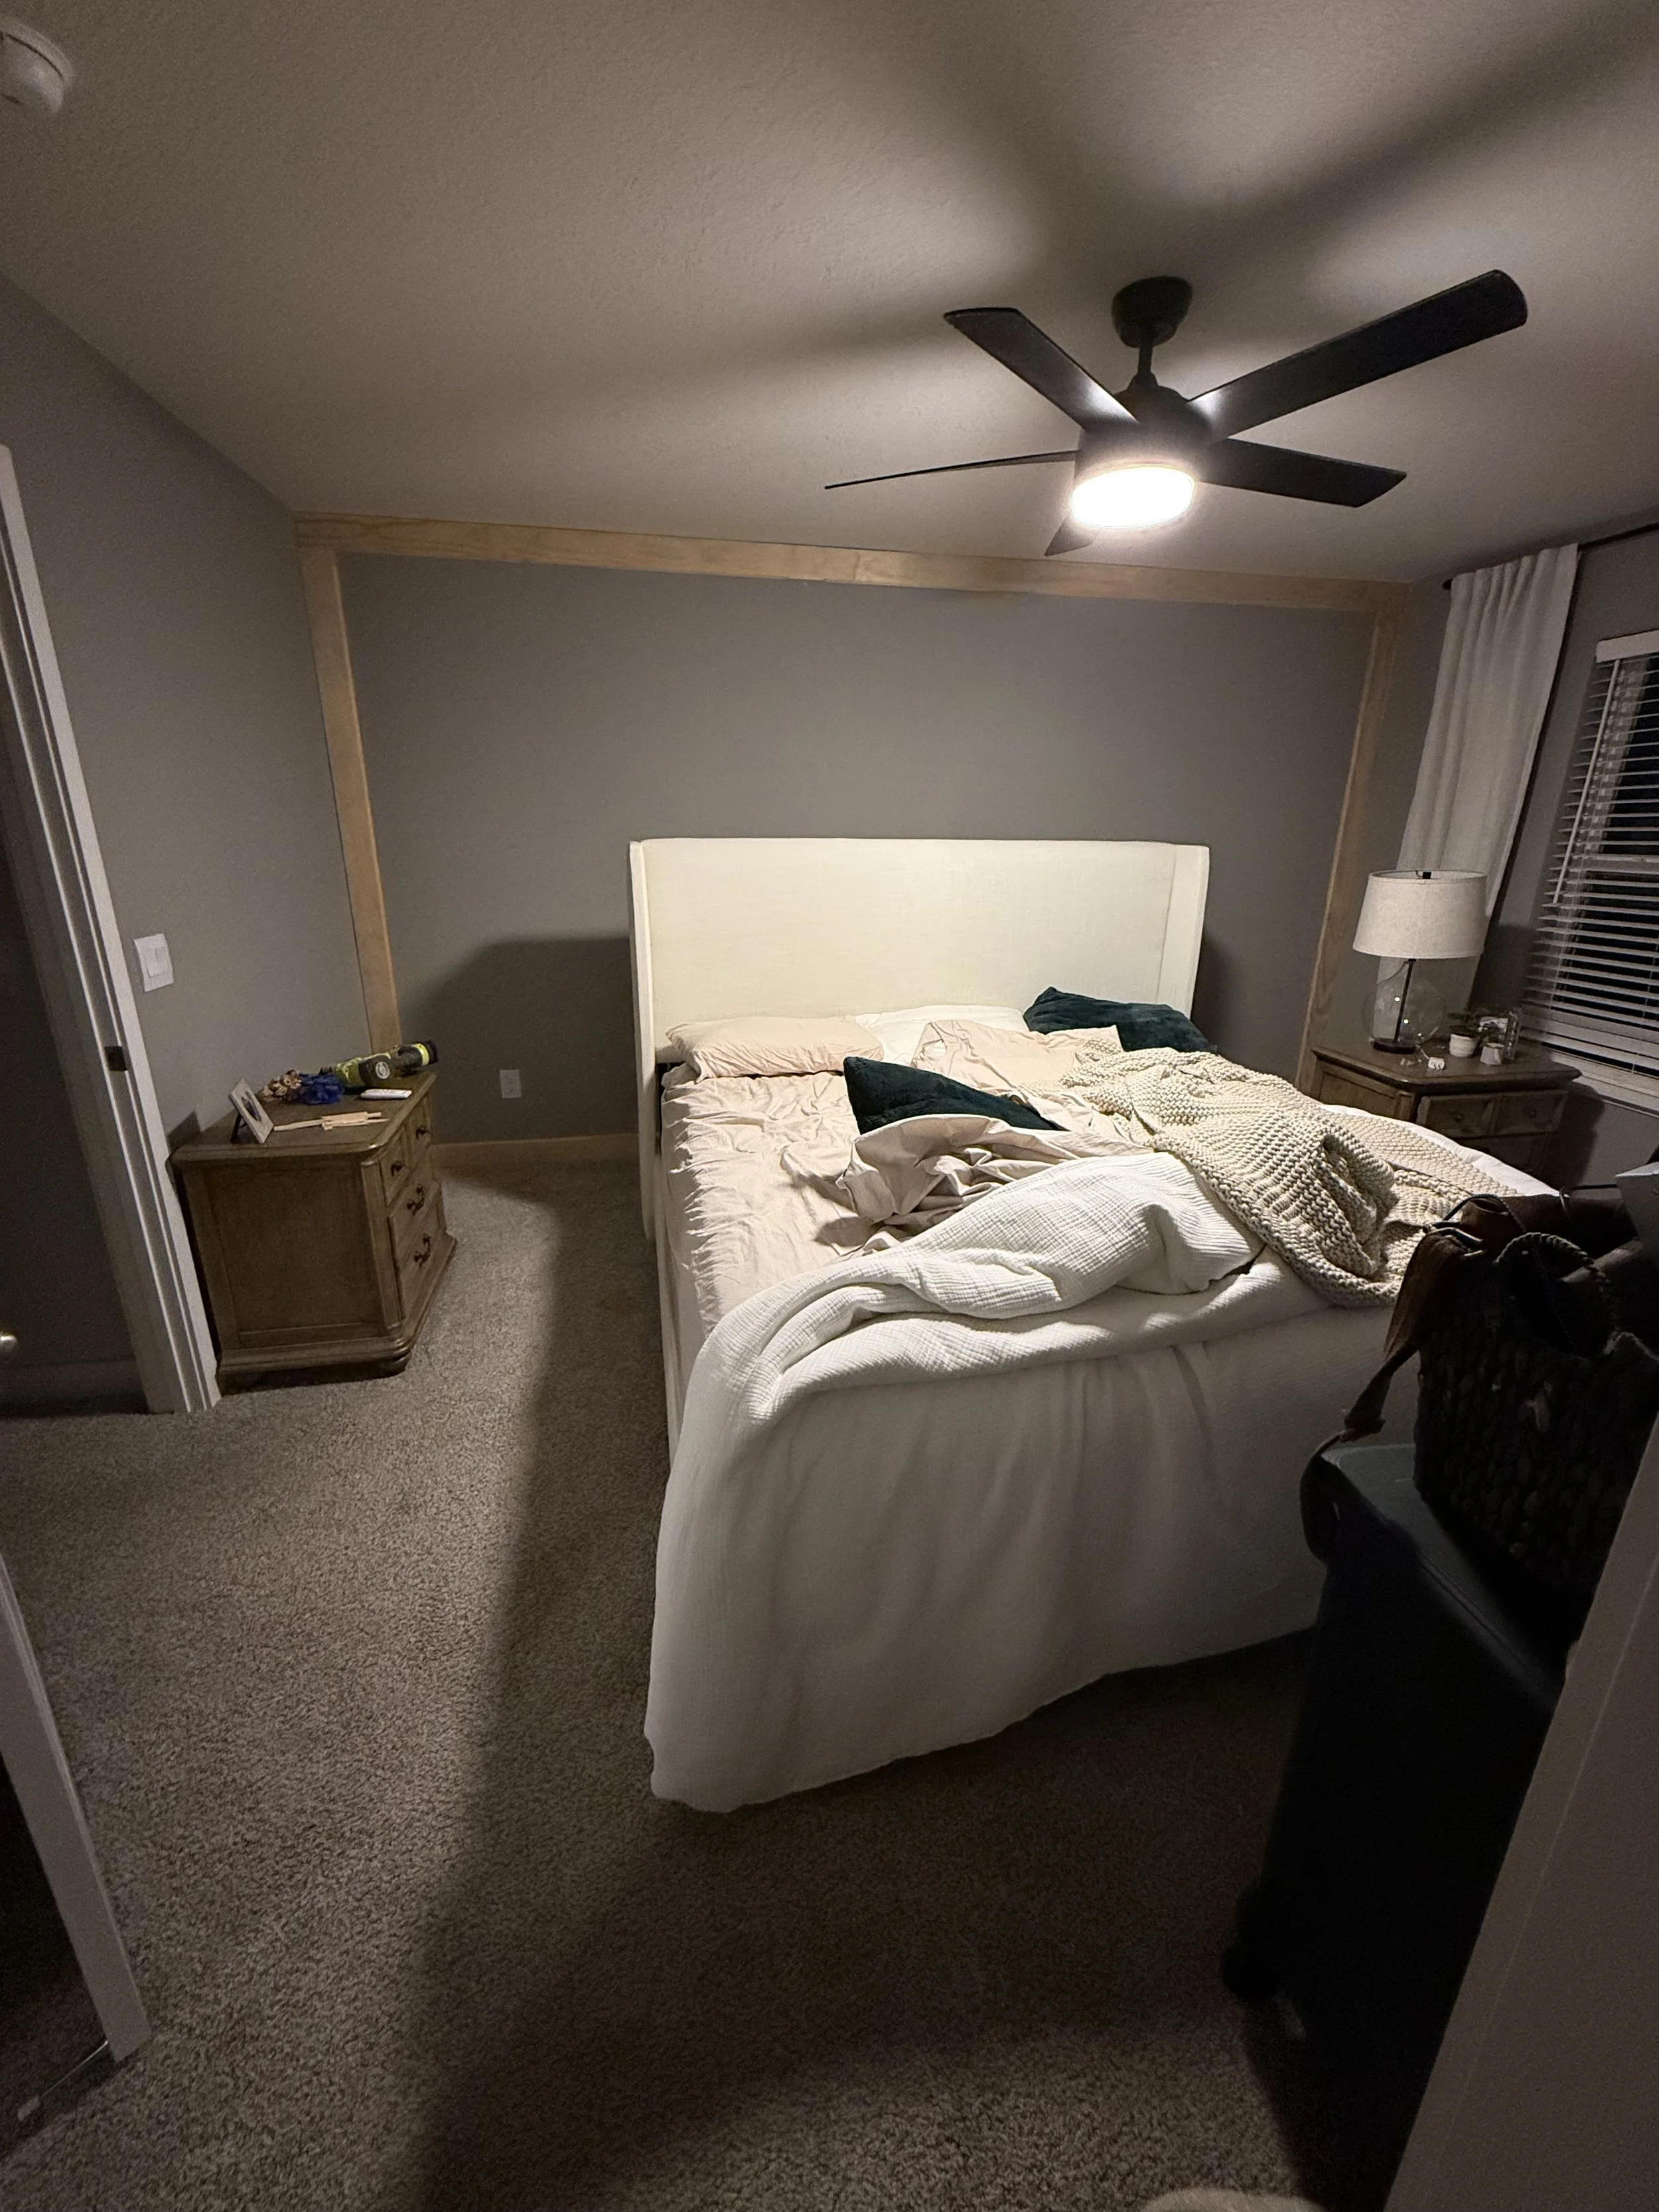
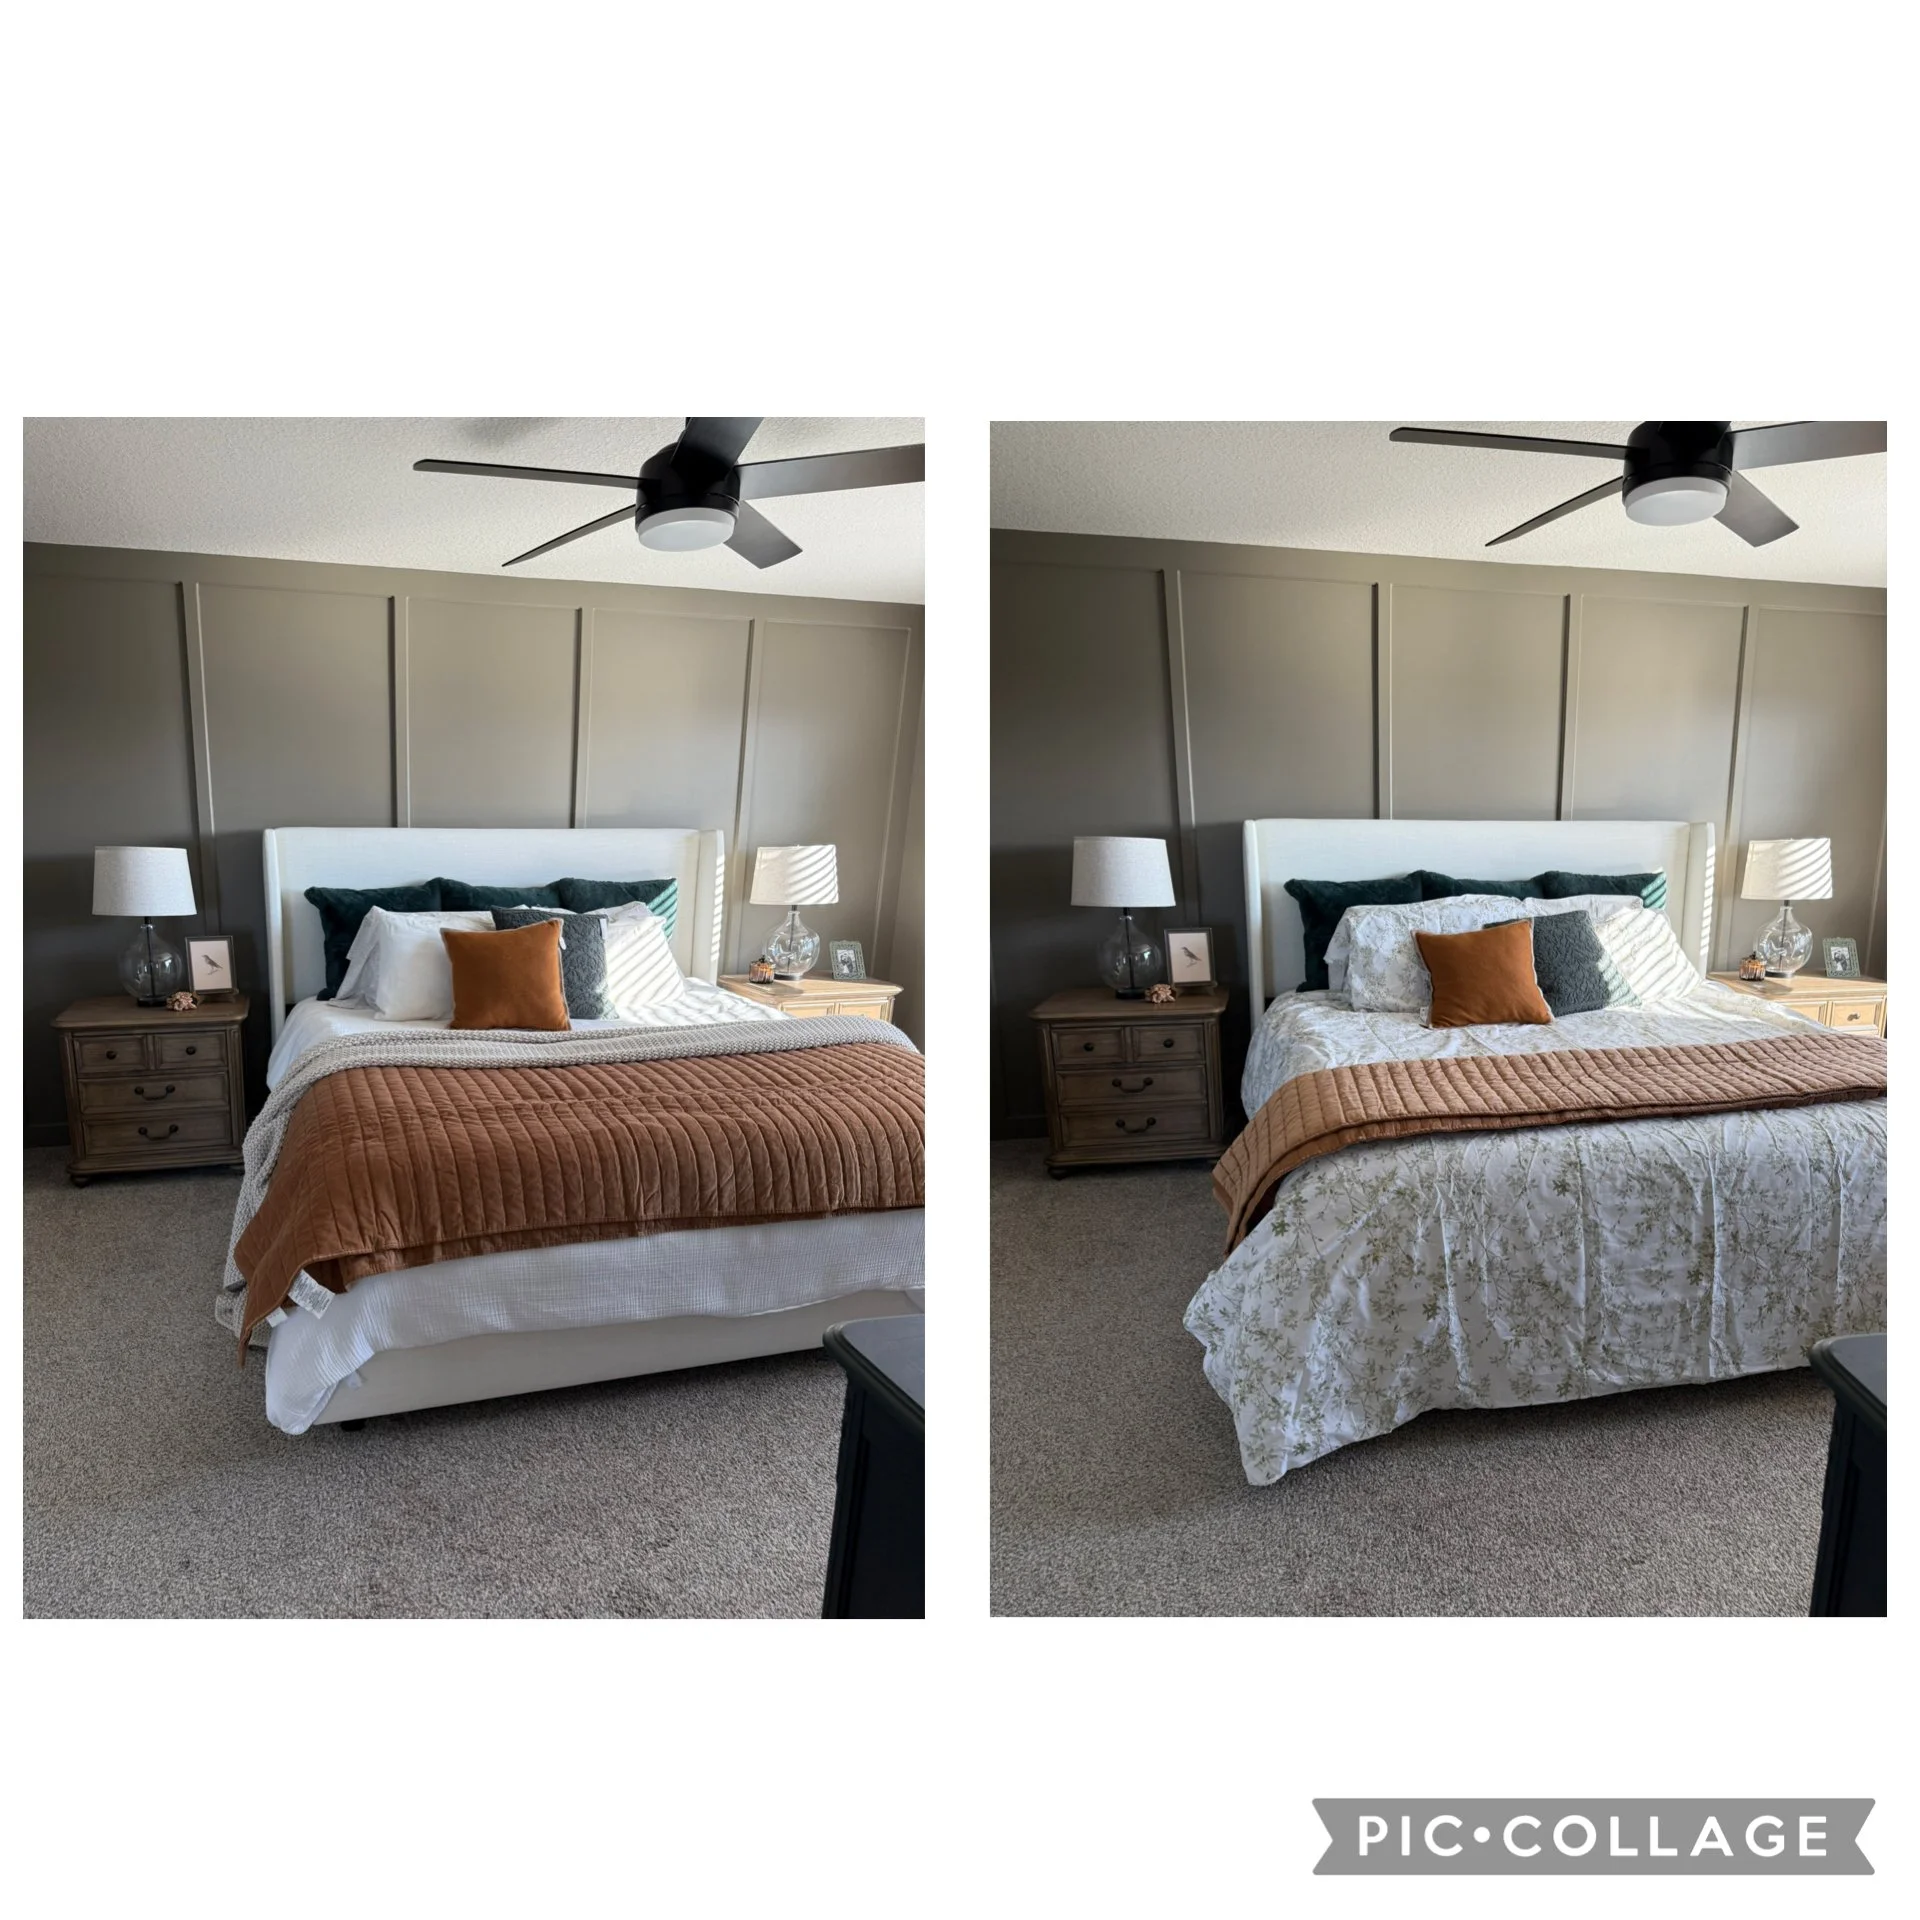
Chapter 7: Before and After: The Transformation
Although this project definitely snowballed into something much bigger than initially planned, I am SO in love with the end result!
Huge shoutout to Brianna Lynne Photography for the beautiful photos! And a thank you to Kelsey Stommel Homes for your collaboration and amazing color and décor insights.
See below for the gorgeous before and after shots!
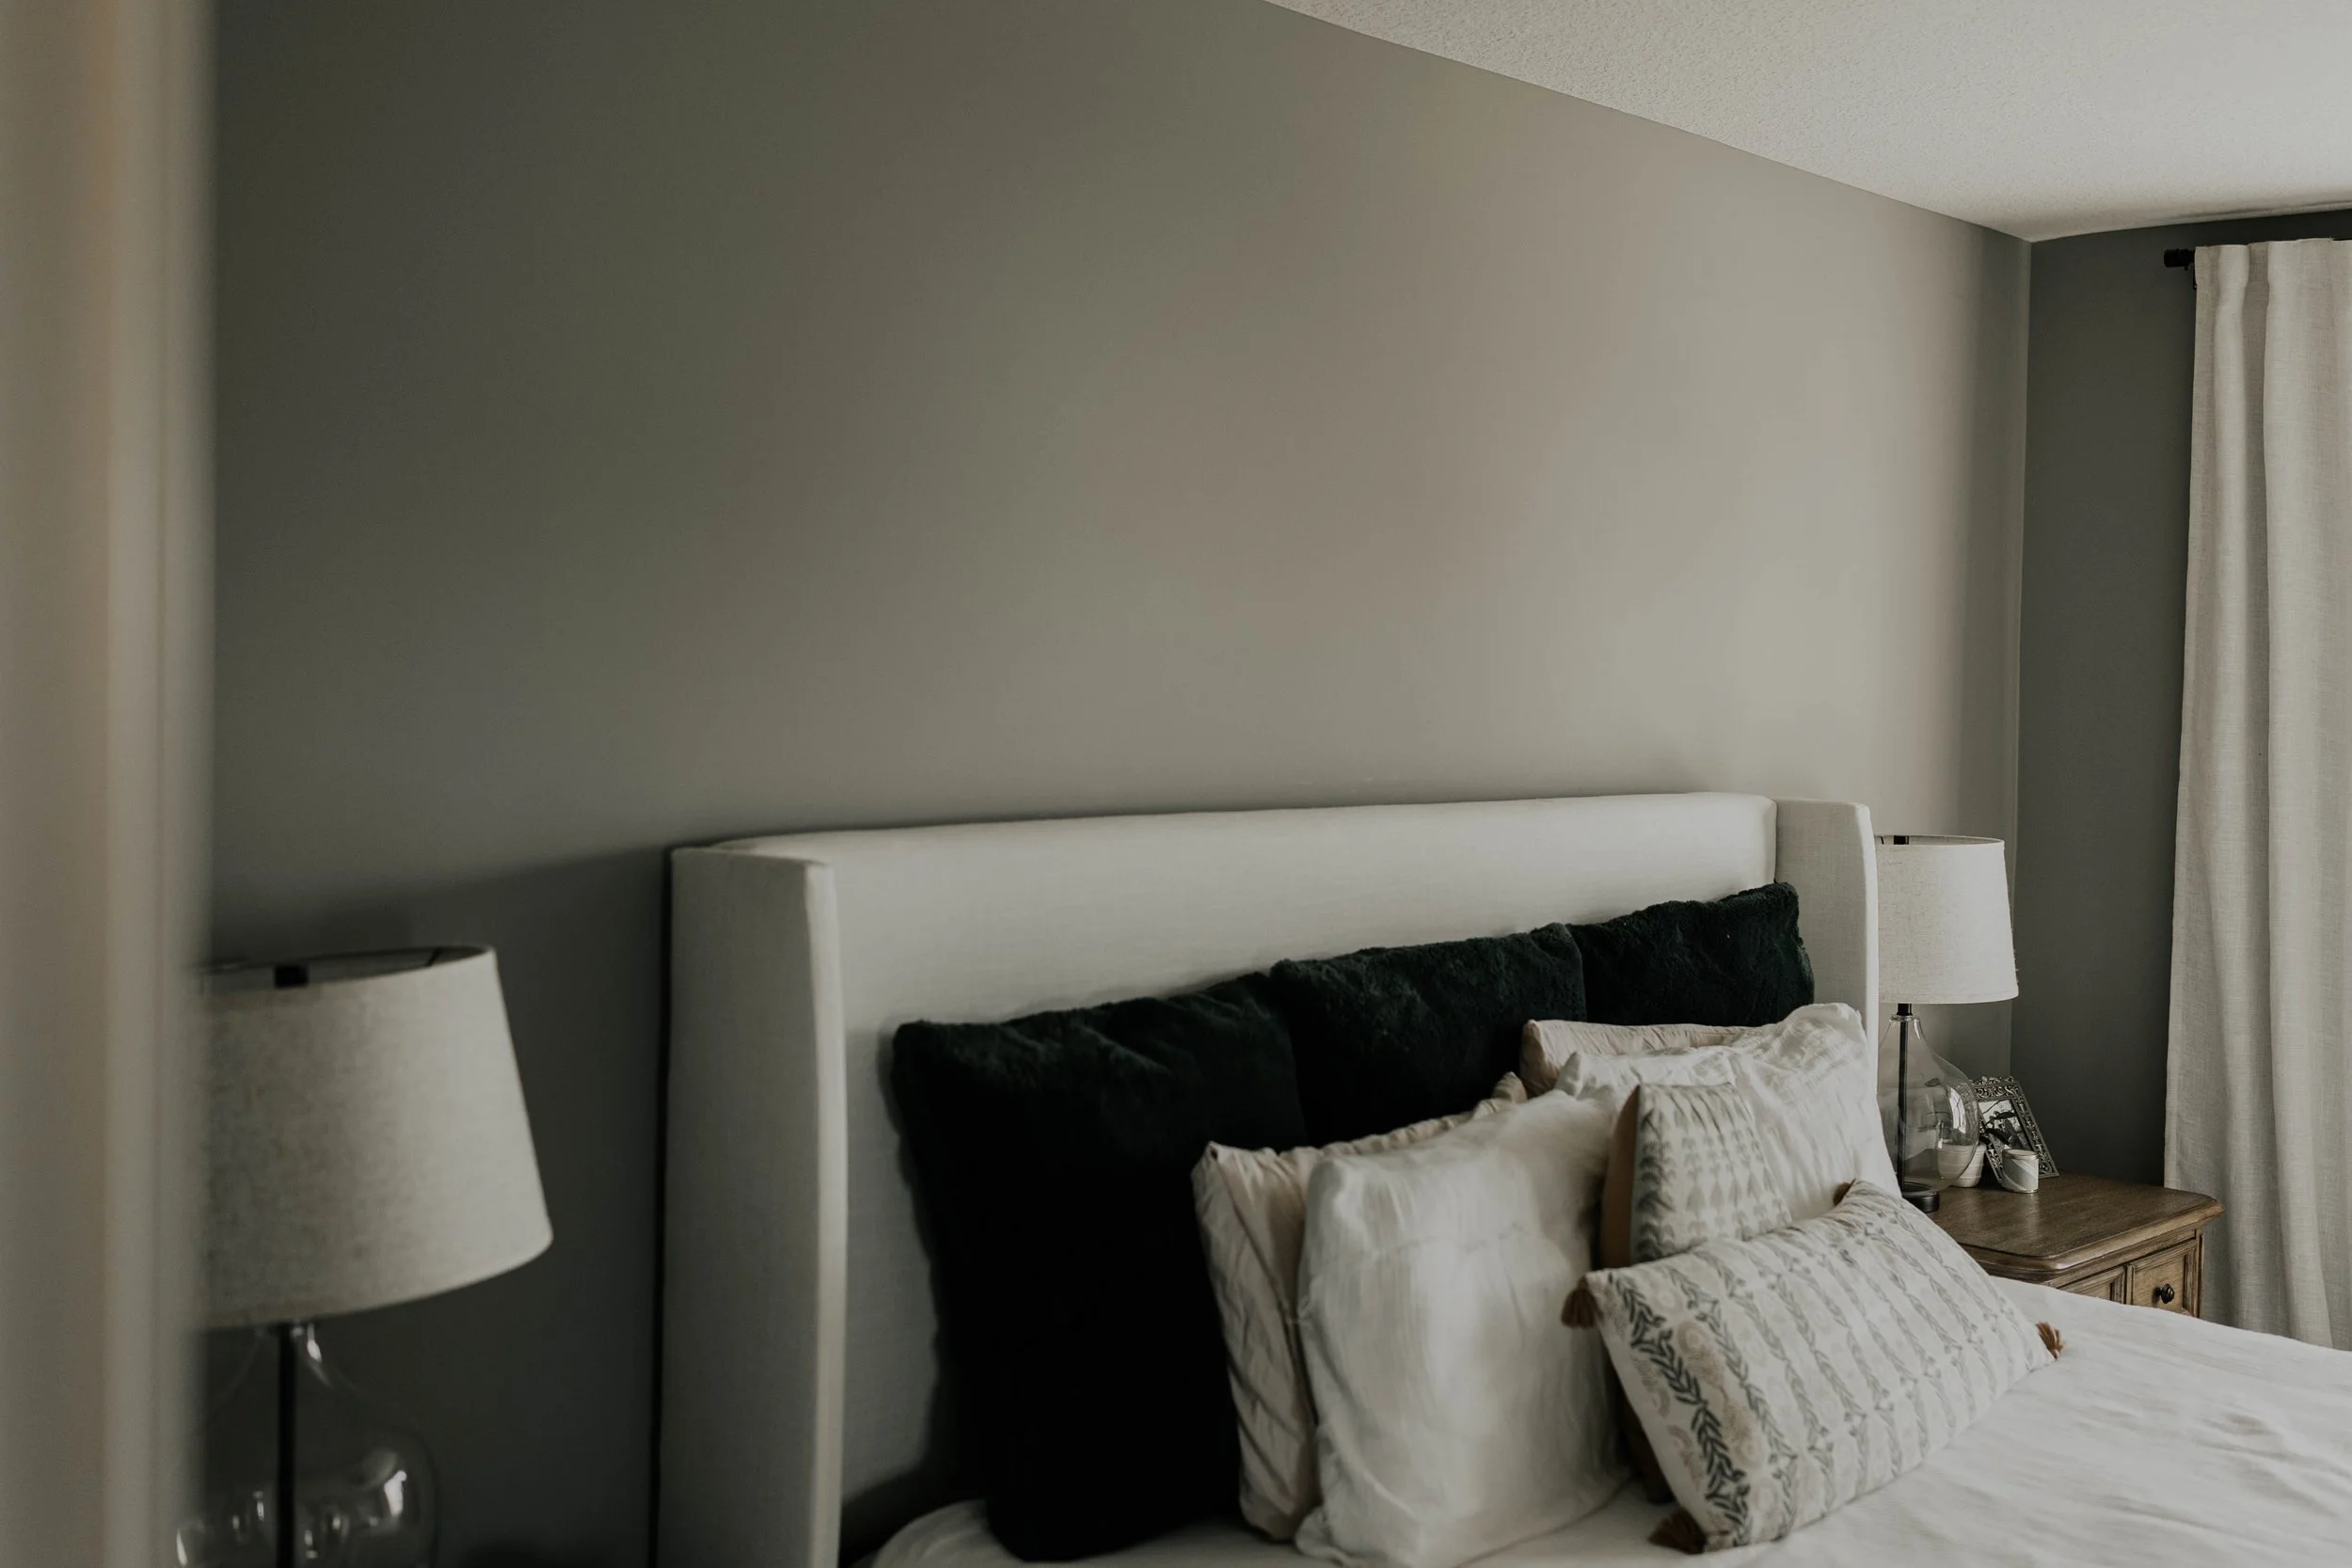
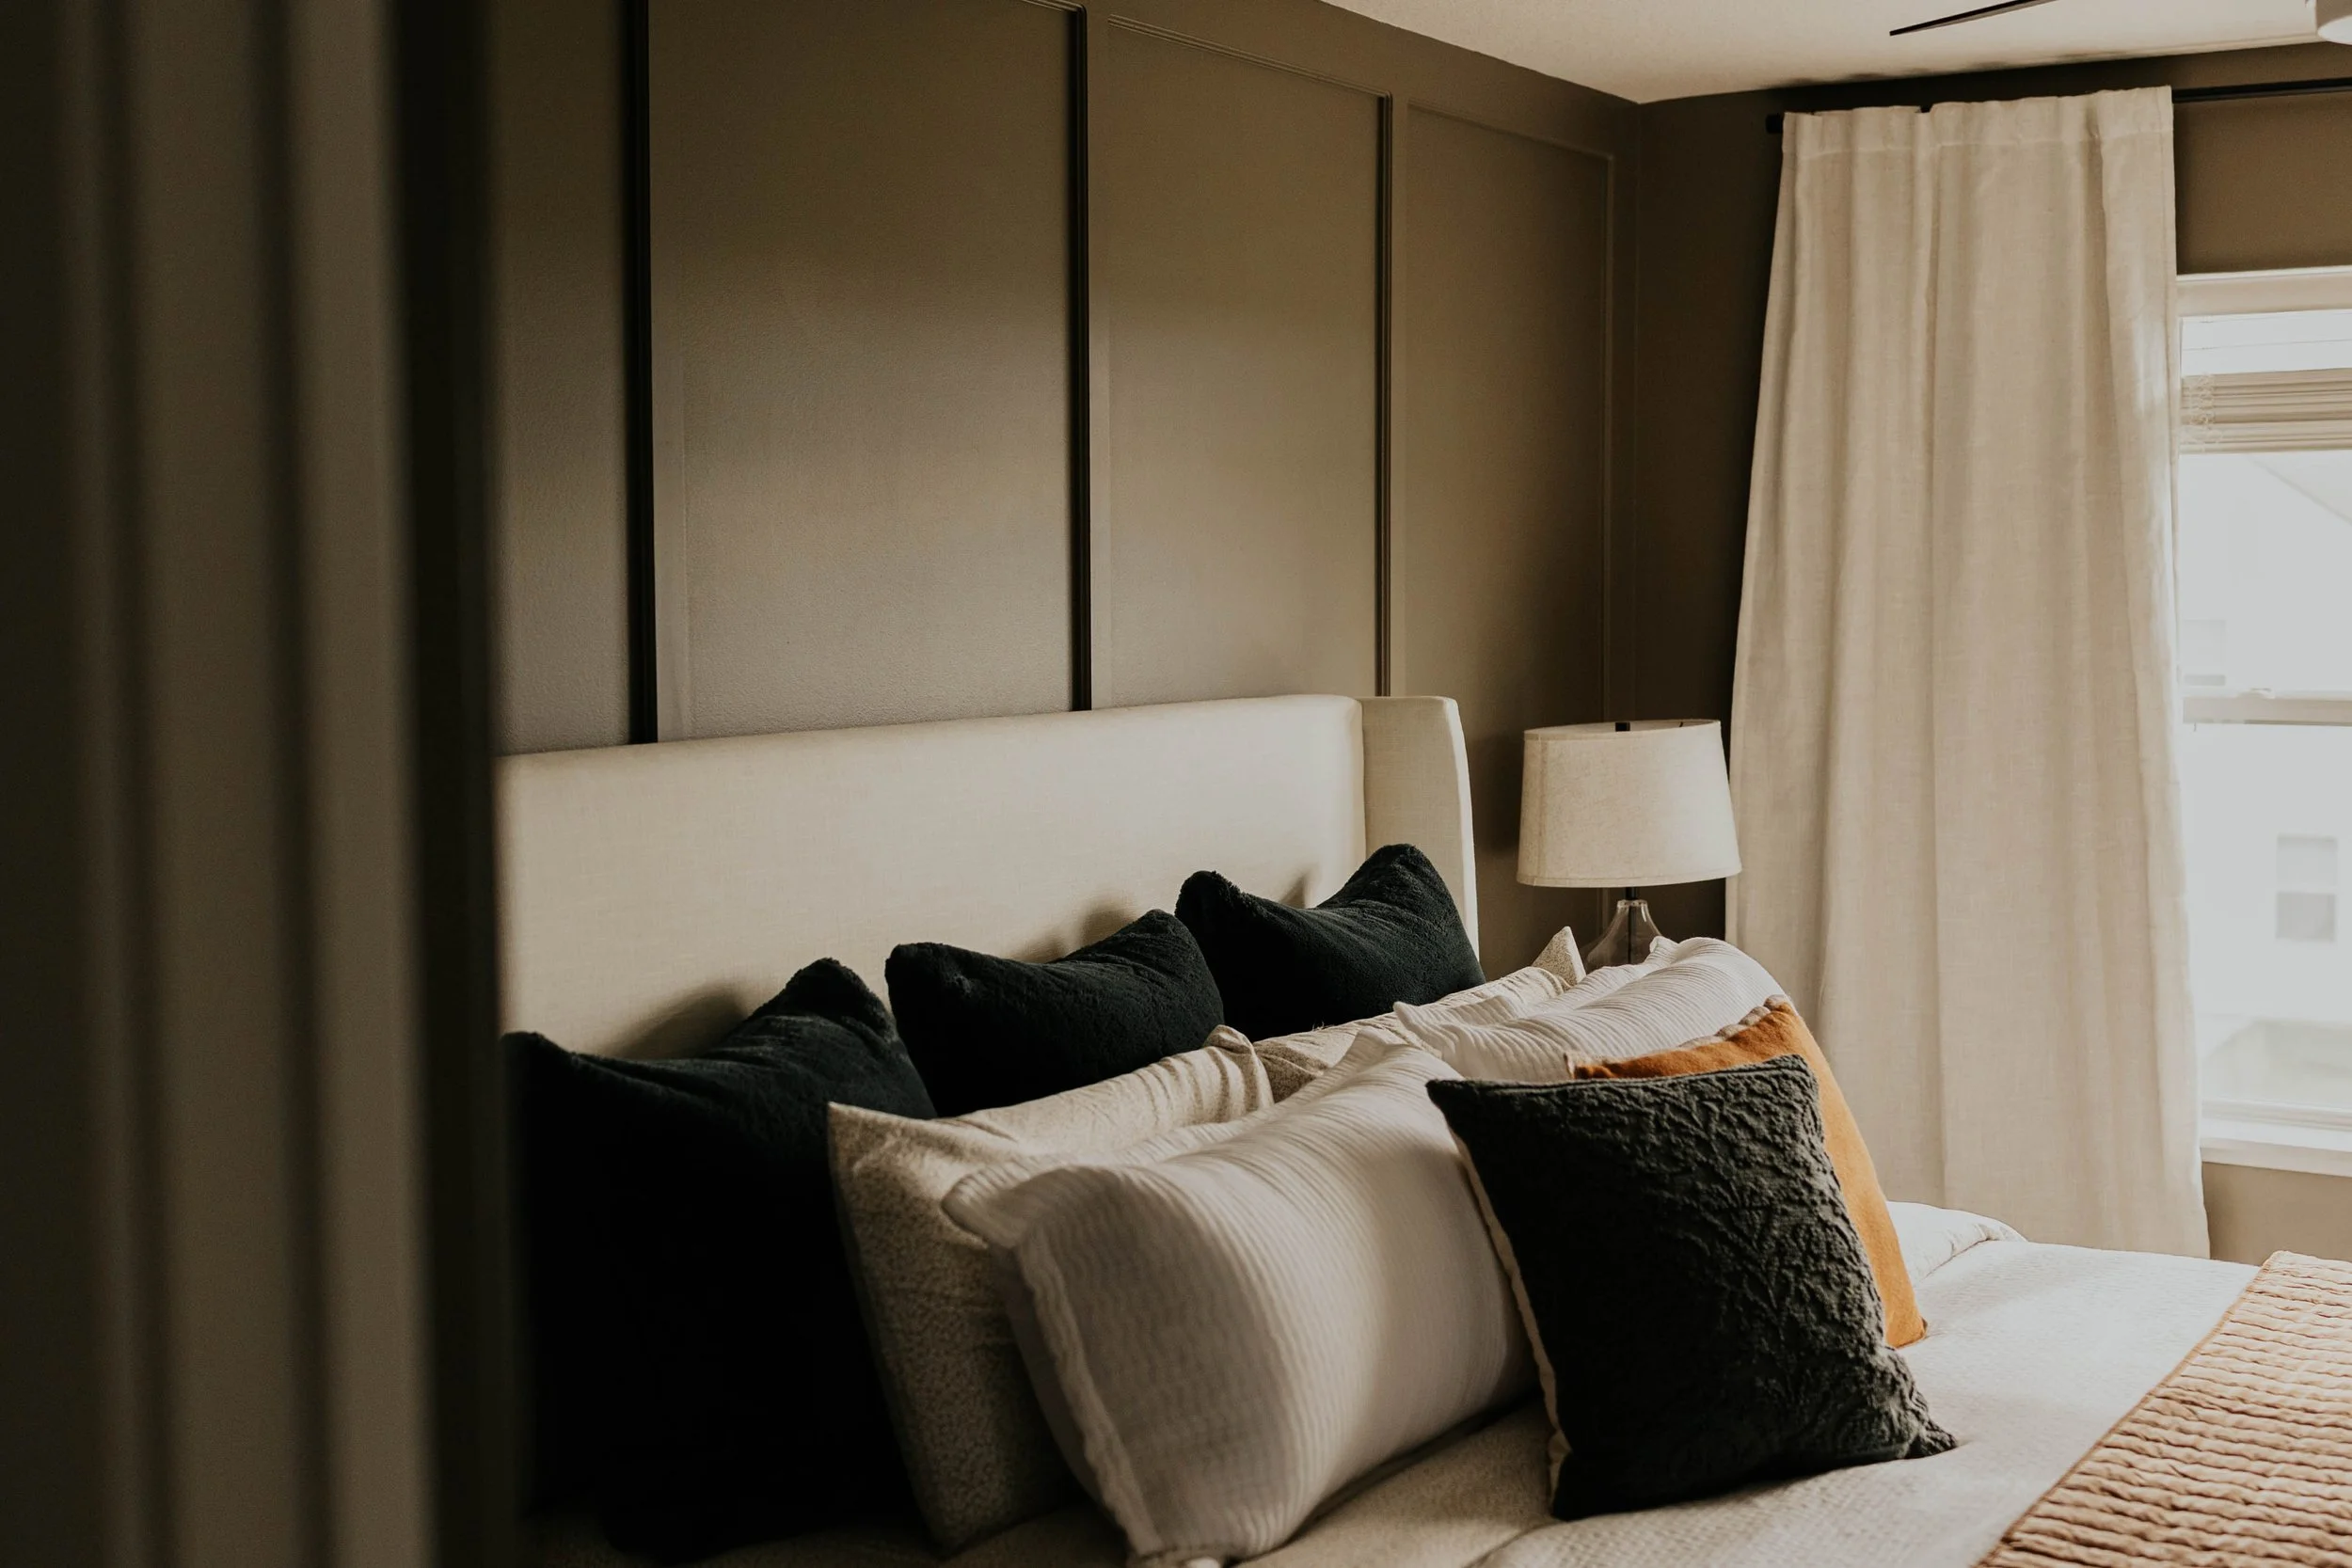
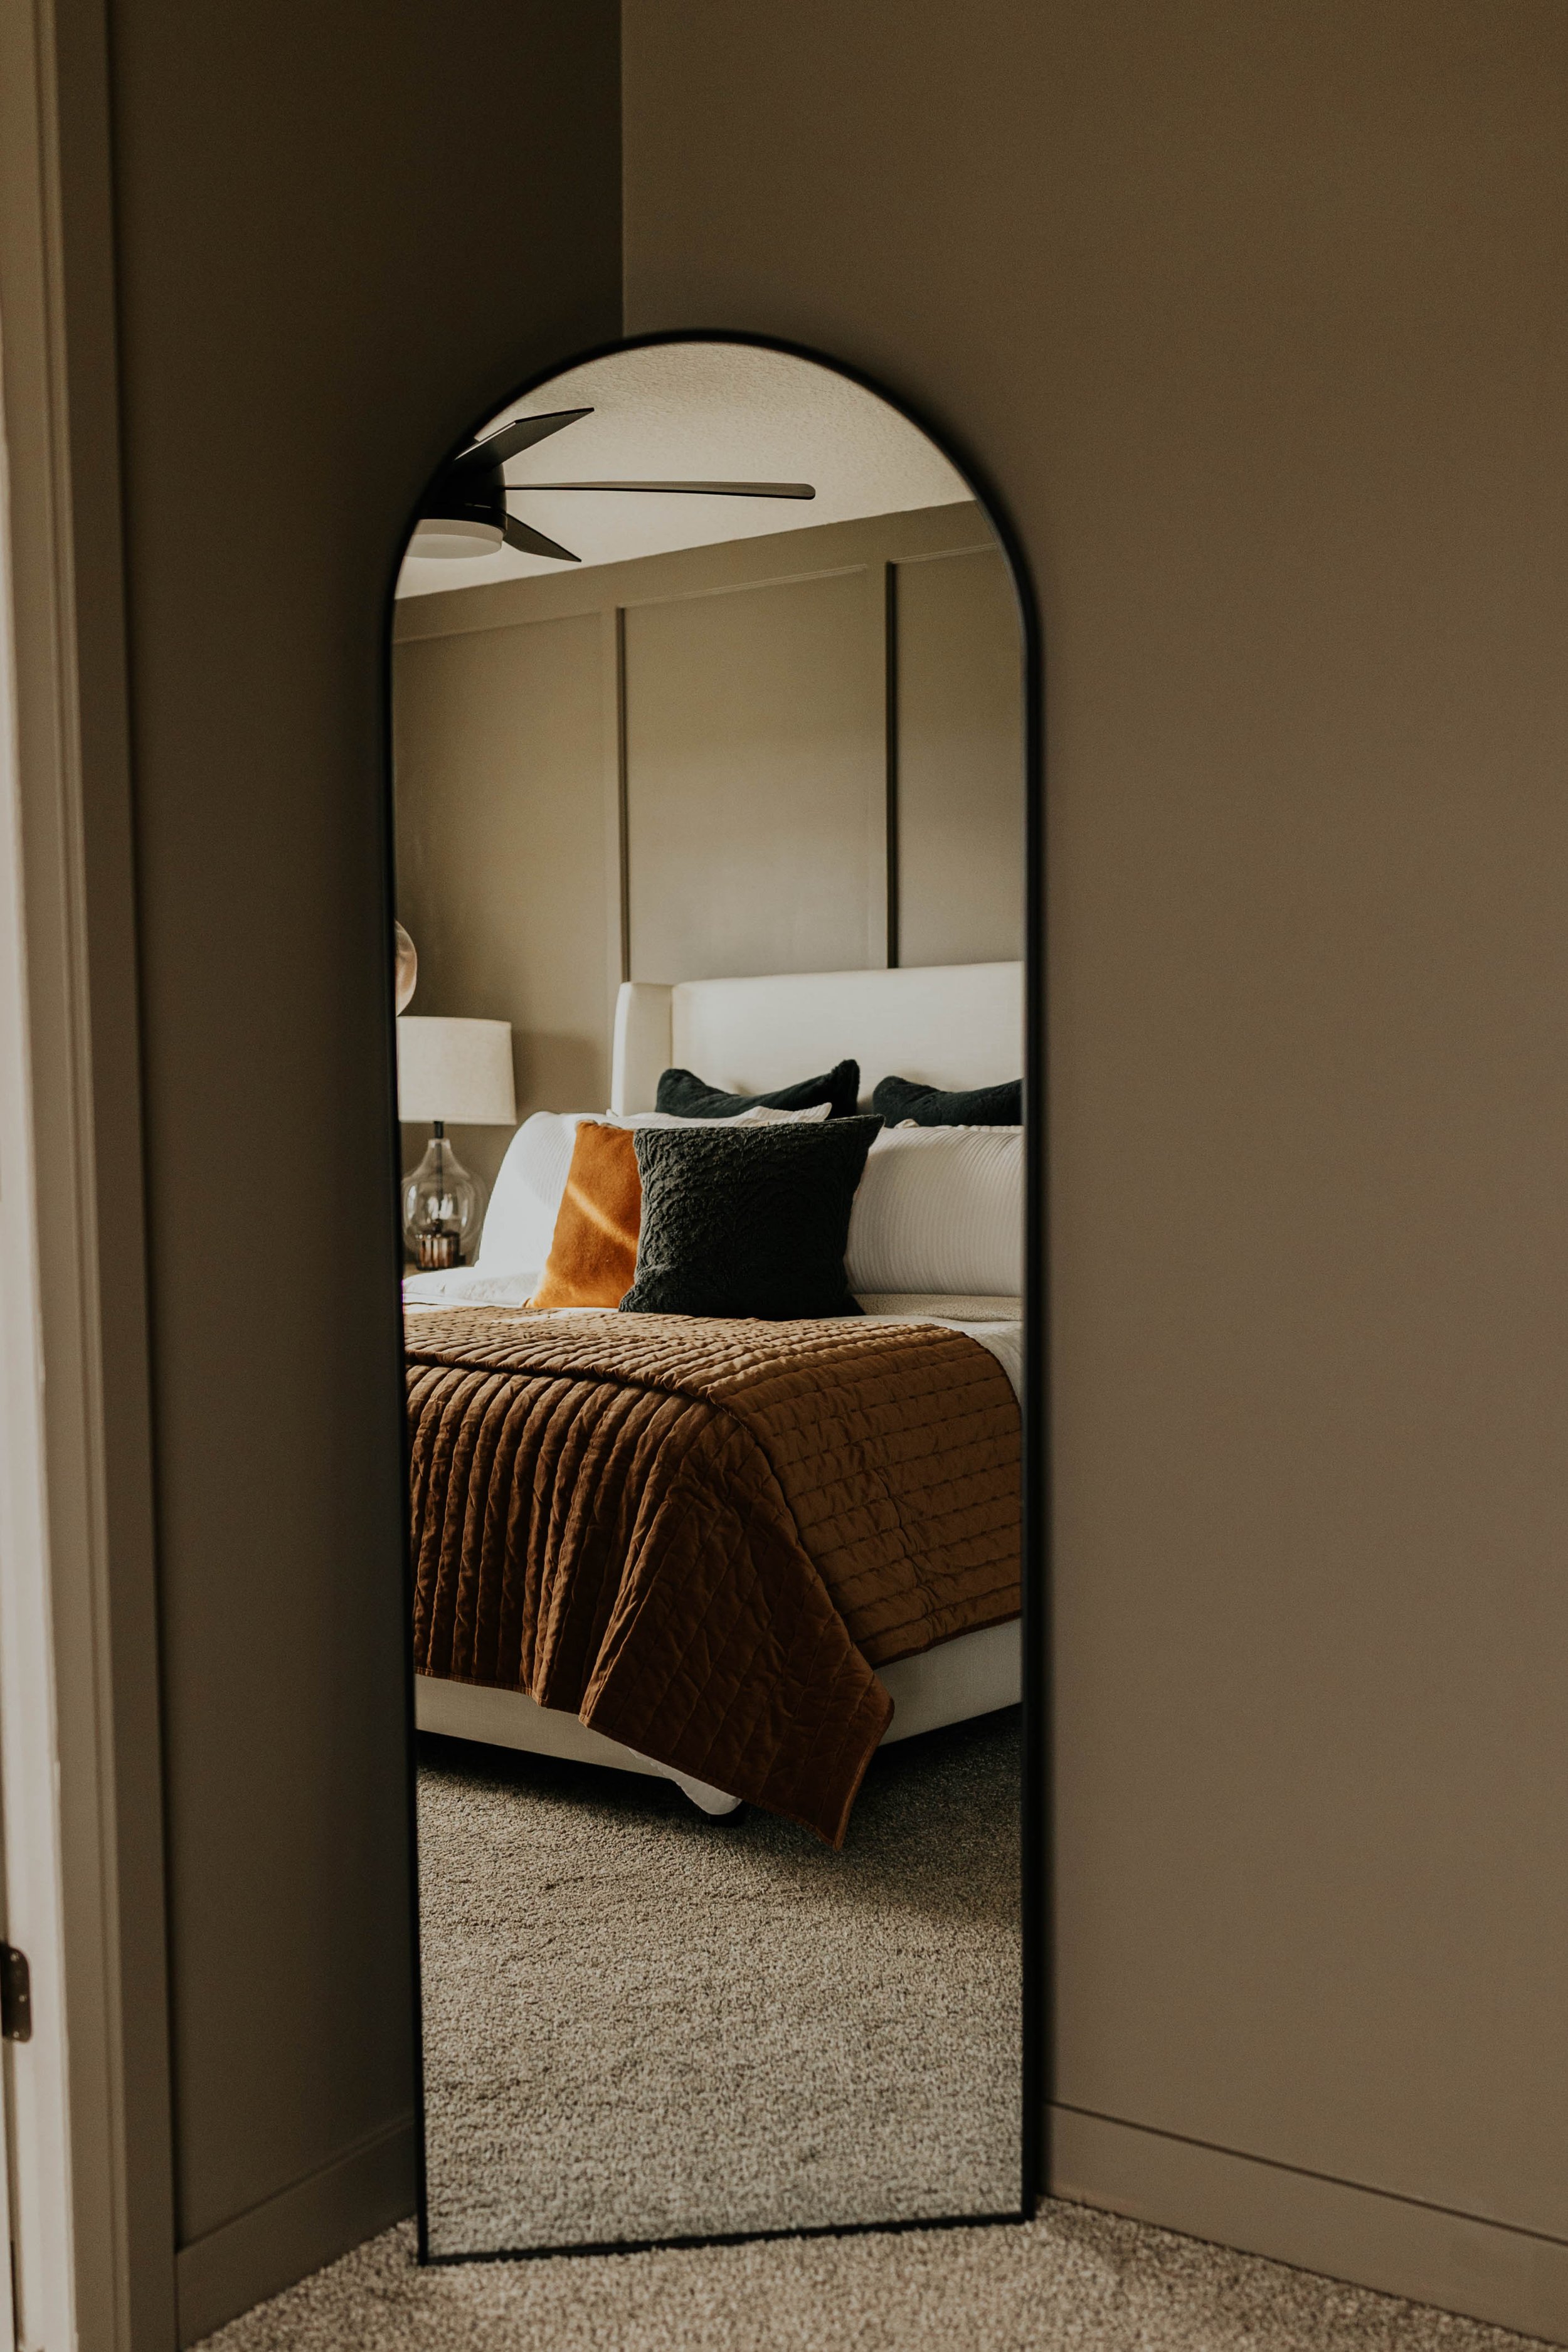
Beautiful board and batten paneling with decorative edge, courtesy of Henry of IDIA

Feel inspired by this project? Do you have an idea for your own mini bedroom renovation? Be sure to follow IDIA on Instagram for more behind the scenes looks at projects like this, inspiring finished products and tips and tricks for making the most out of your home and your space. And don’t forget to reach out and see if IDIA can help turn your own home reno dreams into reality!