Knot Your Average Shelves: A Custom Build Story
The Vision
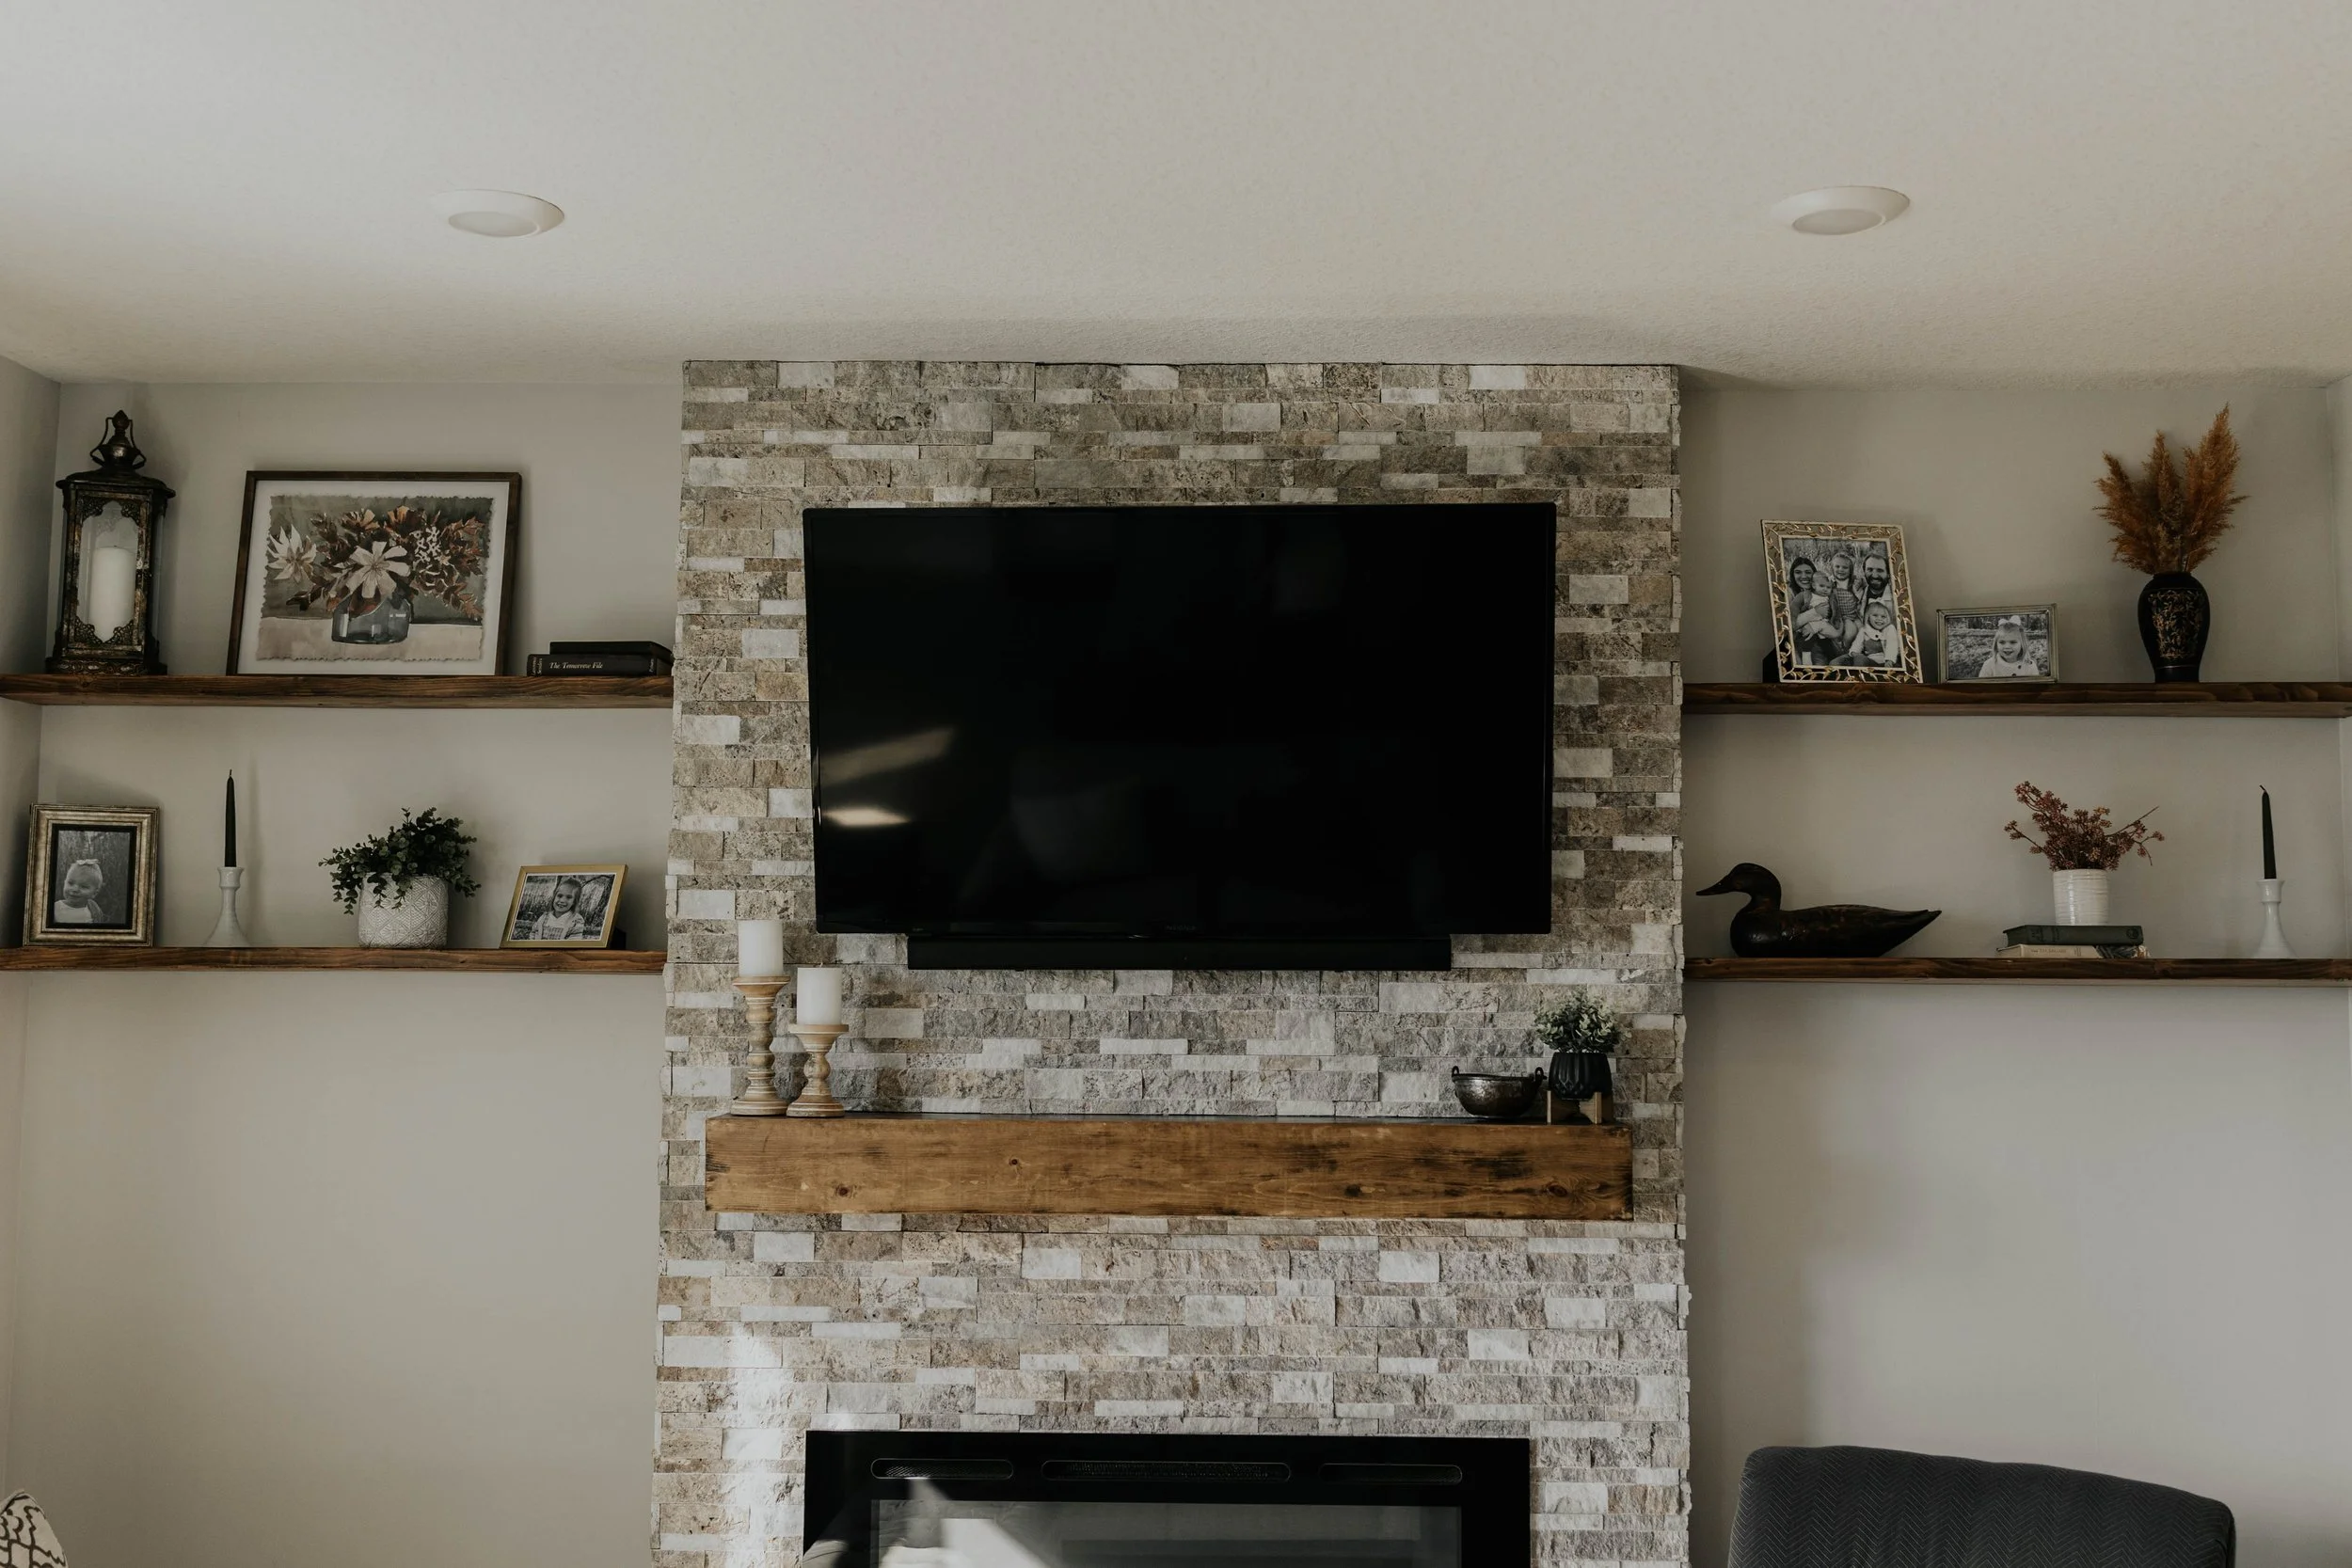
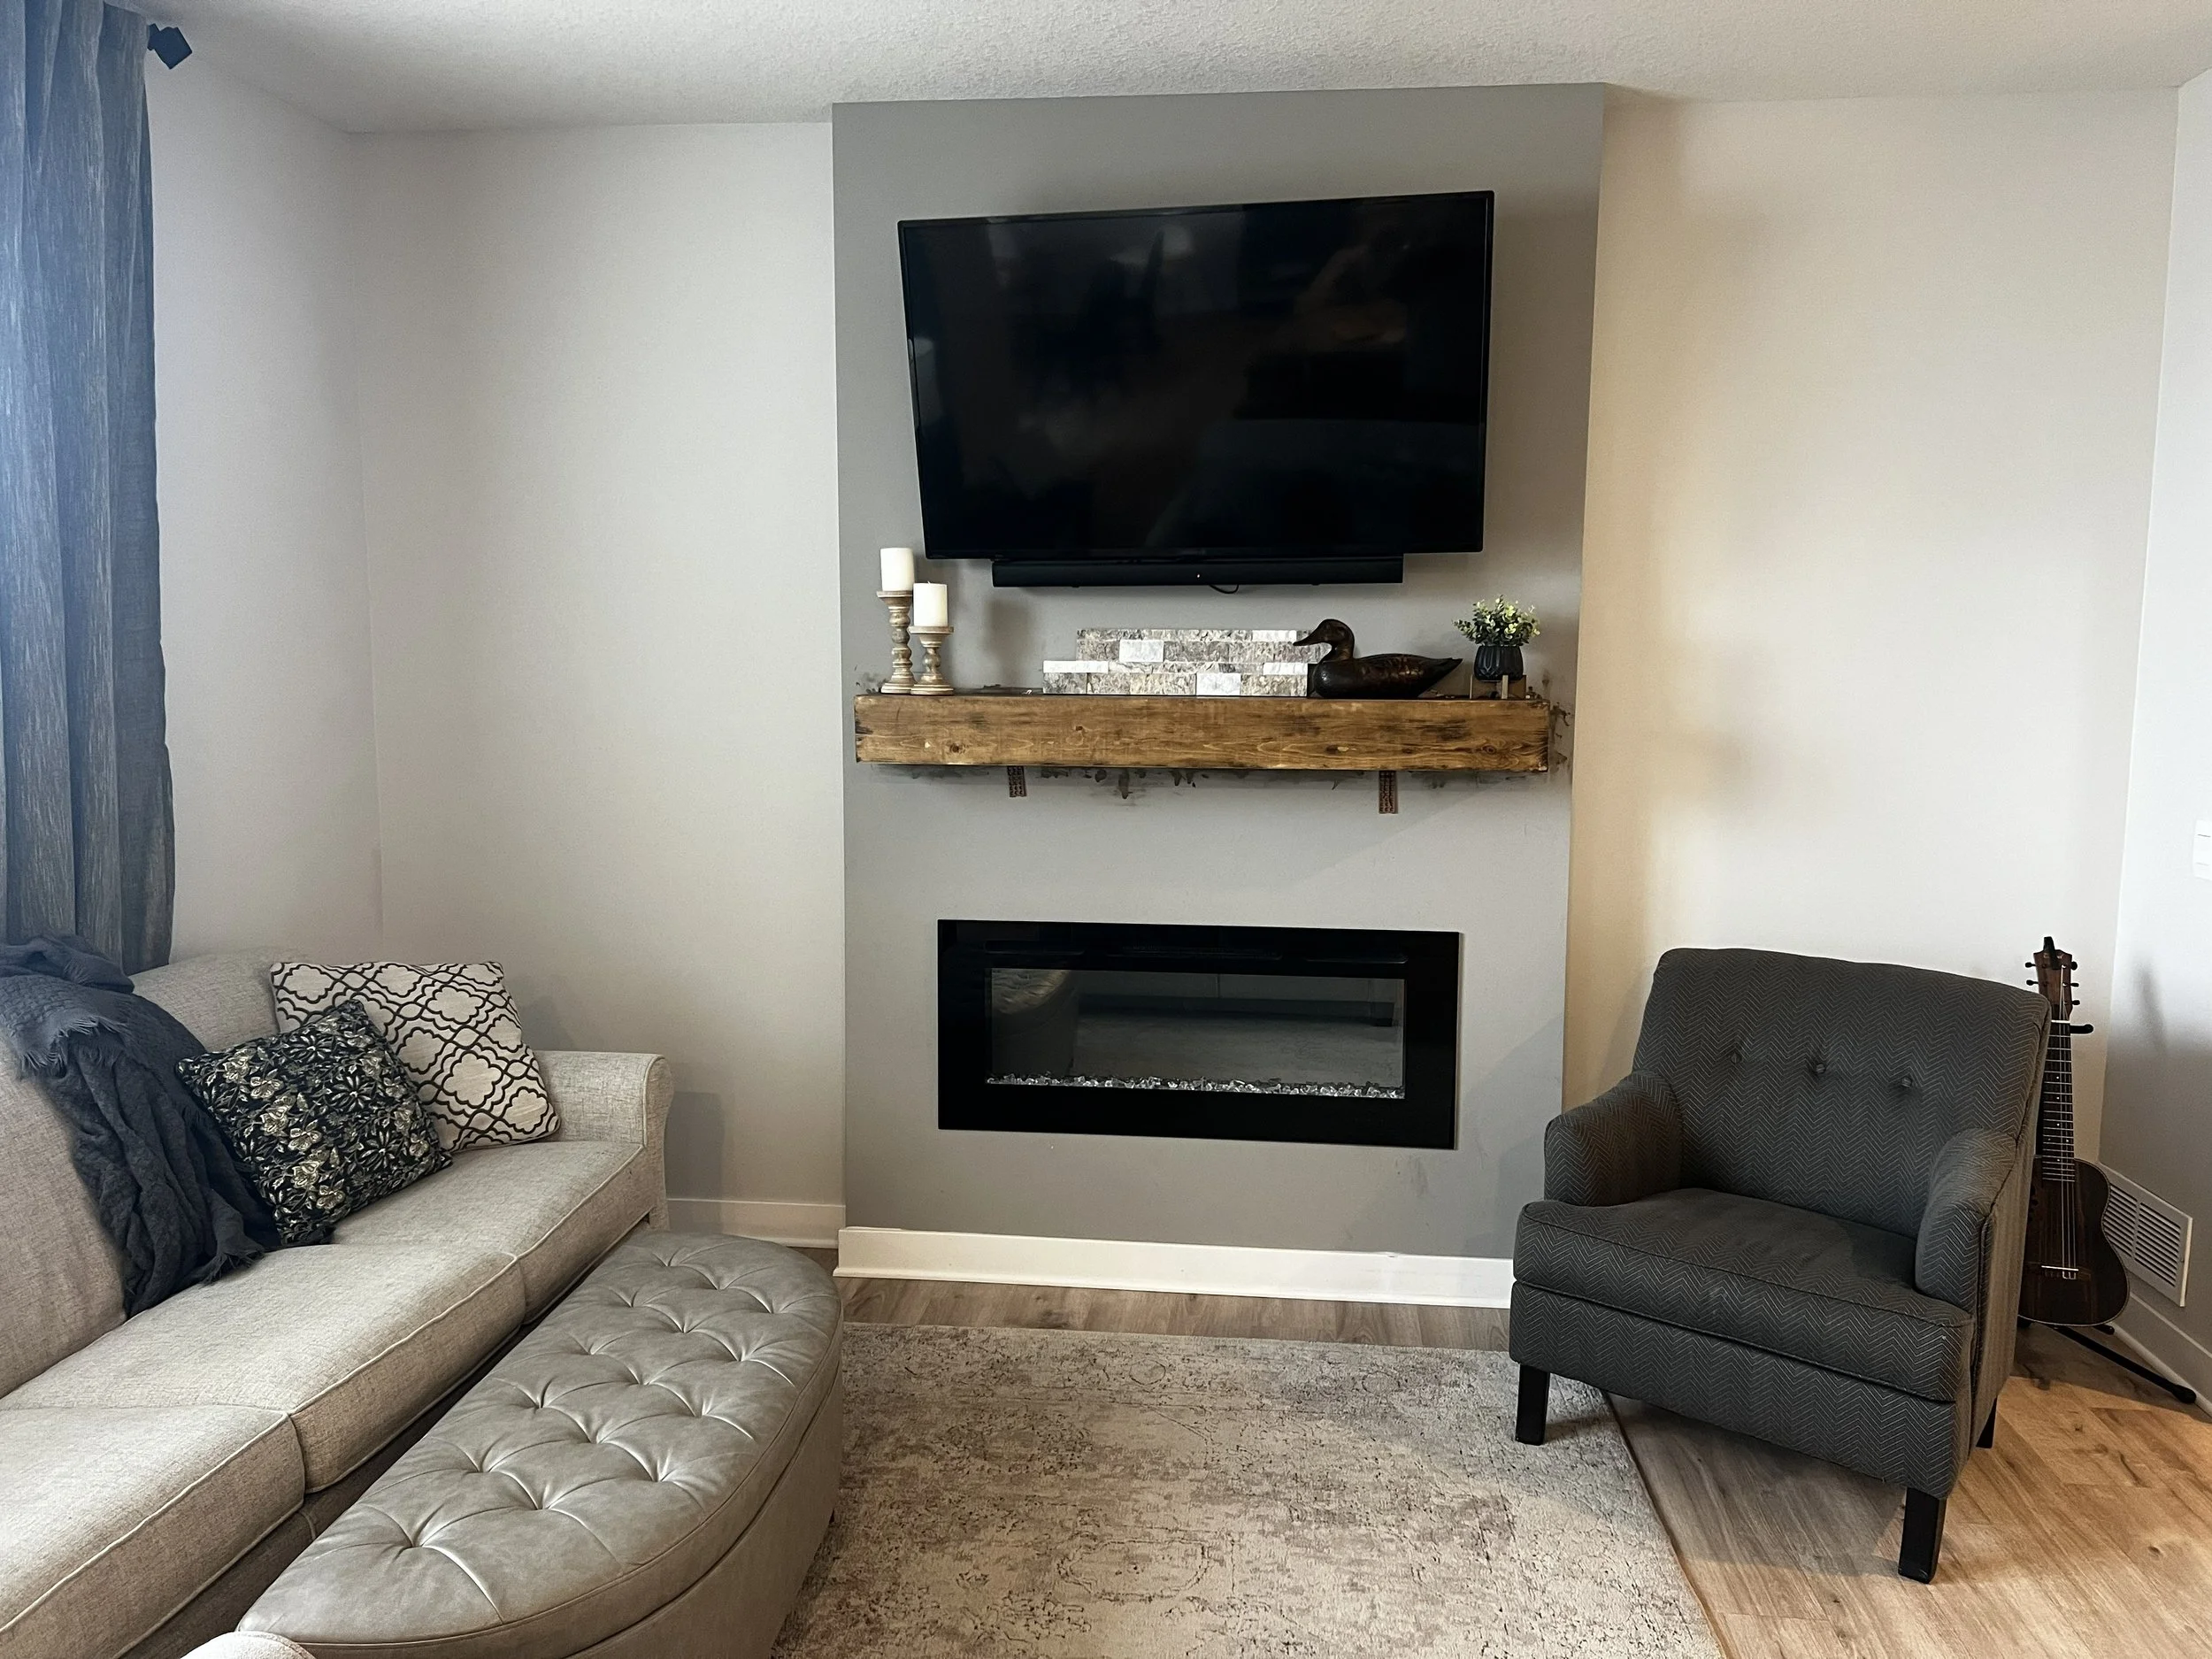
This builder grade home already came with a fireplace feature, but it seriously lacked warmth, texture and interest. With some height to the walls, there also was the opportunity to utilize the space for some storage while also adding some fun visual interest.
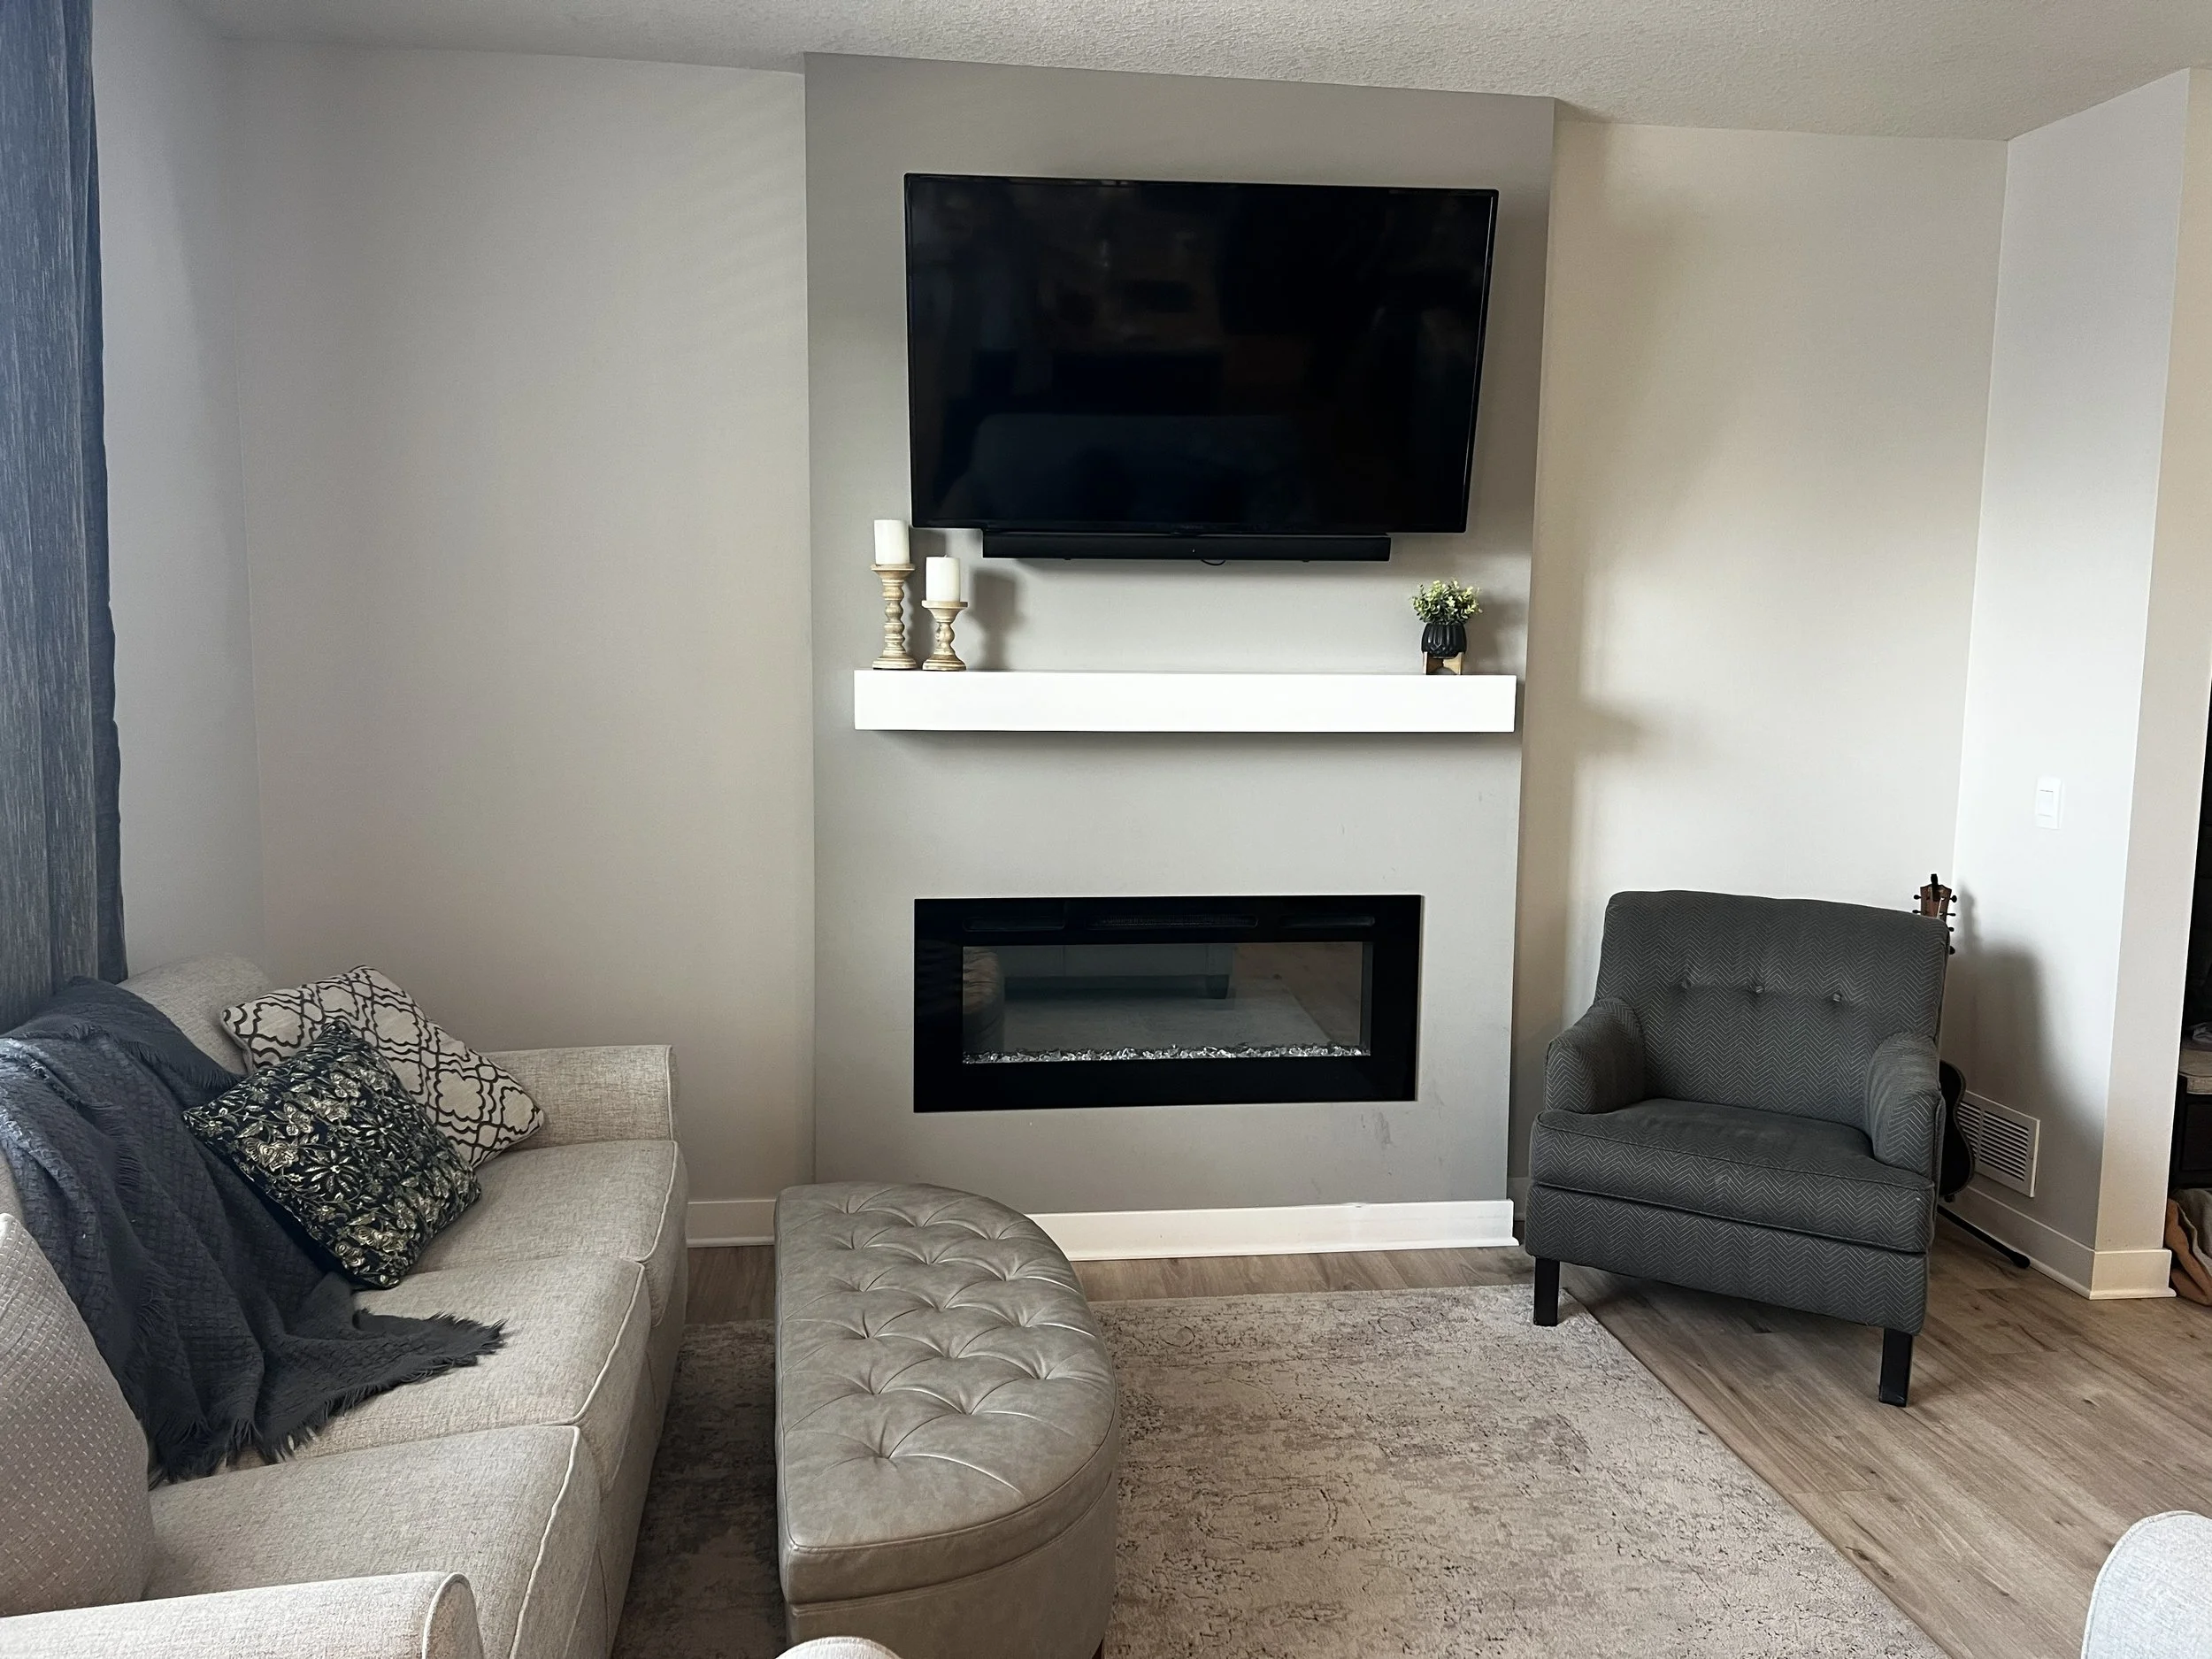
Lots of potential for this living room wall!
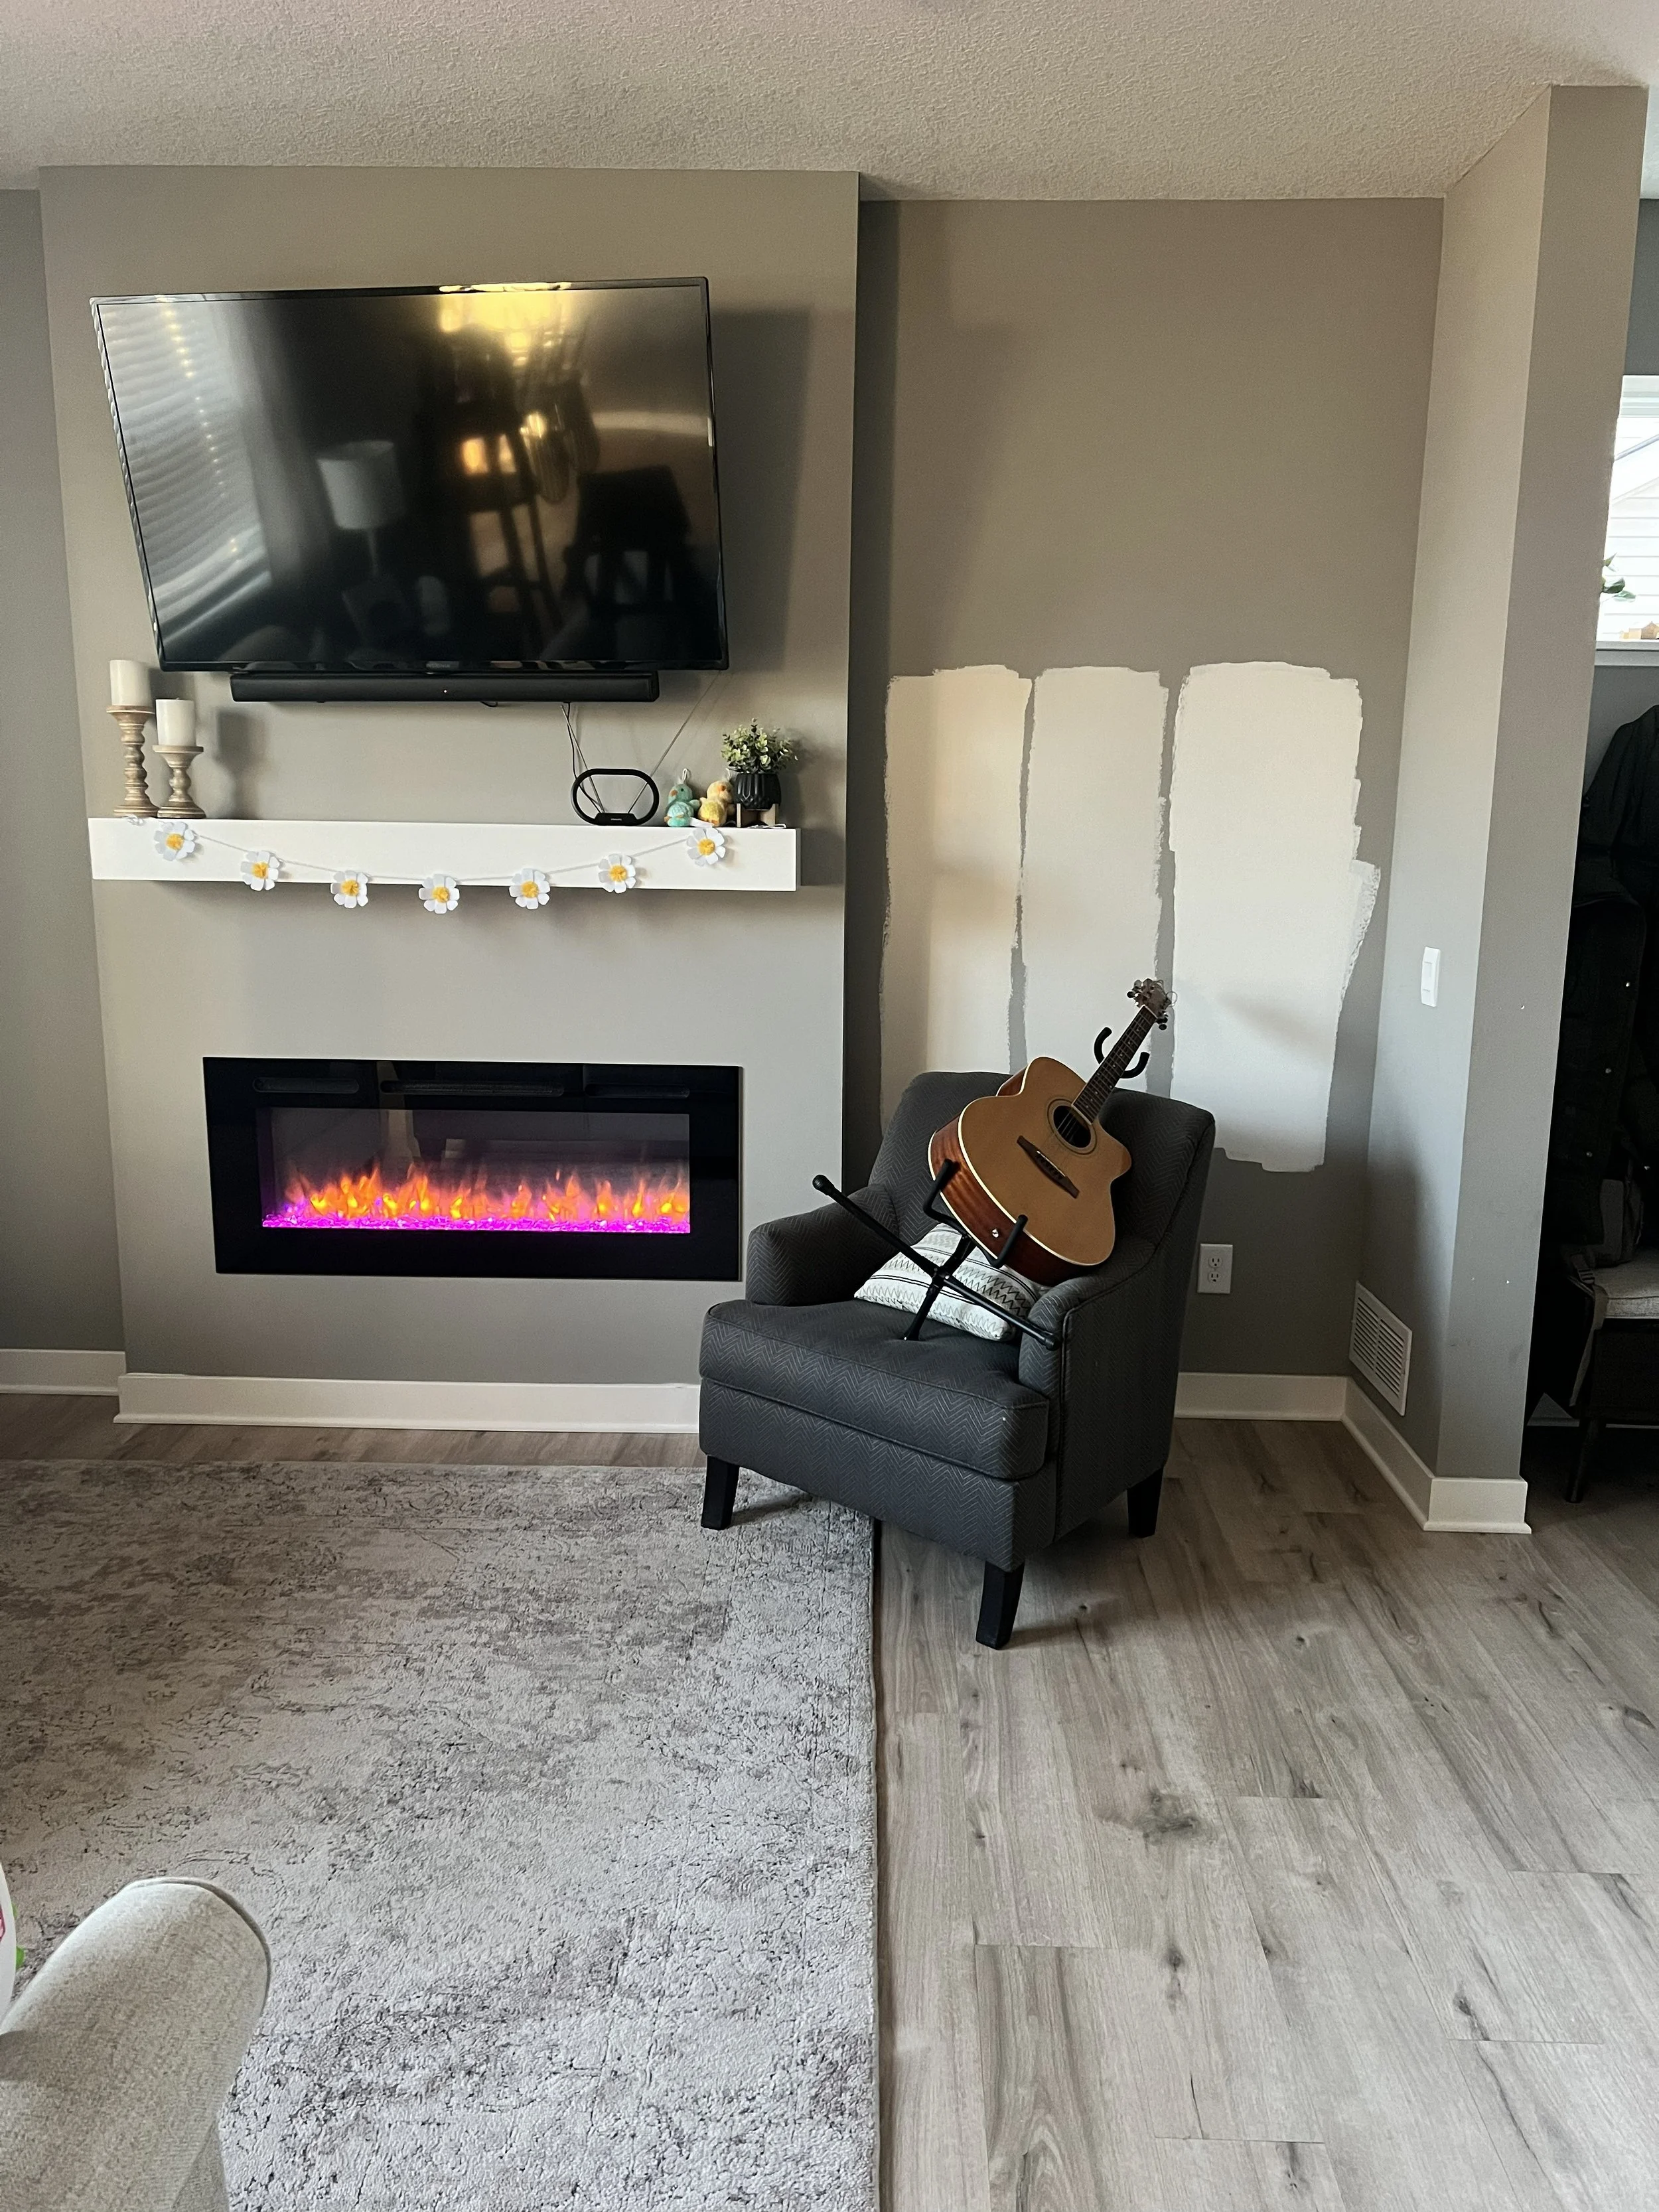
So after a few months of dreaming and lots of Pinterest boards, we decided to wrap the fireplace in a stone ledger board. We also knew we wanted more warm wood tones in our space, so we planned to upgrade the white mantle to a wood mantle and install floating shelves to match.
This project was months in the making. Although we knew this was the direction we’d eventually go, we first decided to complete other projects in our open concept space: a kitchen backsplash and full main-level paint upgrade.
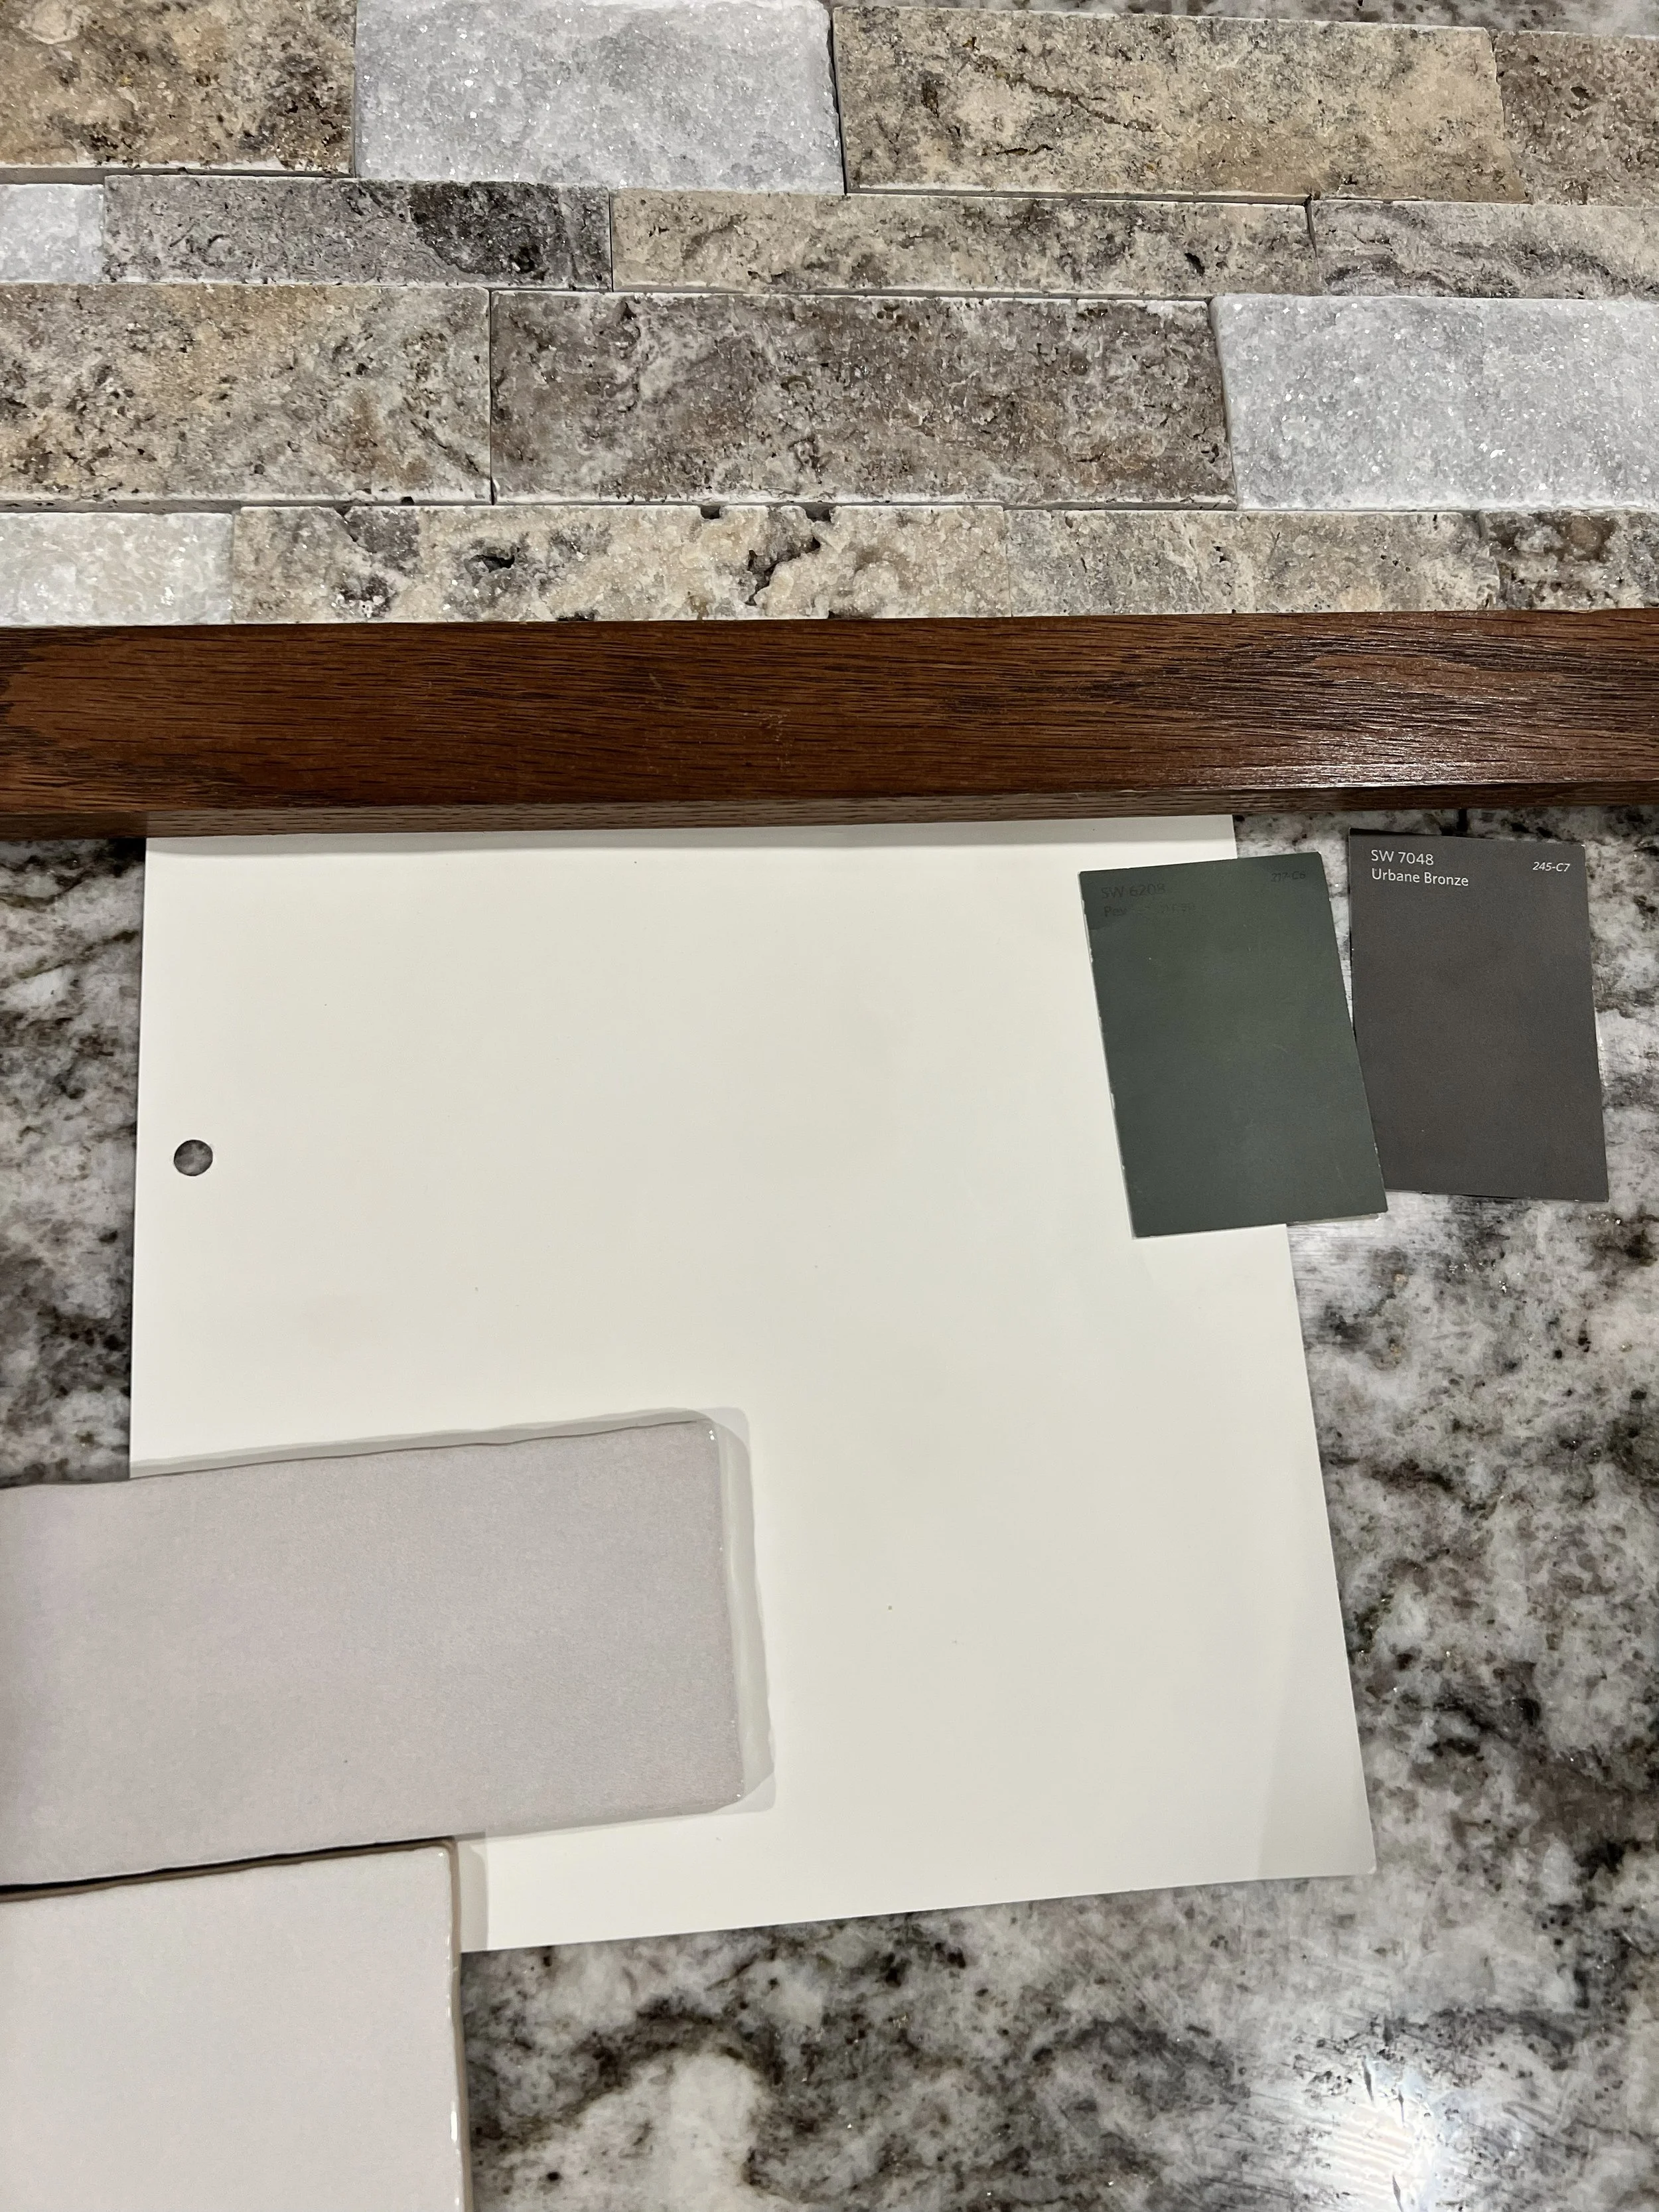
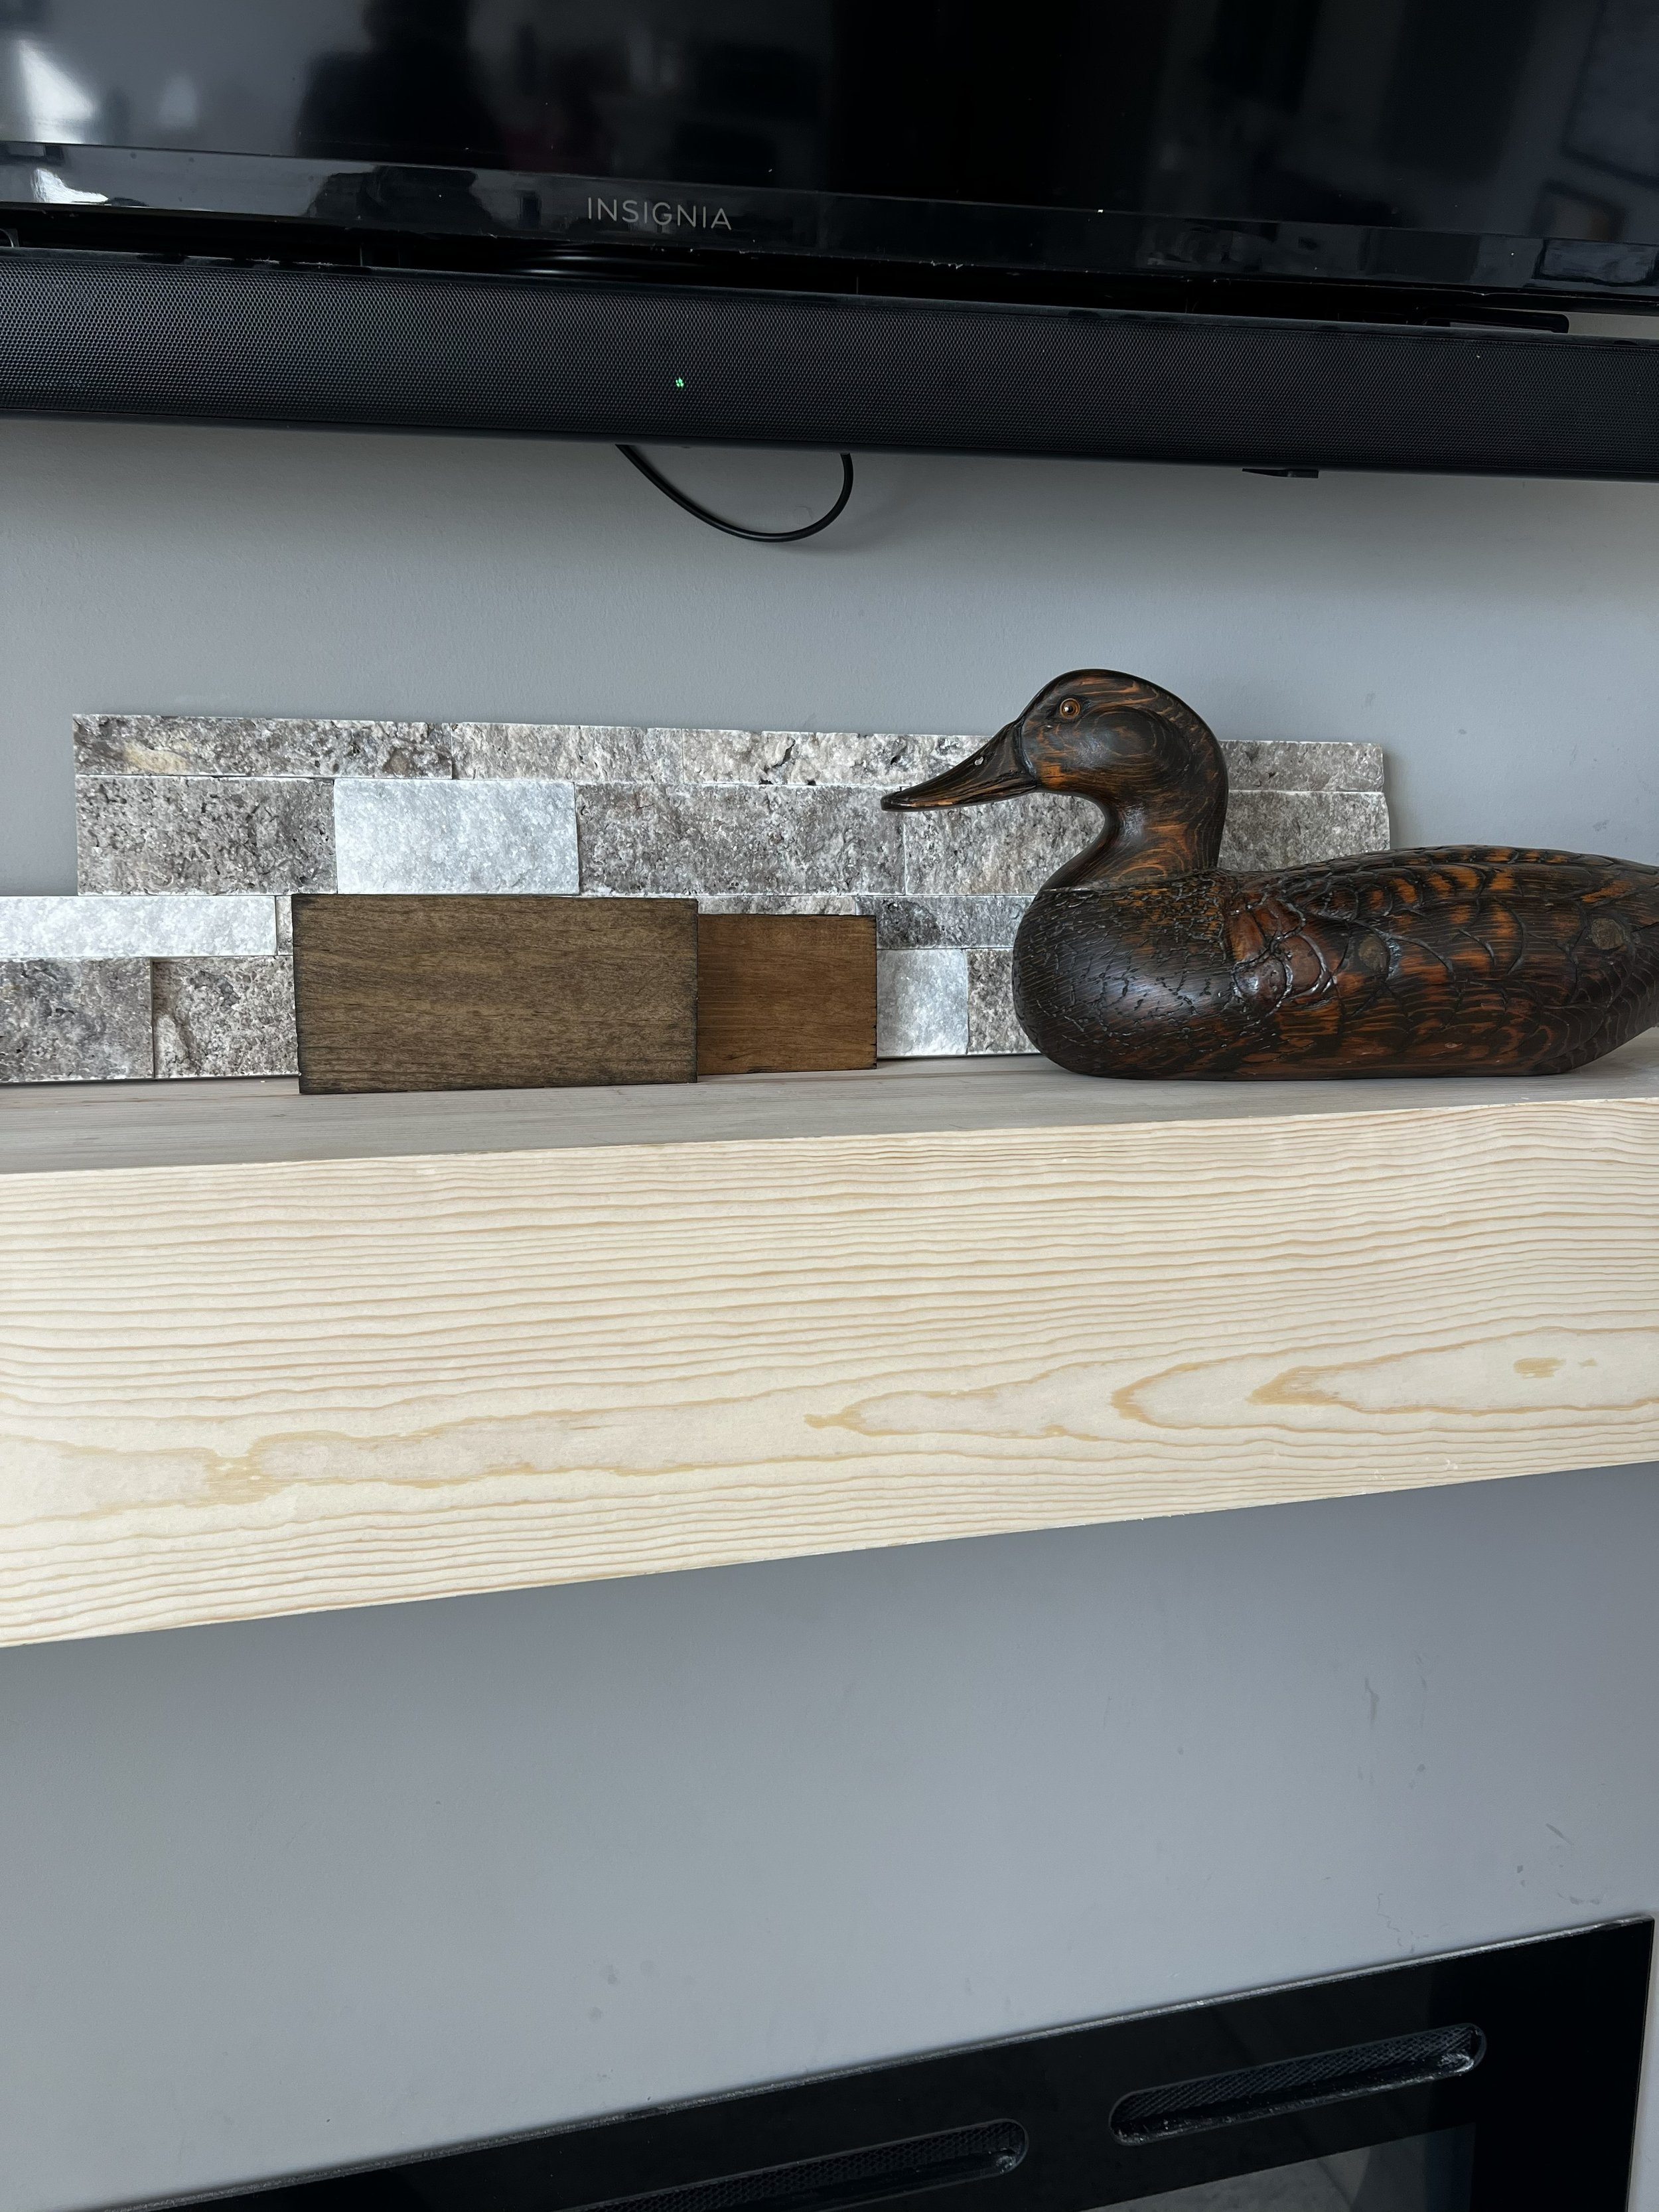
While these other projects took place, we narrowed down our ledger stone options and landed on either Triton II or Coastal Bluff from Floor & Décor. Our daughter loved the “sparkly” one and so we were easily swayed! We lived with the sample on our mantle for many months until our availability and budget finally lined up!
The Process
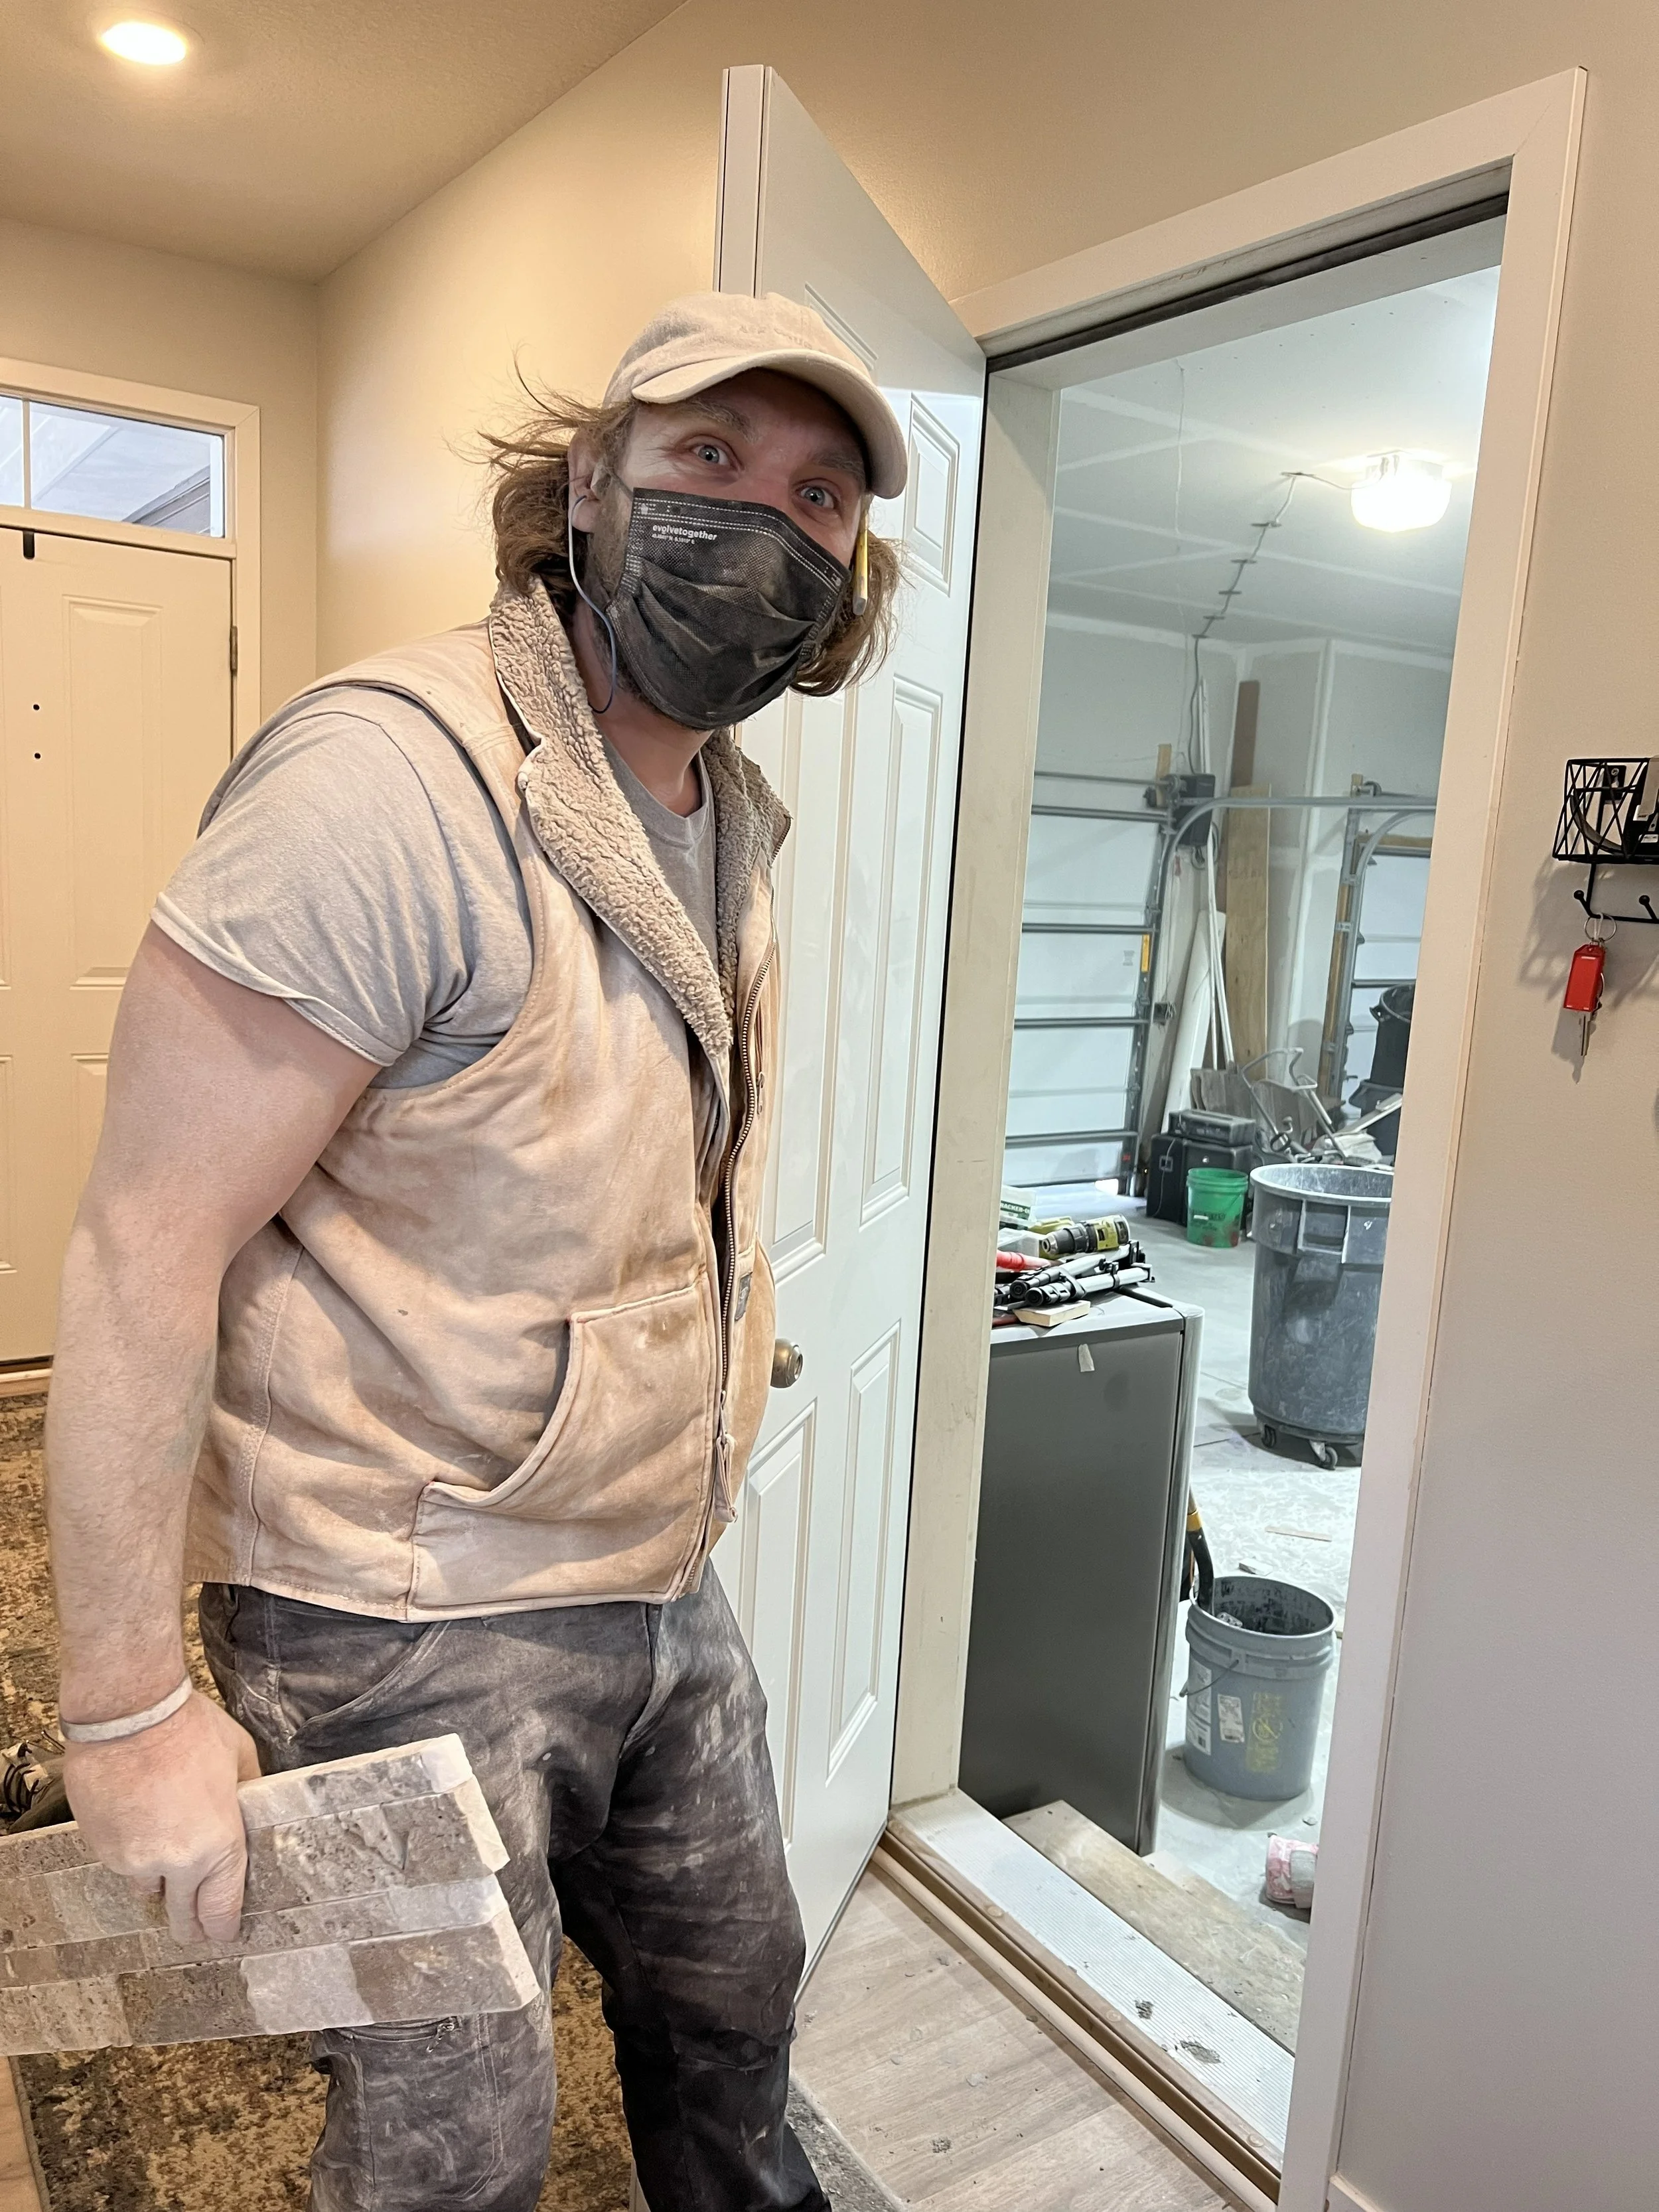
Once we were finally ready to transform our living room wall we decided to begin with the mantle and floating shelves. We realized it would be easier to install the fireplace stone around the mantle and shelves than the other way around.
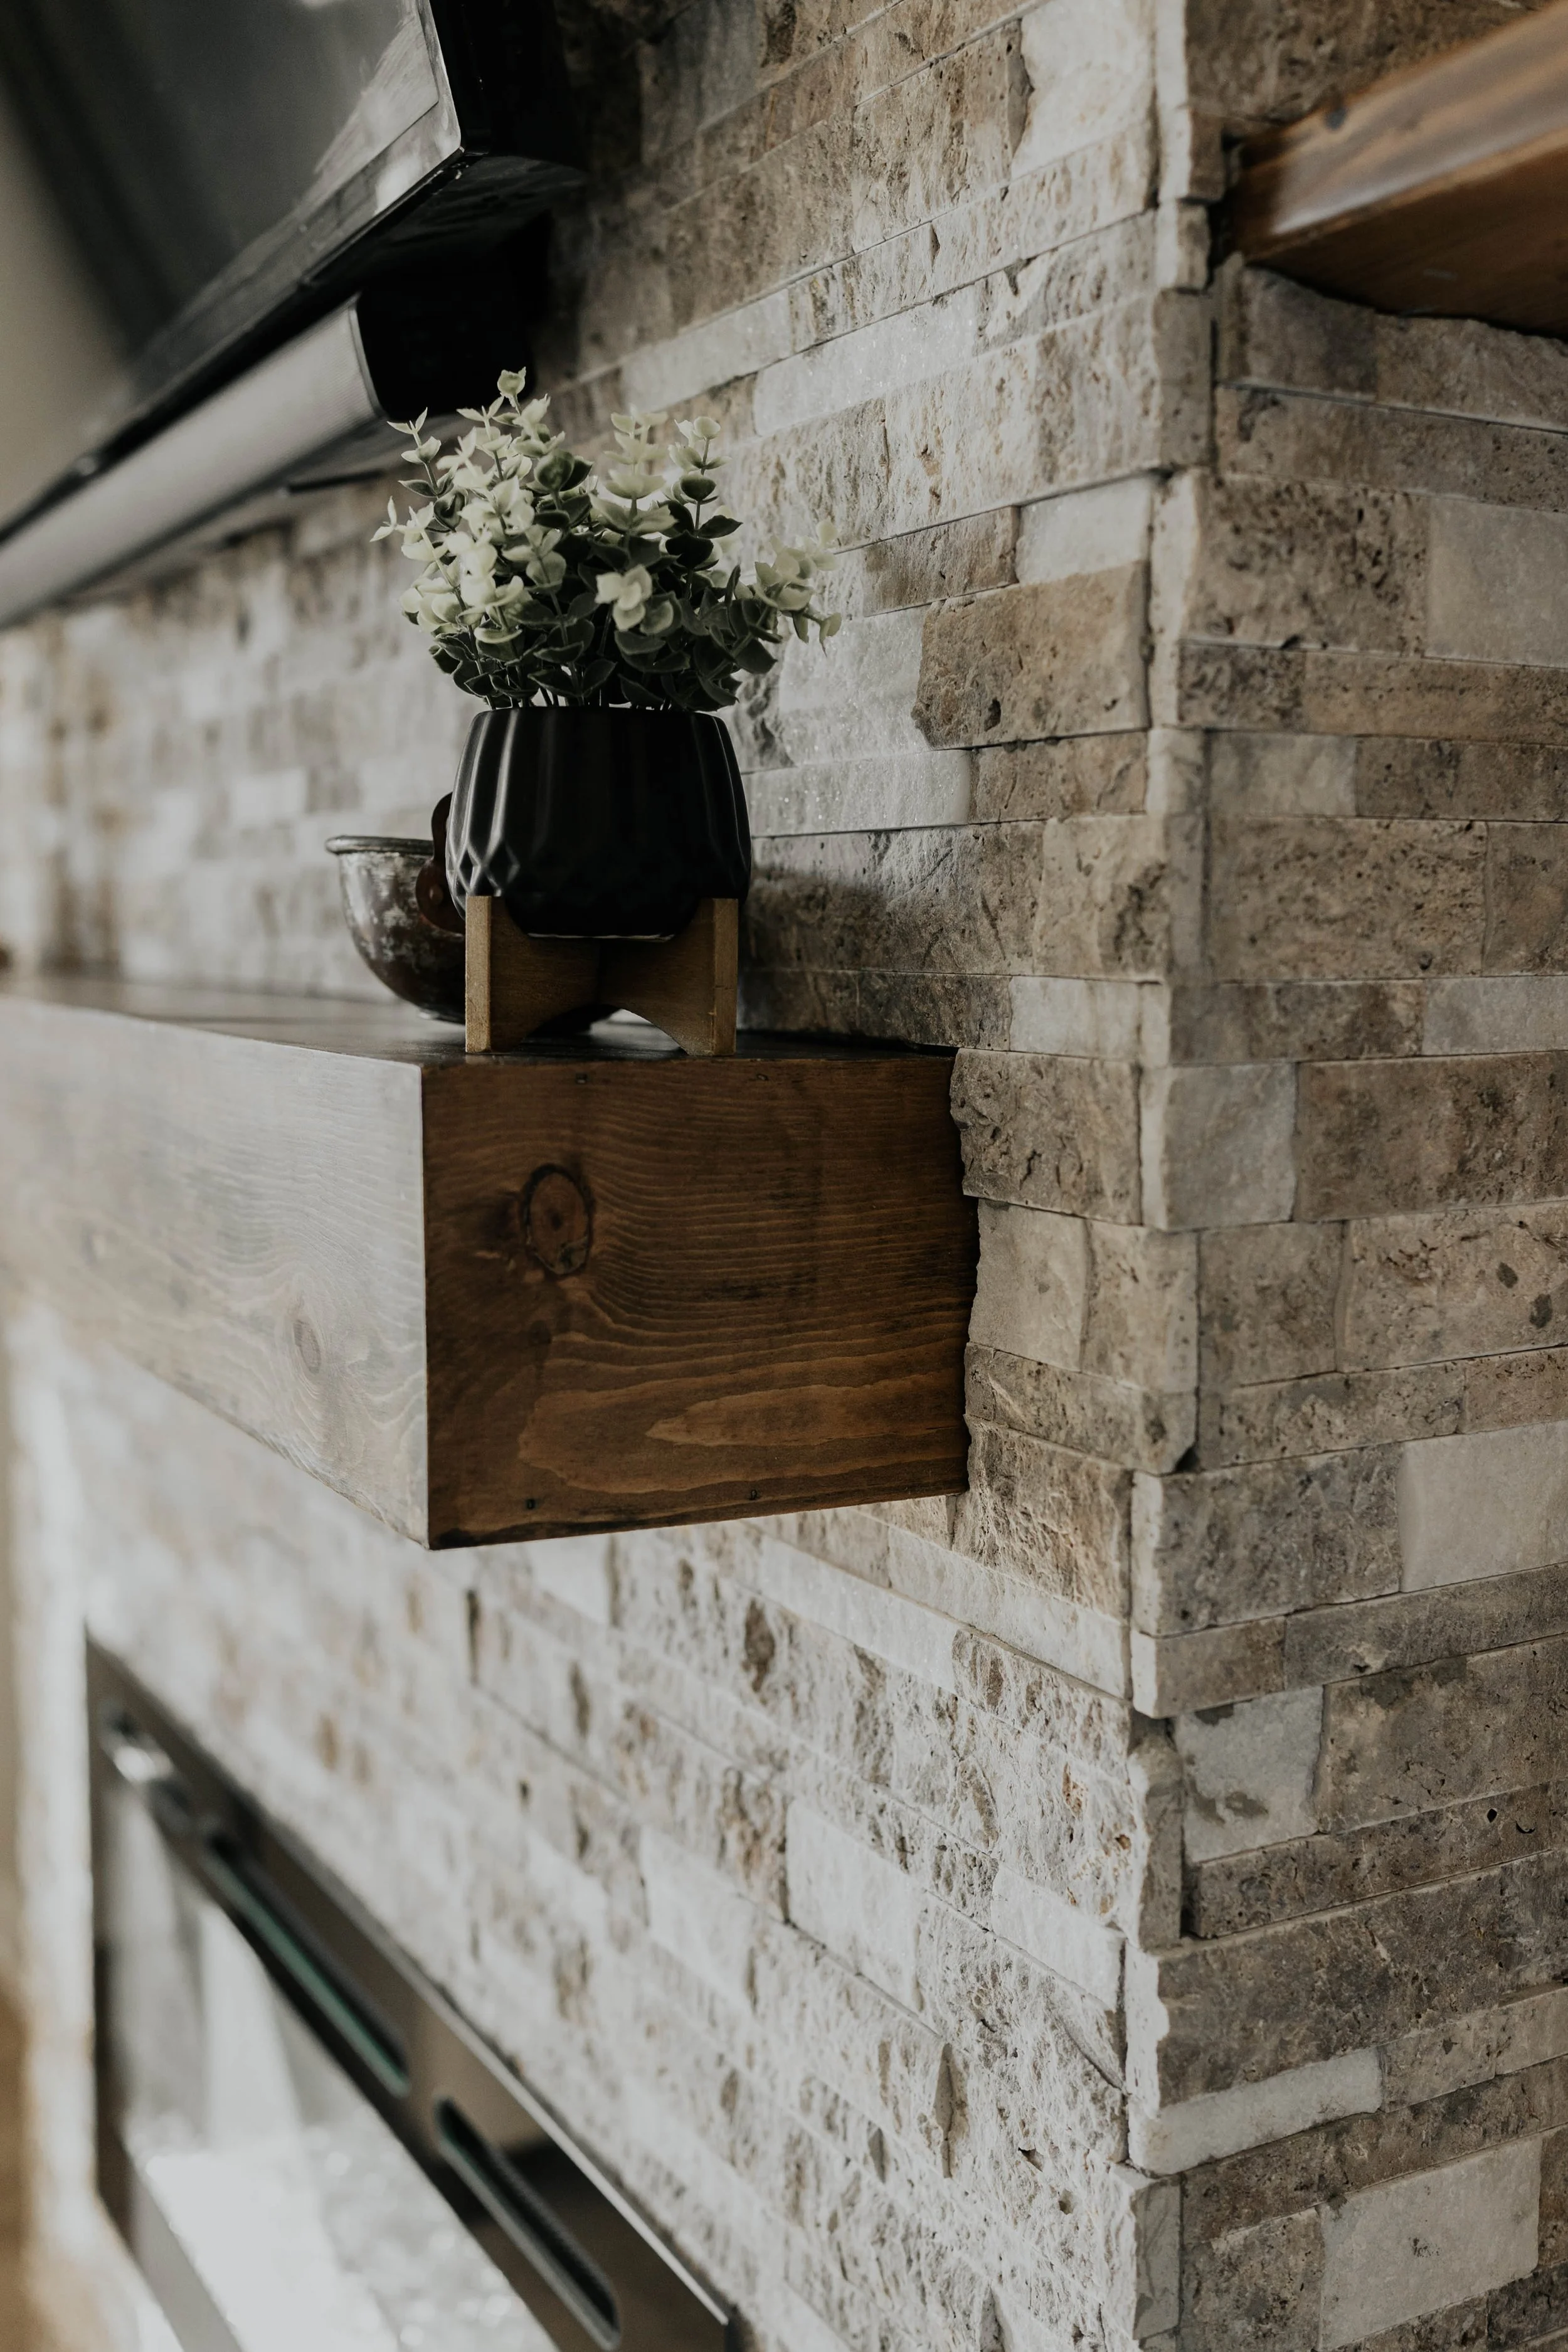
For the mantle, we built a hollow box out of pine wood, mitered the edges, filled in gaps with wood filler and sanded it smooth.
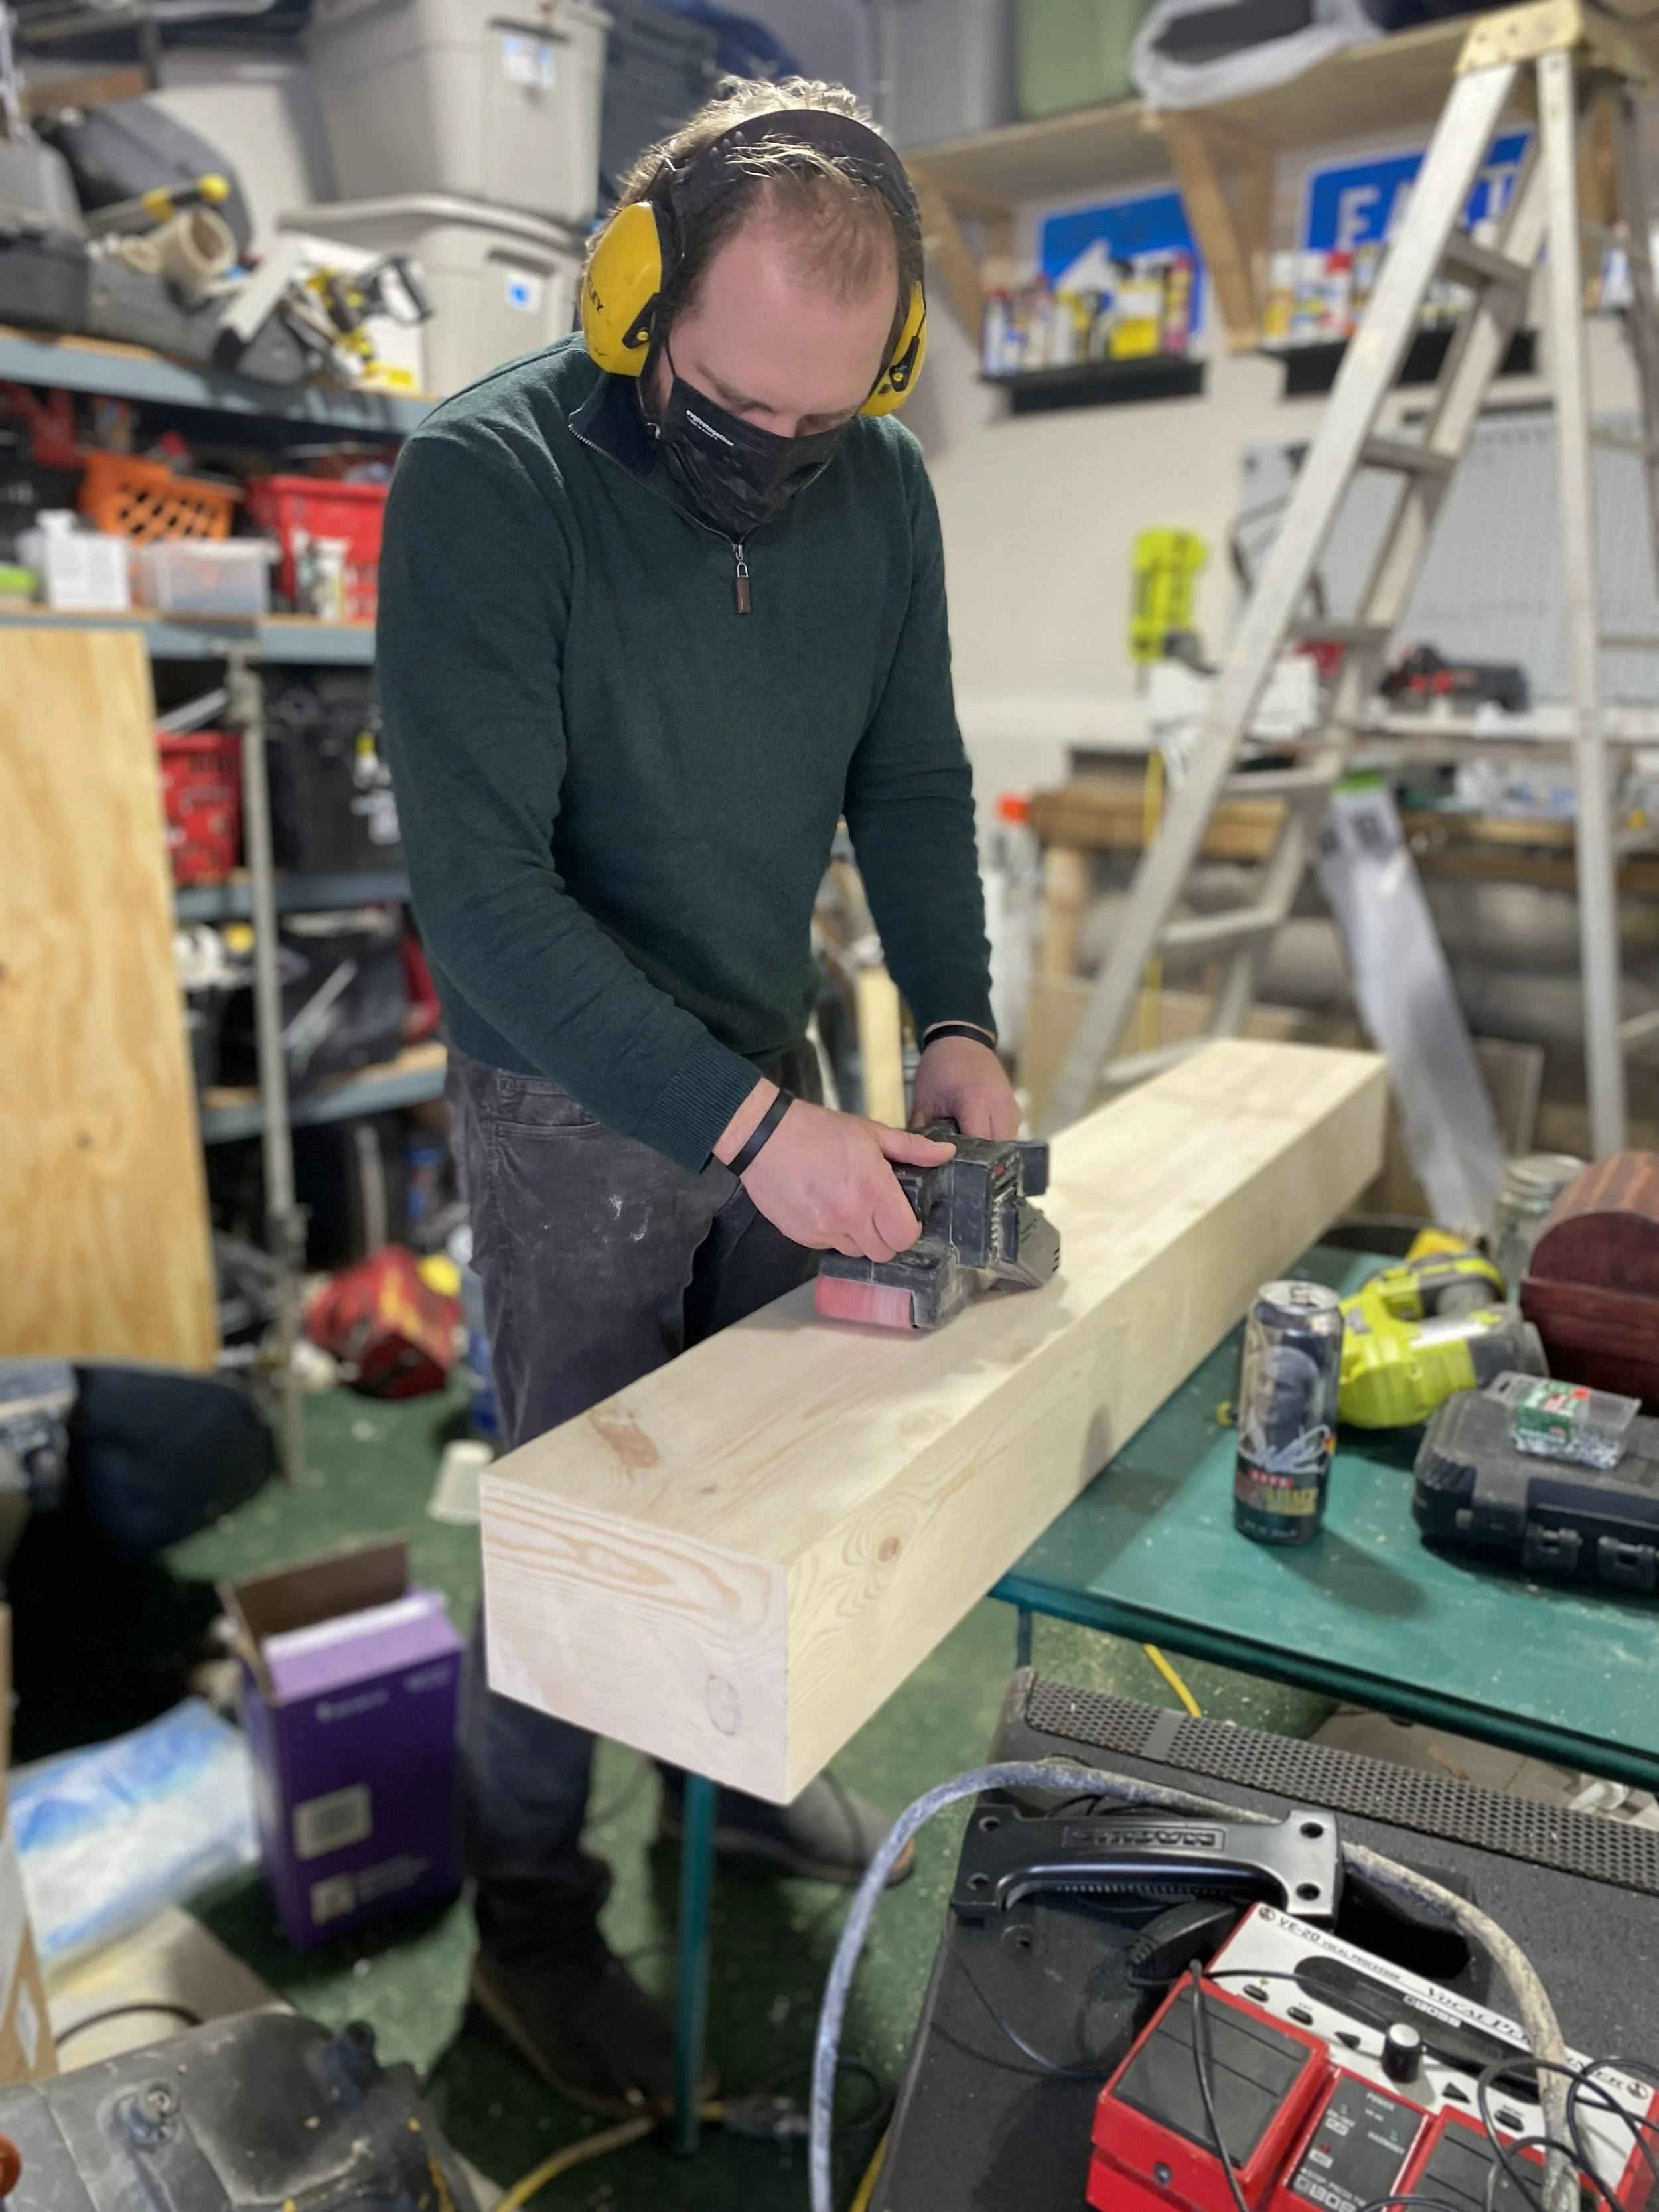
Henry in the workshop building the fireplace mantle
Knowing that our wall would eventually be covered up with sheetrock and stone, we decided to install the mantle before staining it.

Next we tackled the floating shelves. Having a certain technique in mind for hanging the shelves, we knew we needed our shelves to be at least 1 ½ in thick. A 2’x10’ board was the perfect height and depth for what we were looking for, and with such a common size board it was a very affordable option too! What we saved in cost of materials was made up for in labor, because sanding all 4 sides of each board was no quick task. But being able to run our hands on those smooth, finished boards made it all worth it!
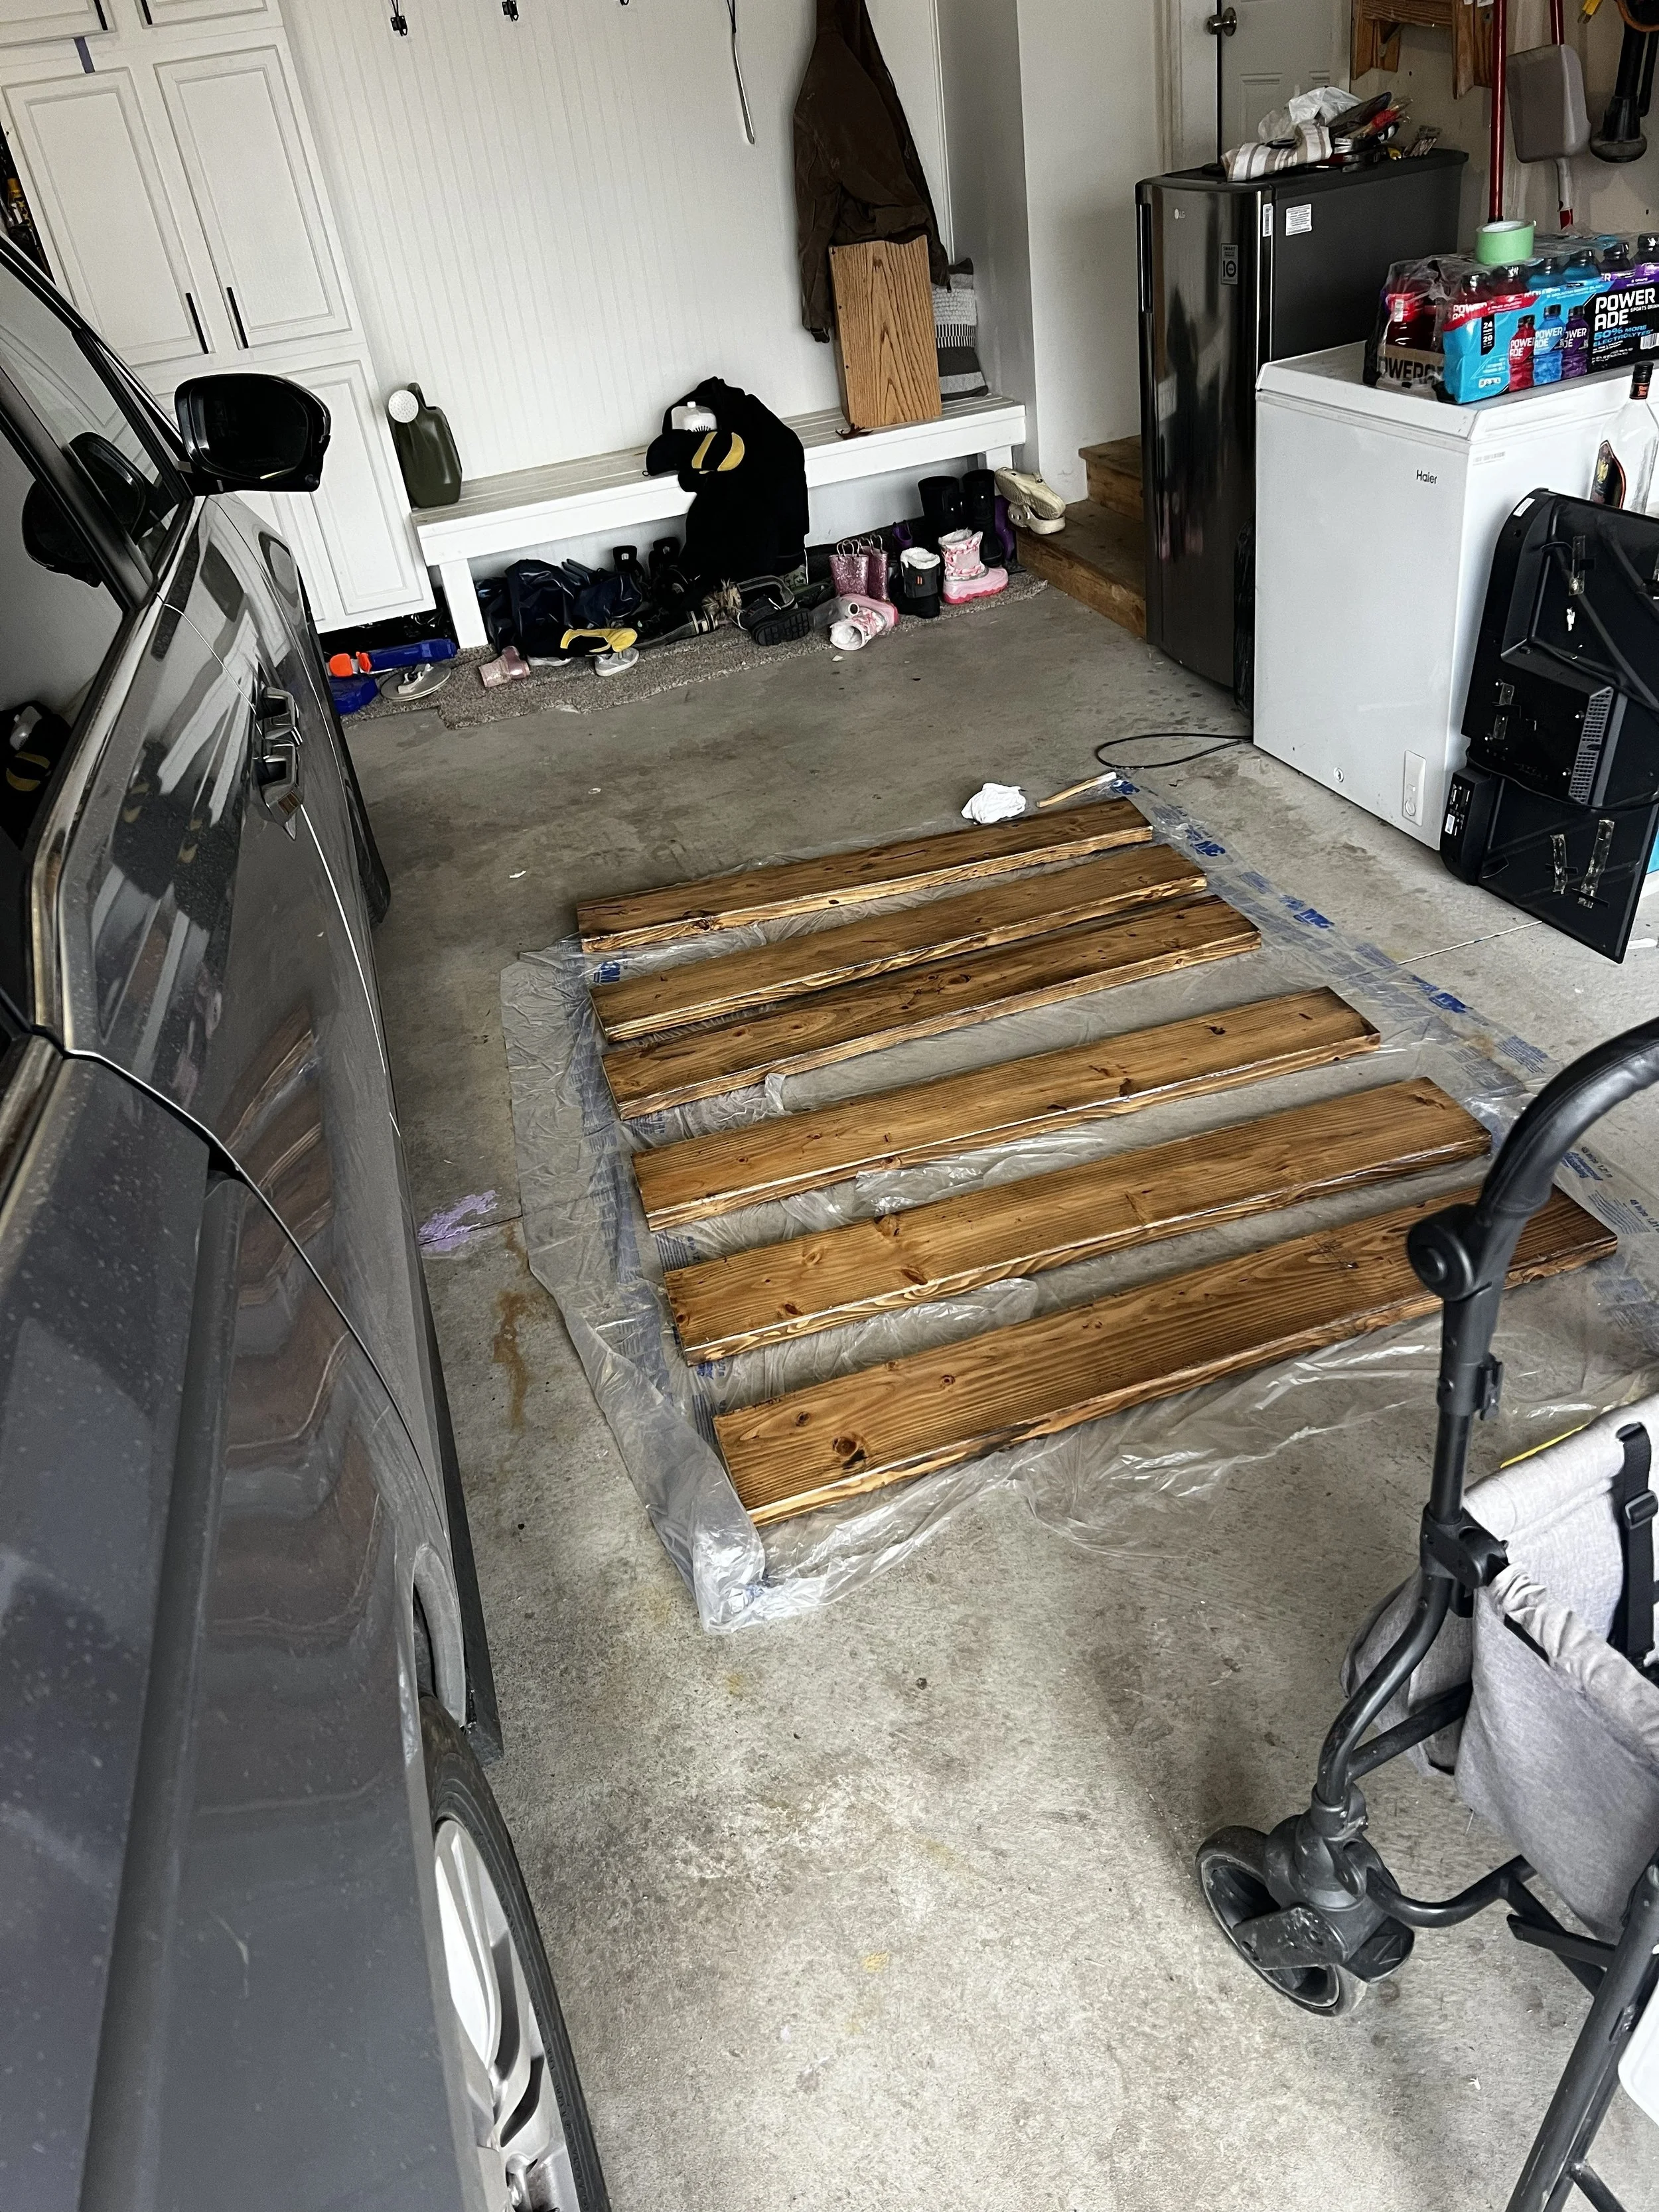
After our boards were cut to size and sanded, it was time to stain and seal them. After many trial and error sample boards, we came up with the following recipe for the color and finish we liked:
Homemade Vinegar Stain (2 cups vinegar + 2 tablespoons coffee grounds which I mixed and let set overnight before using)
This helped to cut down some of the yellowness of the pine boards!
This helps to ensure stain doesn’t get blotchy.
Typically this is used as a finishing coat/sealer on top of stain, but after seeing another project online that had used the wax underneath the stain we gave it a try in our sample boards and loved how it turned out!
2 coats of Miniwax Oil-Based Dark Walnut Stain
2 coats of Miniwax Polycyrlic Topcoat
This gives the shelves a light sheen and protects the finish. Oil-based polys often have a yellow tint to them which is why we went with a water based one.
This was another very lengthy part of the process because after each step we had to wait for it to dry/cure before moving on to the next. Once one side of each board was complete, we gave them 24 hours before flipping them and moving on to the next side. All in all this took a few days to finish completely and be ready for install!
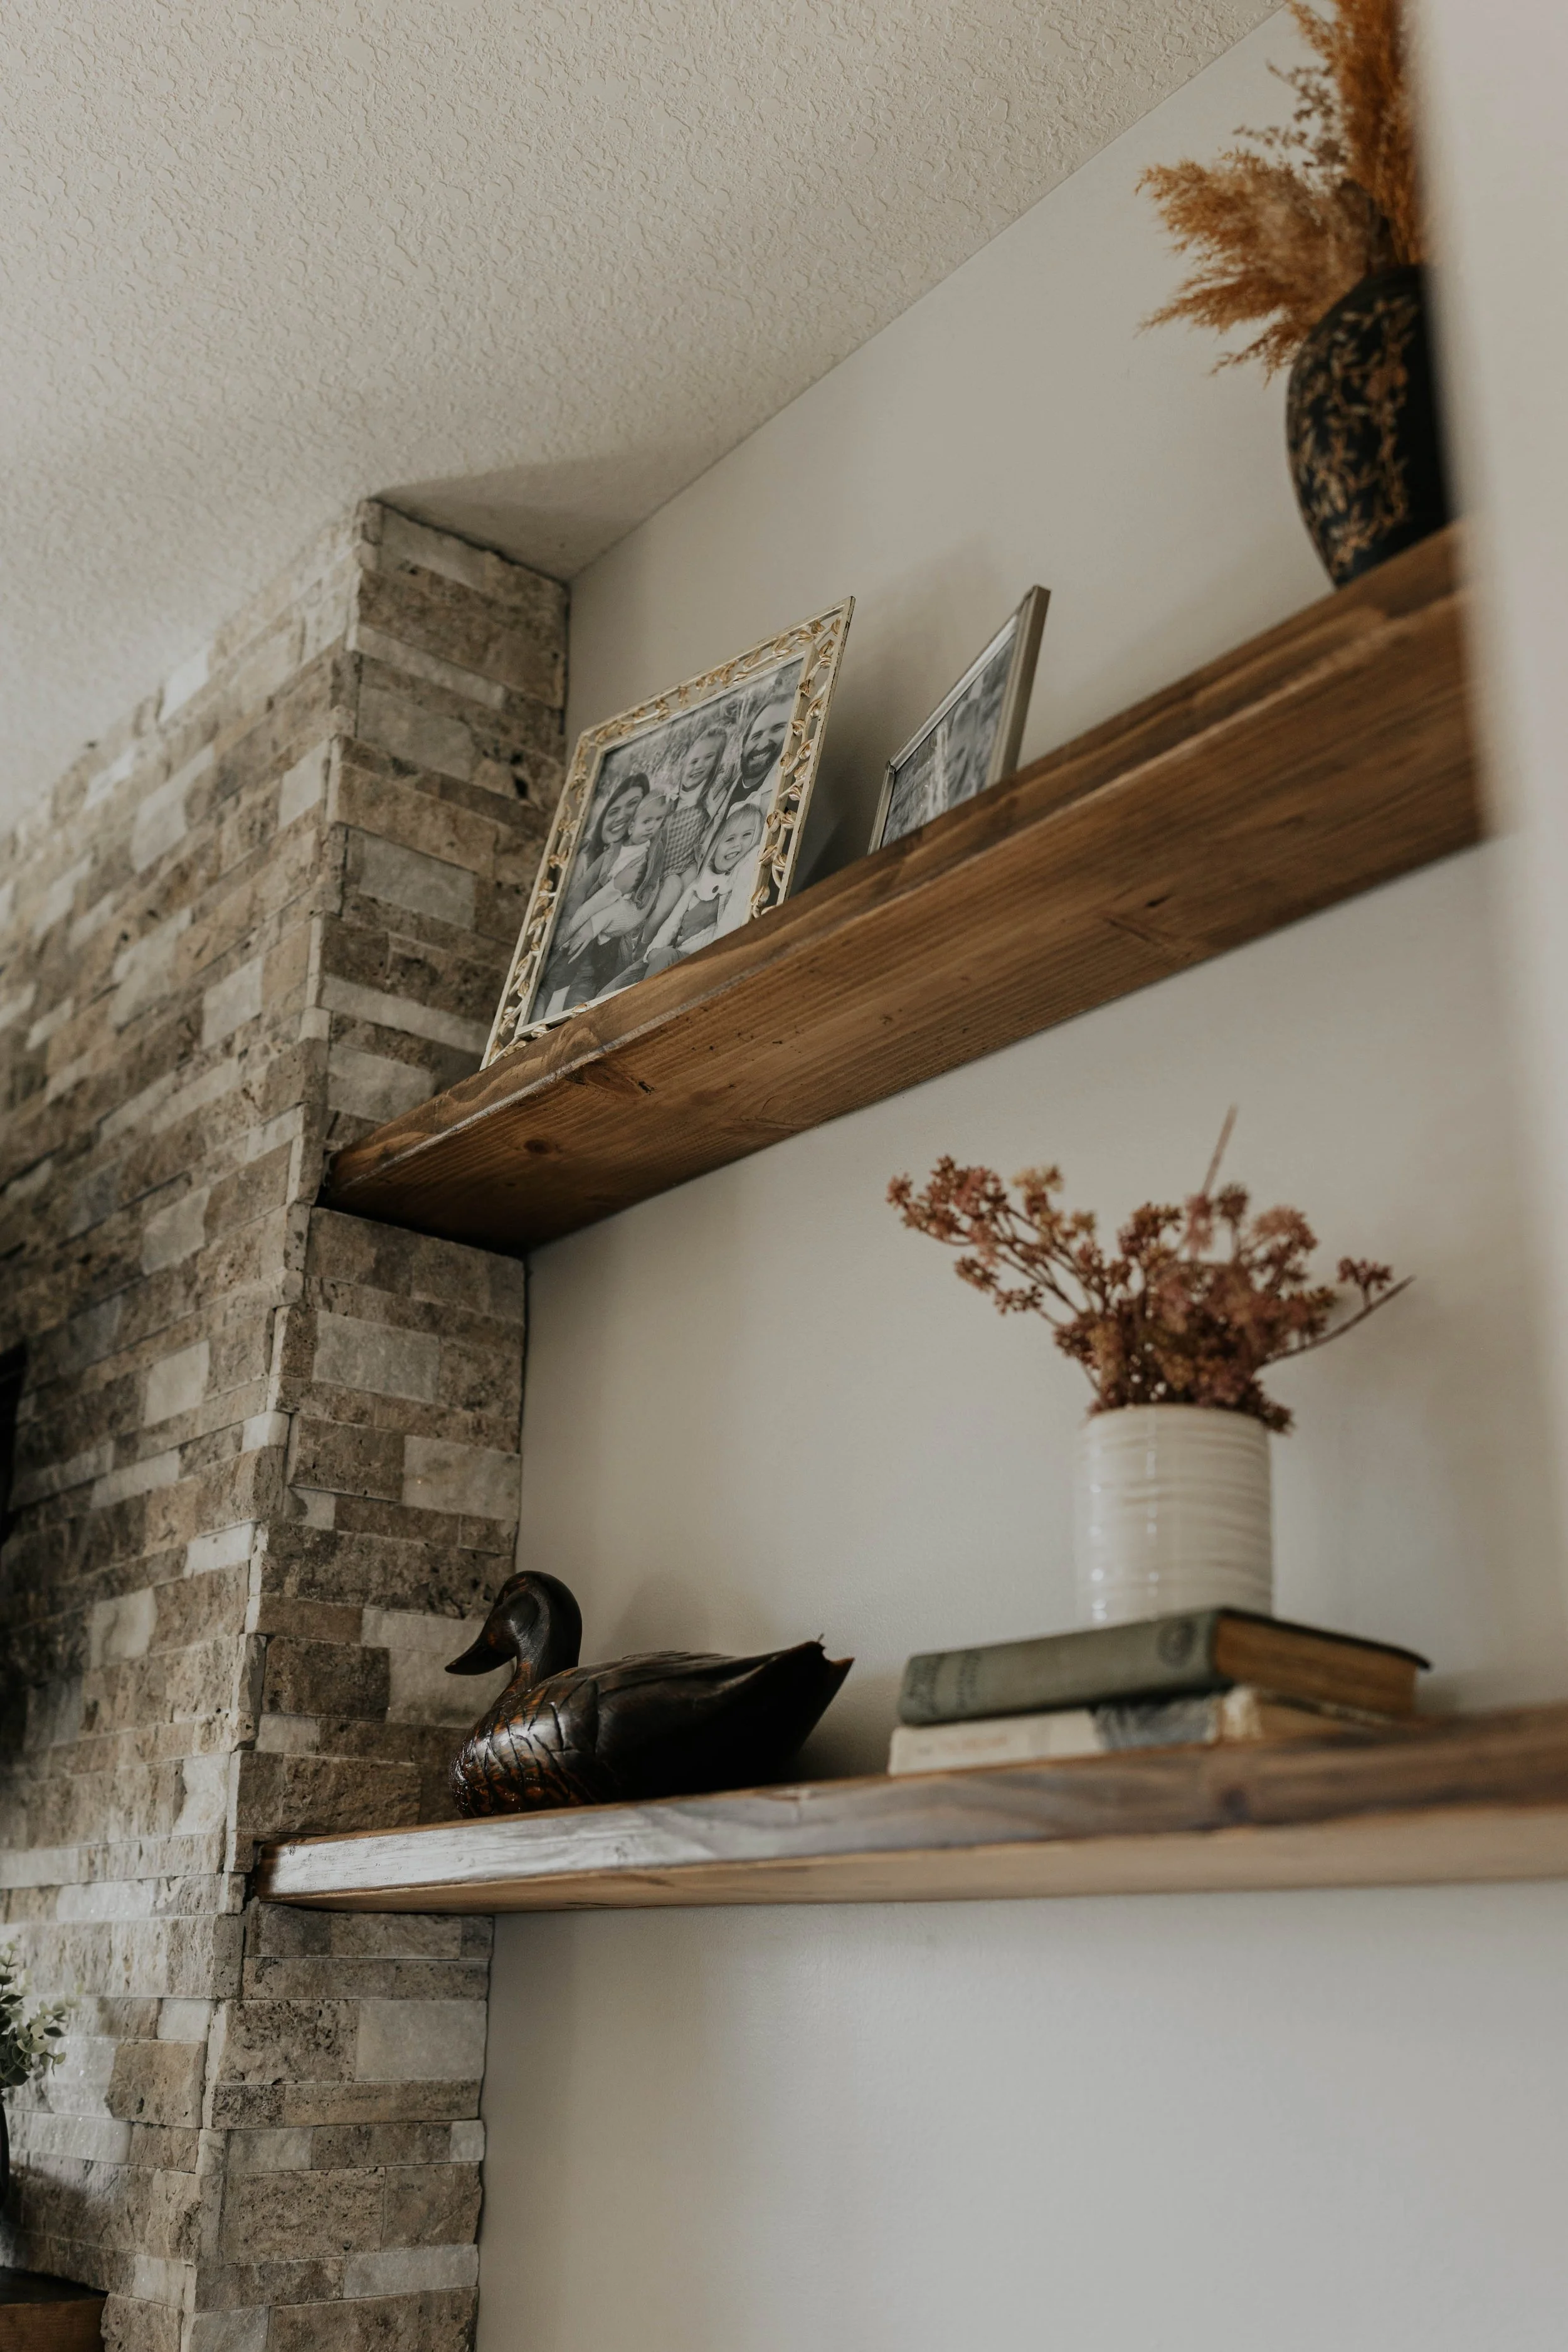
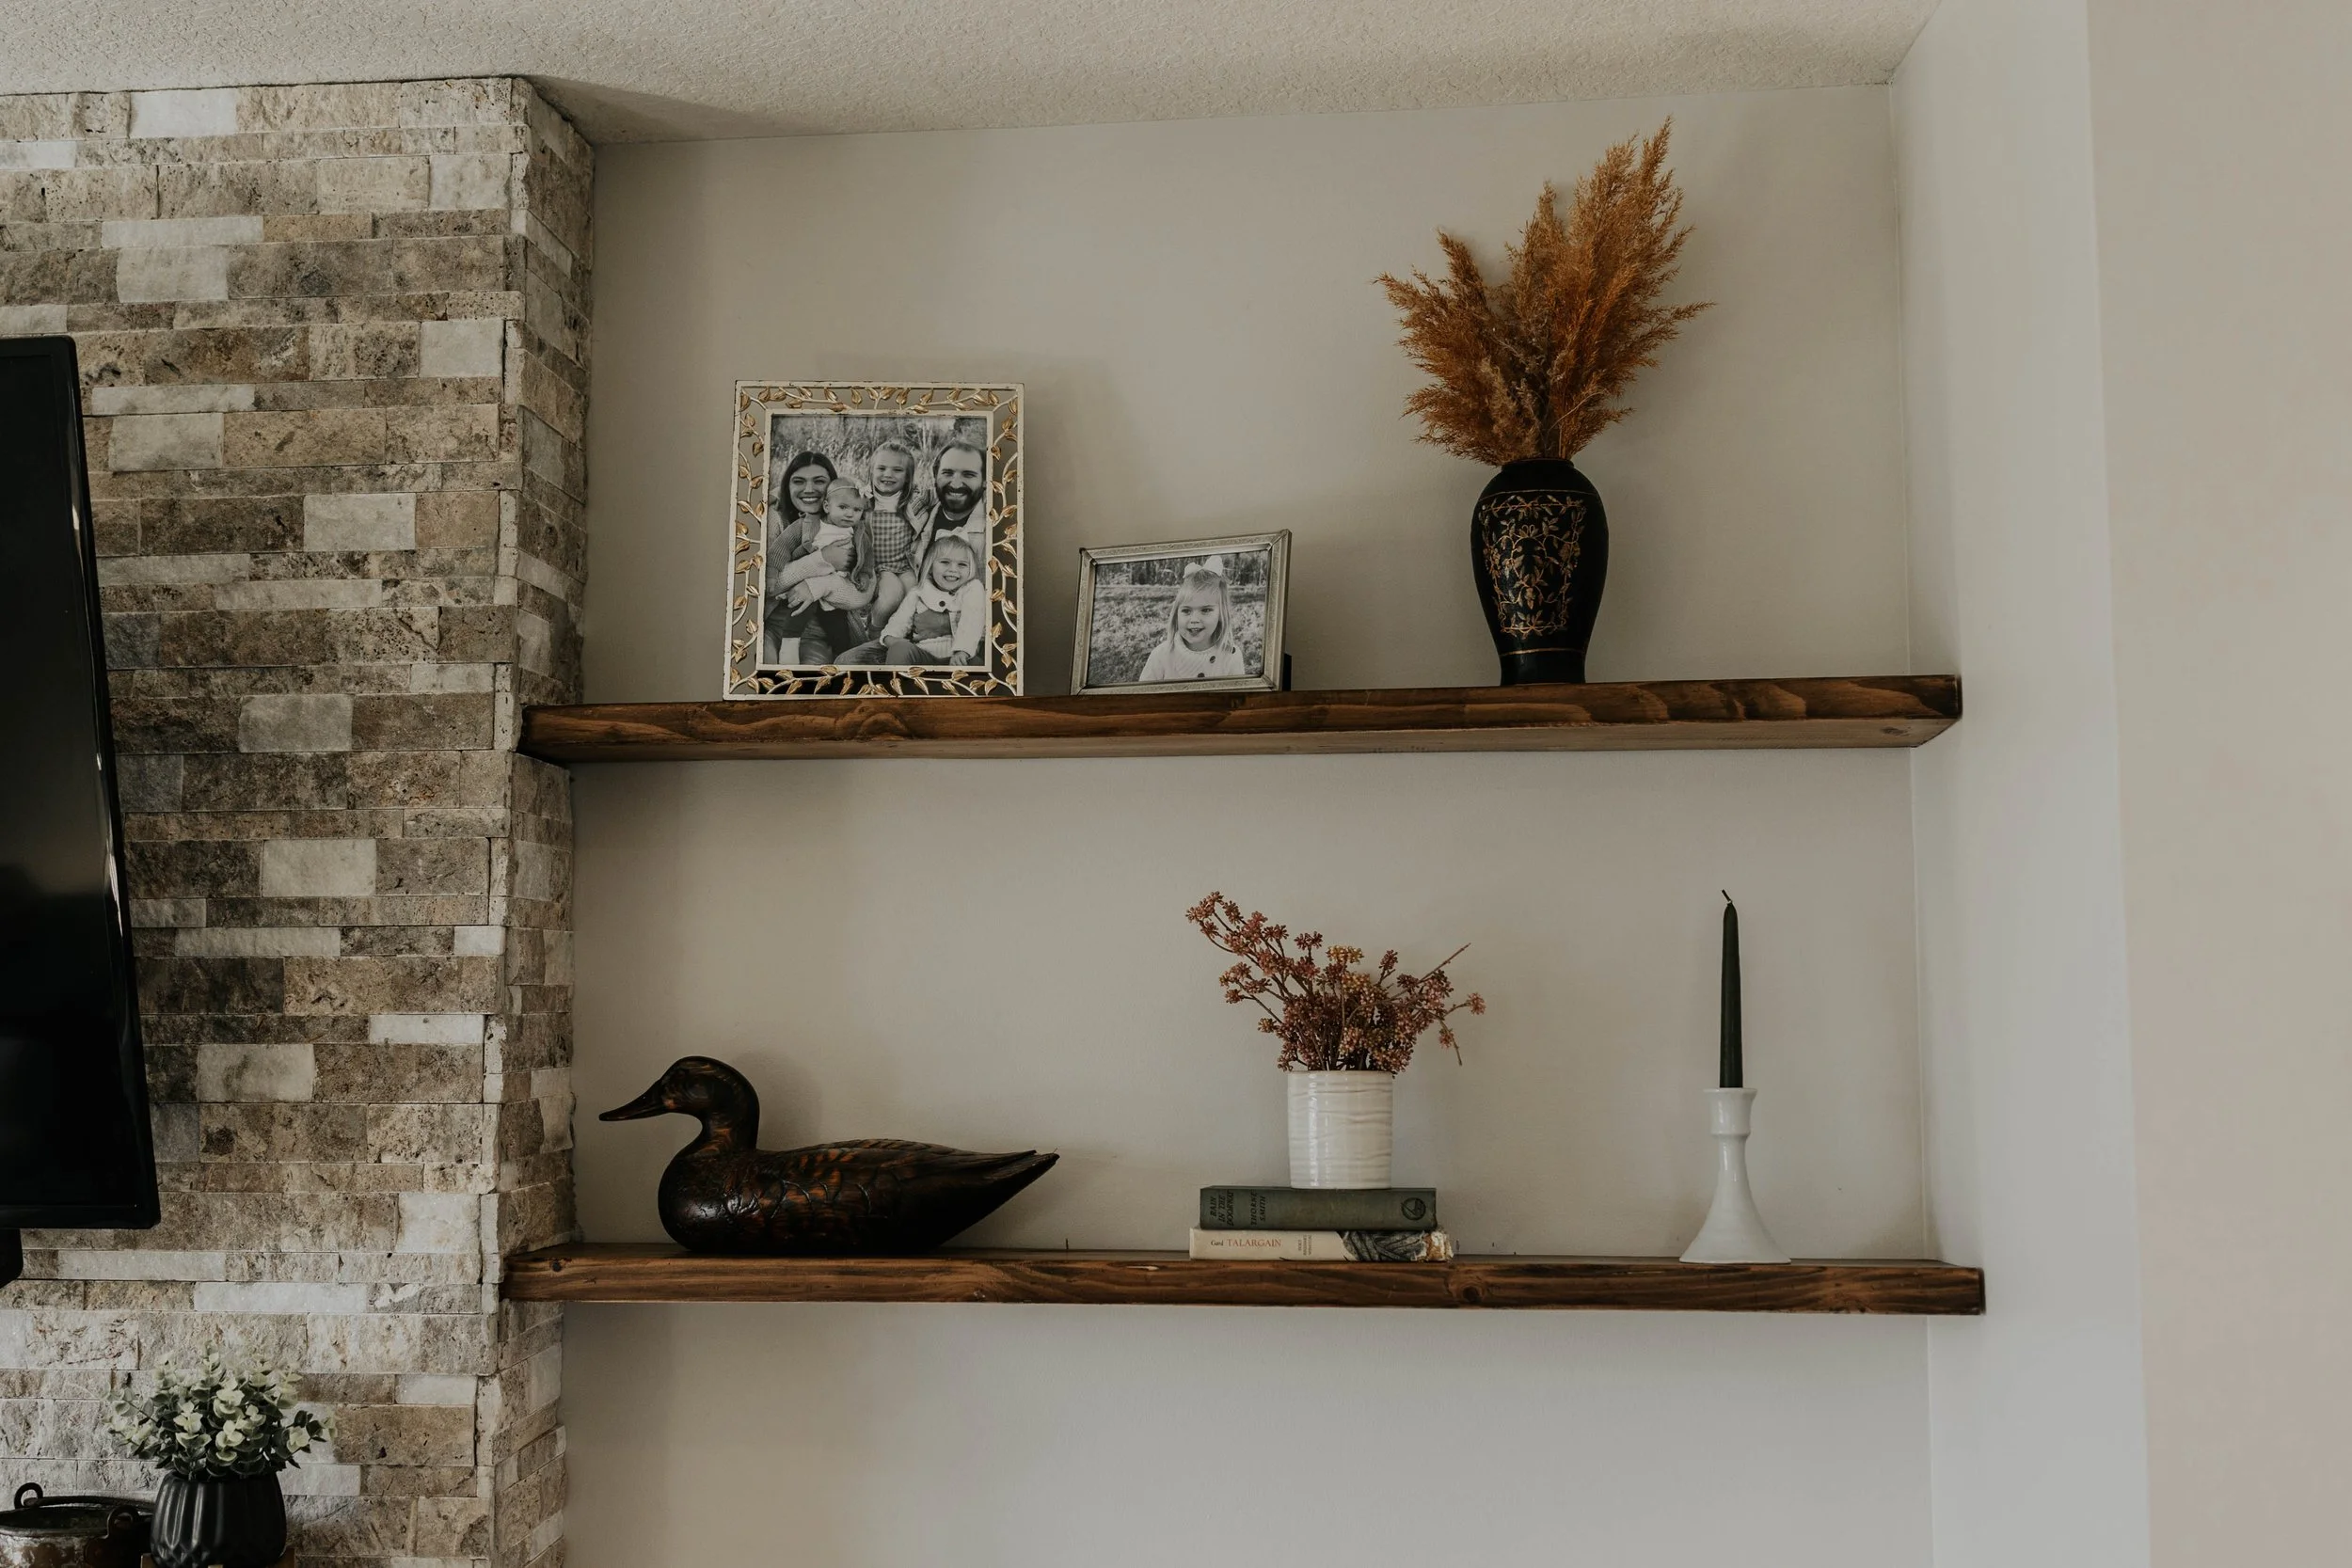
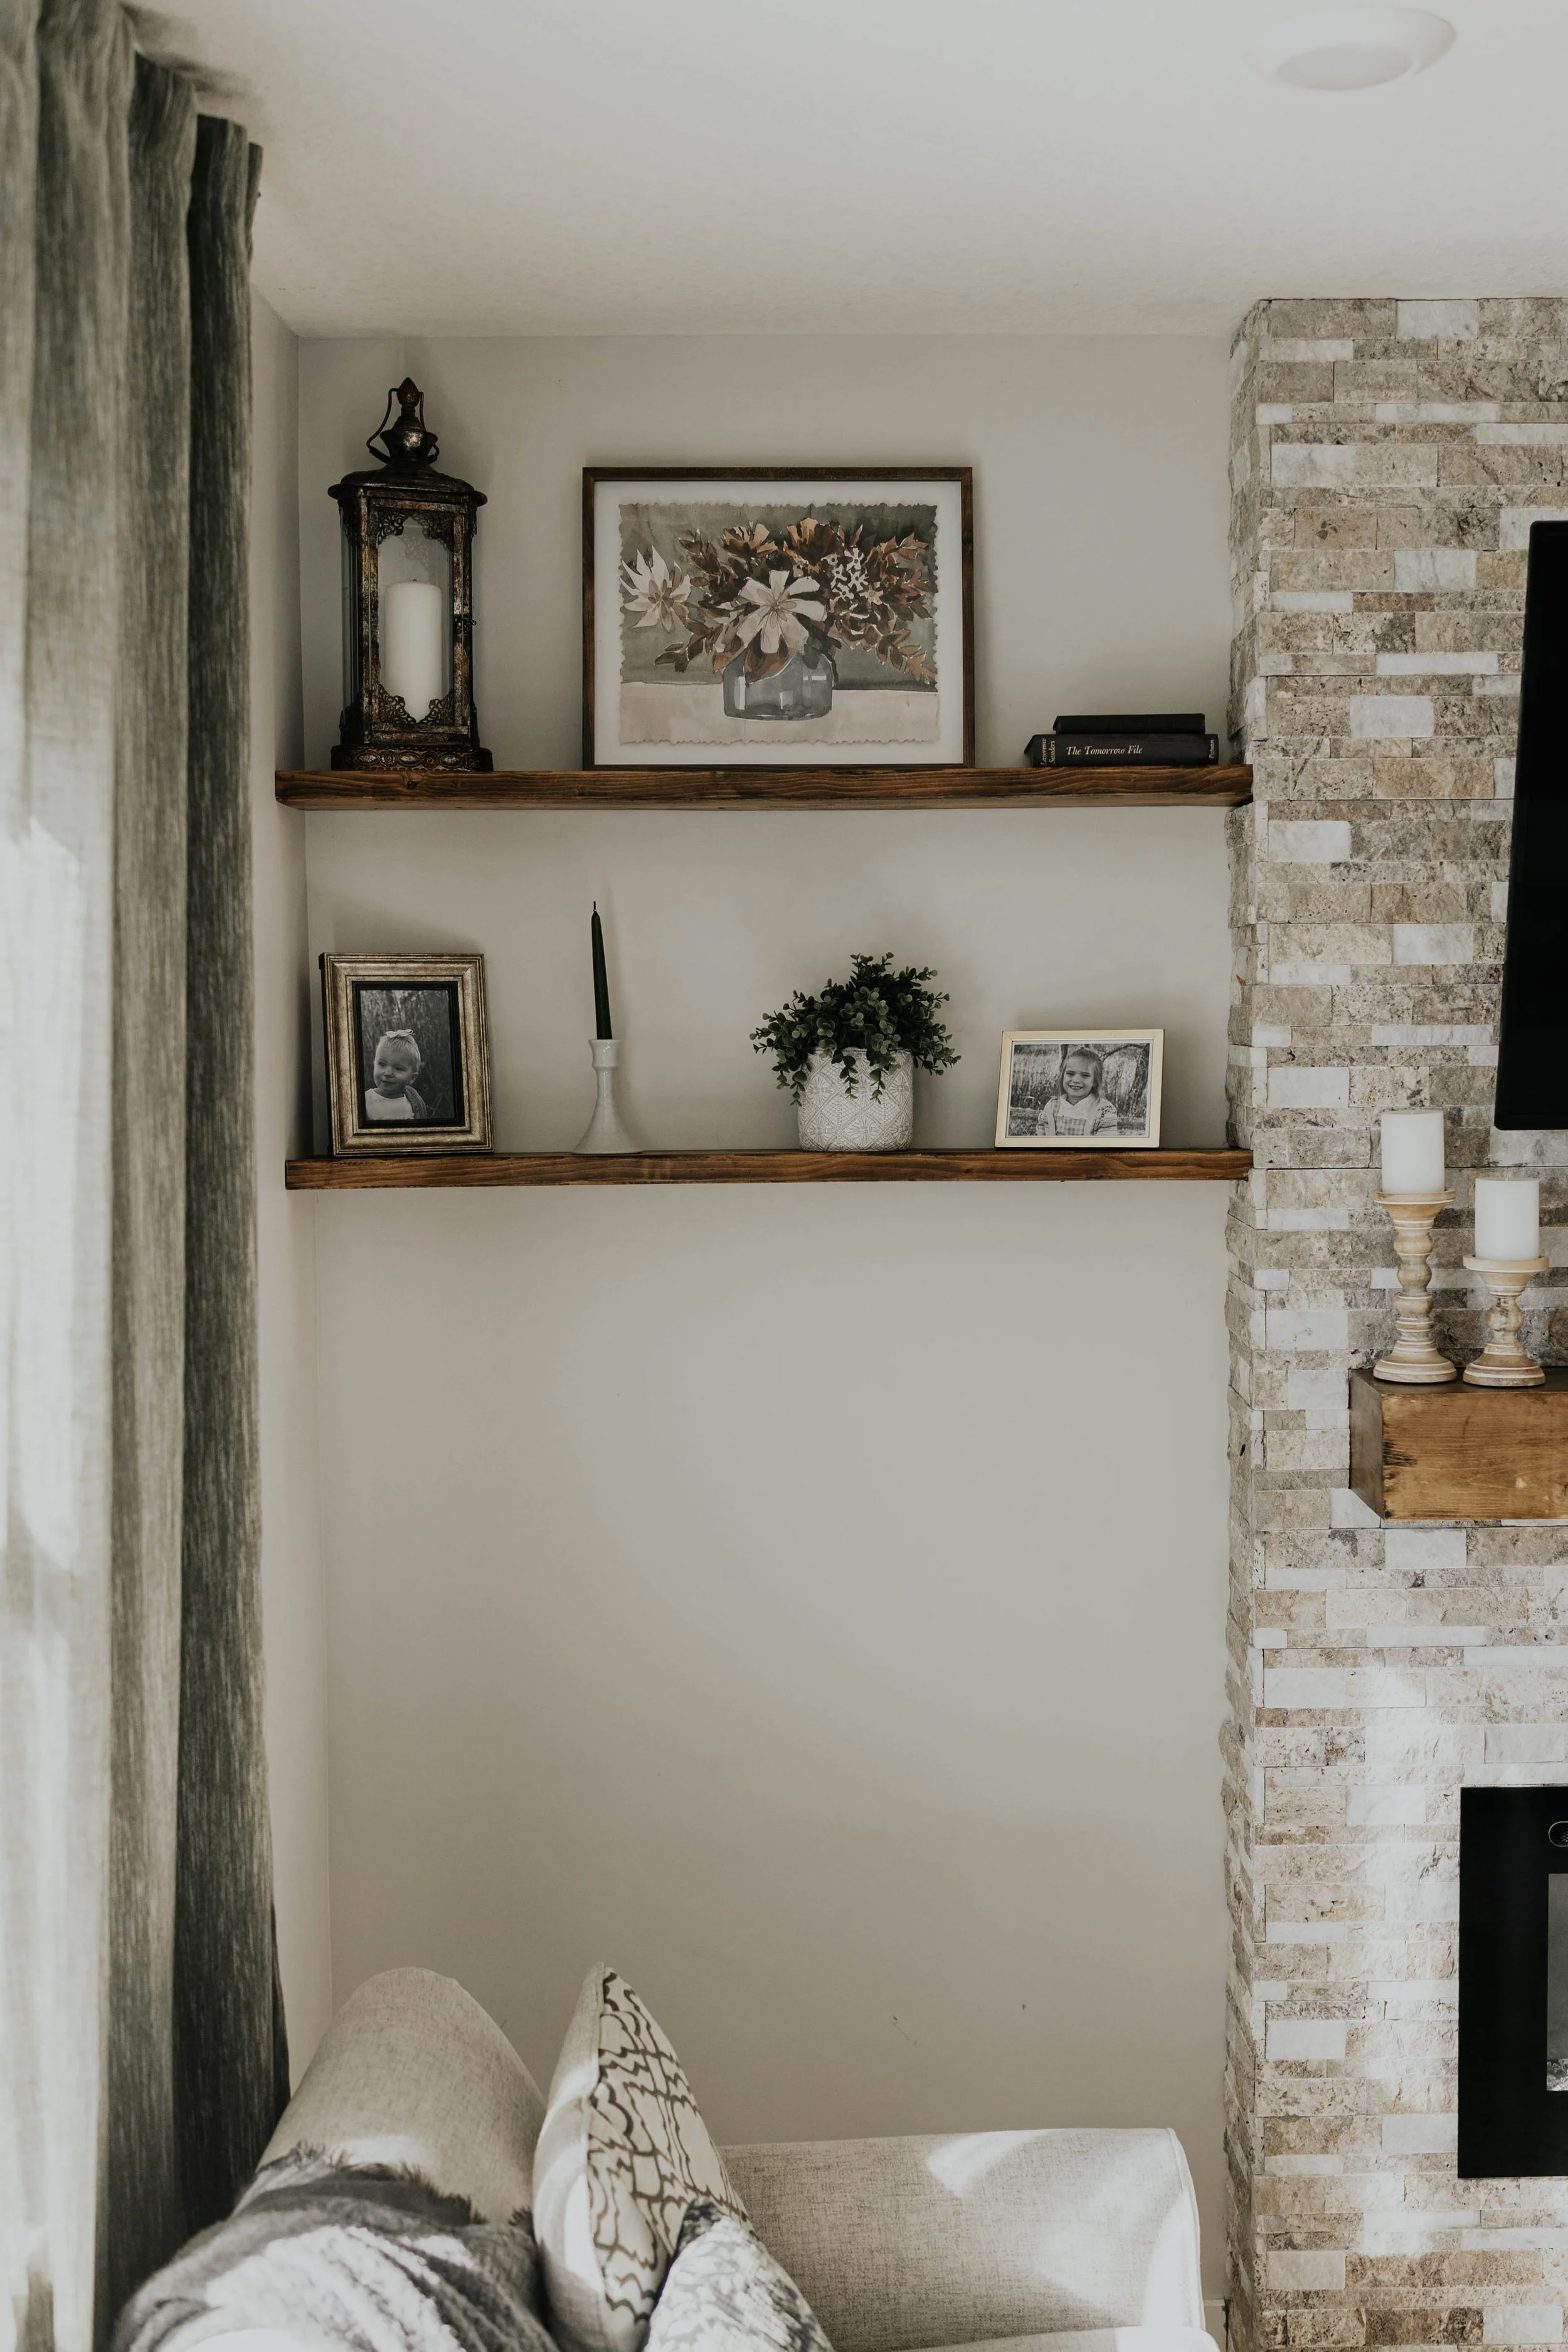
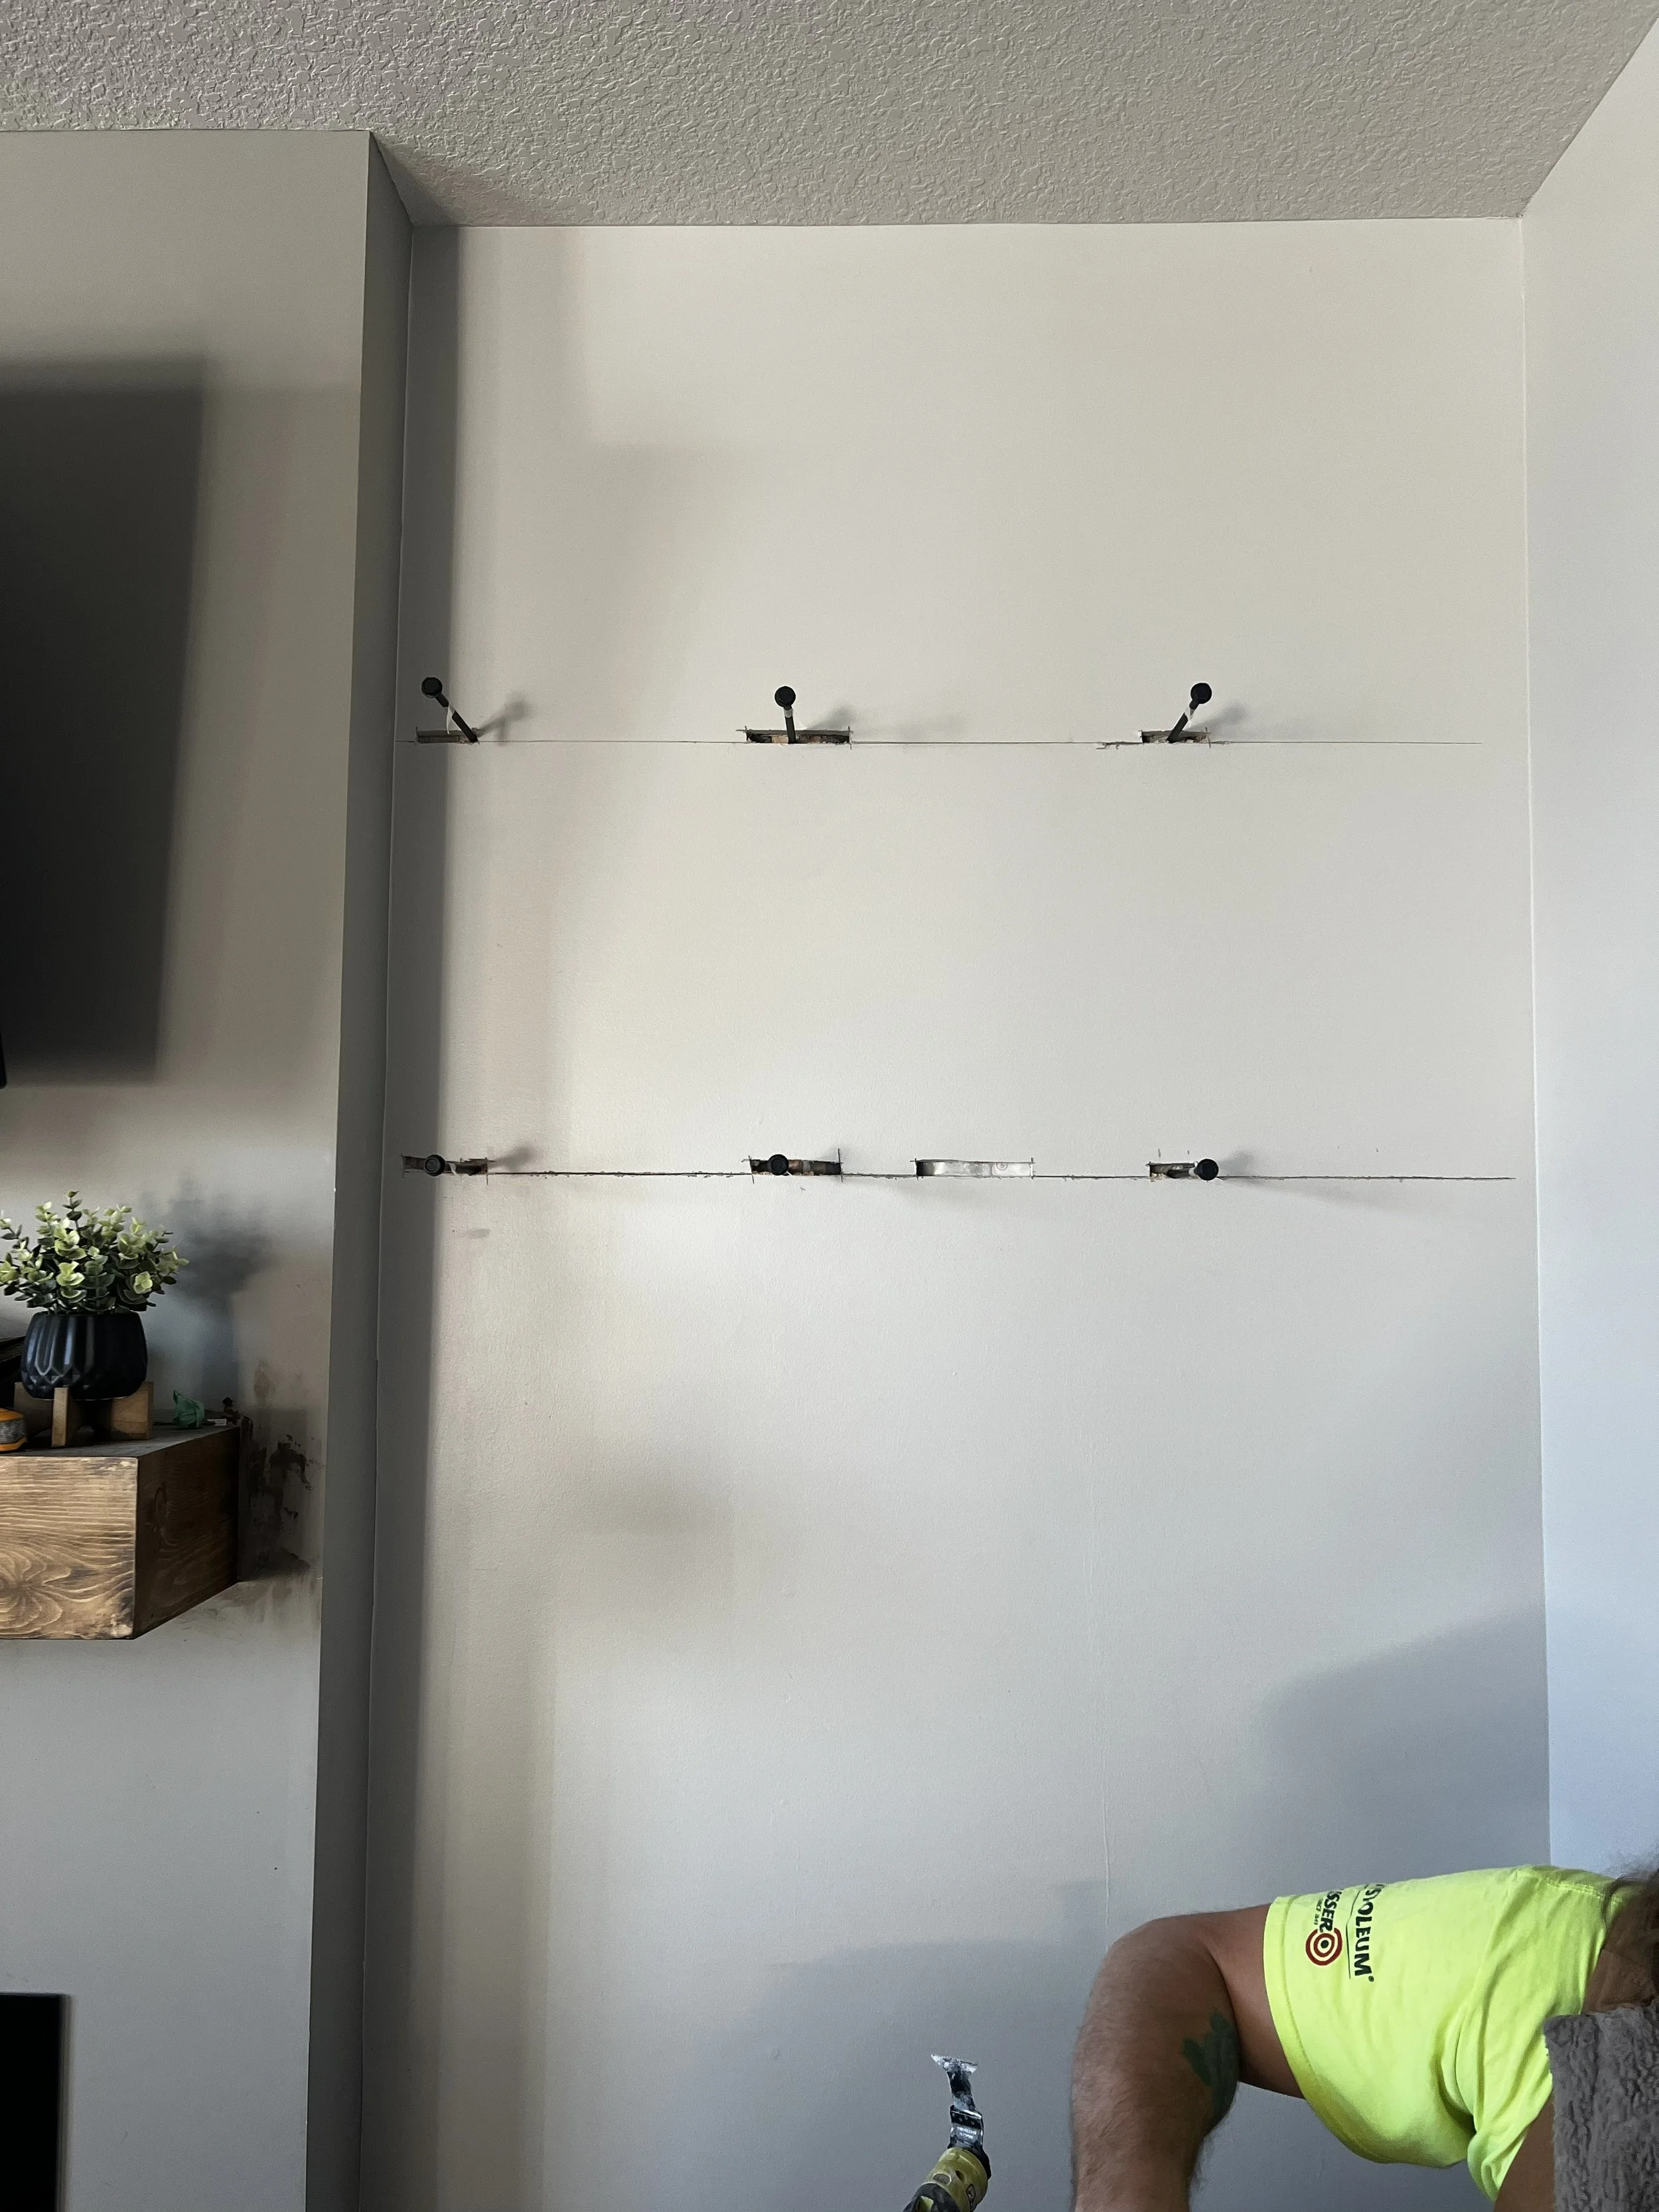
In the meantime, it was time to decide the placement of the floating shelves on the wall. We went back and forth between 2 and 3 shelves on each side of the fireplace, before ultimately deciding on 2 higher up shelves. This was partly because it felt better visually and also with 3 shelves the lowest one would be just a little too easy for little hands to reach!
When it came time to hang the shelves, we wanted to make sure these shelves were both strong and secure. Henry decided to use lag screws, drilled directly into the studs, NOT the drywall. He then bored holes into the shelves to line up with the lags and slid them right on!
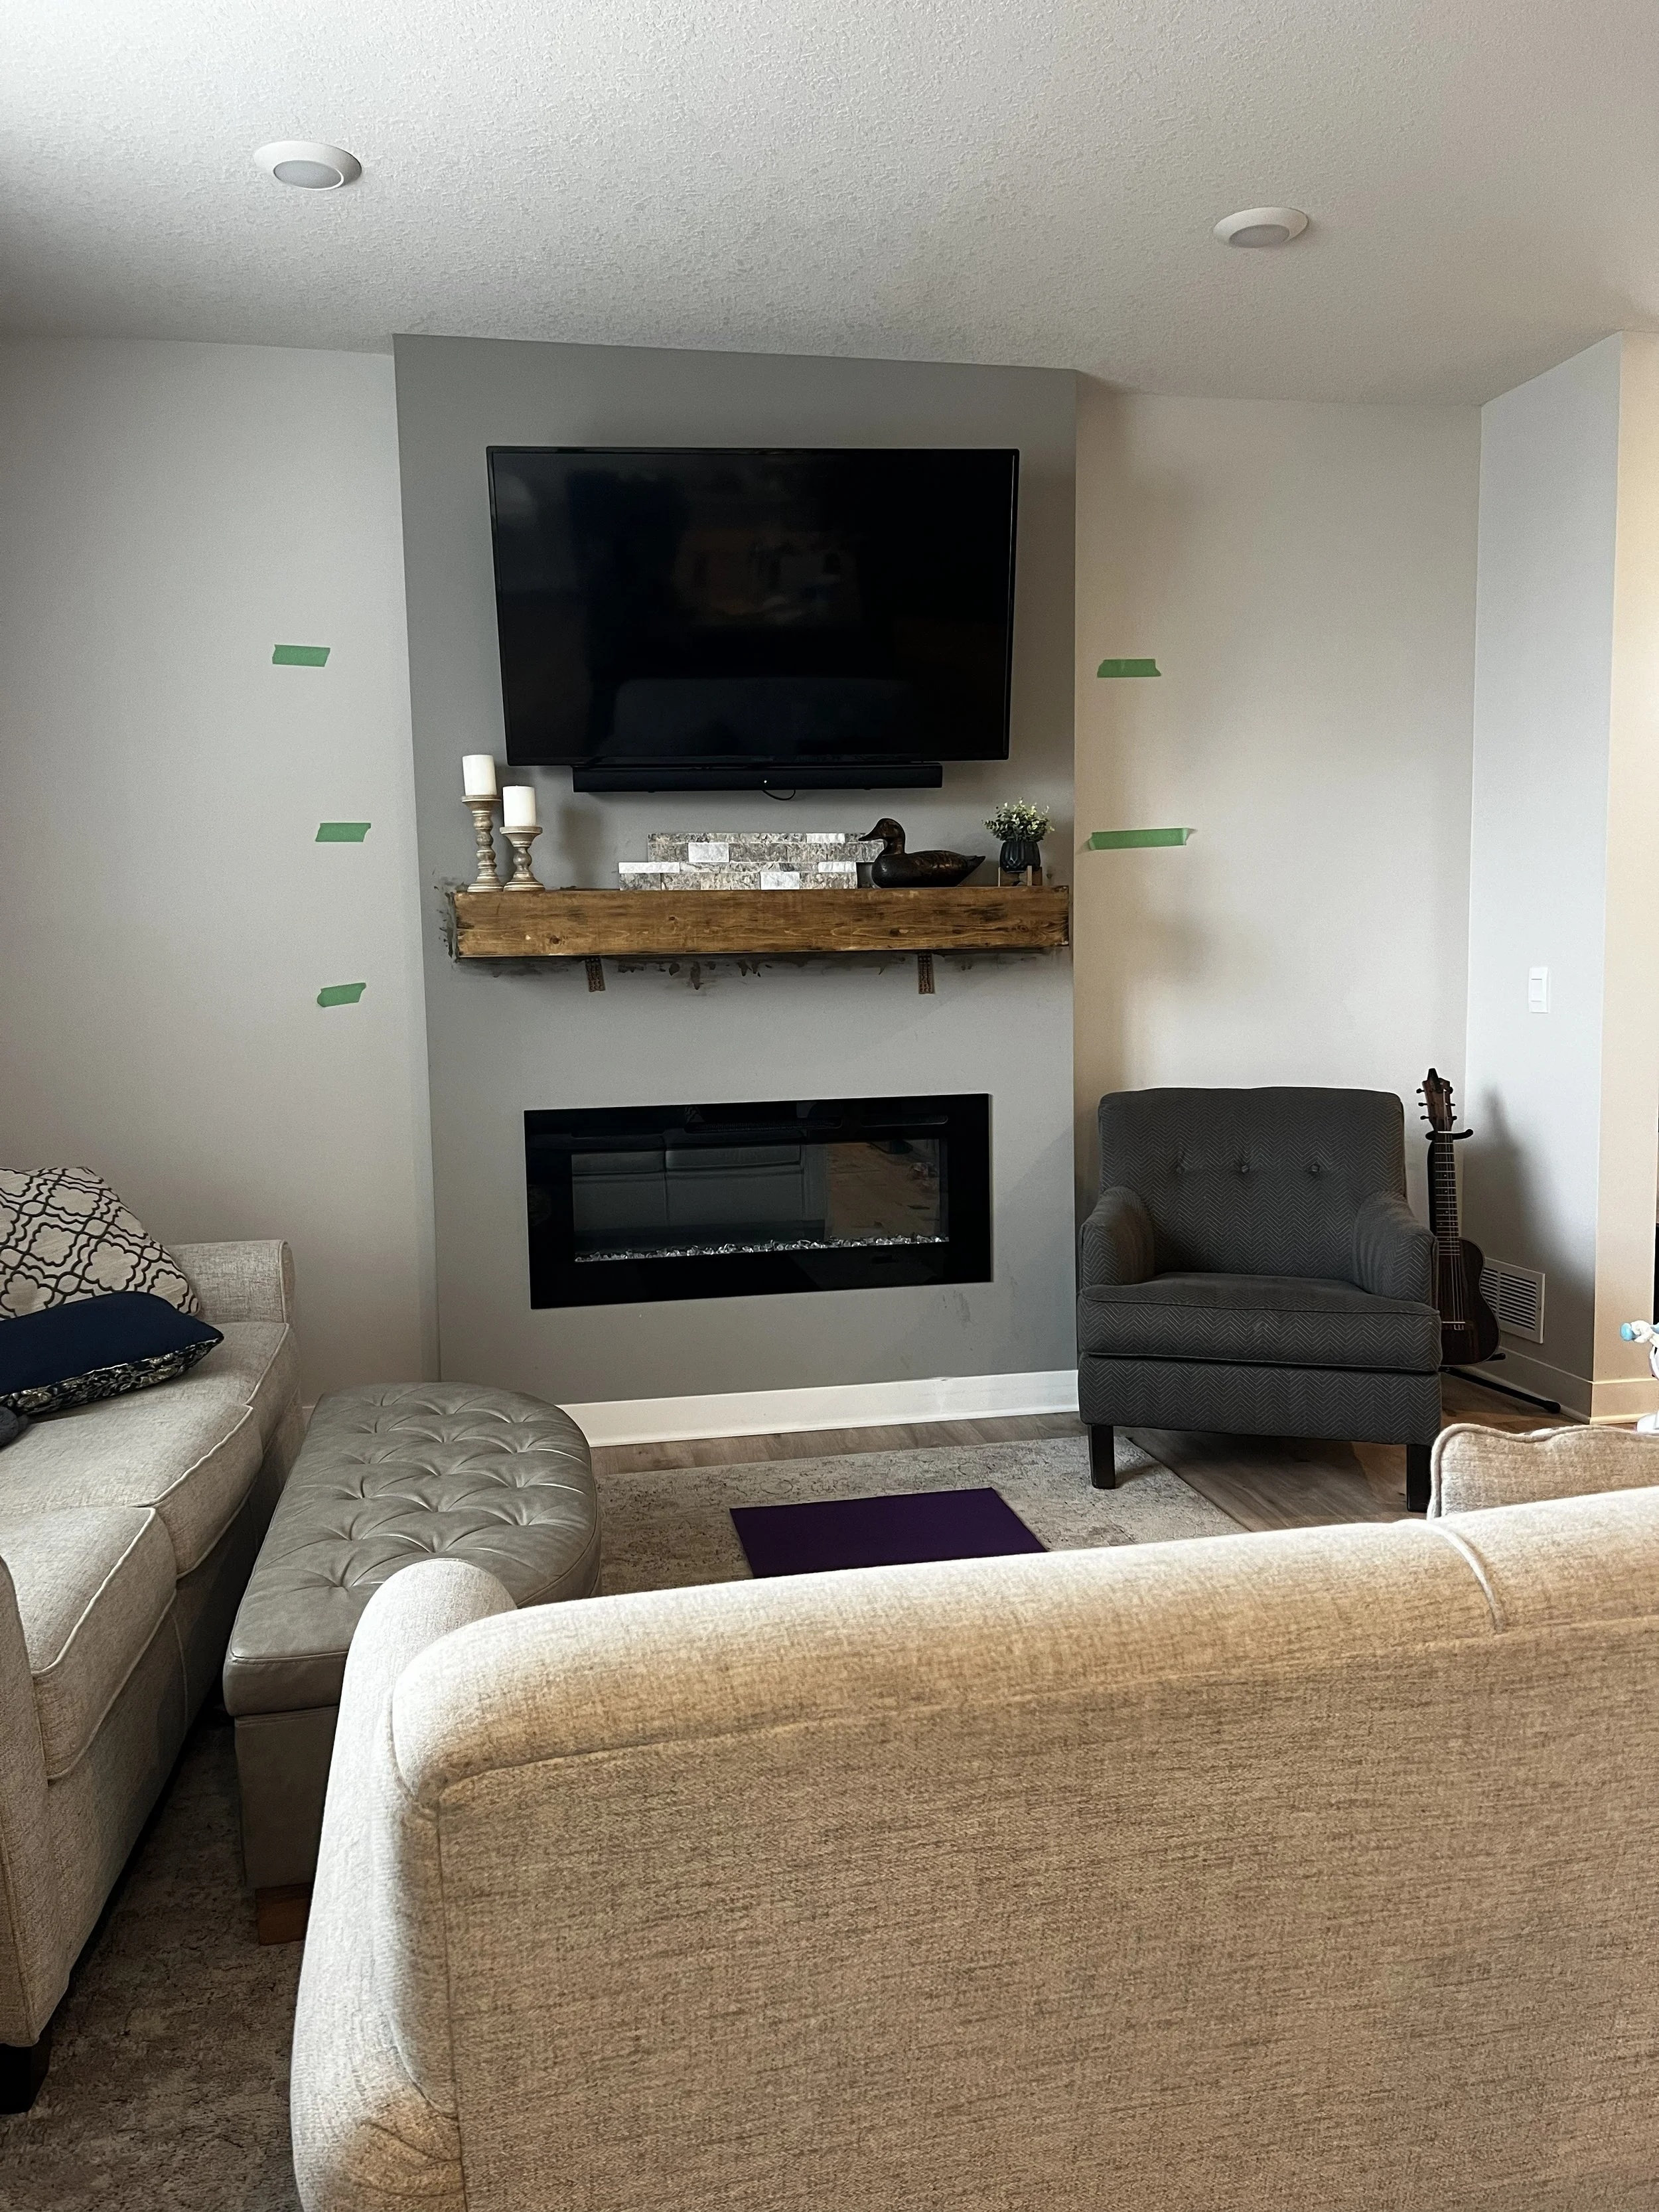
Once the shelves were hung, we installed the stone ledger board. That project (a fun, but dusty one) is a story for another day!
Why a Custom Build?
Perhaps you have a space in your home that calls for some shelving. While there are many retail and online options out there, here are some good reasons for choosing to go with a custom build.
Size & Space
Most floating shelves come in a few standard sizes (24, 36 & 48 in width and 8, 10 or 12 in depth being most common). But there is no standard size for a home or living space! With a custom build, you can design a shelf in a size that fits exactly perfectly in your home instead of going with the “closest fit”.
Color
Have you ever ordered something online and when it arrived the color looked nothing like the online photo? With a custom build, you get to pick the perfect color first. A sample piece allows you to compare your shelf color with other wood tones throughout your space and make sure it all ties together. We also loved that we could match our mantle 100% to our floating shelves.
Whole Home Design
Lastly, a custom build allows you to have intentional pieces in your home that tie into your whole home design and aesthetic! We knew we wanted to bring some life into our gray builder grade home with natural textures and warm wood tones. Before we even designed the shelving we had a color and style in mind!
At IDIA, designing and building custom pieces is one of our favorite things to do. We love connecting with folks, hearing about the vision and ideas for their space and helping to create pieces that are intentional, beautiful, functional and bring homeowners’ personalities to life! There’s simply nothing better than being part of a process from inception to design to build to install!
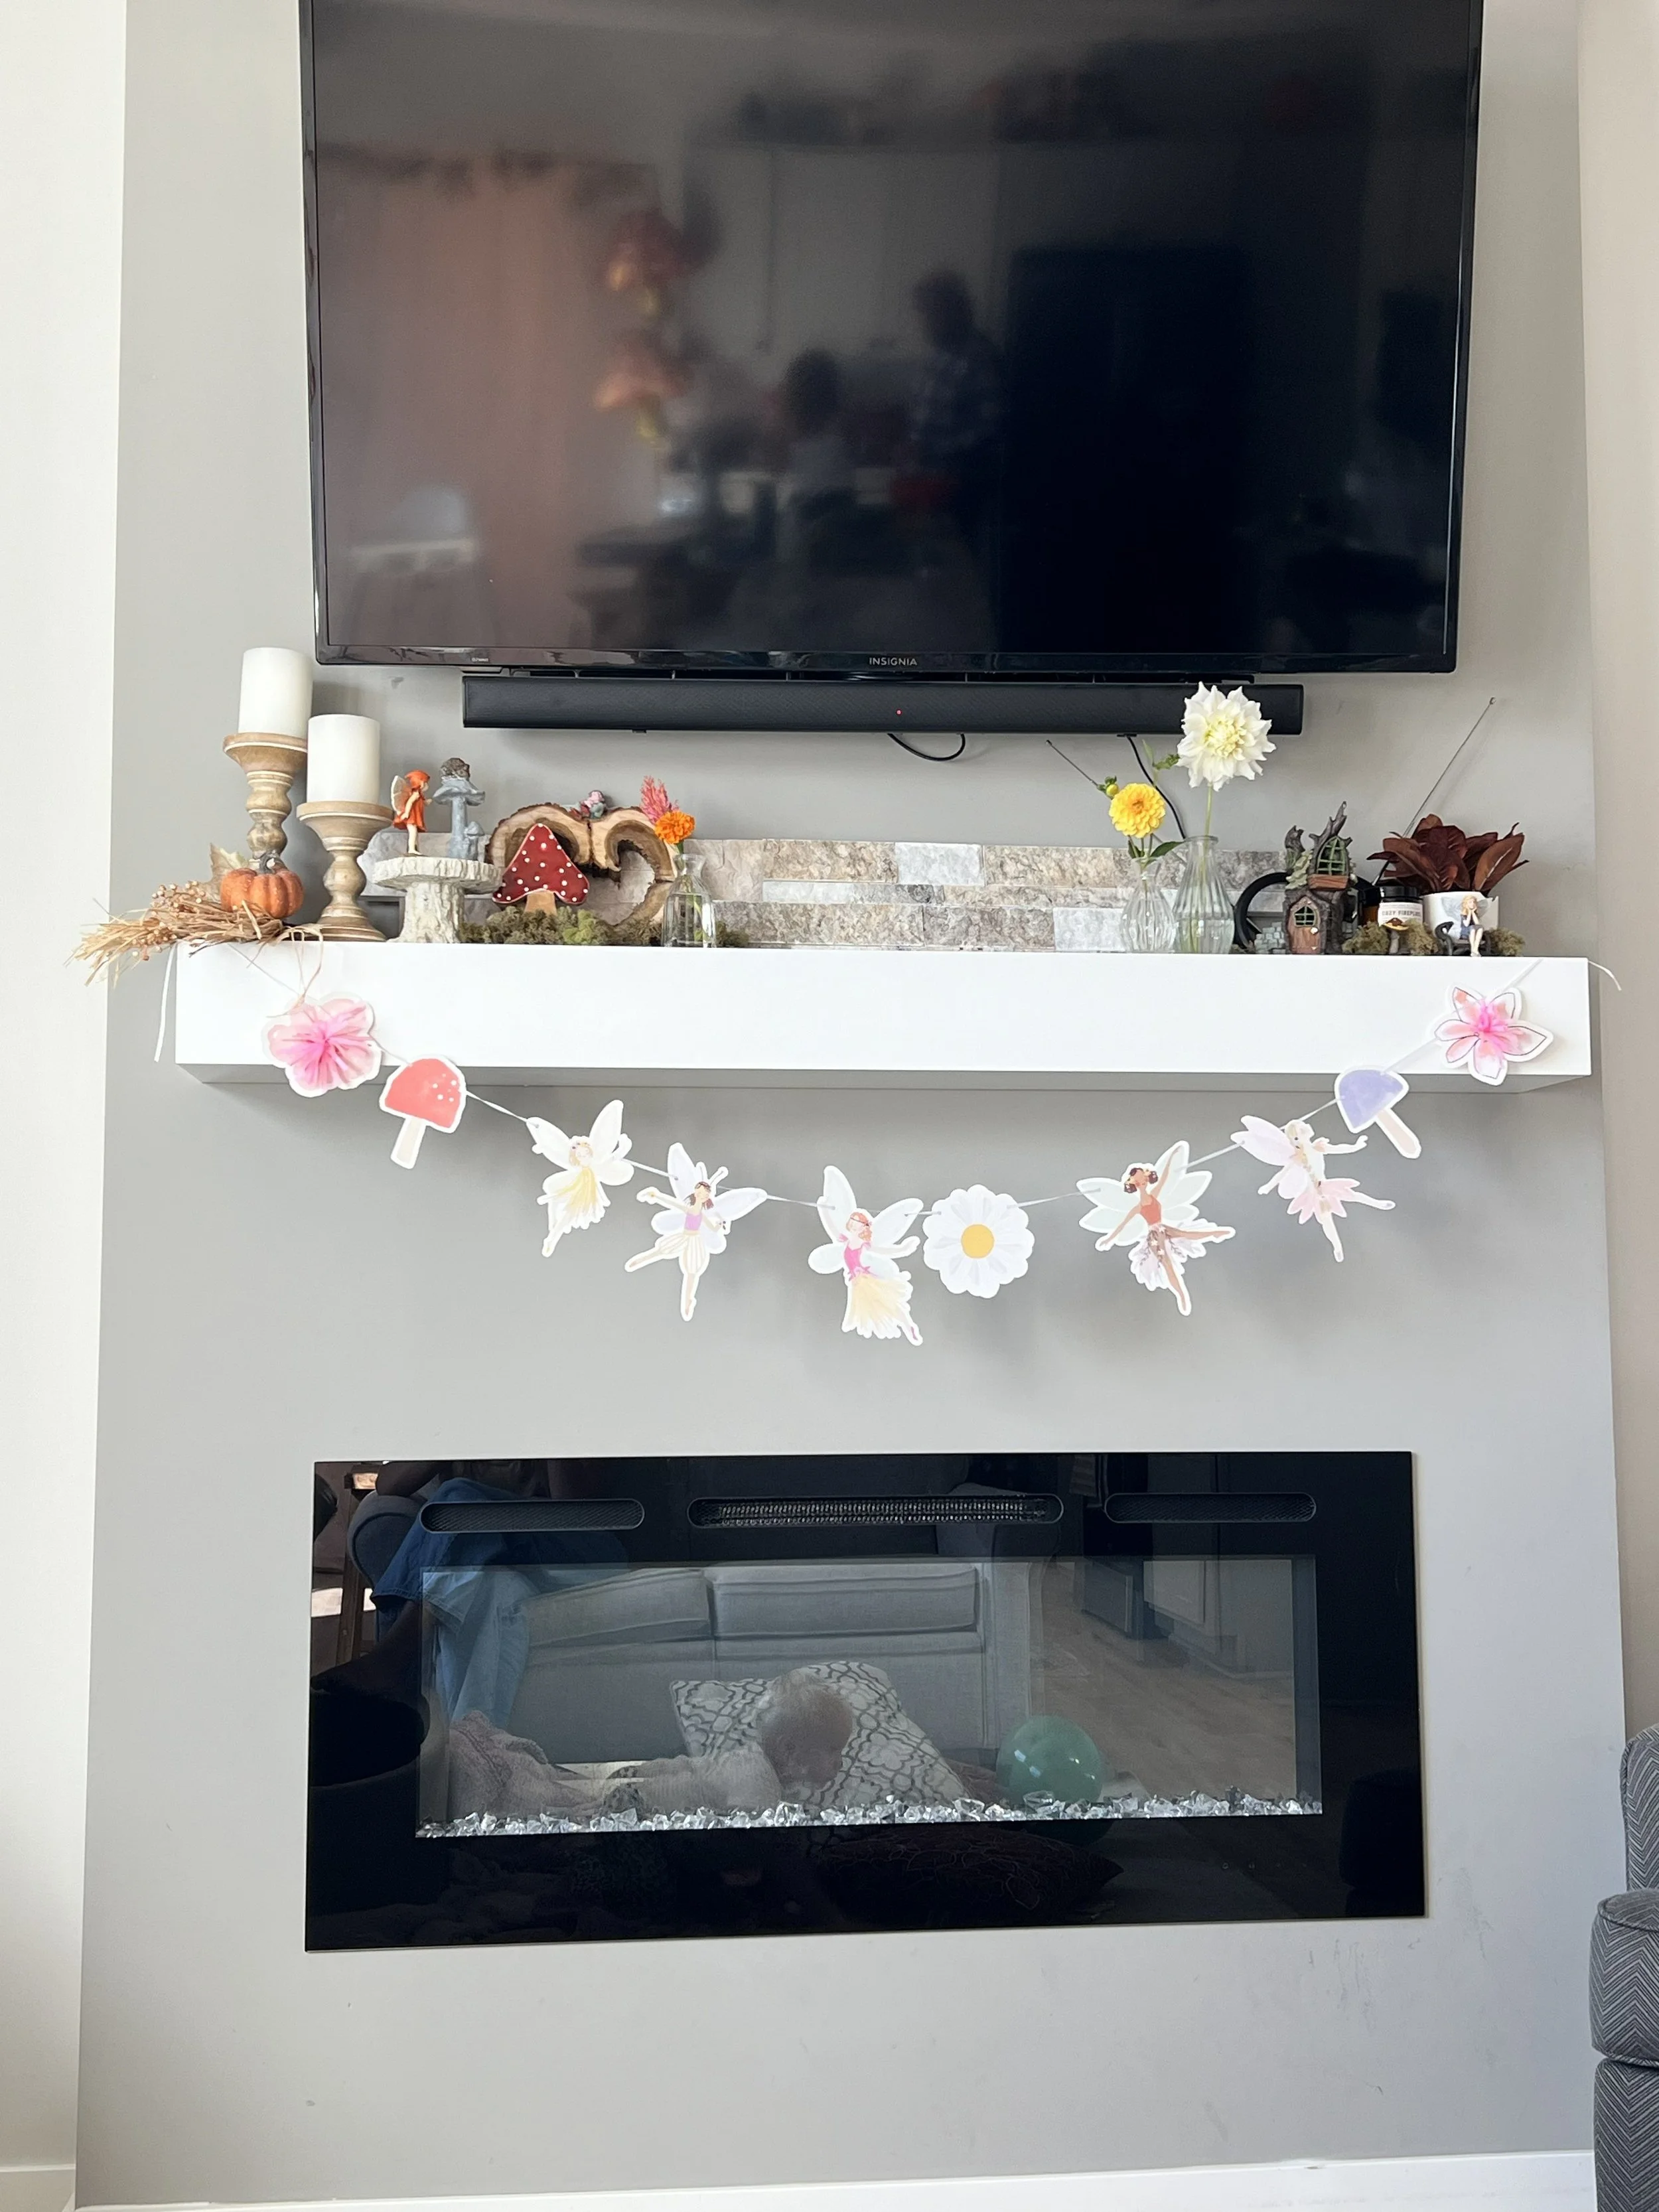
The Gorgeous Final Product