
Building a Deck? Here’s 3 Key Factors to Consider Before Starting

Decks are one of the best ways to increase your home’s value while adding on a whole extra outdoor living space. While we’re not specifically a decking company, deck builds are one of the projects we feel most confident and comfortable with. We’ve built our fair share of decks, including our own!
If you’re ready to have that back door of yours actually lead somewhere and a deck is in your near future, read on for some inspiration from our latest deck project, as well as some major pieces to consider before breaking ground.
Consider the Timing
There’s more to building a deck than the actual construction! As a planner and project manager, I’m ALL about timelines and working backwards. I also like to be prepared for unexpected scenarios and leave a buffer window of time for the “just in cases”. Before building a deck, you should be aware of your expected timeline as well as things that may cause potential delays!
Timeline
While these exact times may differ from project to project and location to location, here’s a general idea of what you can expect for the timeline of your deck project.
Project Design & Permit Phase-1-4 weeks (we waited about 2 weeks between the initial deck design and final permit approval)
Material Order Phase- 10 days-up to 6 weeks (our longest lead time for materials for this deck was 3 weeks out)
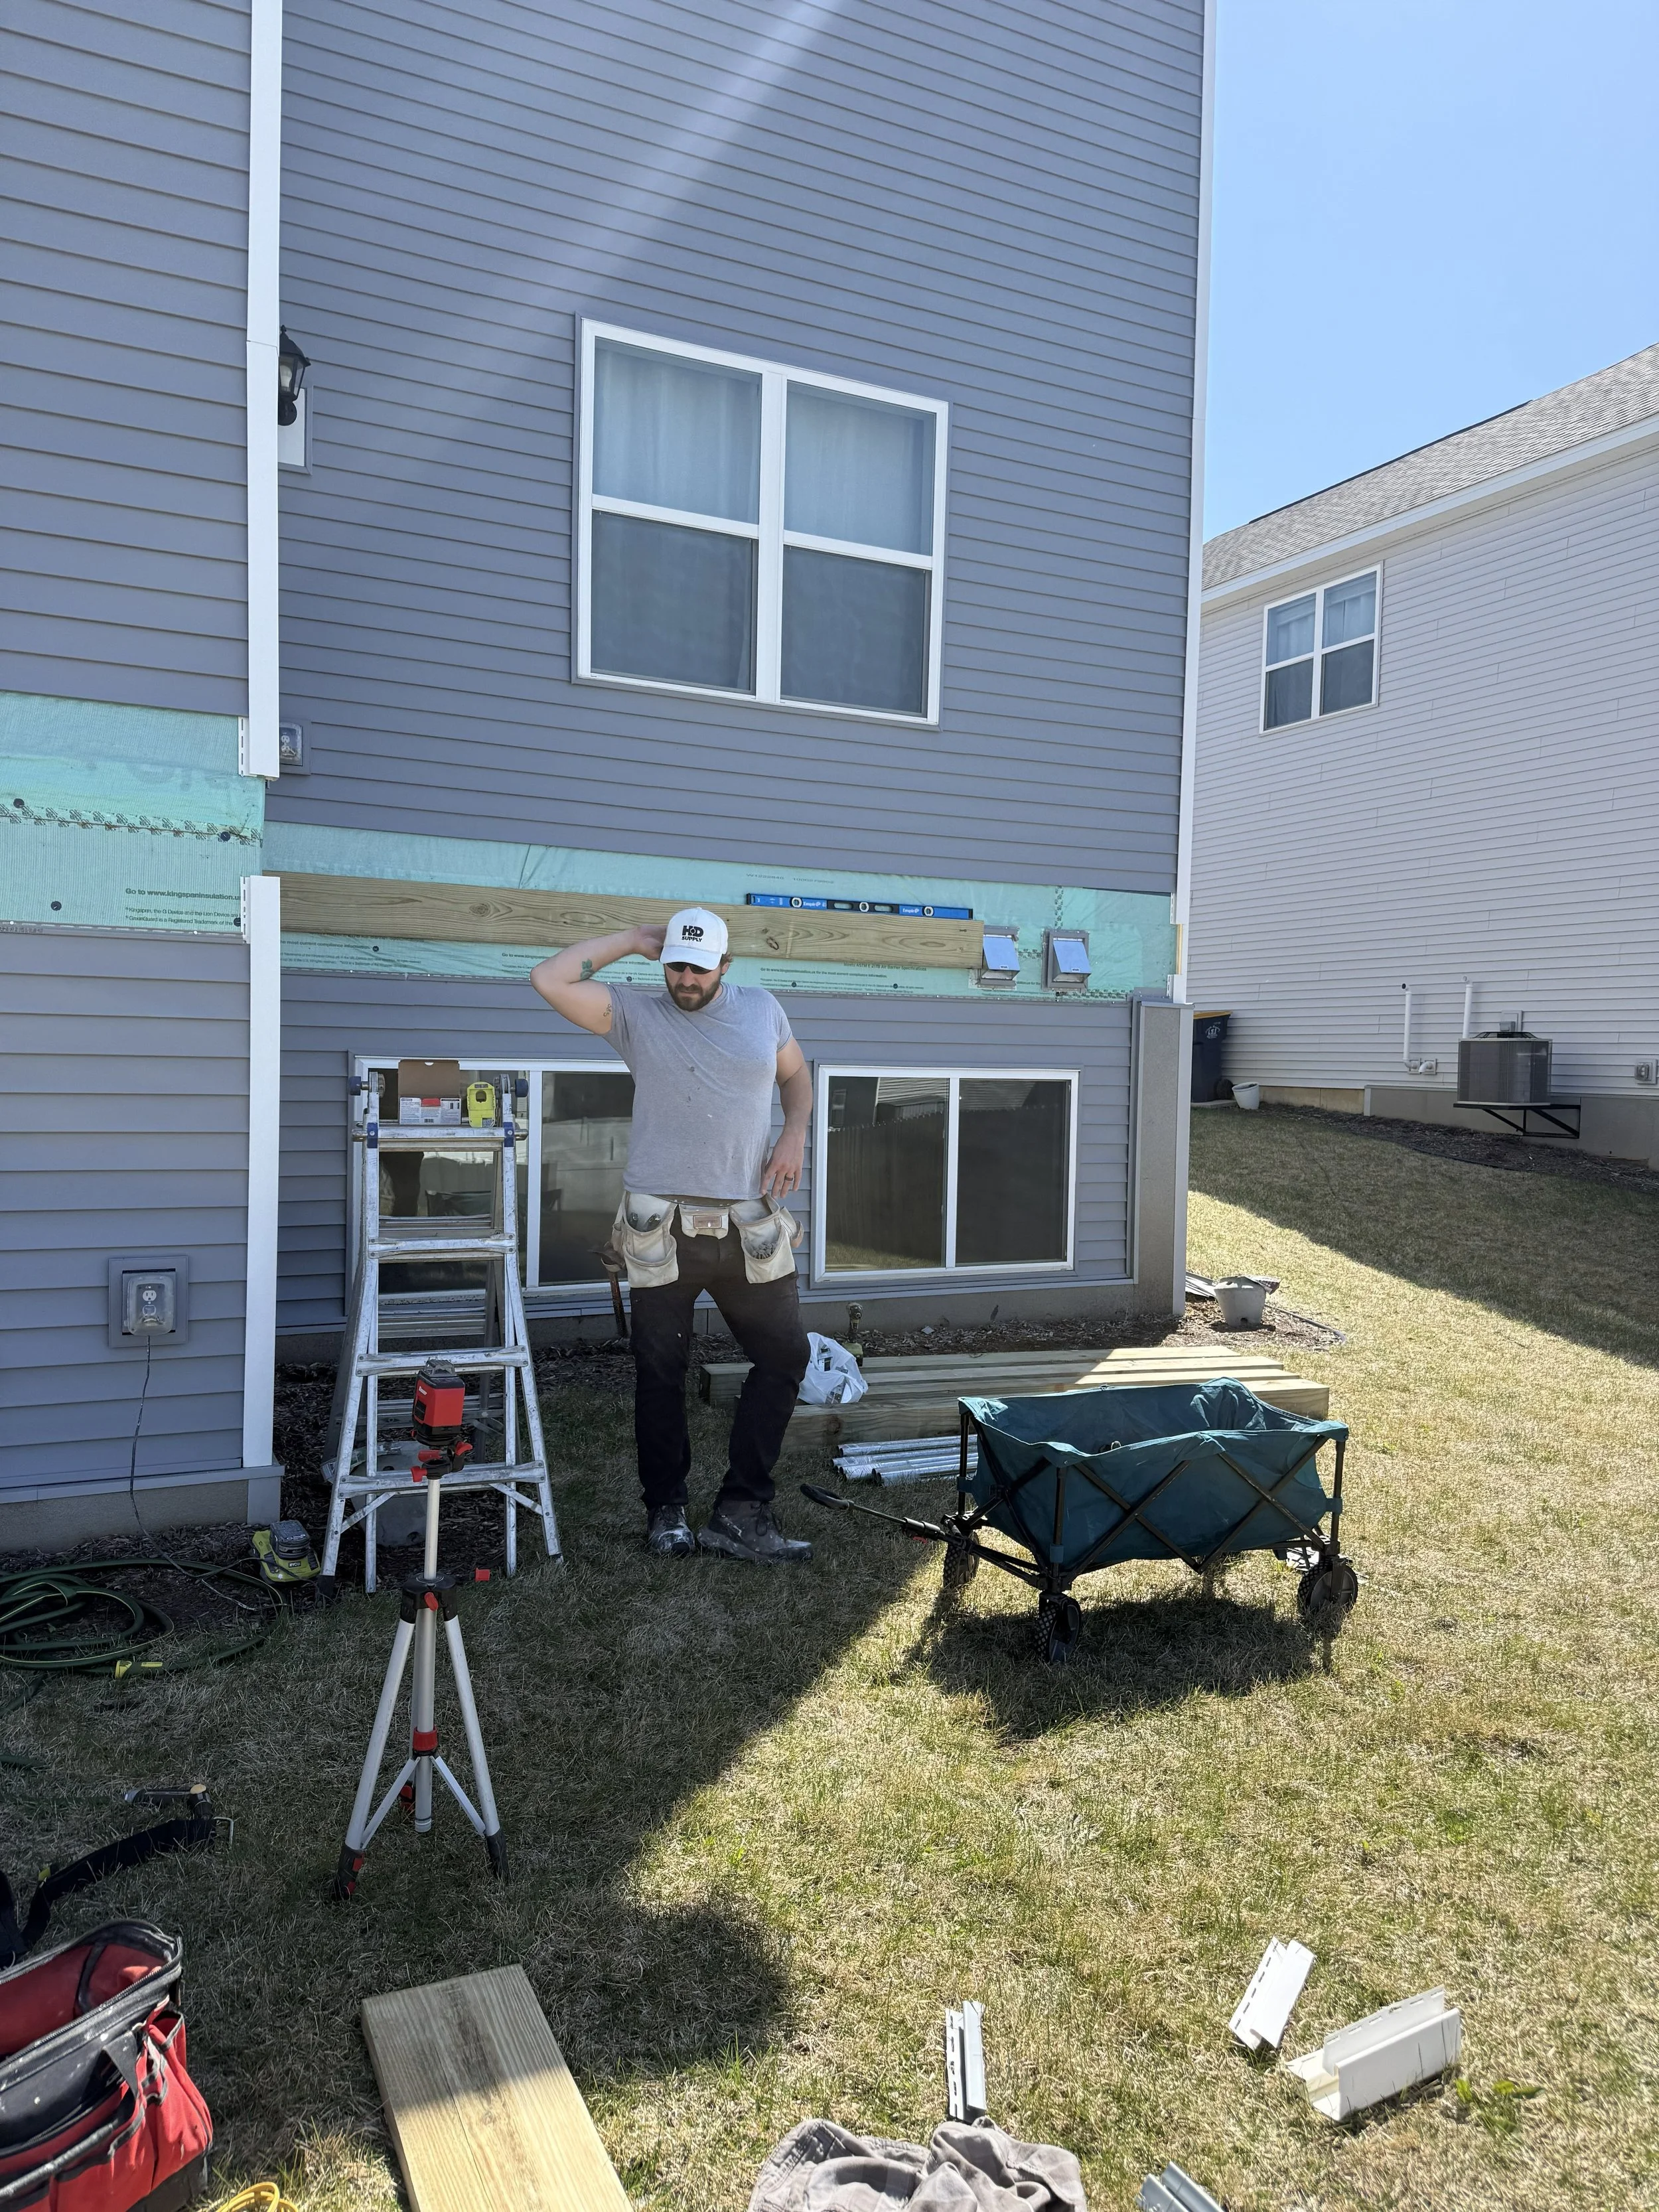
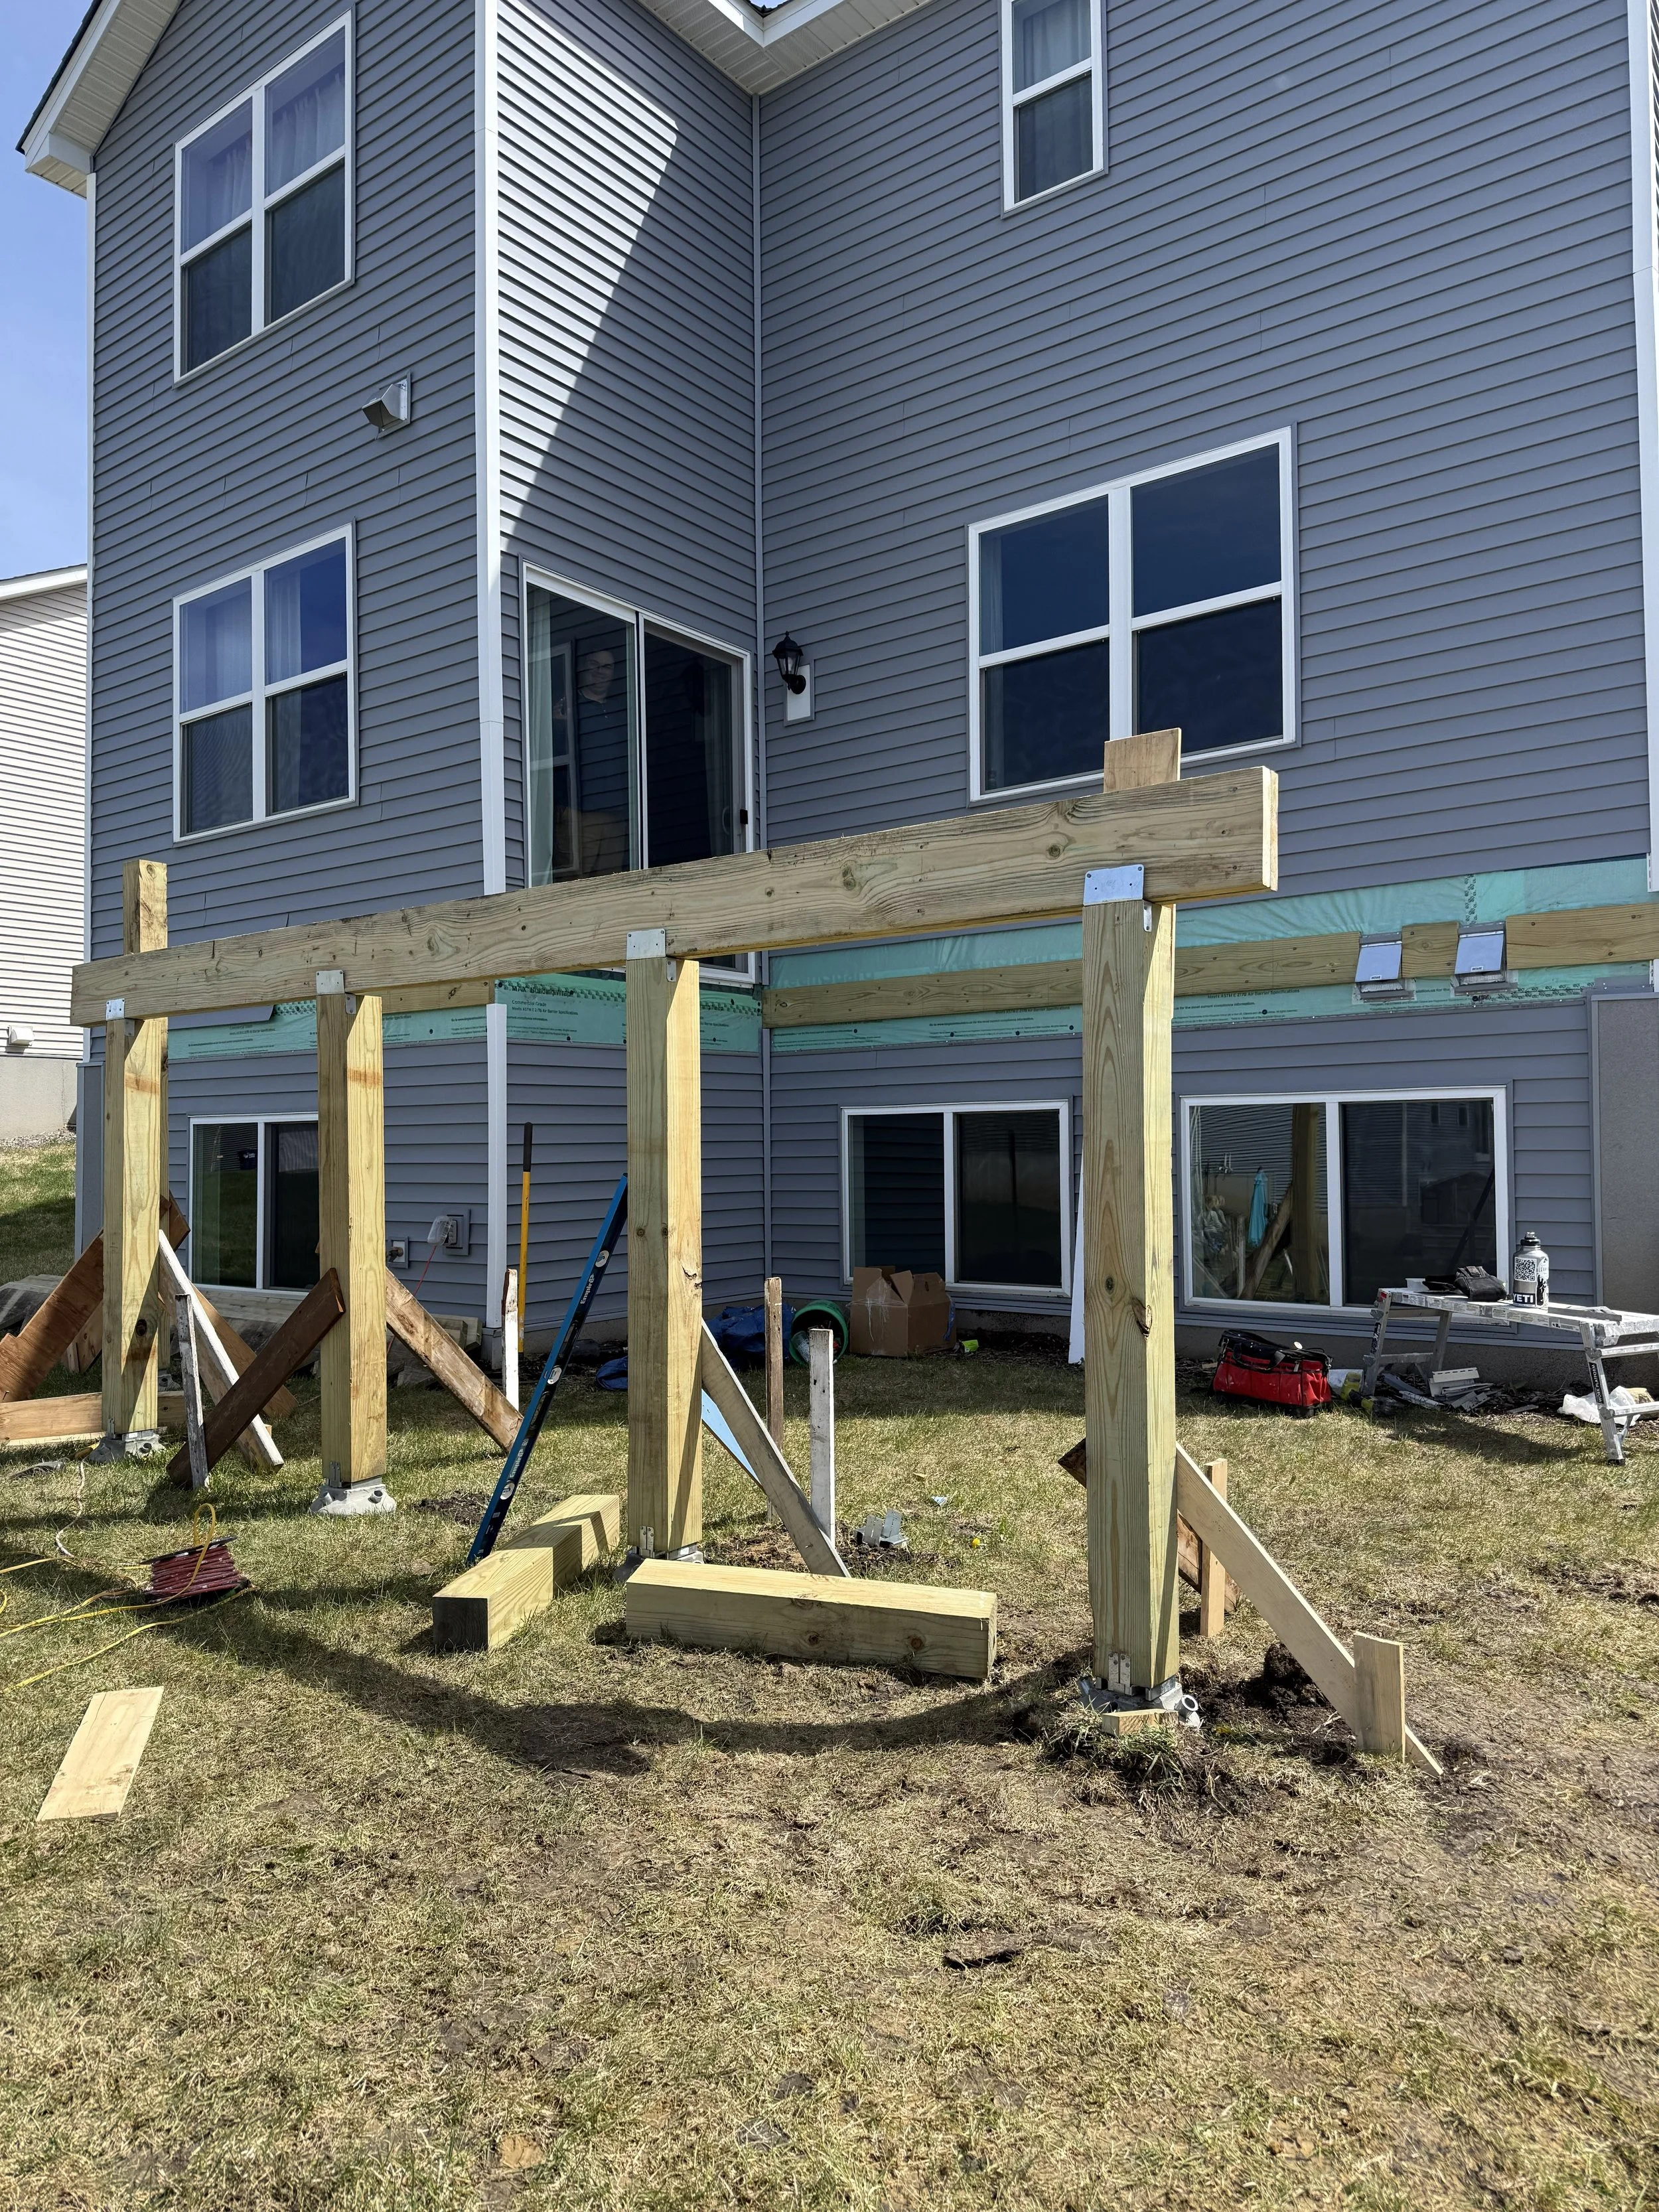
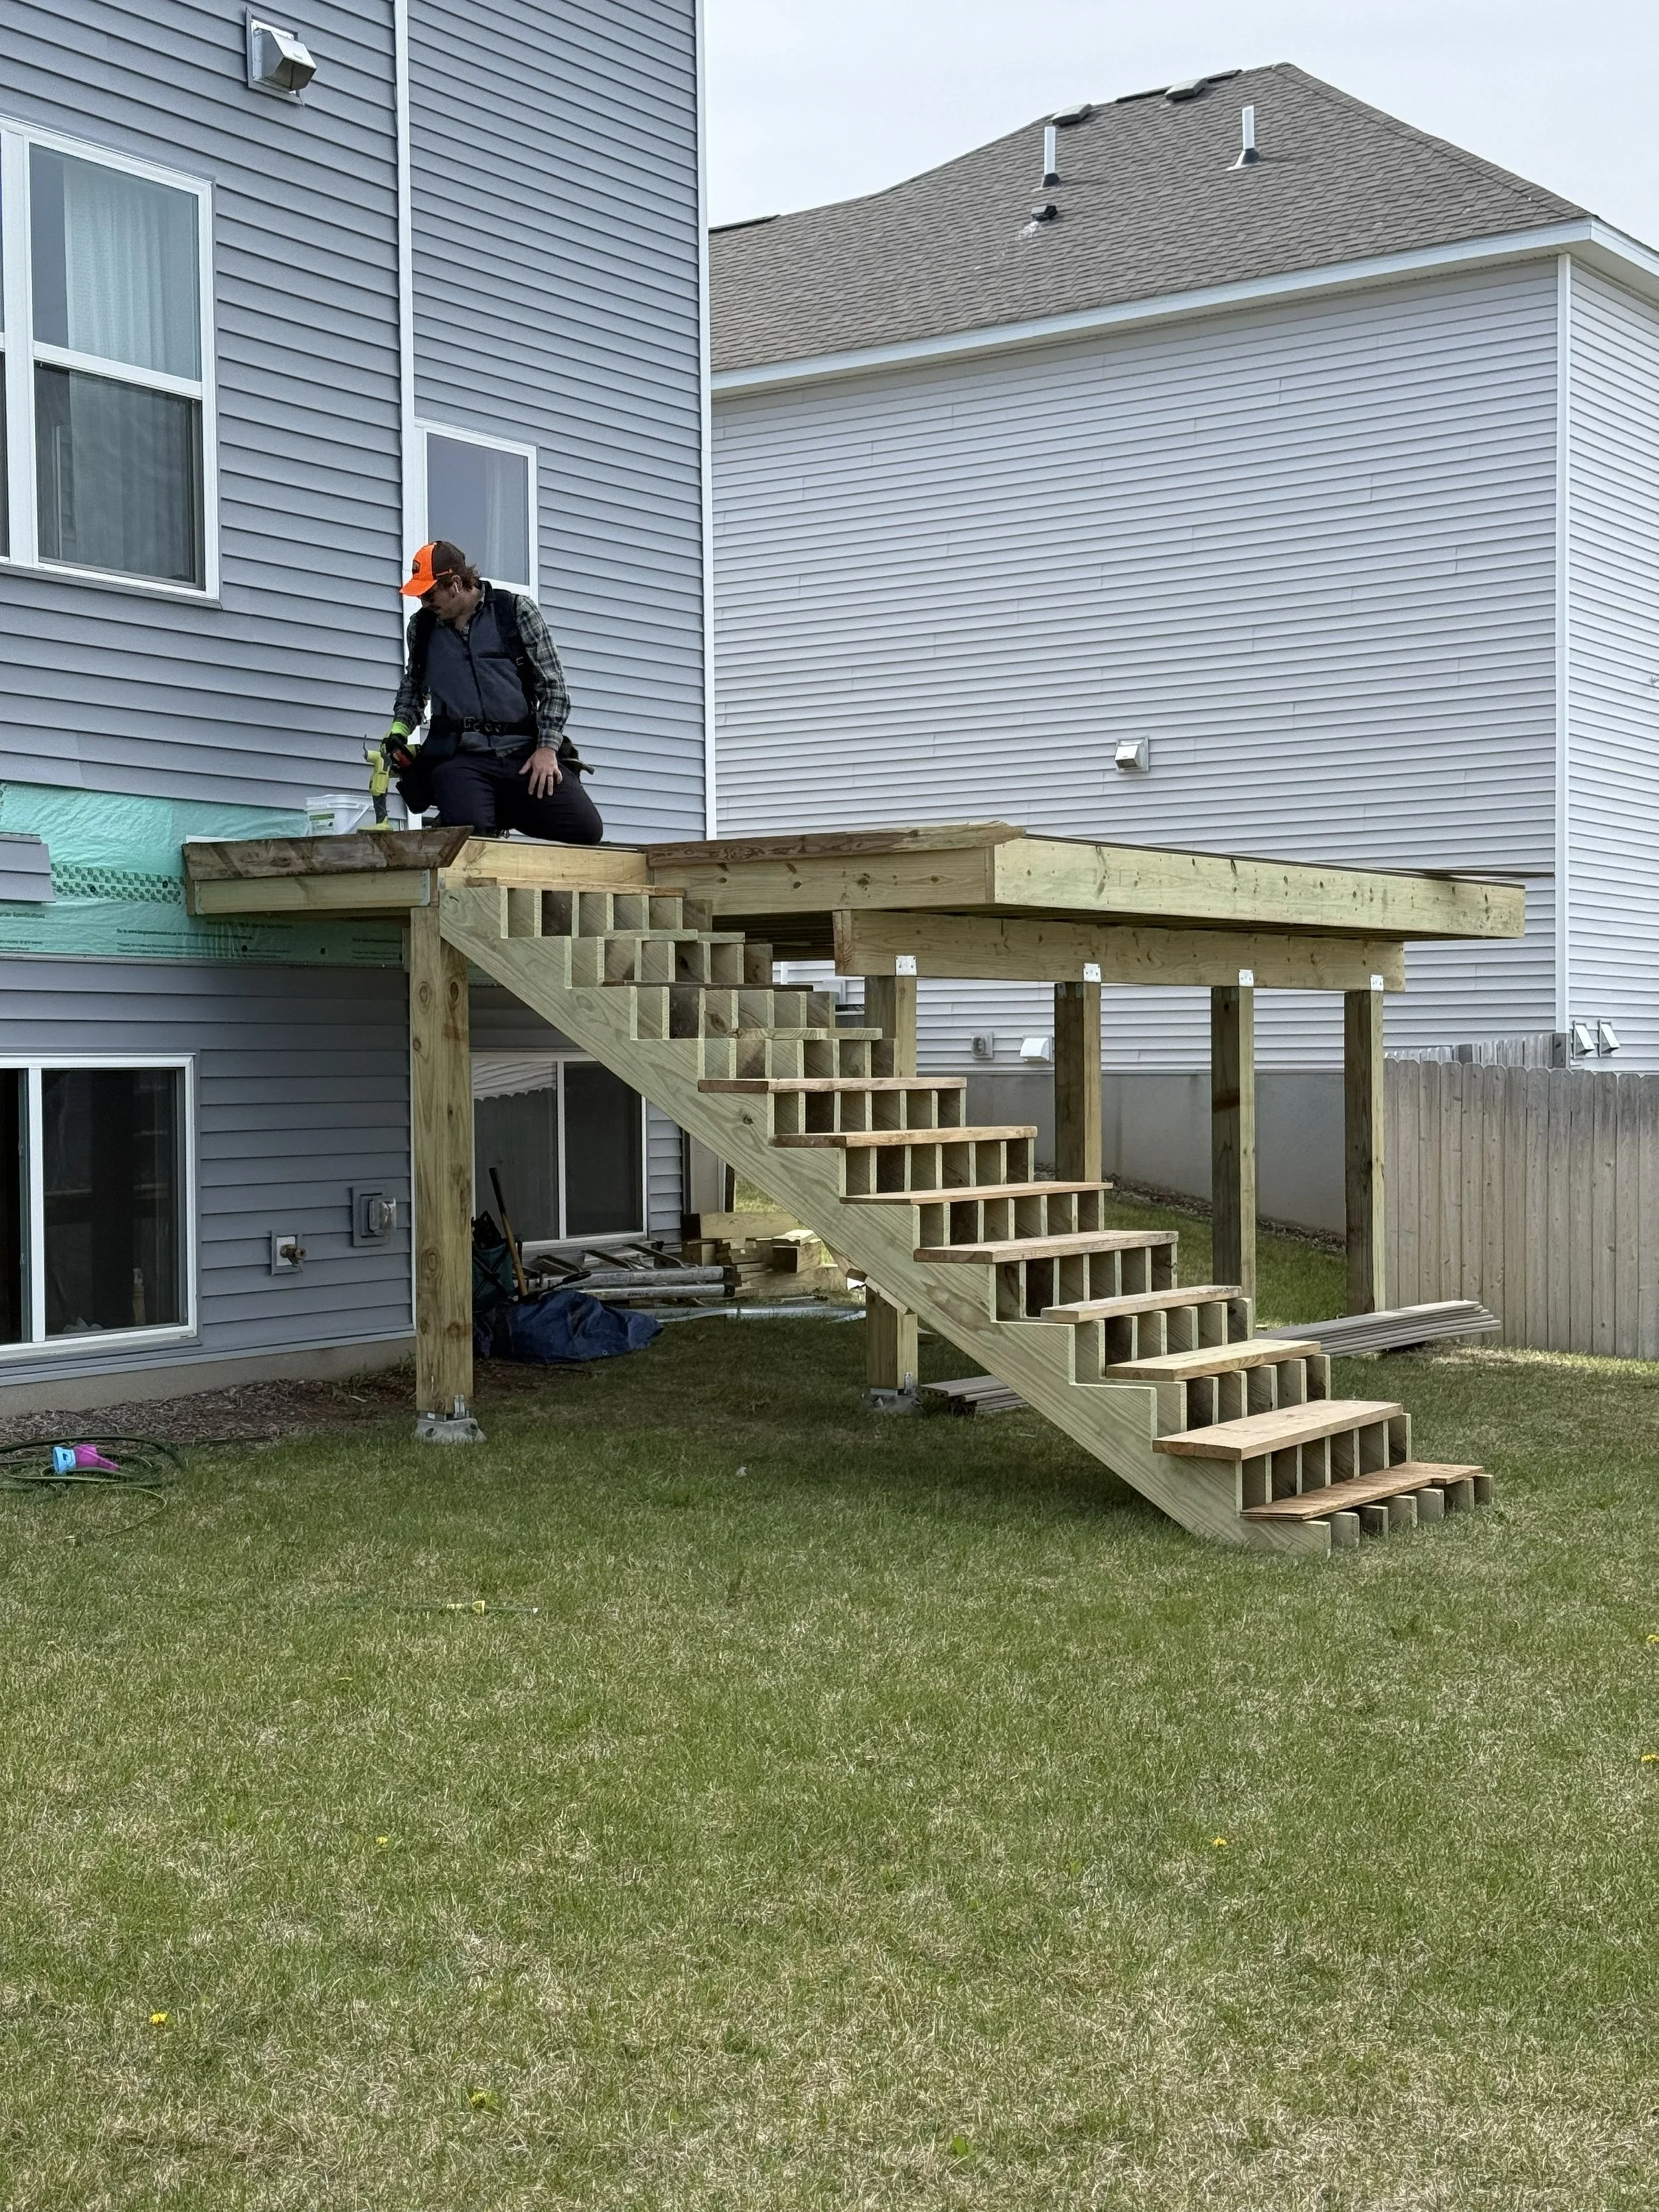
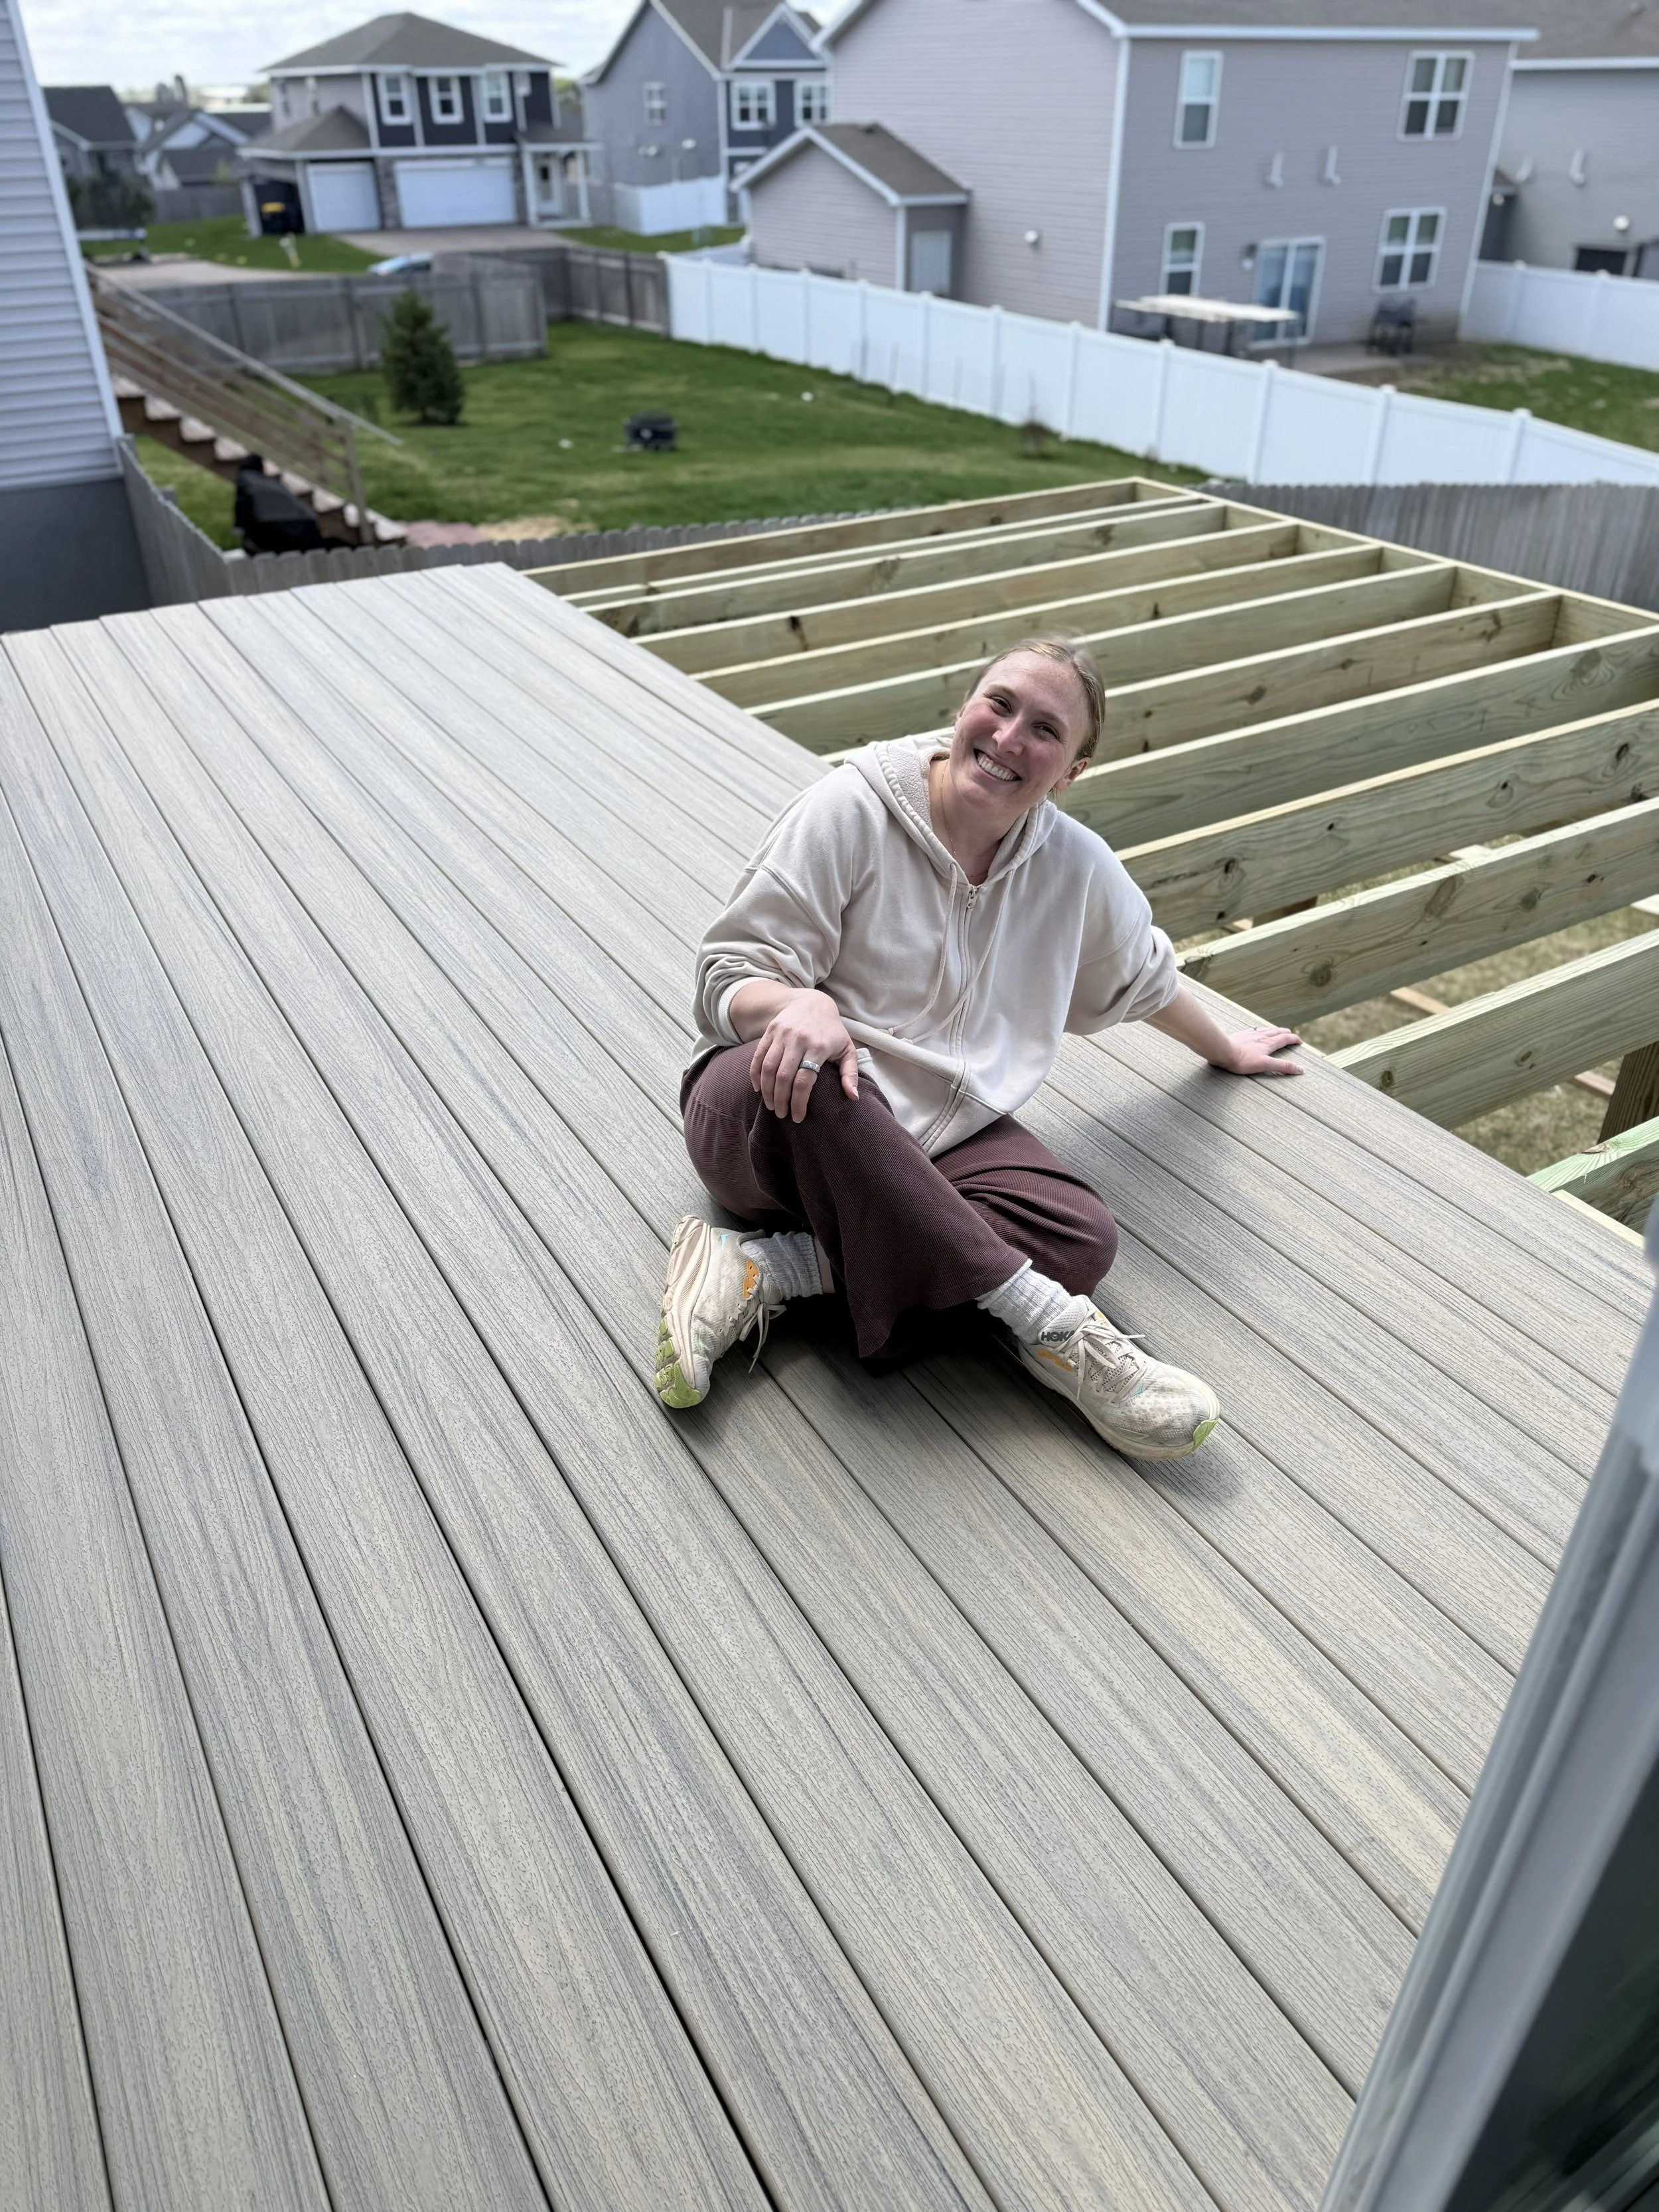
Construction Phase- 1-3 Weeks (this deck took us about 3 solid weeks, but Henry was working alone!)
In other words, if you want to have a finished deck by end of May, you’ll need to start the planning process in early April! If the timeline is the highest priority, you can do some research to figure out which materials are in stock at your closest home improvement or deck store. If you’ve got a specific material in mind, you may need to be prepared to extend your timeline to work around material lead time.
After planning ahead on your timeline, sometimes even the best laid plans are still subject to adjustments. Materials may become unavailable or backordered, weather may prevent your construction team from getting started, and sometimes there are obstacles that crop up from under the surface!
Concealed Conditions
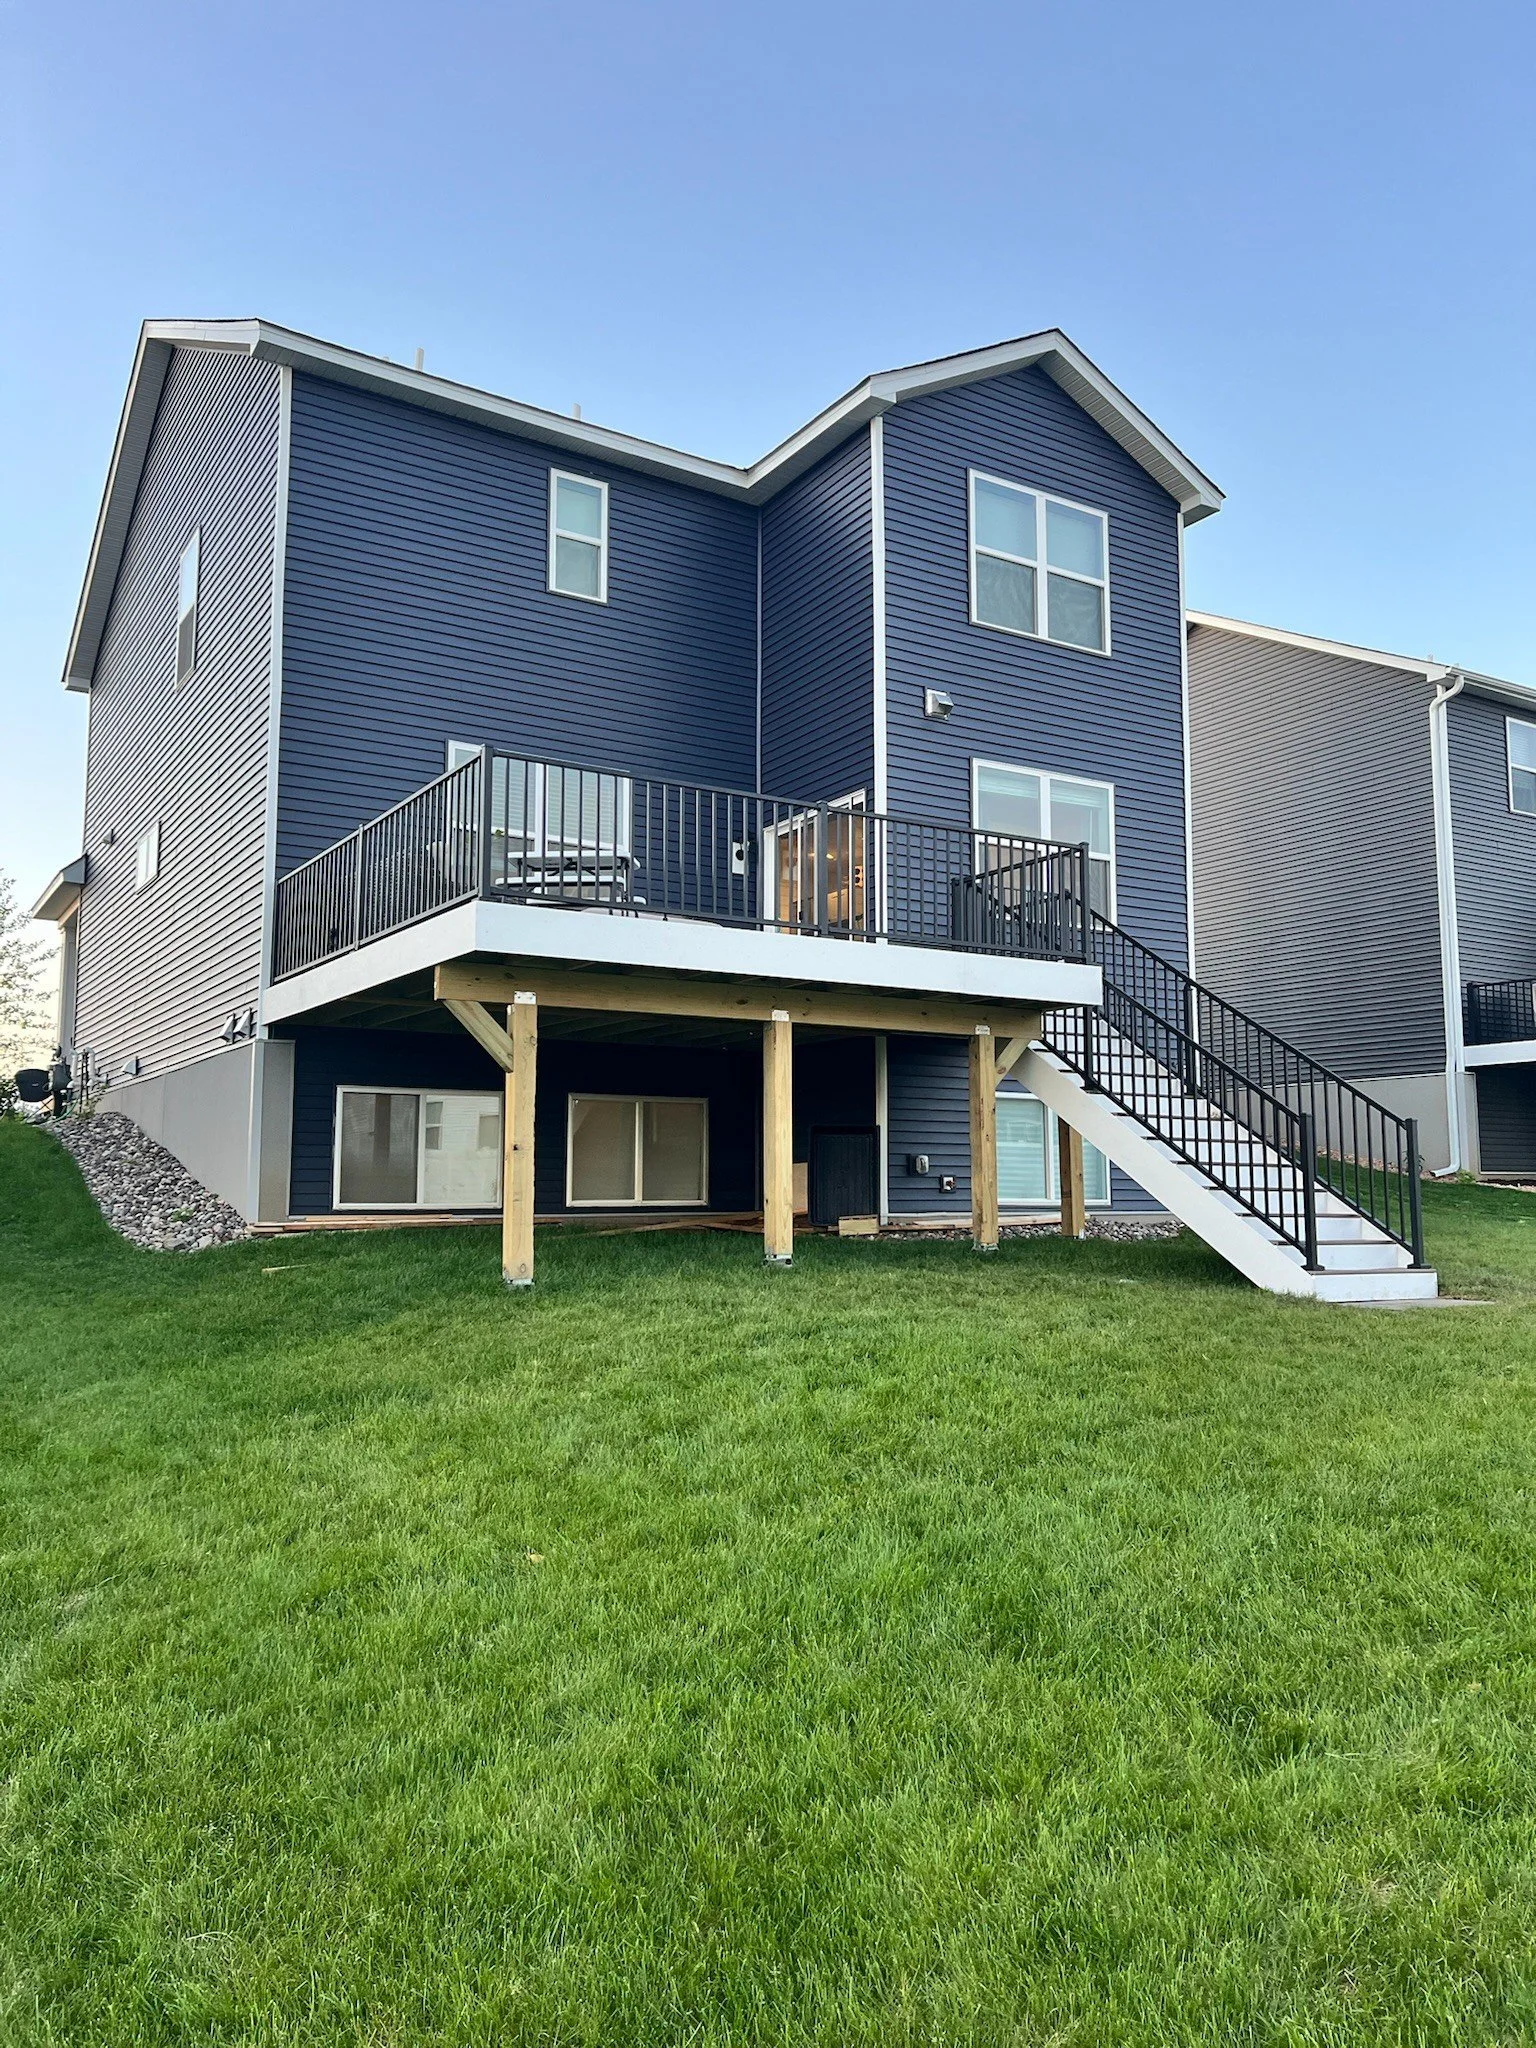
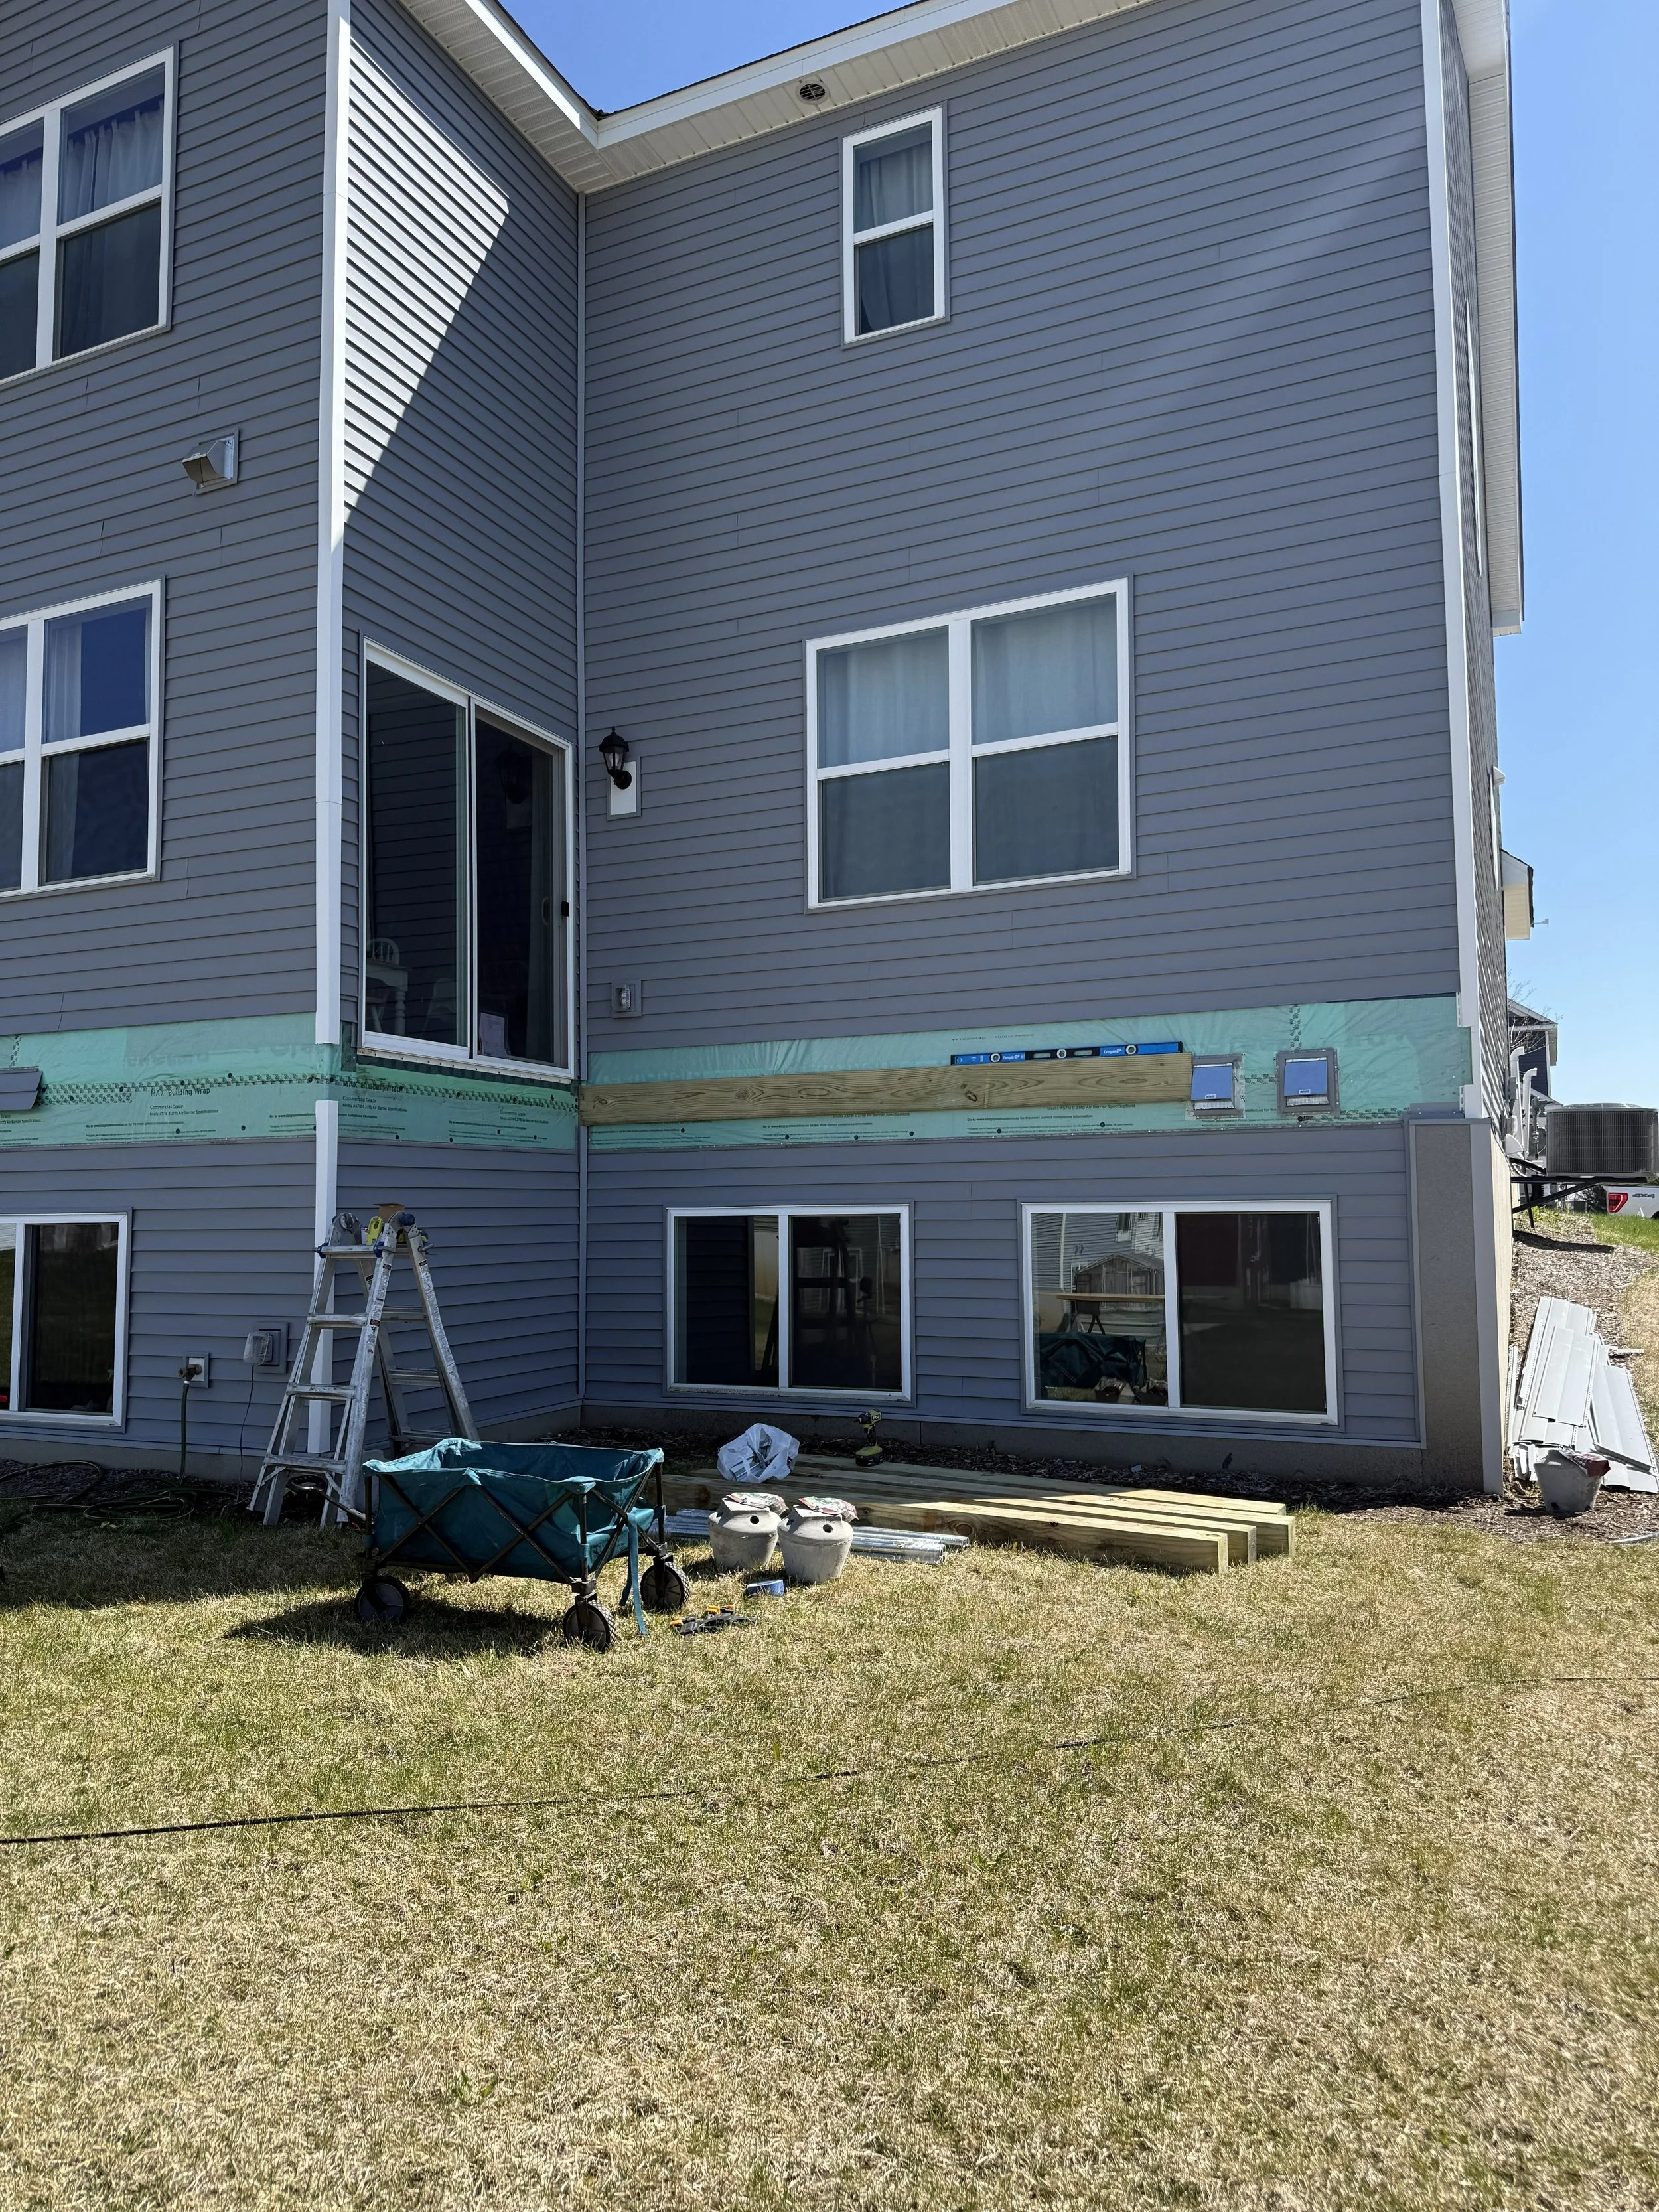
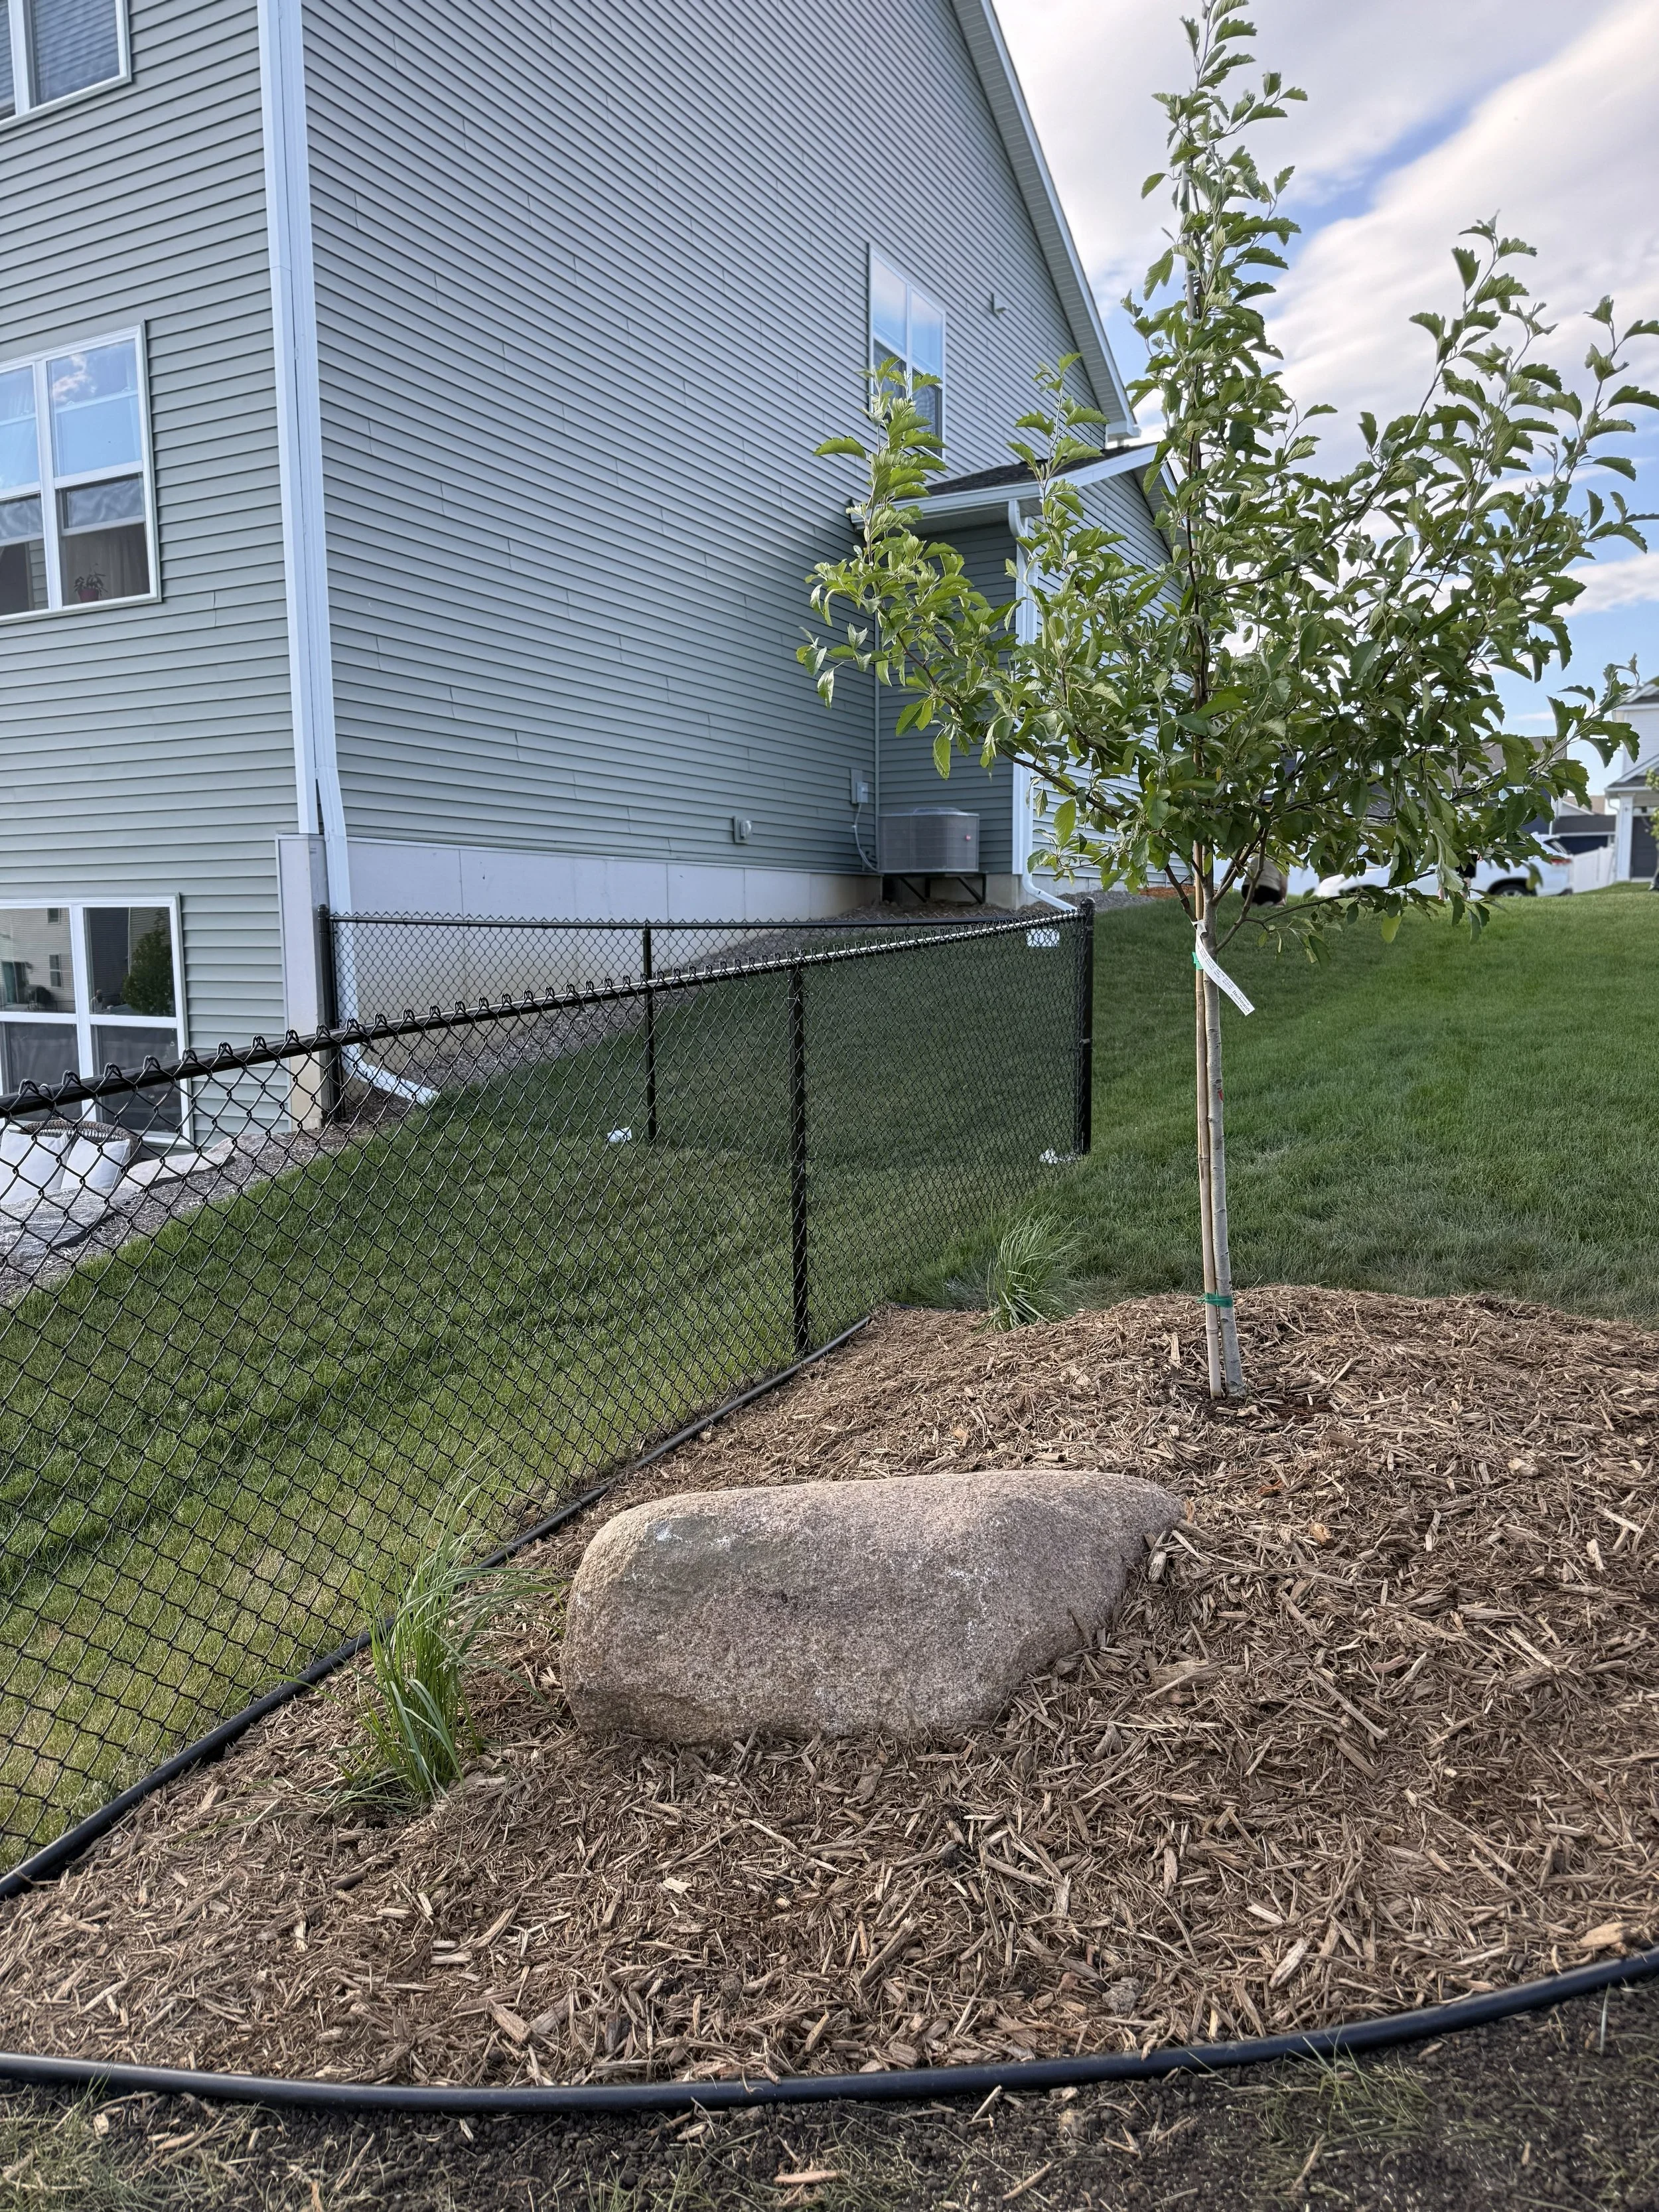
When we are consulting potential clients and looking at a jobsite, we always do our best to scan the area and do some troubleshooting ahead of time so we can build the cost and timing of unique situations into our bid and our plan. That being said, some problems do not announce themselves until after construction begins. We call these “concealed conditions”. For this deck, we had the ROCK!

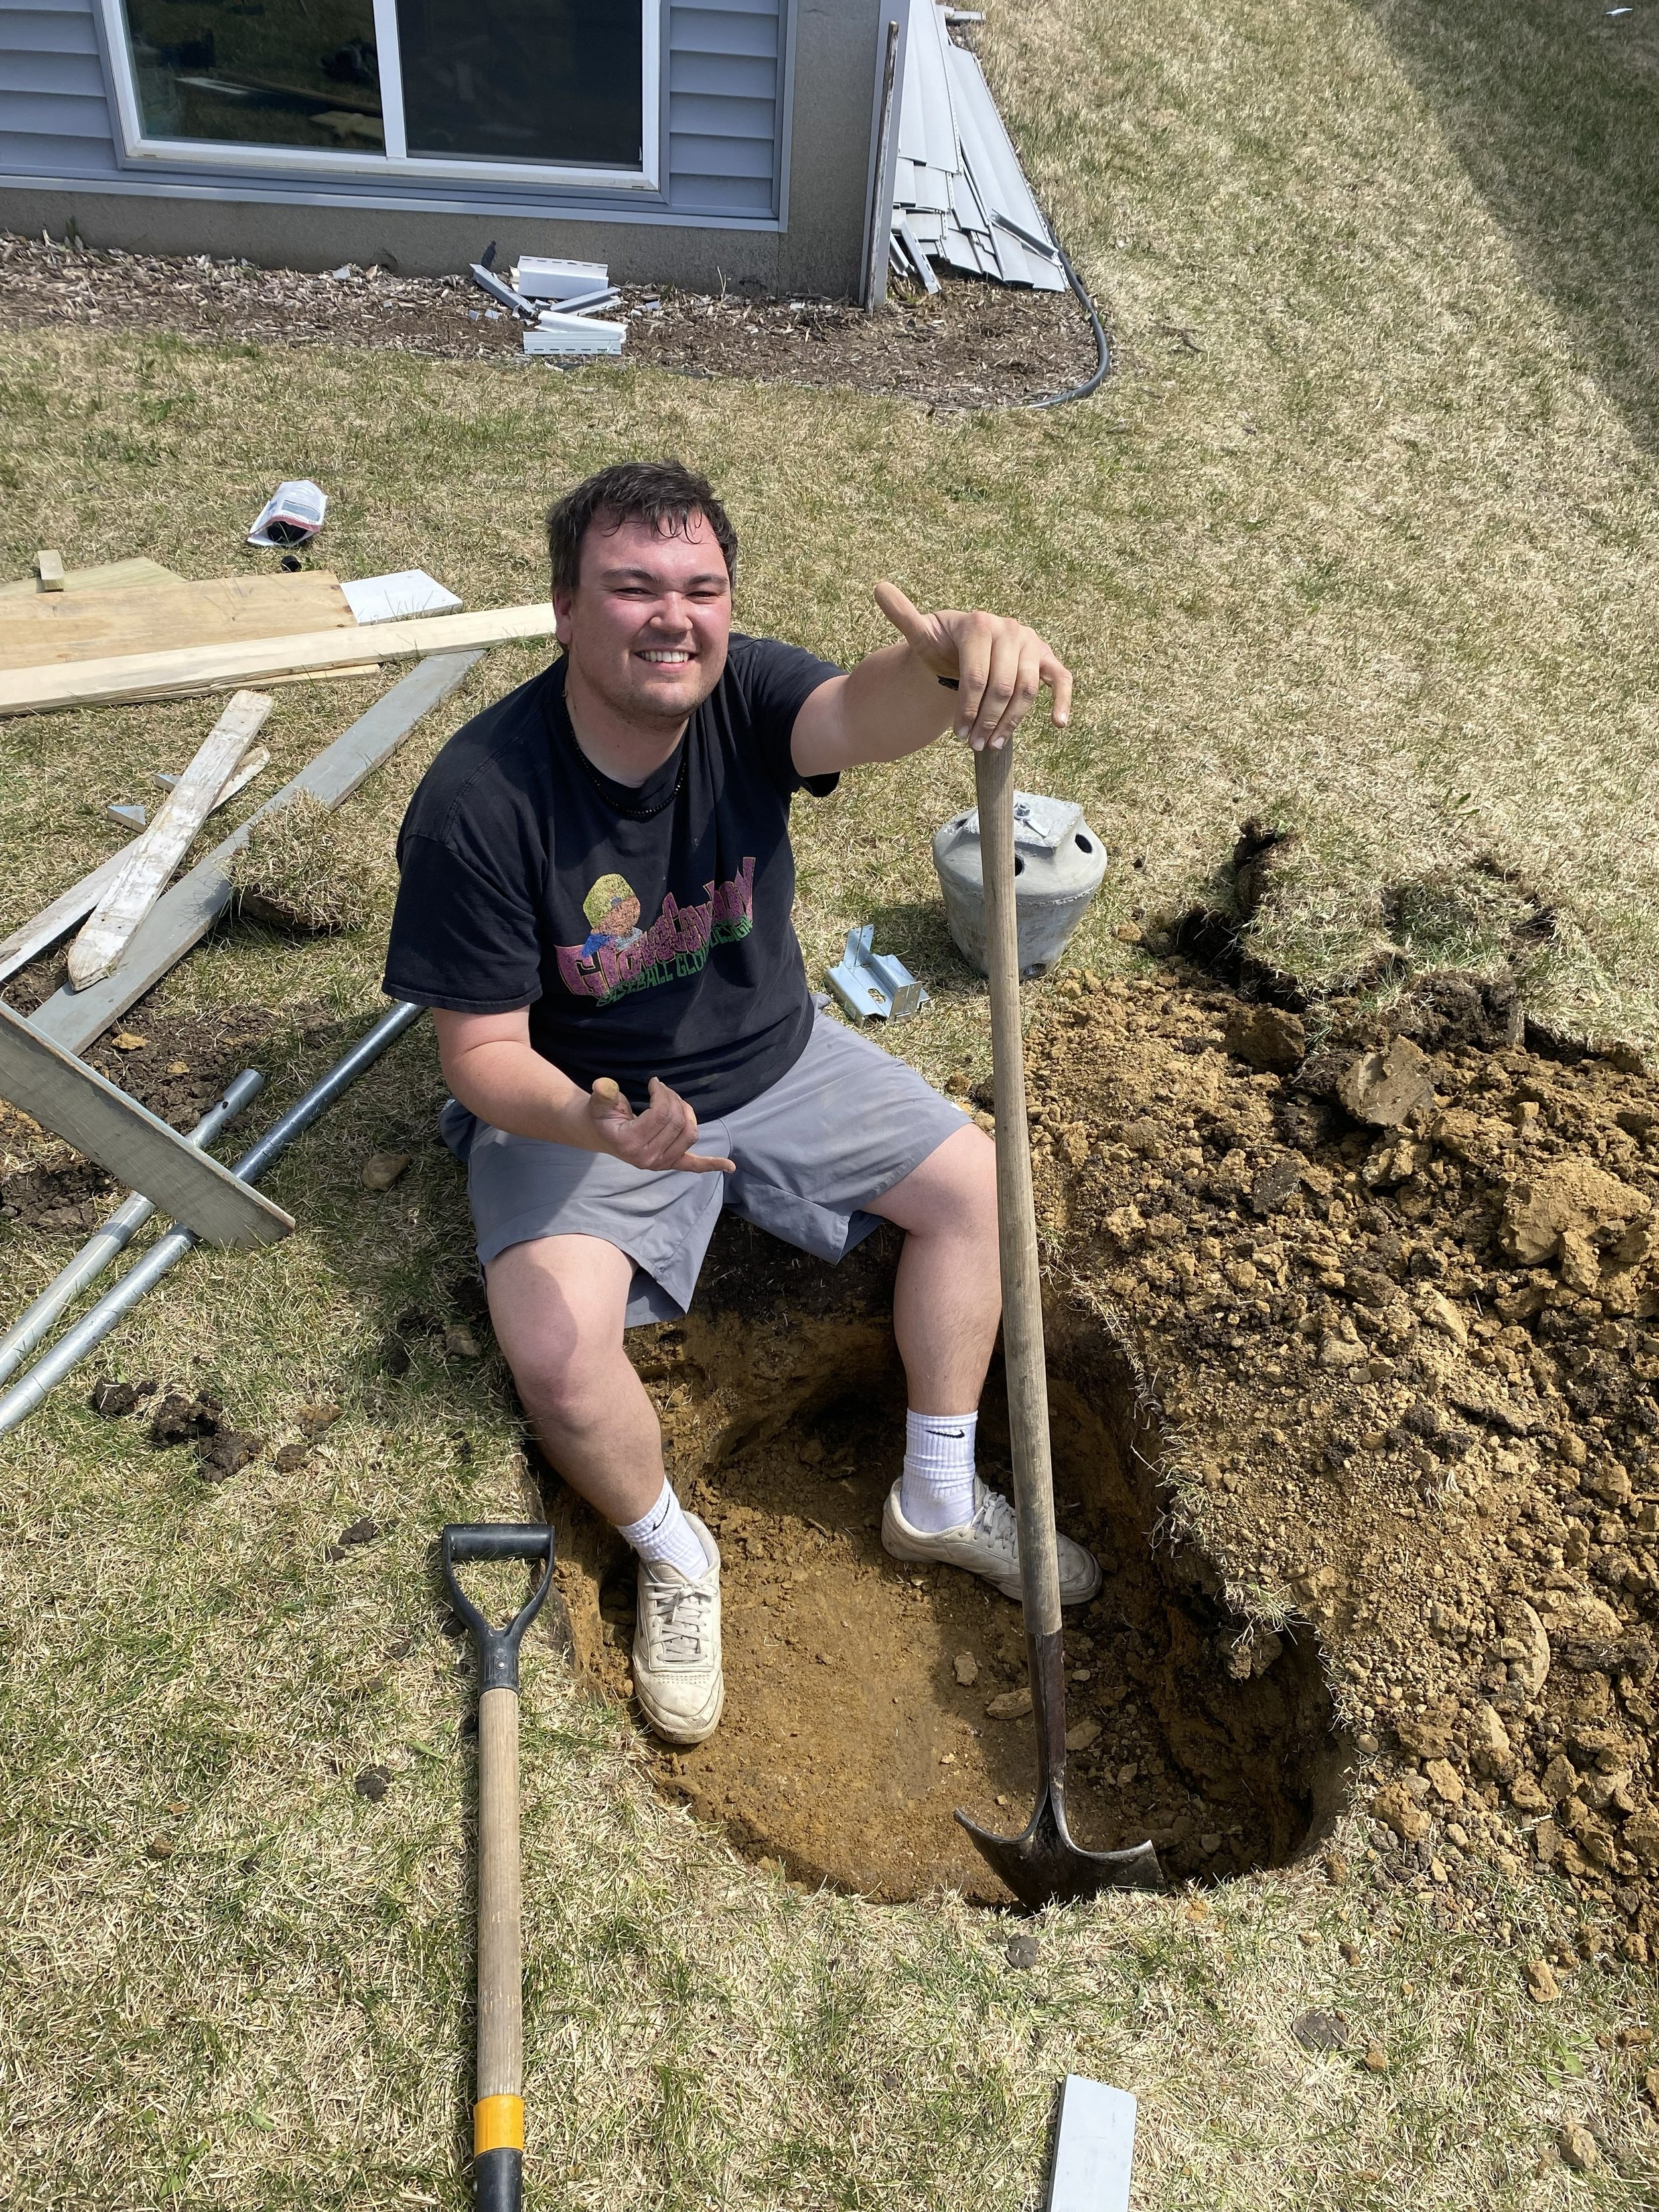
The ROCK
Every project has its own unique story, and this rock was definitely the main character of this one. For this deck we installed Handi Piers for the footings. The Handi Piers are installed using 50 inch steel pins to secure a concrete support block. As we were installing one of our footings, we found we could not drive the pin into the earth as it was running into a rock. Even a small rock can cause a problem for these pins, but it is easy enough to remove the rock and carry on. As Henry began trying to remove the rock, he quickly realized it was at least the width of the concrete support block. “At least the size of a dinner plate” is what he described it as, but until we kept digging we knew it could be “as big as a cow”!
At this point, the deck project was paused and the rock project began. We started by digging to discover just how big the rock was. If it wasn’t too terribly large, Henry would be able to pull it out, fill the dirt back in and carry on with the footings.
While not as “big as a cow”, this rock was QUITE large.

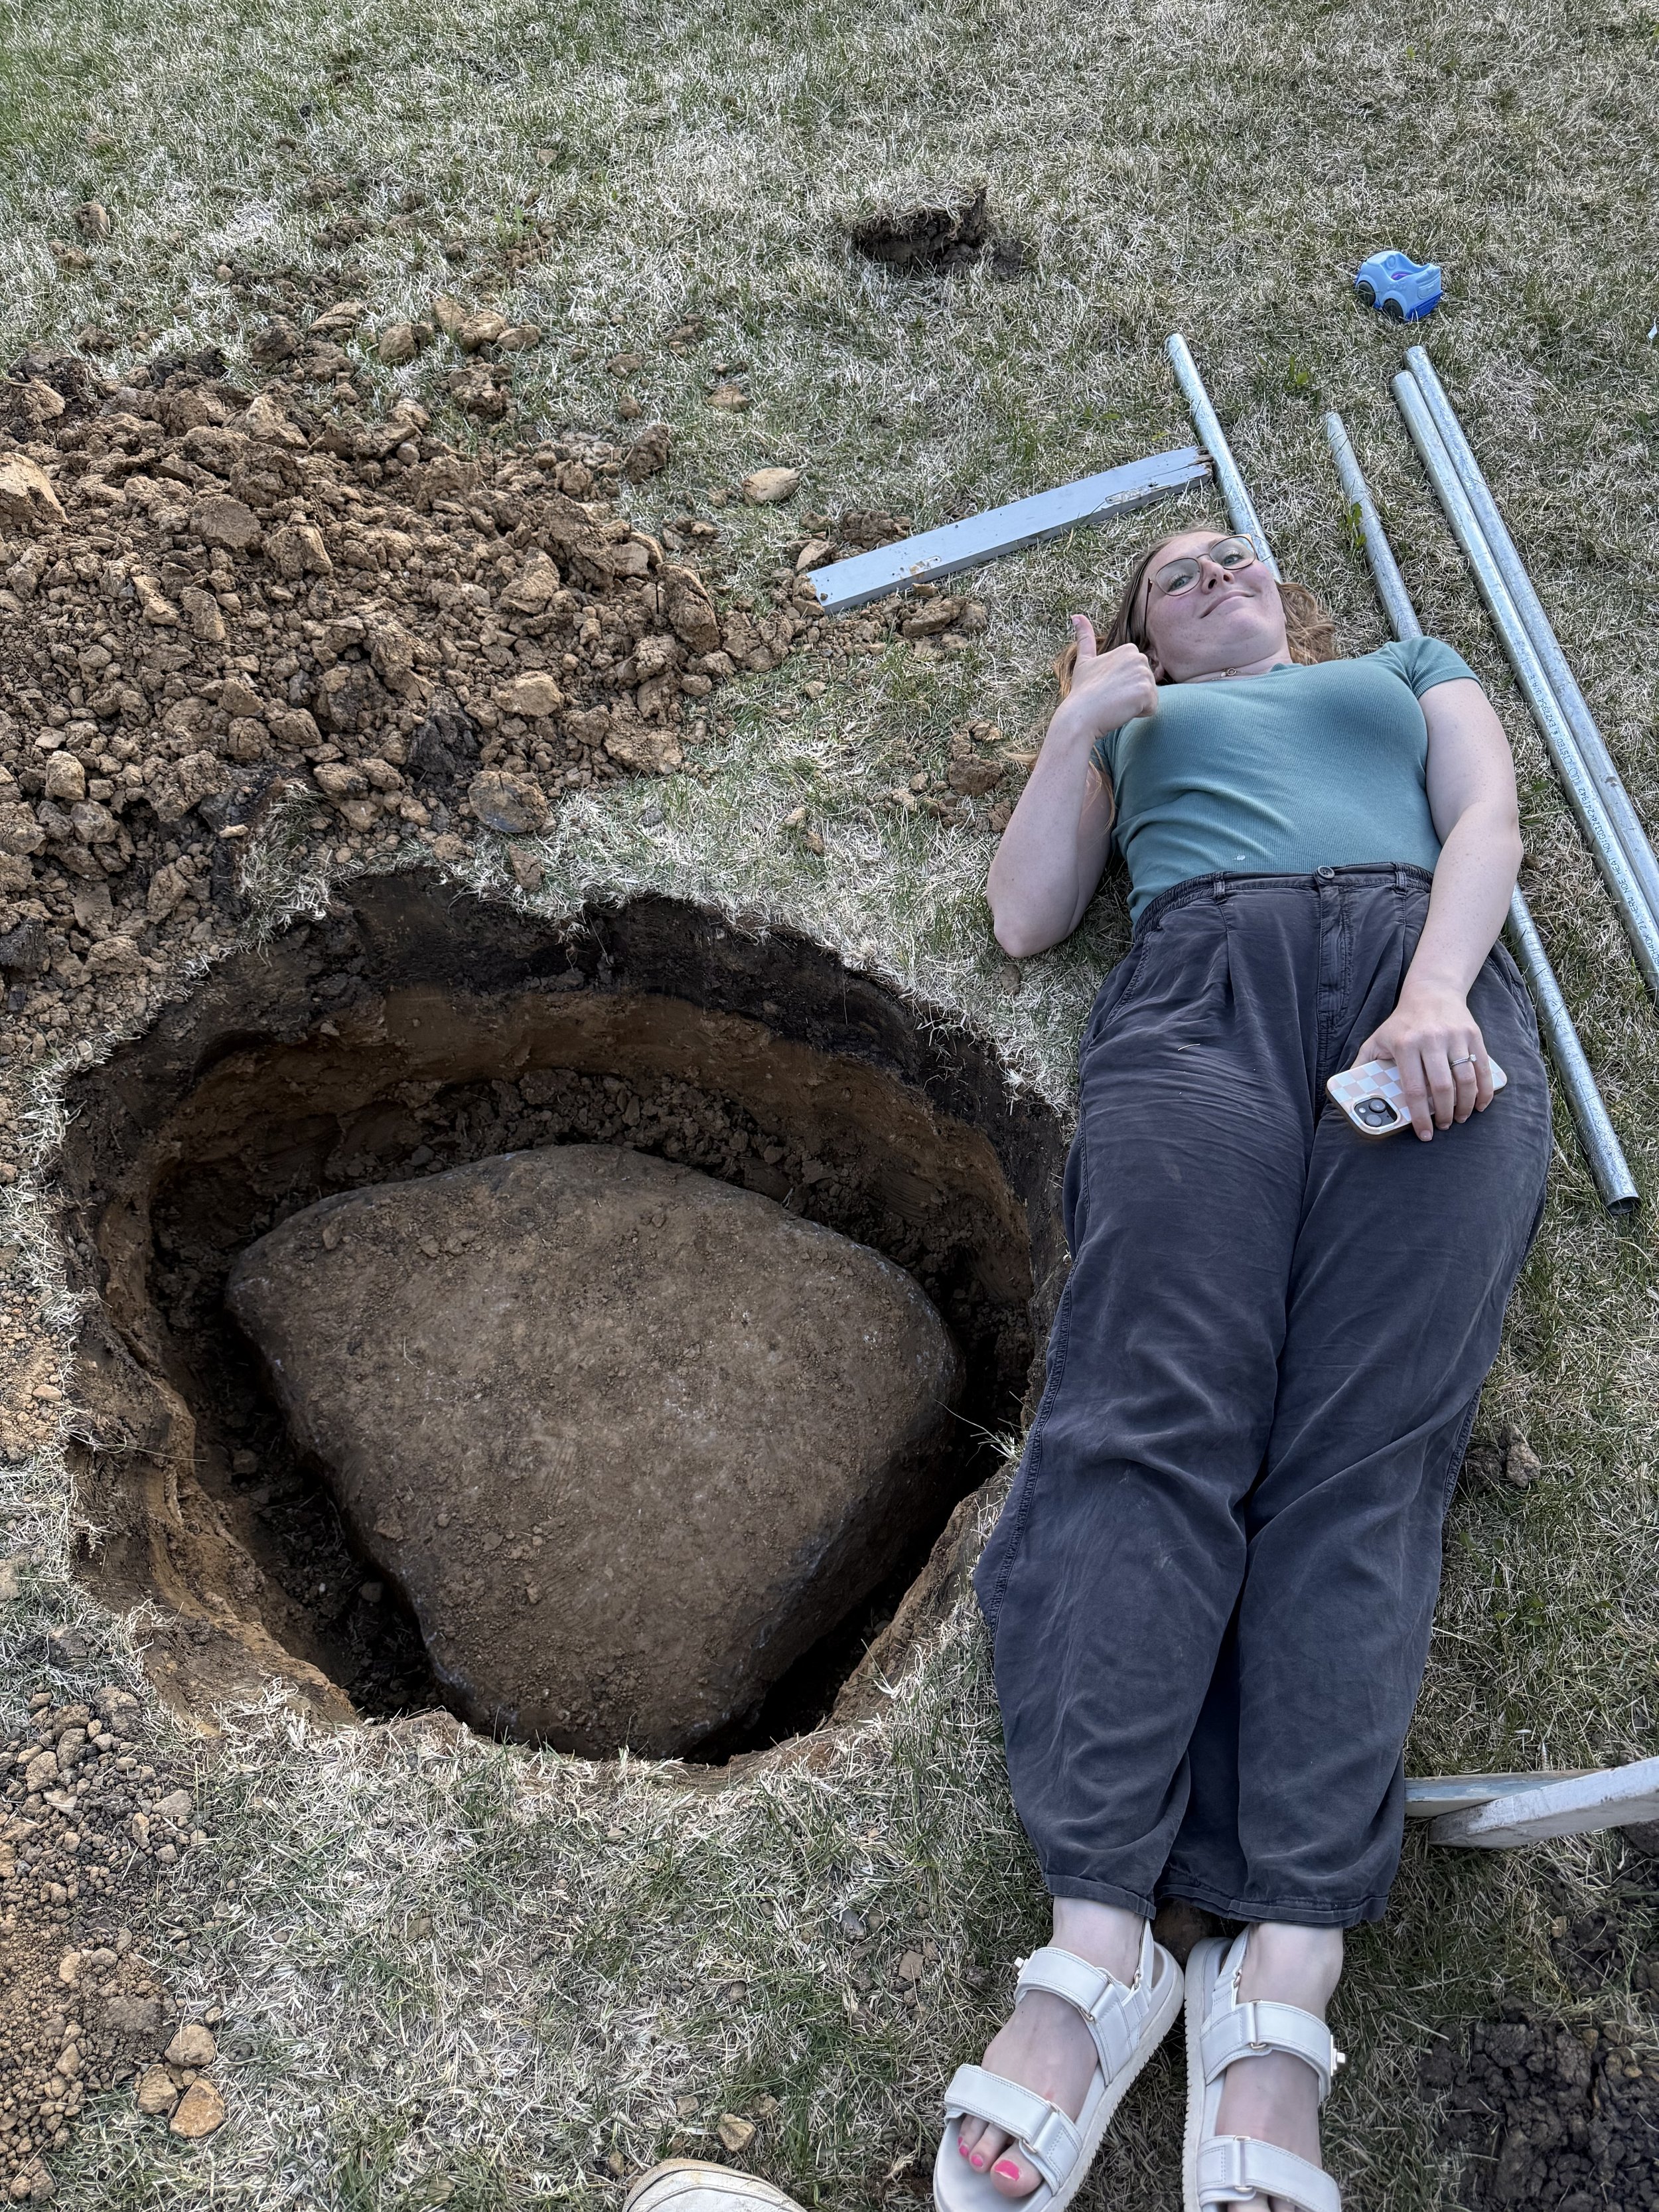
This was certainly not something that could be lifted out by hand, so it was time to call in for backup! Eric and his team from Lone Oak Landscapes were the best. They squeezed in a visit to remove the rock for us, and made quick work of getting it out of the ground!
Now, most deck builds will not have a giant rock in the way. But many projects might have some sort of unexpected situation that may add time or extra cost. The best advice we have is that if you expect that there will be SOMETHING, and give yourself some wiggle room both in your timeline and budget, all will be well. Even though this rock issue disrupted our deck plan, we still finished in time and on budget, and that was all due to having a buffer in our plan!
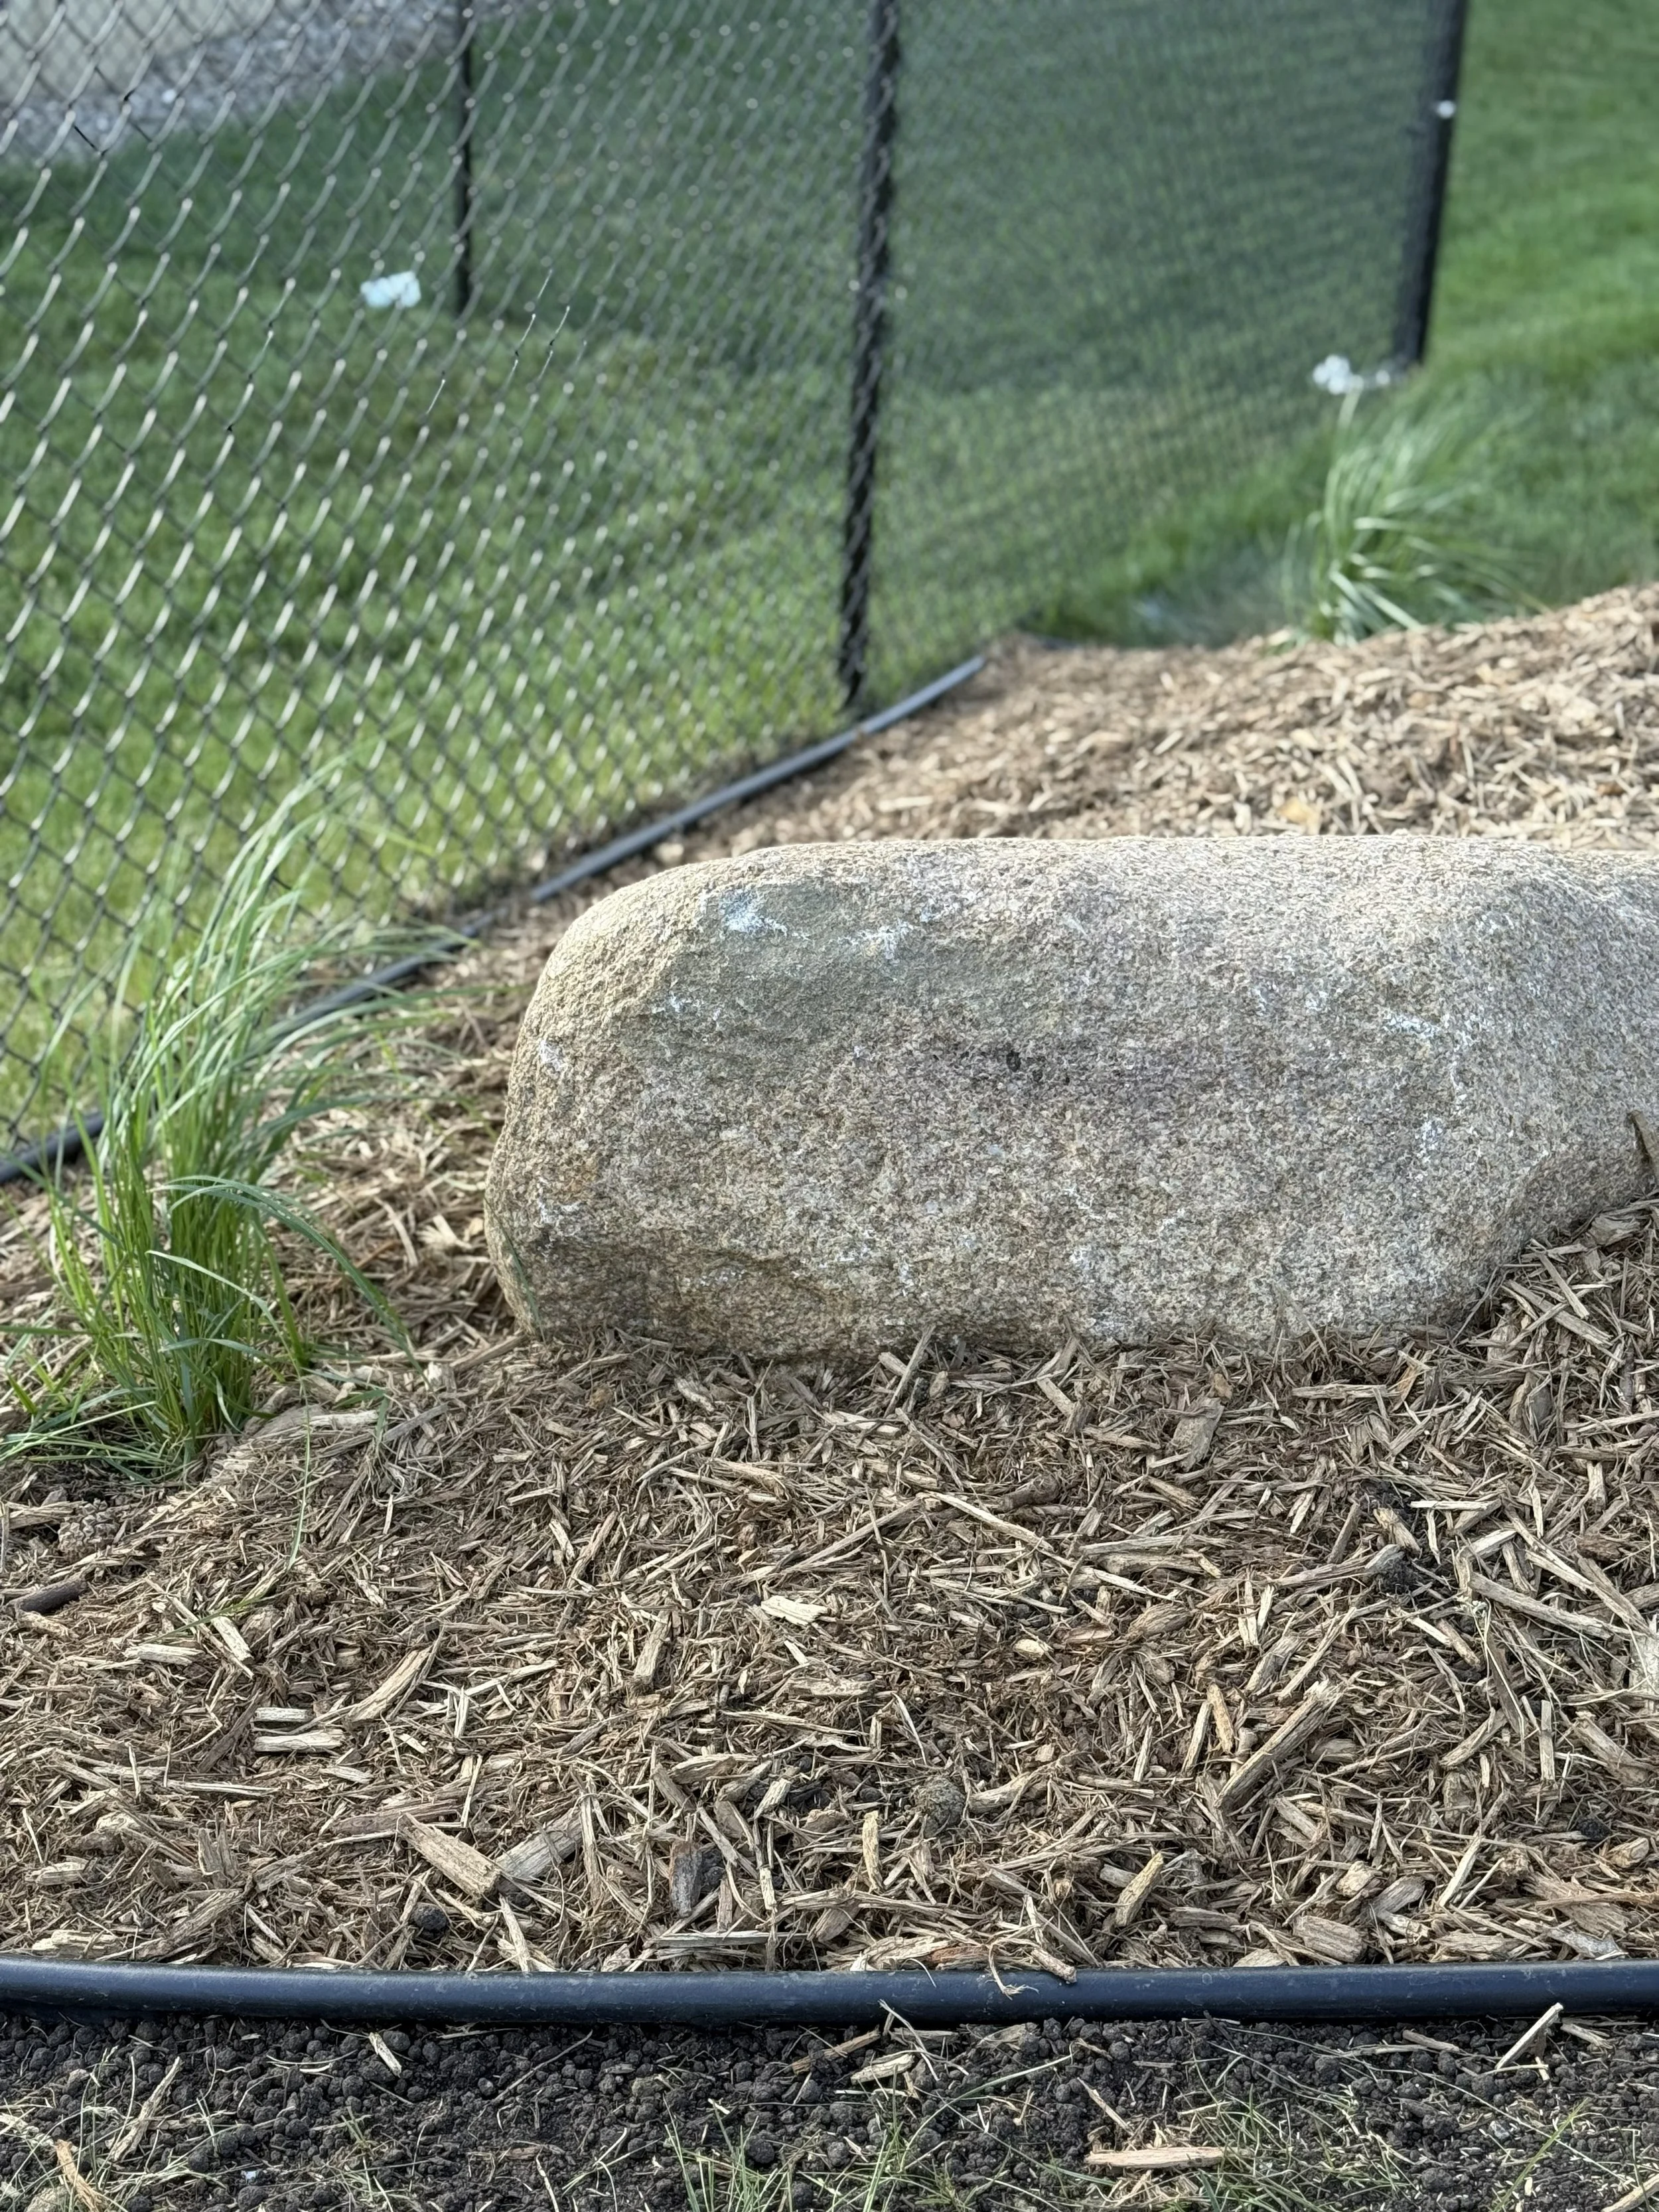
The biggest obstacles can also make for the best stories! This pain in the butt rock now lives a happy life in another corner of the yard. It has become a beautiful landscape feature and a silver lining to an otherwise stressful delay!
Consider the Decking
When considering your decking, you’ll need to decide on material, color and budget.
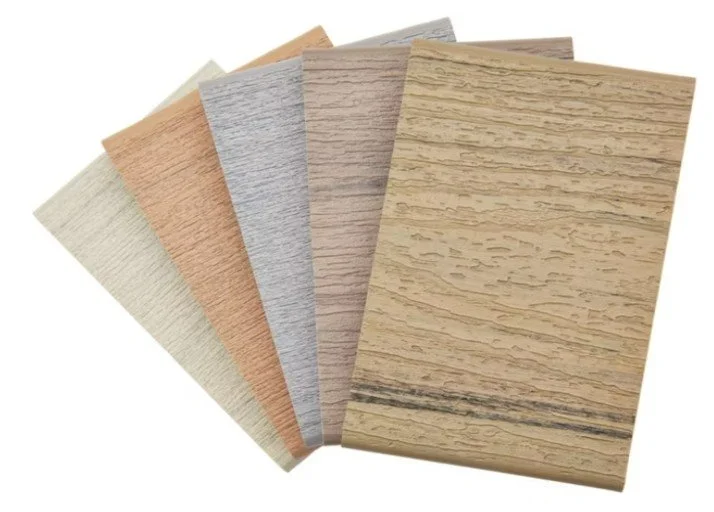
Material
There are three main types of decking boards to choose from when planning your deck build:
Green-treated wood-(also comes with a cedar toned option)A soft wood that’s been pressure treated with preservatives to protect it from moisture and insects.
Cedar boards- an all natural product that contains oils and tannins that repel moisture, resists rot and deters insects.
Composite or “maintenance-free”-Made of recycled plastic and wood fibers, these boards do not splinter or require seasonal painting or staining.
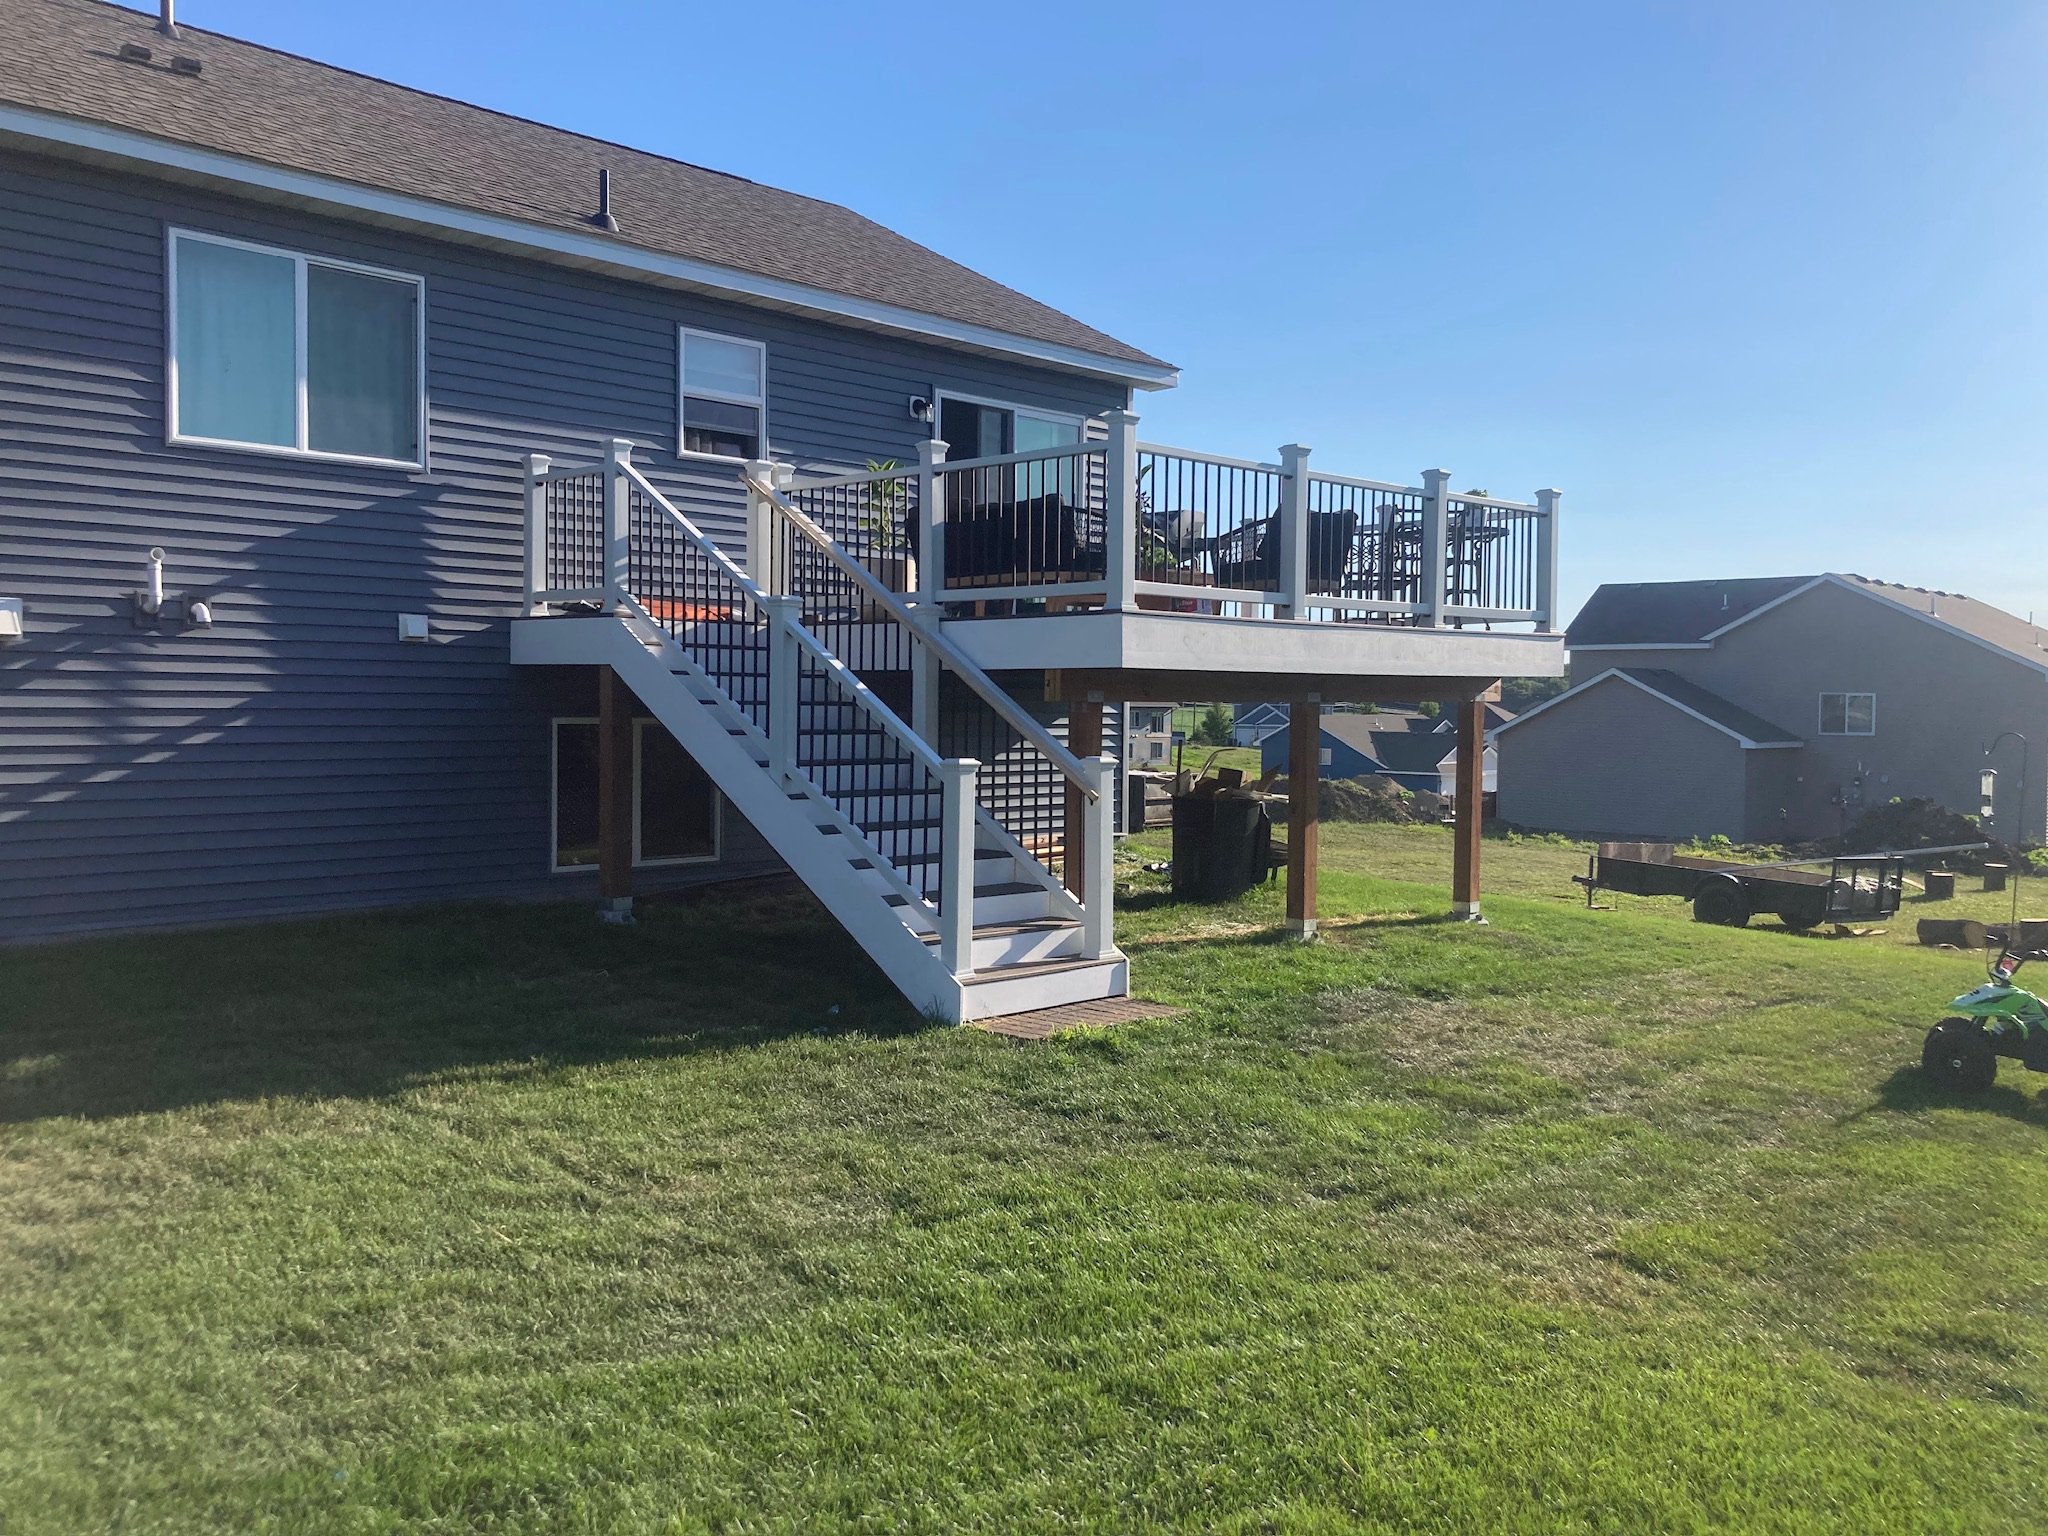
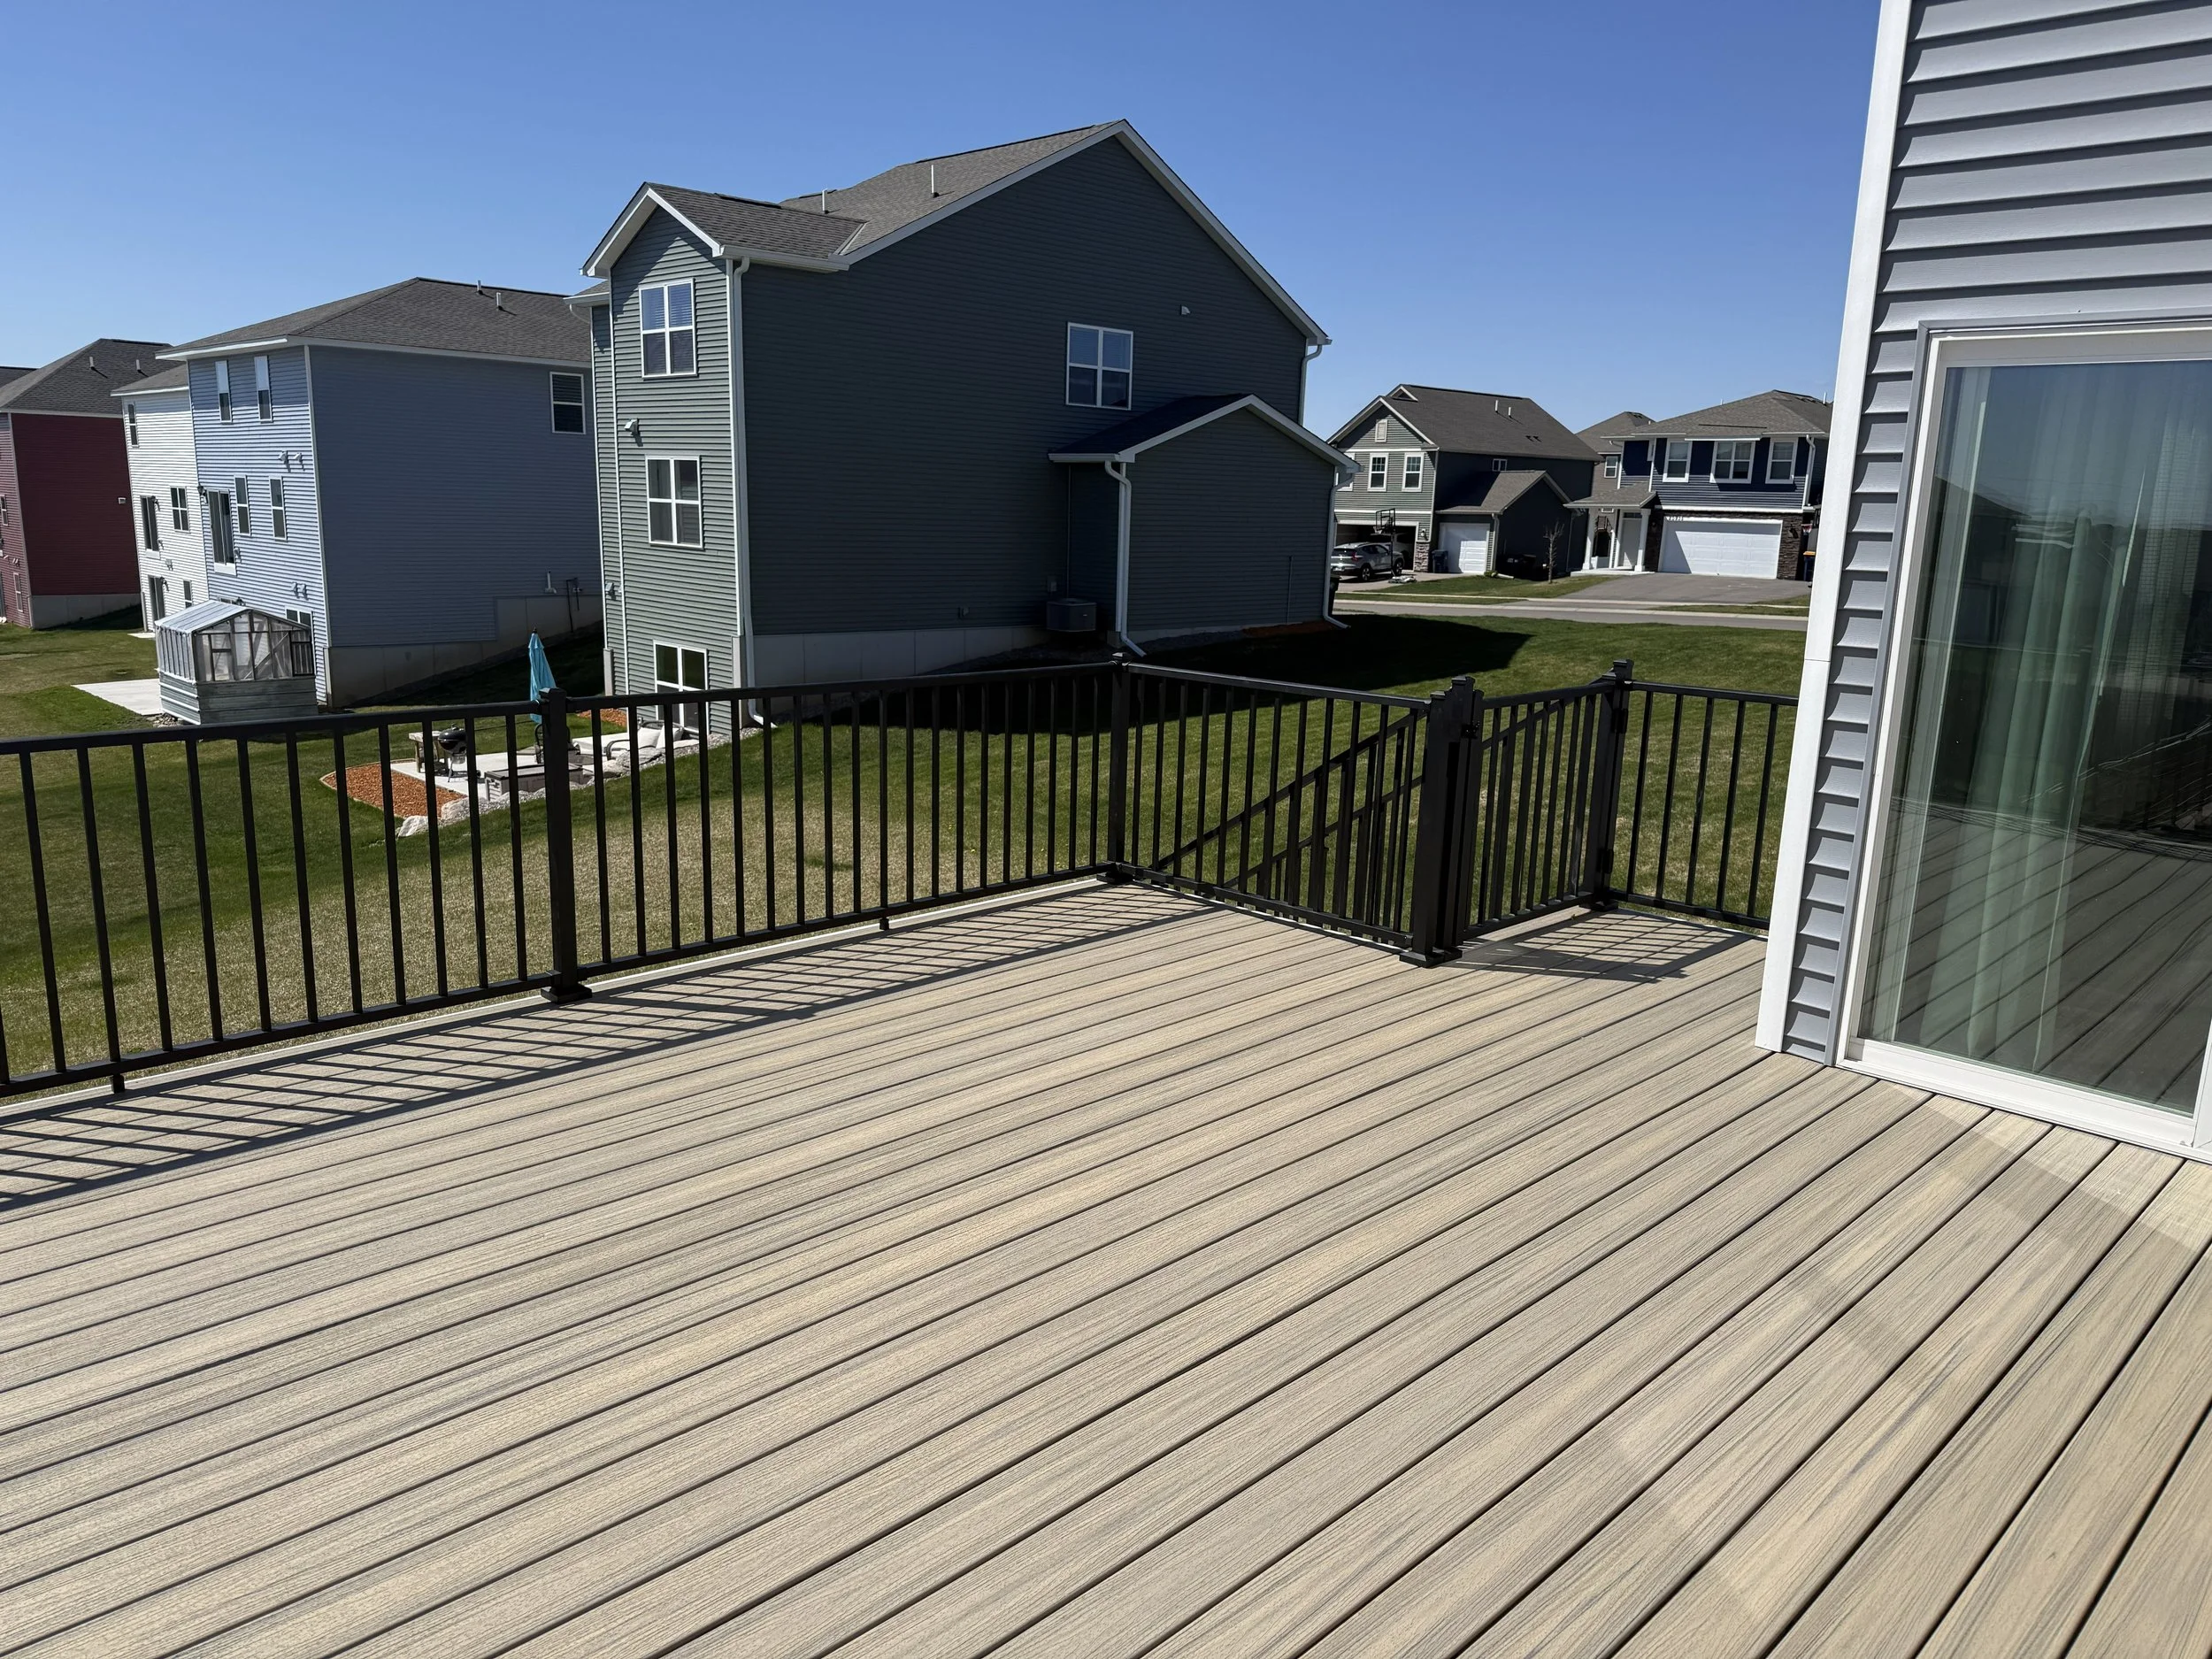
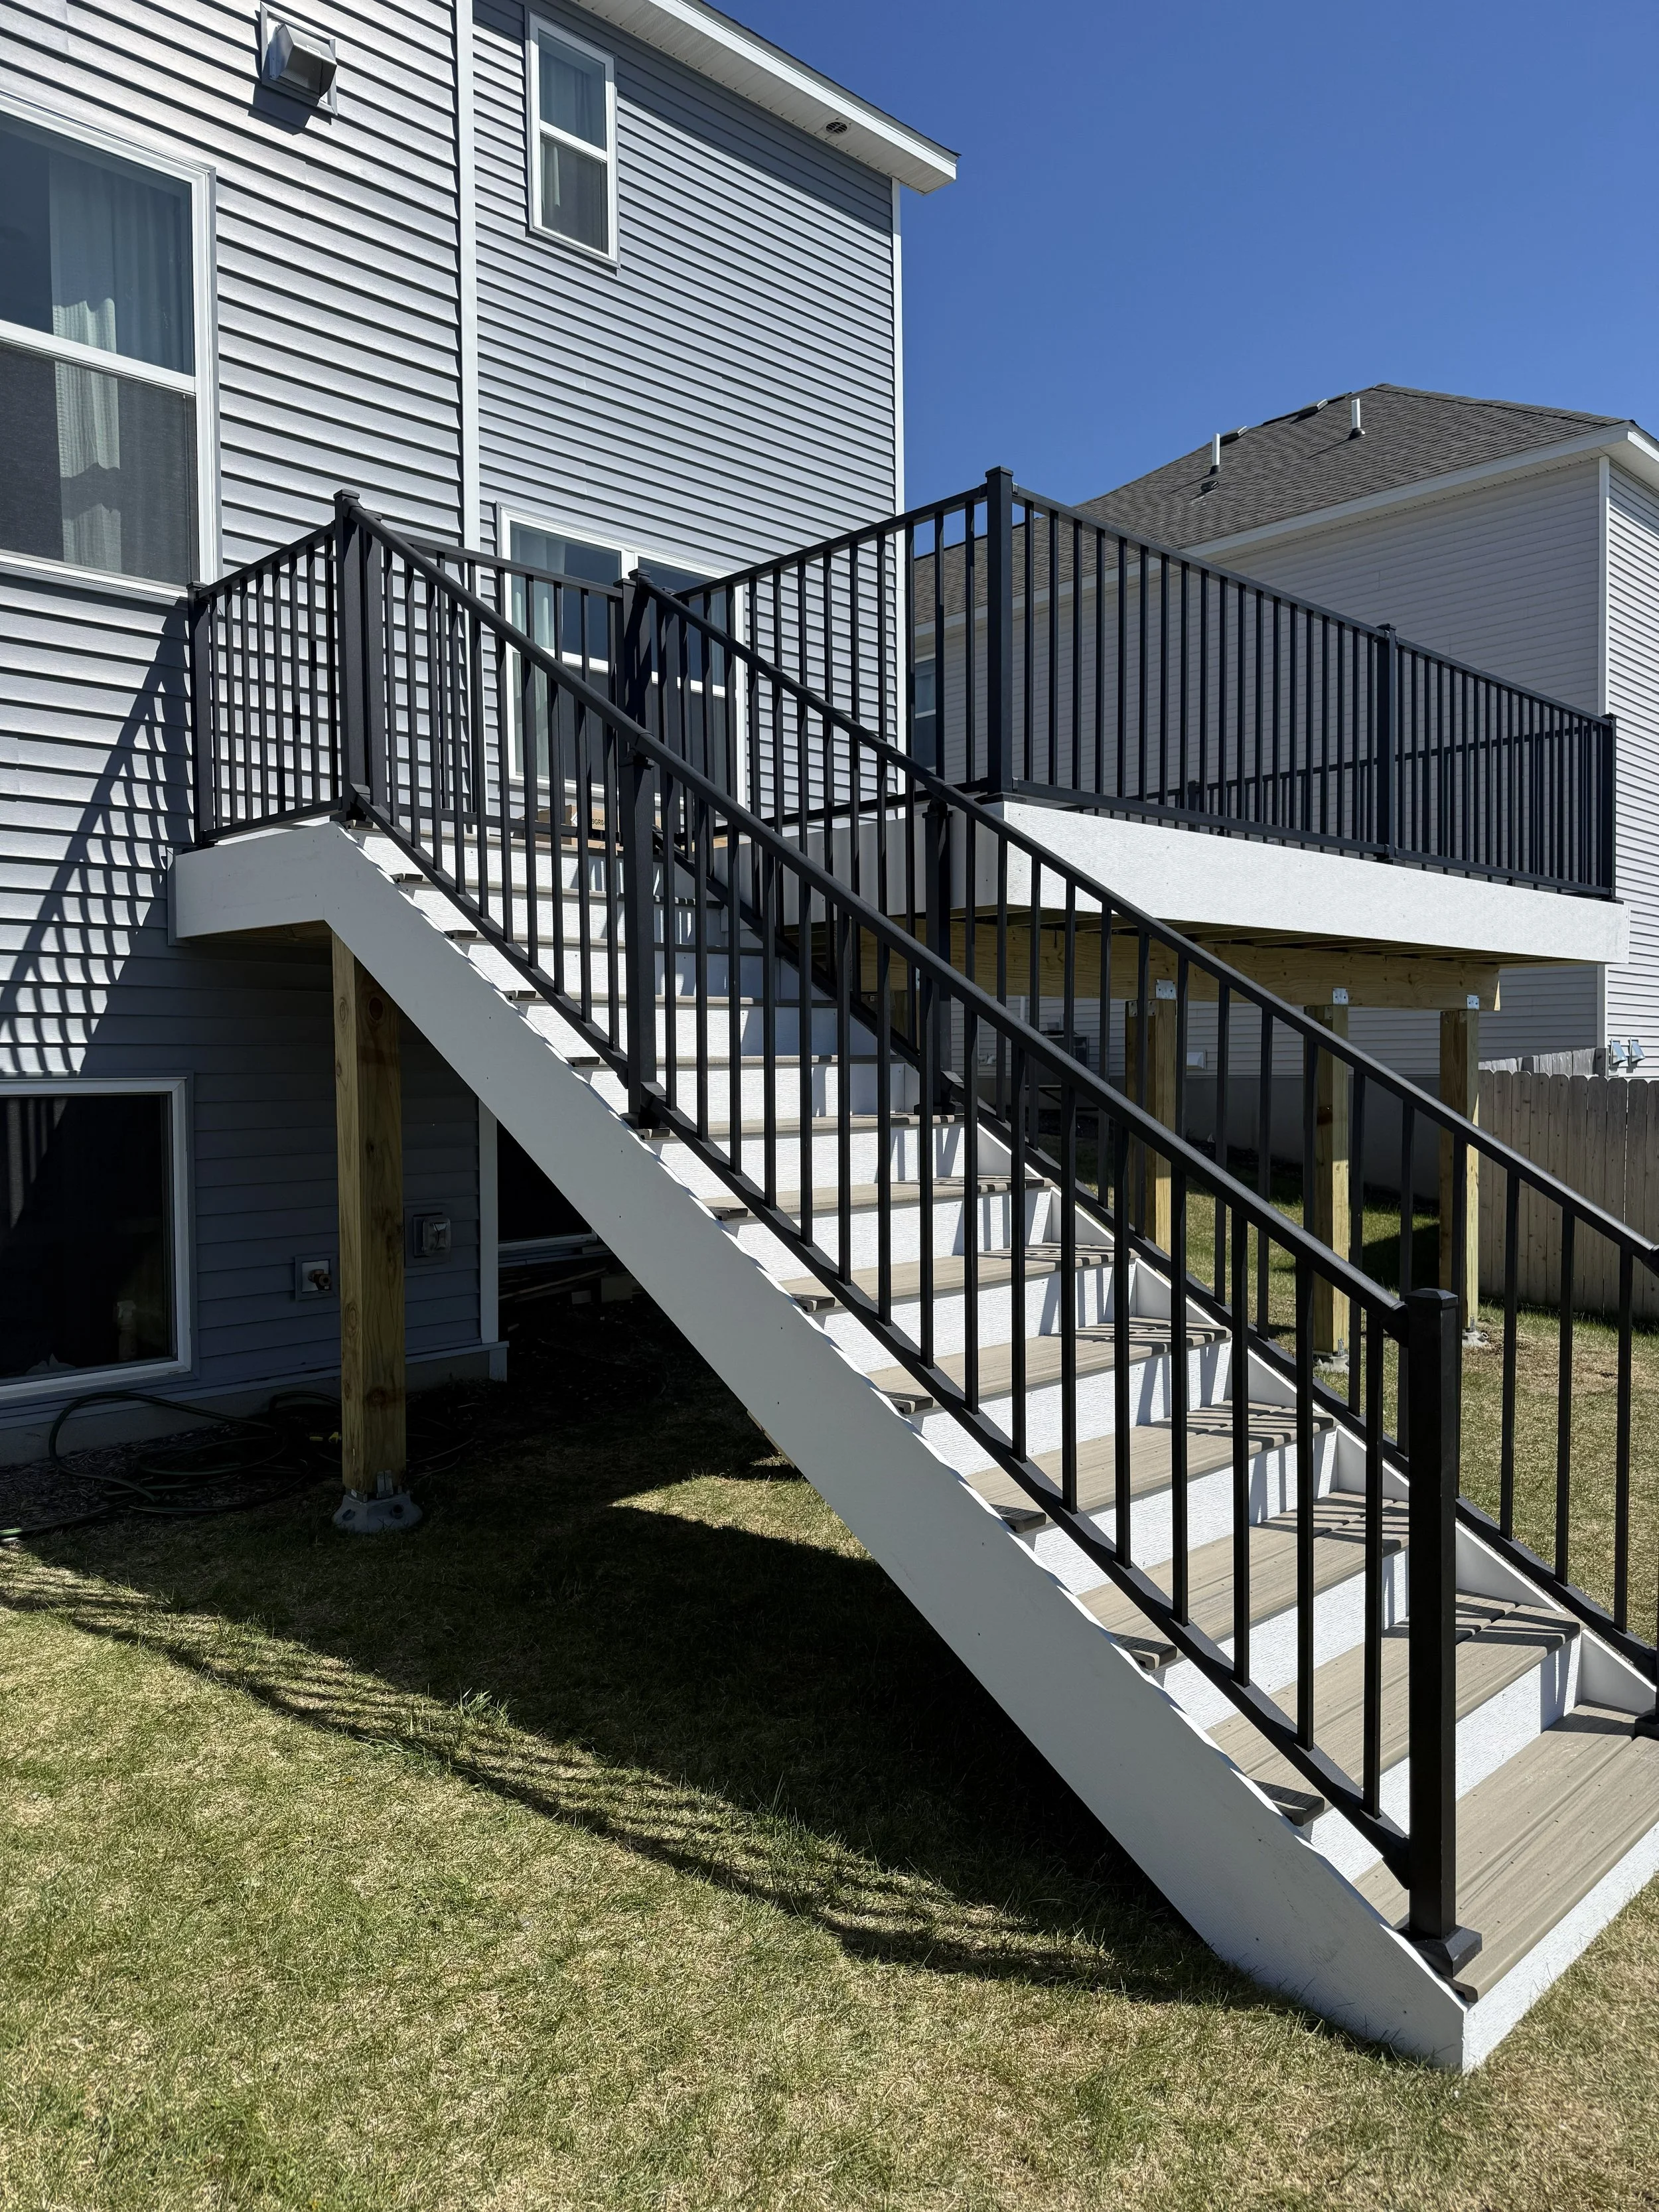
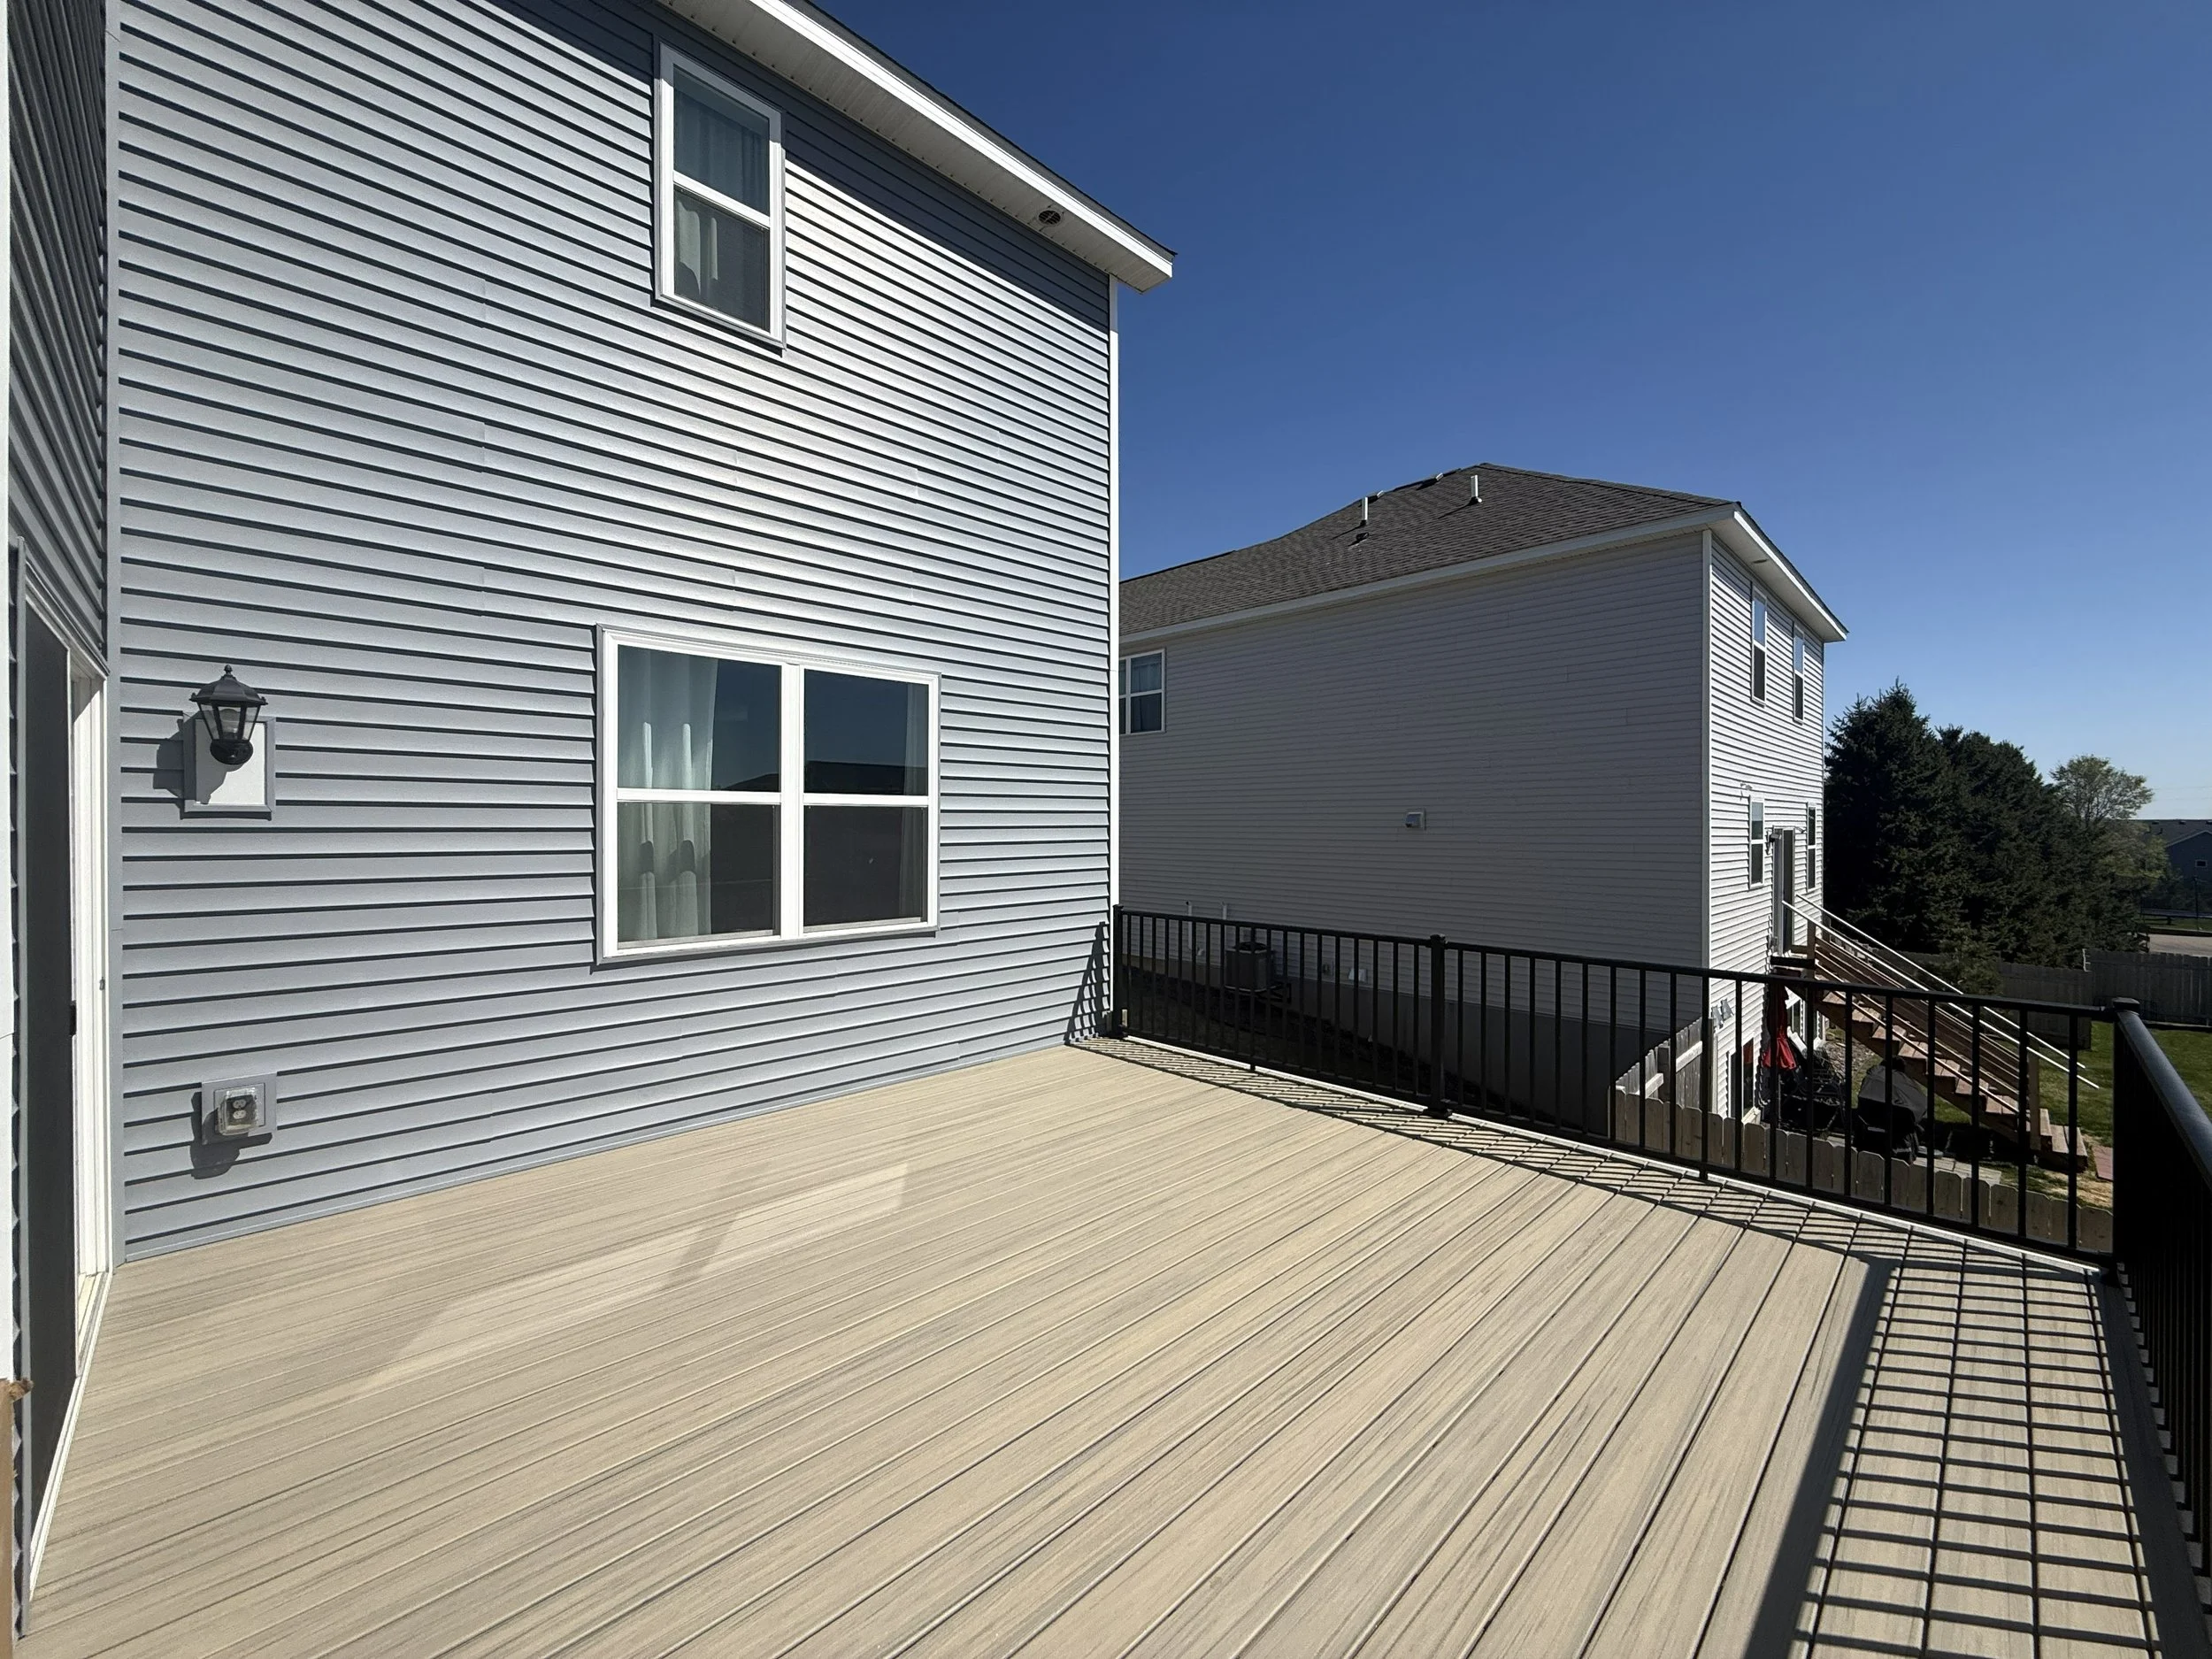
For this deck, the clients wanted to go with something that would be low-maintenance and longer lasting before needing to be replaced, and so they went with composite decking, more specifically Trex Decking in Honey Grove.
Color
When picking your decking color, you first should consider the exterior of your home (siding, trim, etc.) and pick something that compliments it.
For this deck, the clients knew they wanted a warm, light brown to bring some warmth and contrast to their gray-blue siding.
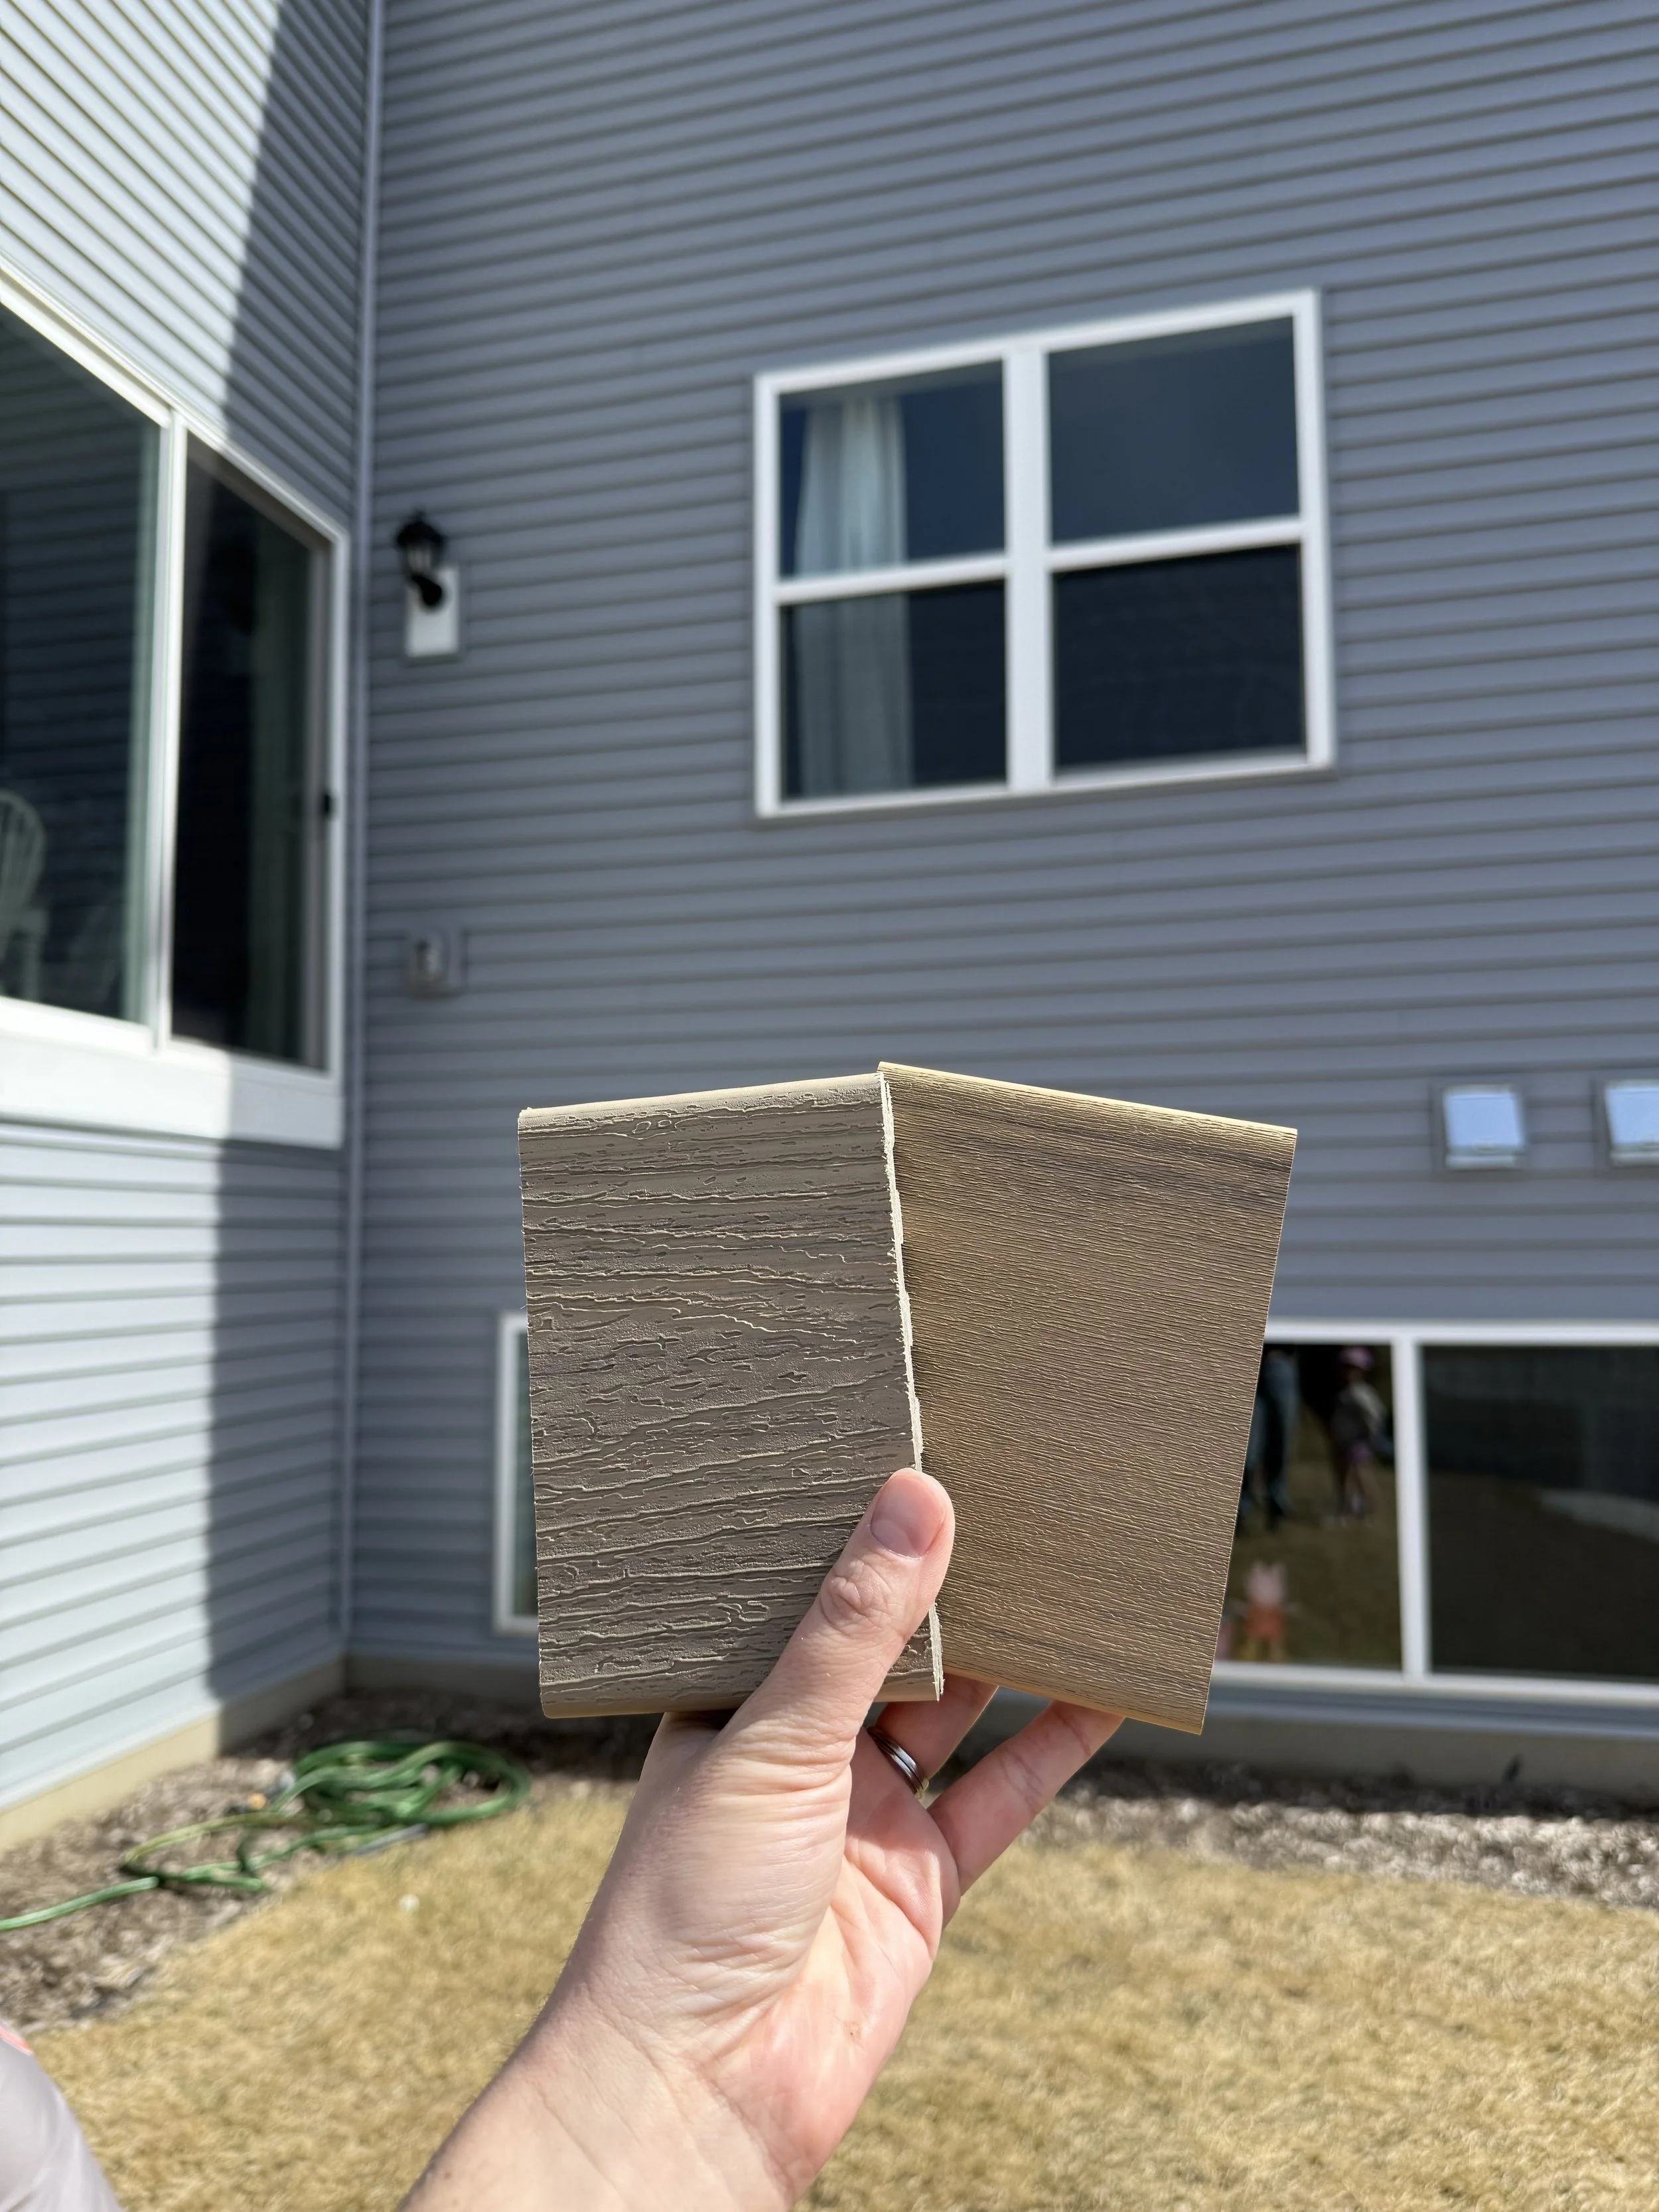
It is essential to bring home sample pieces of decking to compare in person with your home’s exterior before committing to a color! What looks good online or on Pinterest may not work with your house. Even the direction your deck faces will change how the color appears. North facing decks will experience more shade, making colors look cooler. South facing decks will appear warmer in the sunlight.
Another piece to consider with composite decking is that being that it is made from plastic, it does get quite a bit warmer to the touch than real wood! The darker the color, the more sunlight will be absorbed. It will get HOT!
With this deck being South facing, we knew we needed to avoid darker browns. What we really like about Trex is that they offer “sun-comfortable” color options that are the best choices if you want to make sure your decking doesn’t overheat too much!
Budget
Most brands of composite decking have multiple budget tiers for their products. We’ve found that there are really great options out there for every price point, and while spending more may lead to greater longevity, even lower cost composites are still a solid choice and an upgrade from green-treated wood!
Consider the Details
There are a few other details other than decking that you may want to consider before starting your deck project: fascia, patio or pavers and lighting.
Fascia
Fascia boards are the pieces of trim that line the edge of your deck and stairs and stair risers. They gives a finished look to your deck and cover up the edges of your decking boards. Some people prefer all white fascia while others will match the fascia to their decking color.
For this deck, the clients chose to go with white fascia and we used these PVC trim boards from Menards.
Patio/Pavers
You may also want to consider what is going to be at the landing of your stairs. Will you eventually be installing a concrete patio? Even if not, it is nice to have stone pavers as a landing for several reasons. 1) It gives a flat and solid final “step”, 2) It is easier to mow around and 3) They just look real pretty 😊.
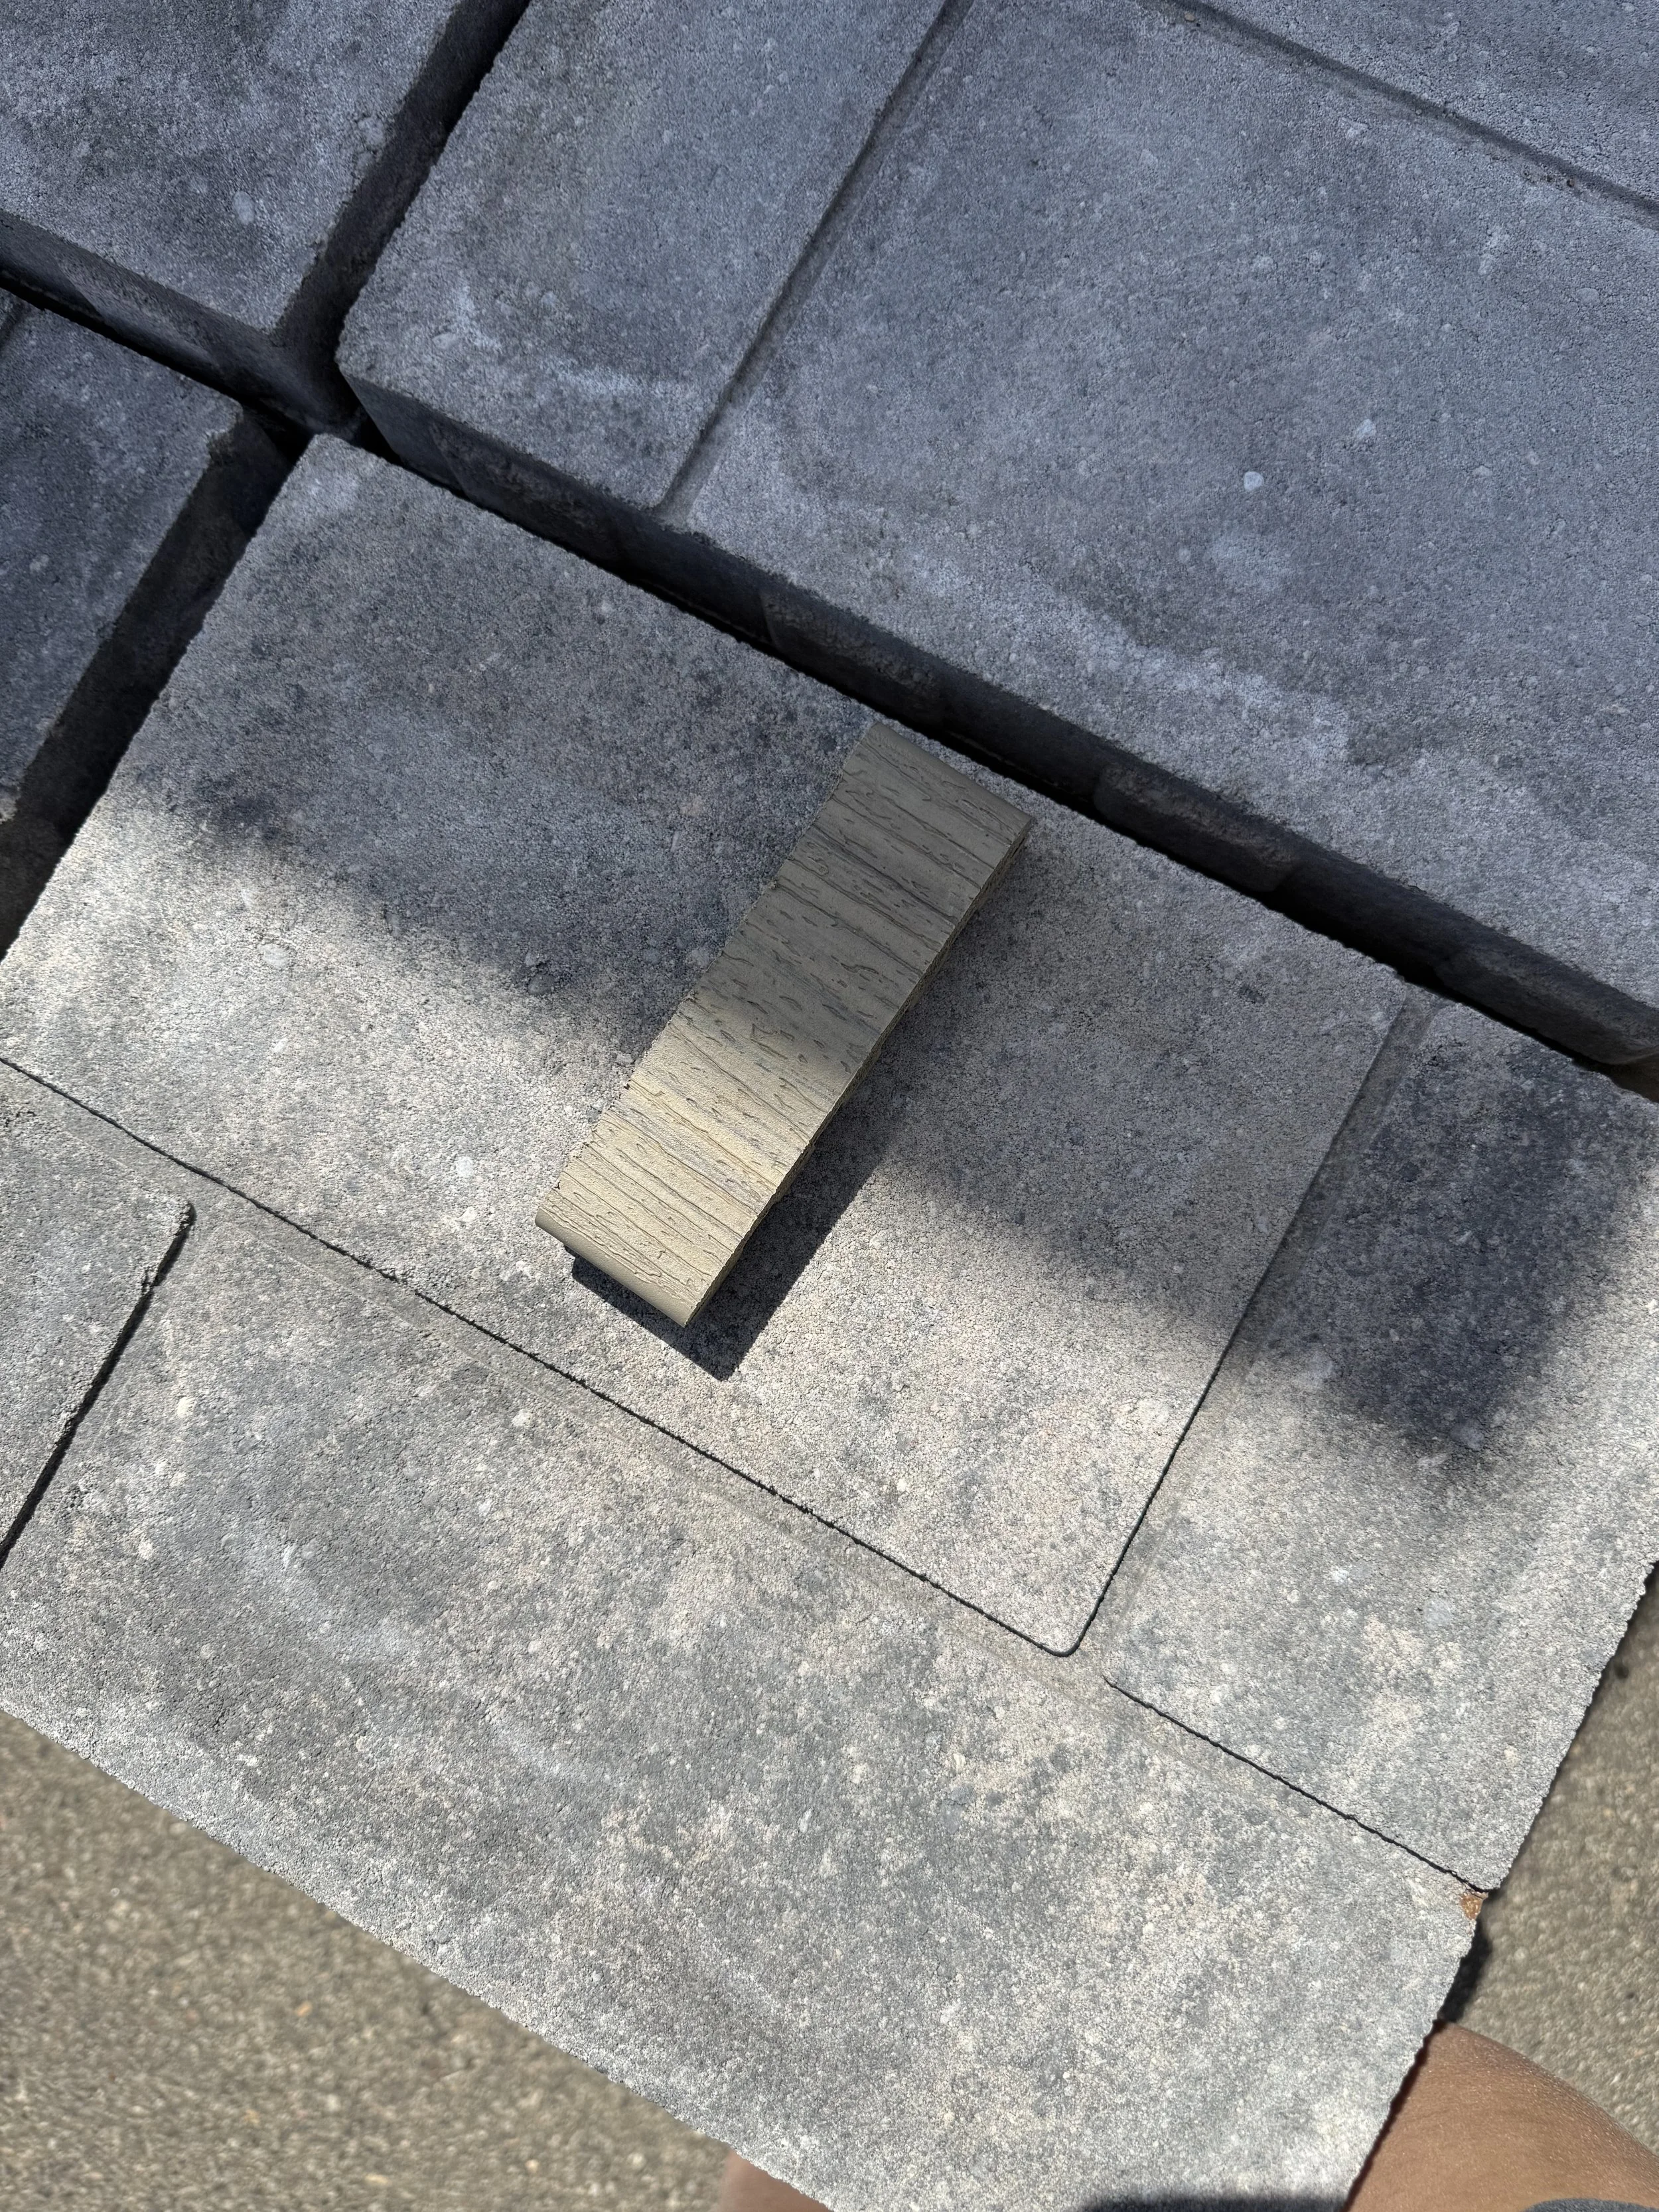
For this deck we installed a landing made of these 12x16” pavers from Menards.
Lighting
One last detail to consider while planning your deck is lighting. You may want an exterior sconce if you don’t have one already to be able to see your deck at night. You might also consider putting in lights on the steps or around your patio.
Once you’ve considered the timing, the decking and the details, you’ll be ready to get going on your own outdoor oasis!
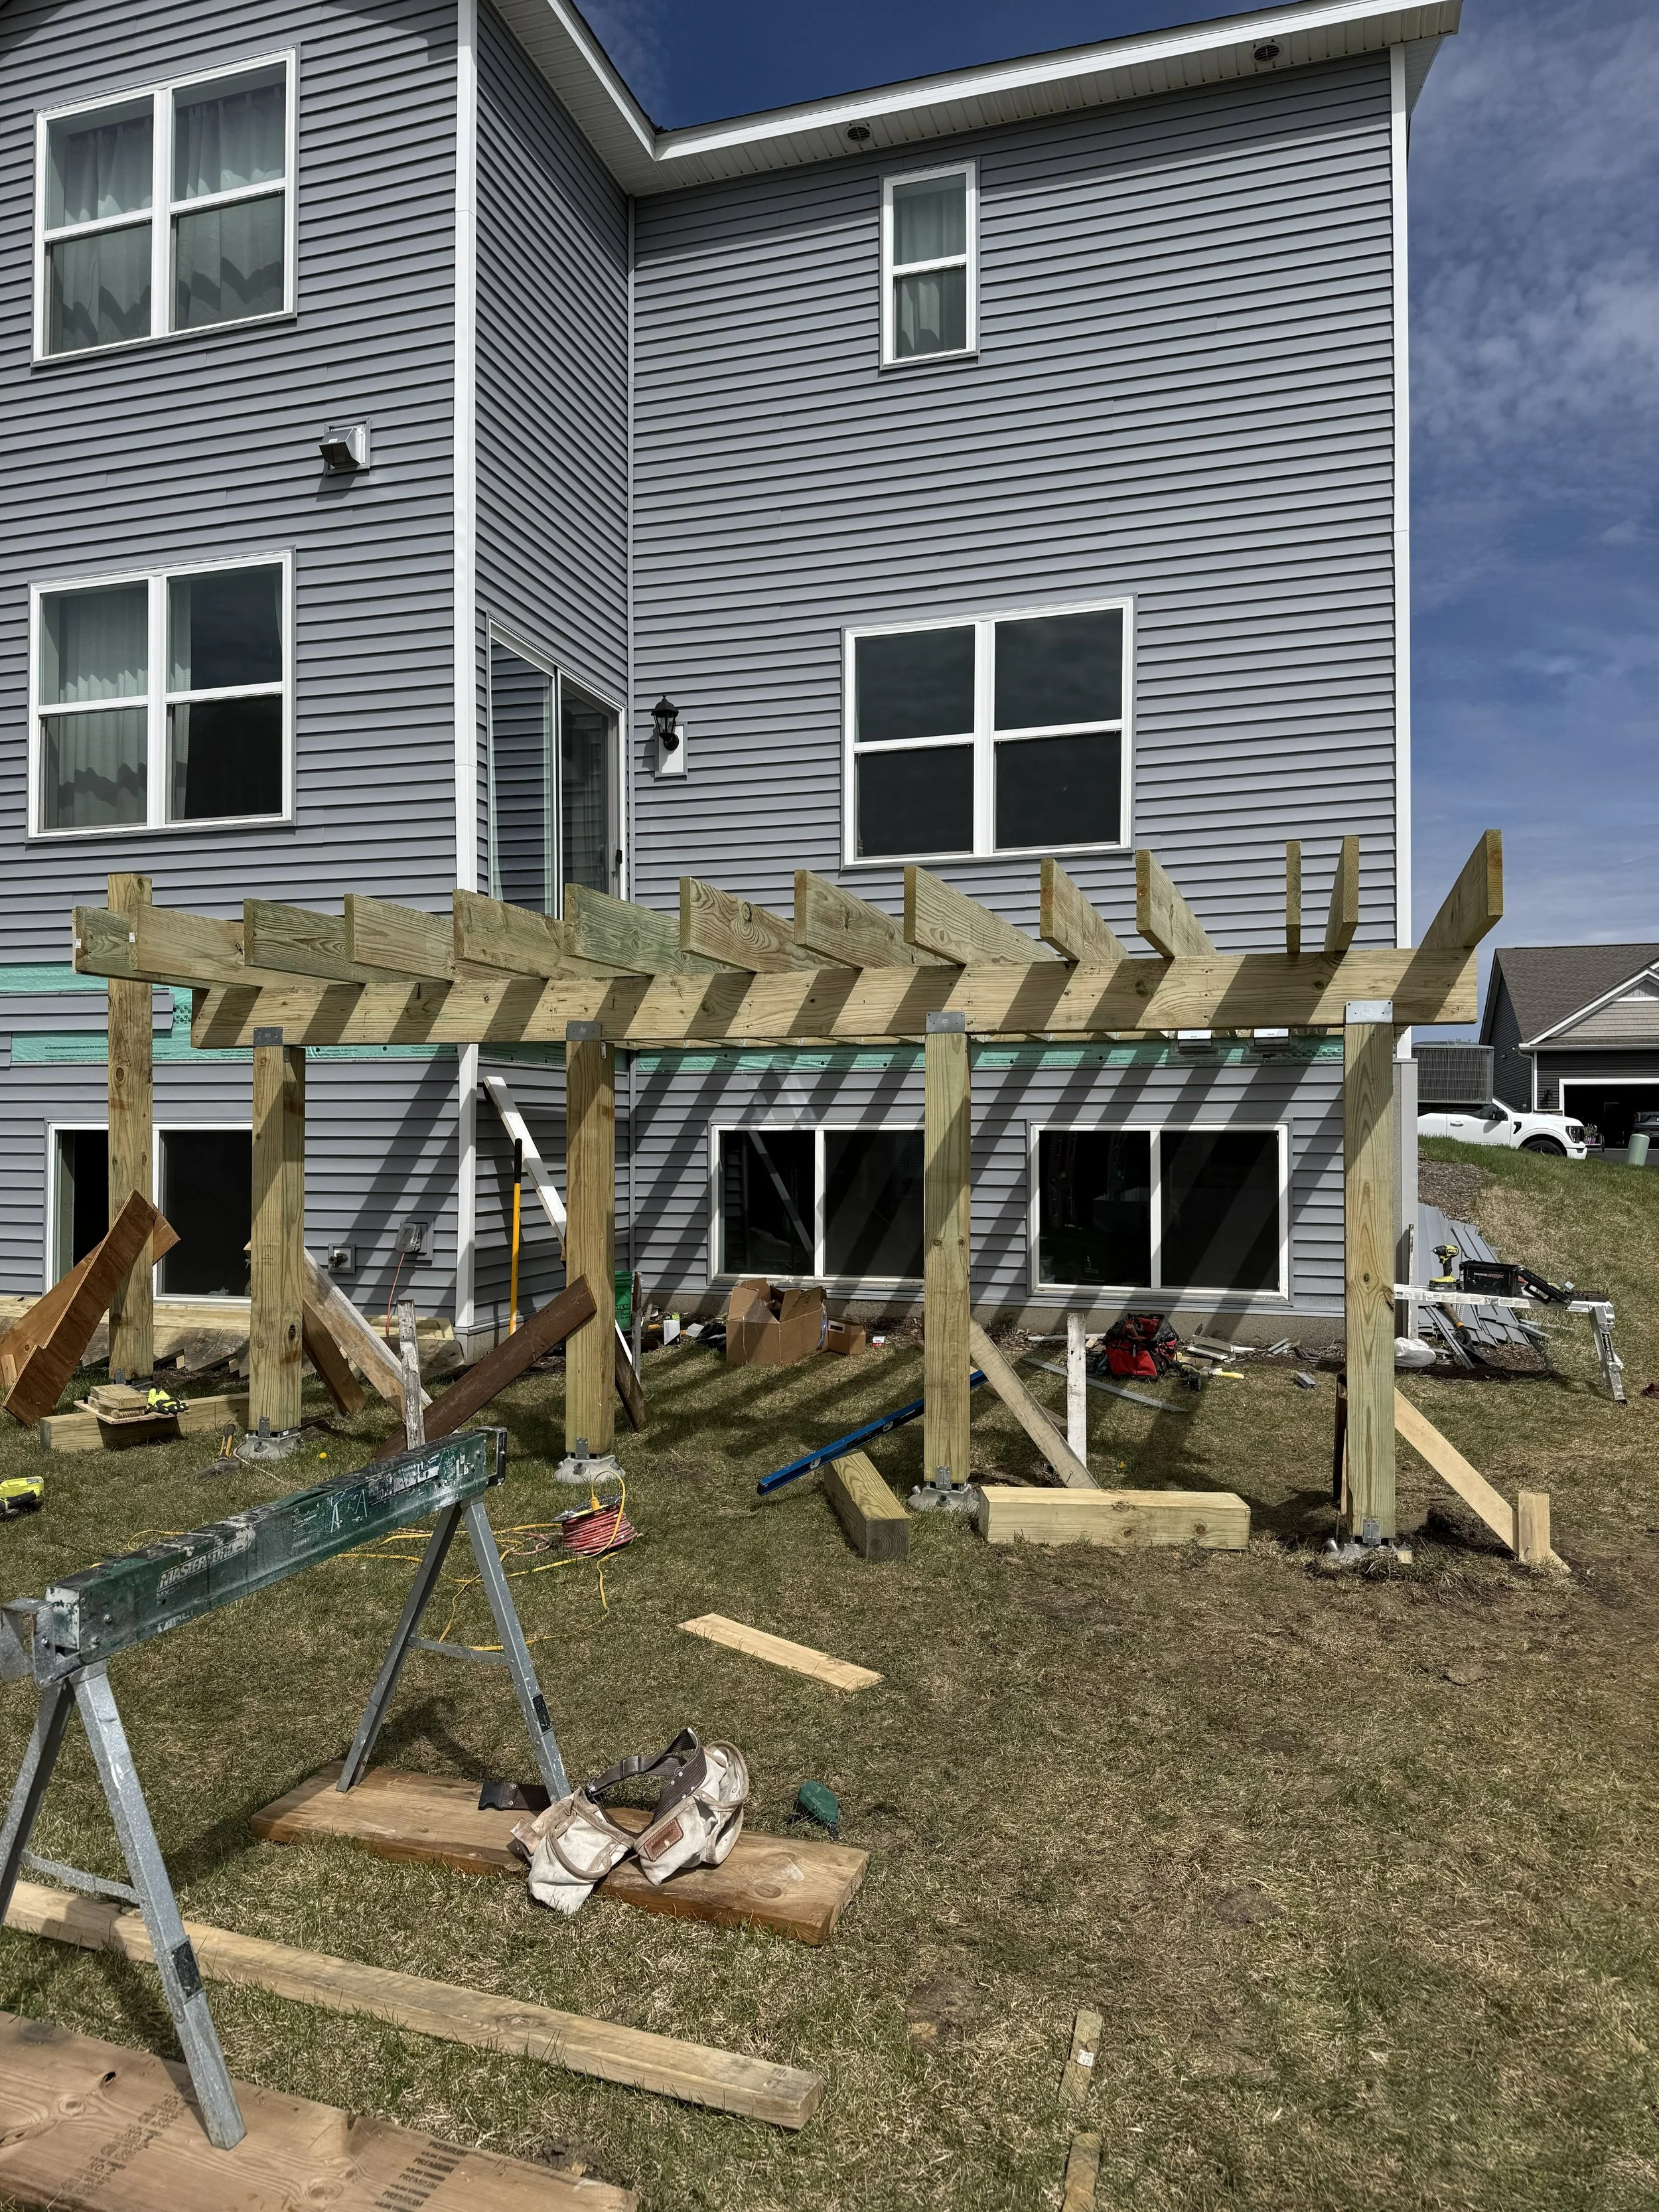
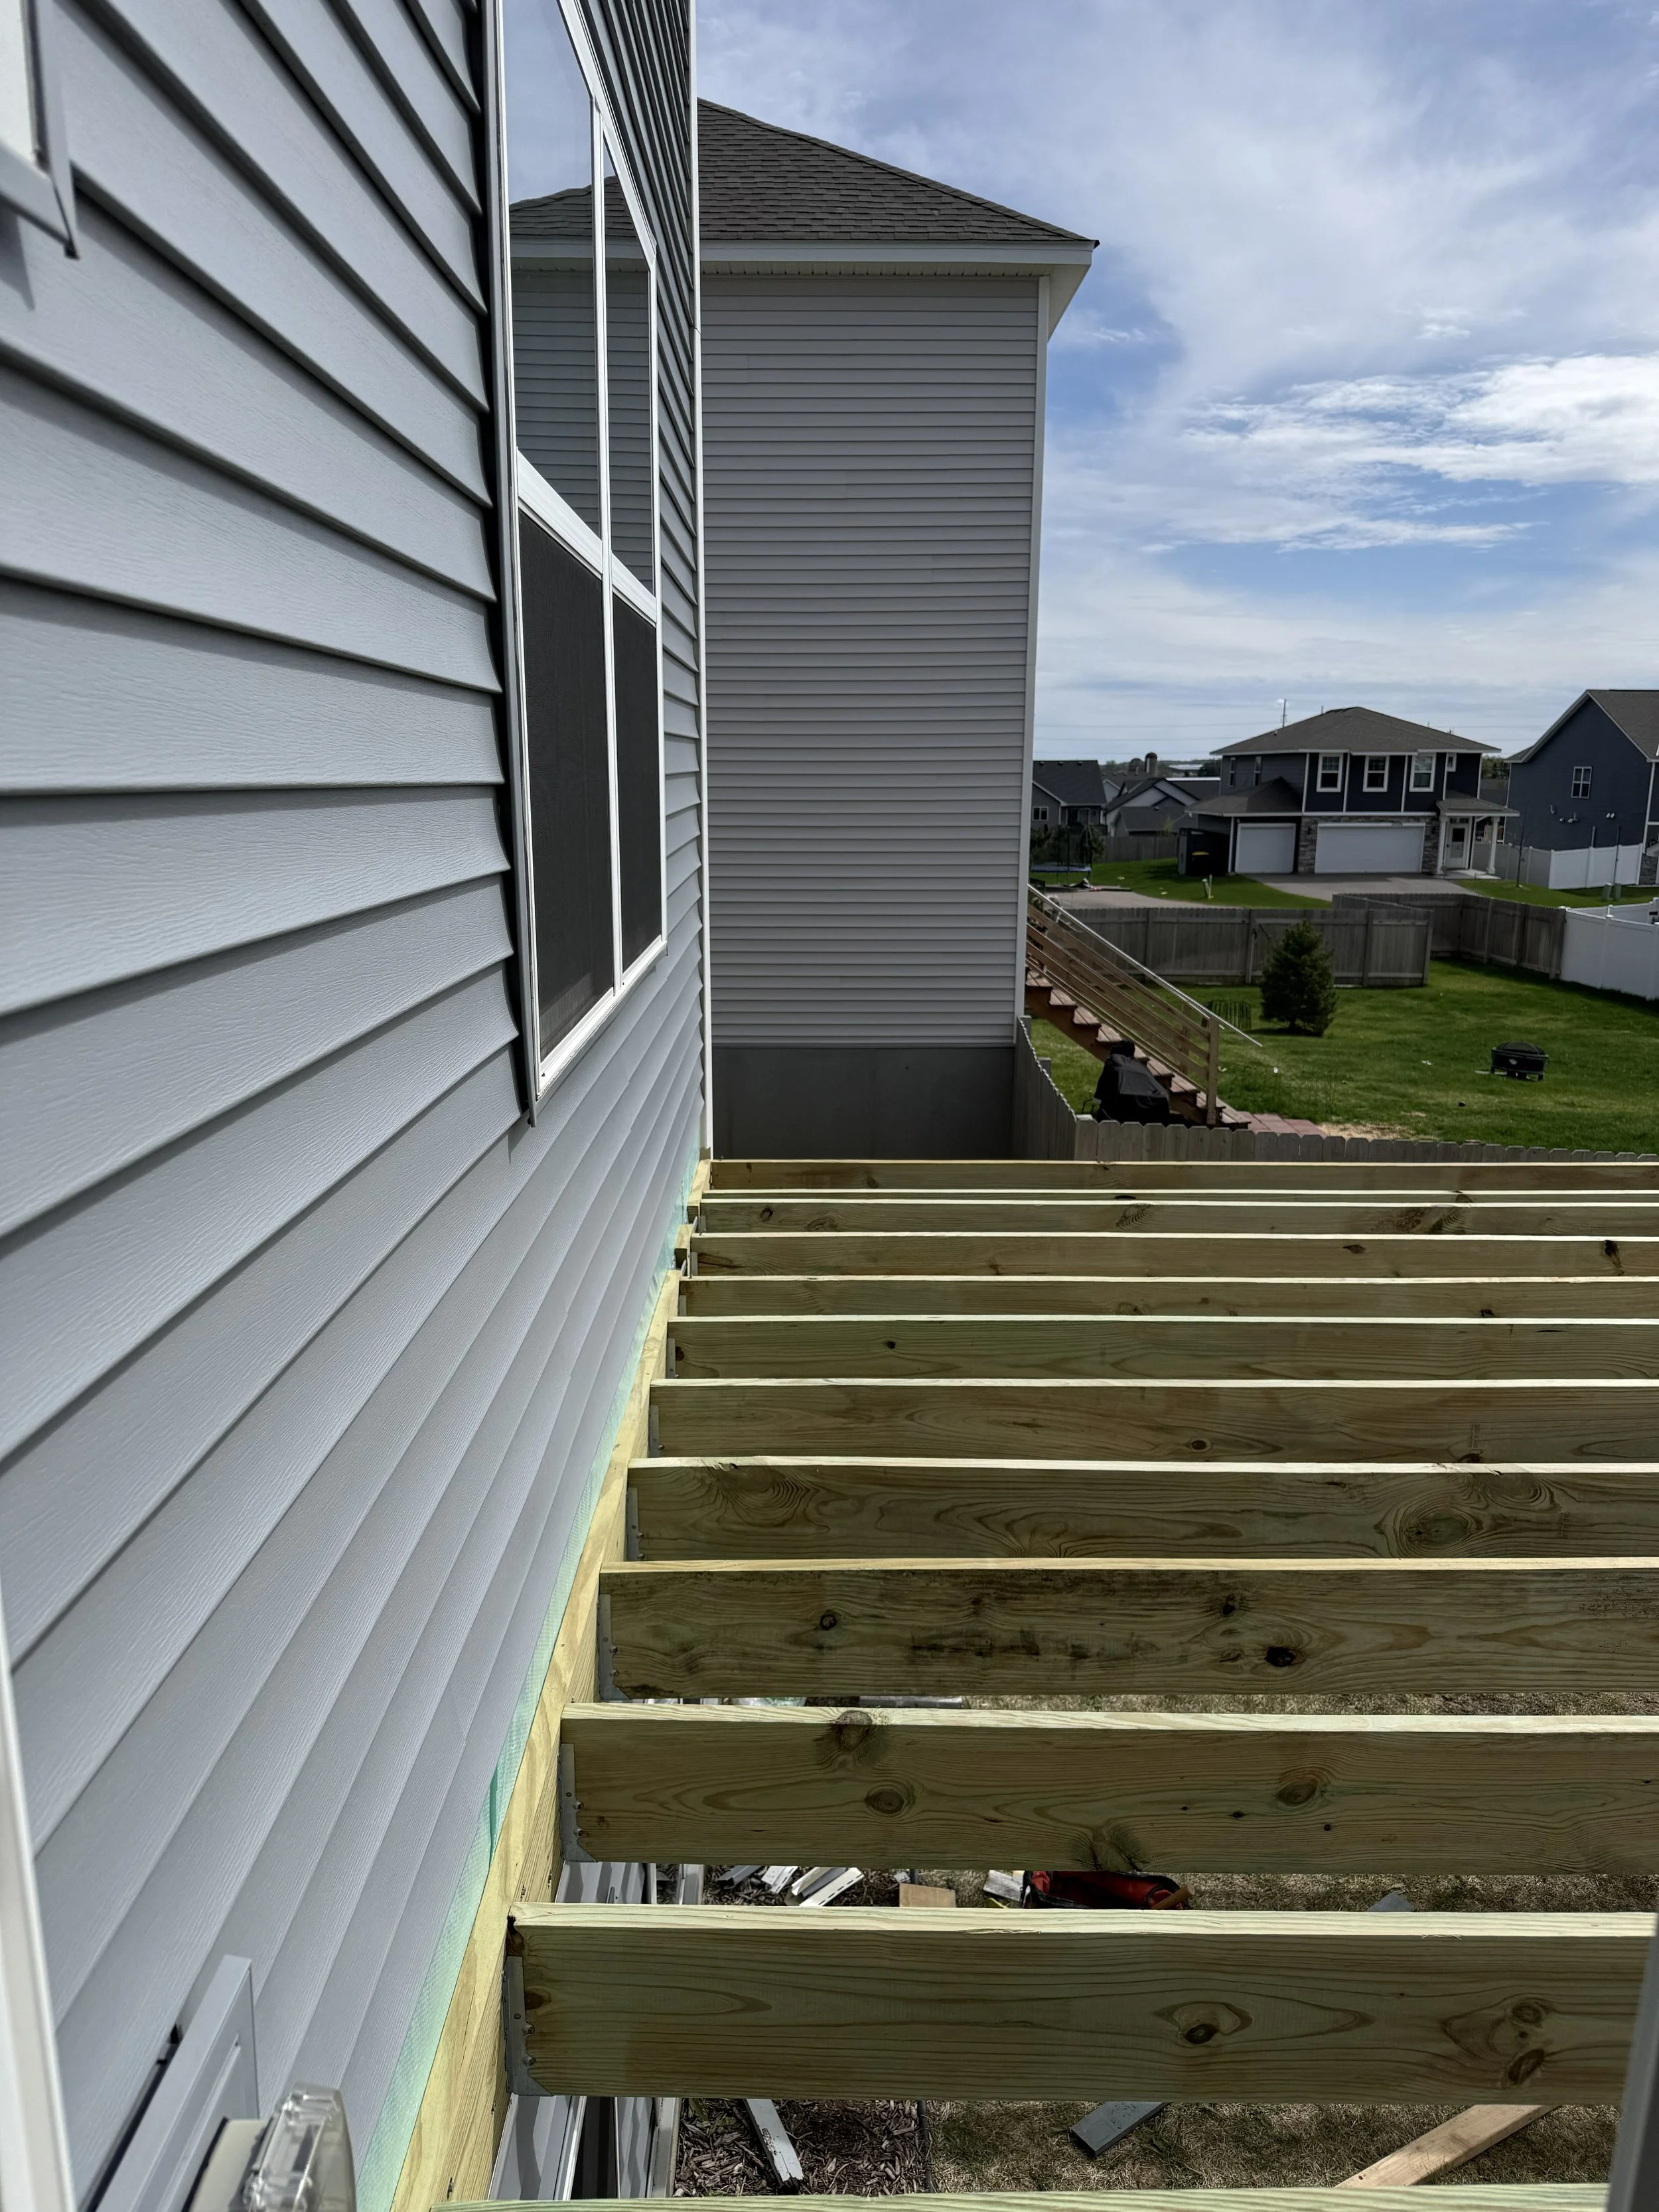
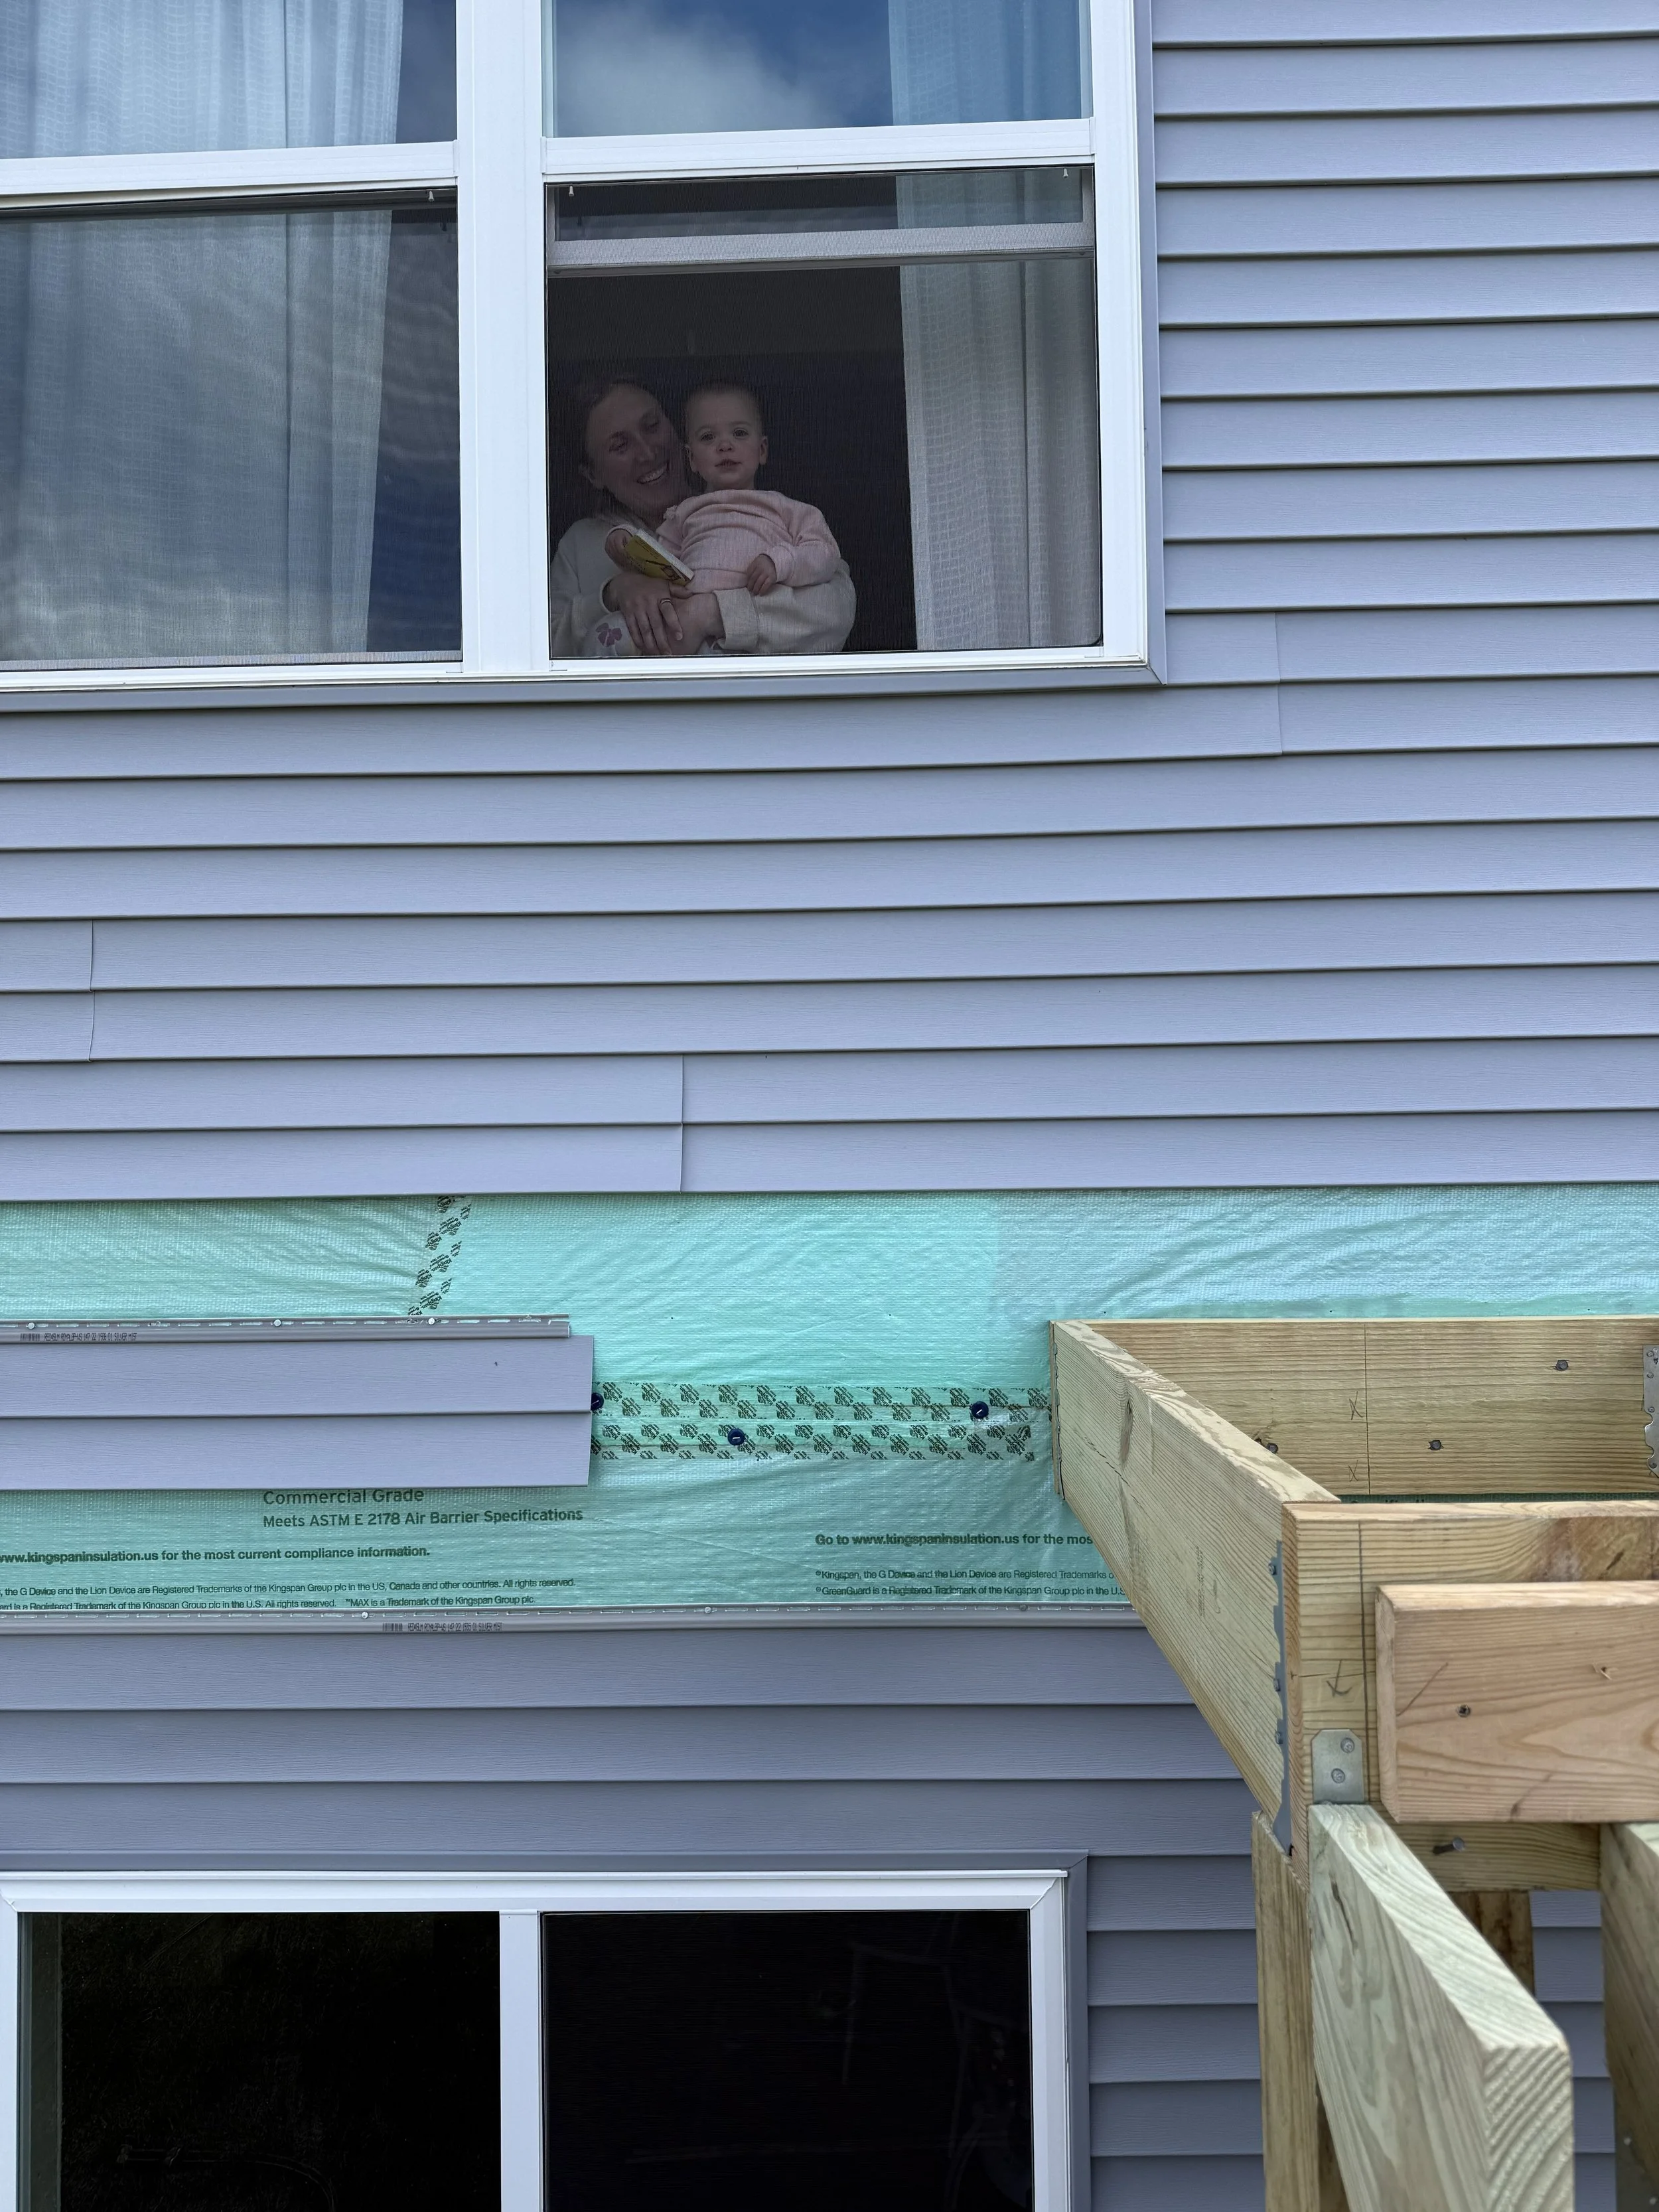
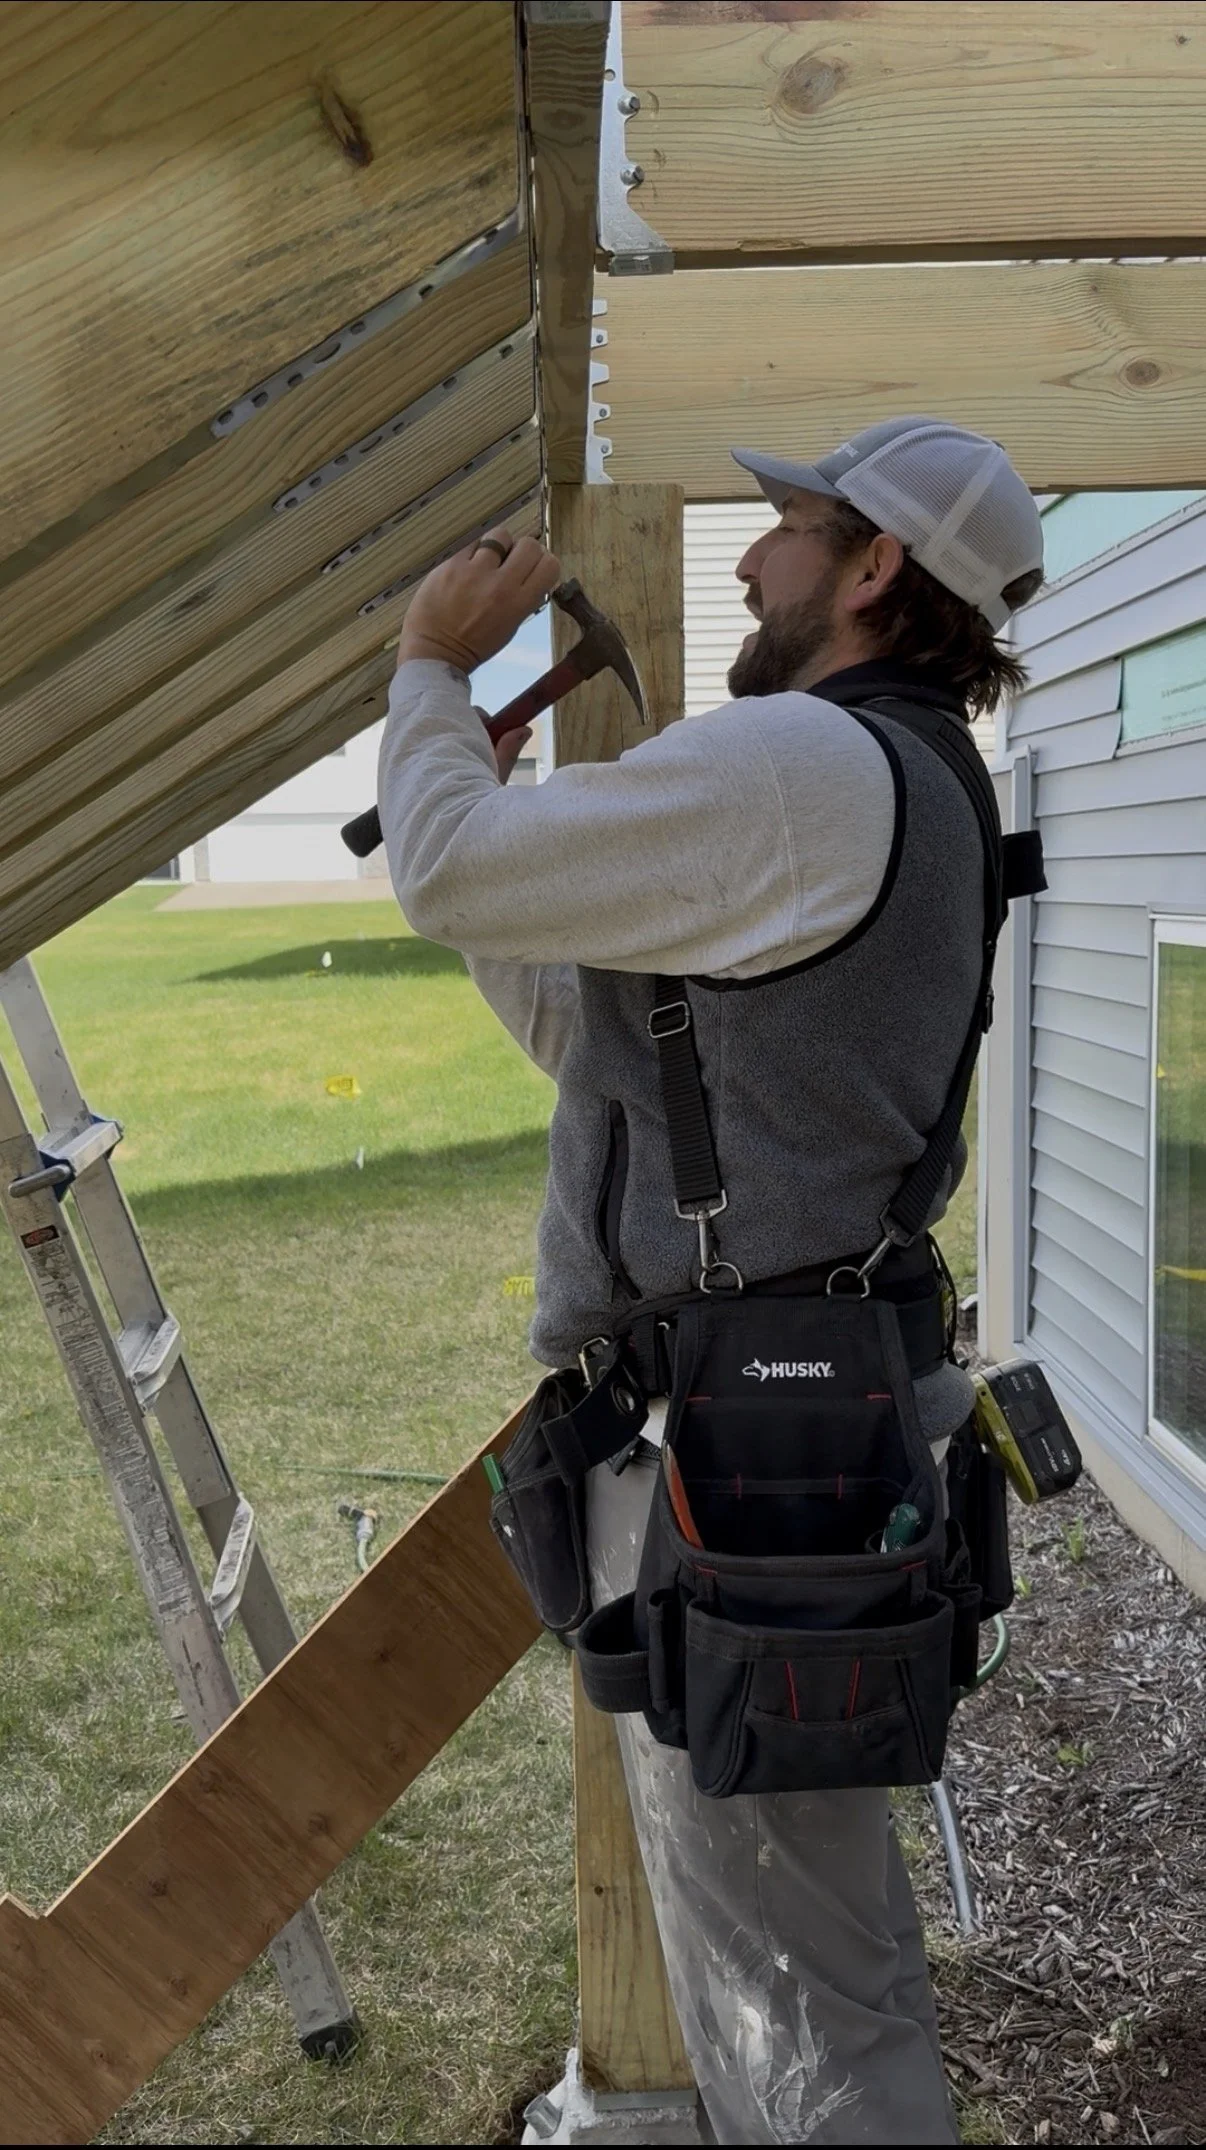
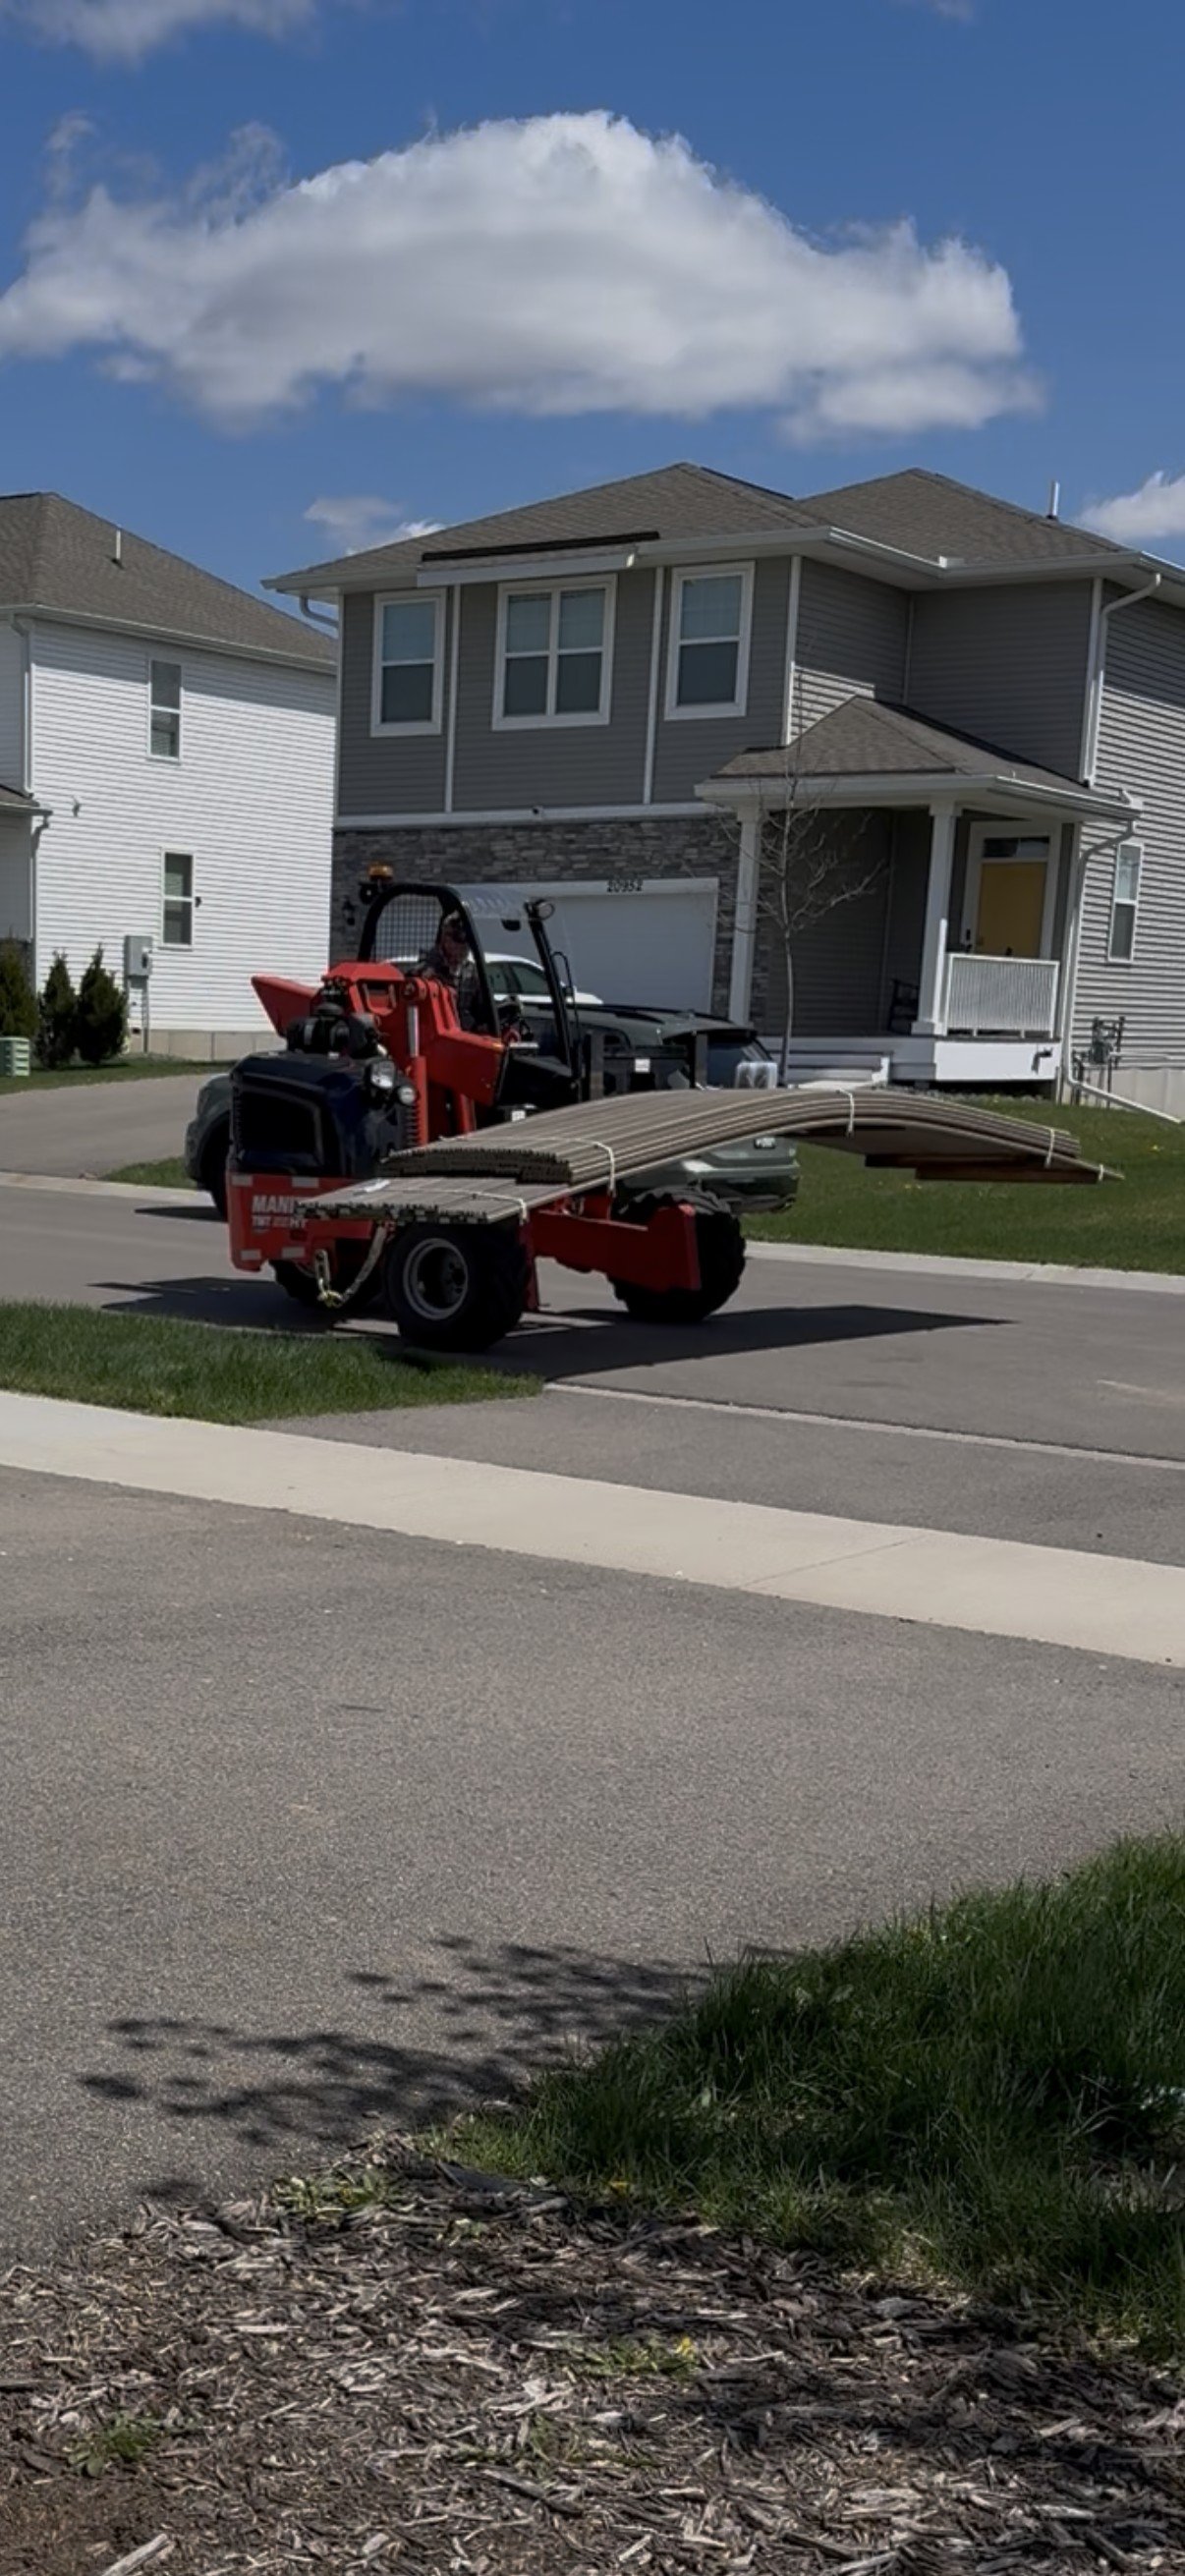
It was an honor to help create this outdoor space that these clients can use and enjoy for years to come. Here’s a look behind the scenes as IDIA brought this deck idea to life.


Feel inspired by this project? Be sure to follow IDIA on Instagram for more behind the scenes looks at projects like this, inspiring finished products and tips and tricks for making the most out of your home and your space. And don’t forget to reach out and see if IDIA can help turn your own home reno dreams into reality!